

- How to Make a Burlap Wreath – 3 Easy Styles! - May 30, 2022
- How to Revive Wilted Hydrangeas – Guaranteed! - July 28, 2021
- Easy Canvas Painting Ideas – 30+ DIYs for Beginners - June 16, 2021
Simple, inexpensive and colorful ideas to organize your craft space, whether its a whole room or a little corner of your home.
Pinterest has opened my eyes to craft room dreams. You know what I’m talking about: the crisp white rooms with a funky rug on the floor, cube shelves lined with mason jars filled with rainbowtized buttons. The counter height table in the middle of the room, perfect for cutting fabric, also with cube shelves on the bottom, with rainbowtized bundles of fabric. Closets converted to craft shelves, lined with rainbowtized bottles of acrylic paint… Sigh.
I will say, I am happy to have half of the study for my craft/office space (until baby comes ;). Its waaaaaaaaay better than the spidery unfinished basement that used to be my sewing spot. WAY BETTER. But this room just looks junky. Lots of bins and totes of fabric, paint or odds and ends. Stuff needed to go up on the walls, something functional and also decorative. But I didn’t really want to hang a bunch of shelves on the wall, because we’re renting. Hanging shelves totally destroys walls.
I considered a pegboard, because those can look cute and crafty, and wouldn’t take too many nails to hang up. But when I took inventory of what I could actually hang up, all I could come up with was scissors, and like a cup of markers or something… so a pegboard would be kinda pointless.
While considering what I had, I started thinking about what “collections” I have. What could be put in a rainbowtized display, but that wasn’t too heavy to hang…
Thread and spools of ribbon.
Back to Pinterest to find some shelves that were:
1. cheap
2. light
3. easy
Pinterest did not disappoint! I found a thread shelf made with skinny pieces of wood and set out to replicate it in my own way.
I made mine with pieces of pre-primed white lattice wood (44 cents per ft), and cut it at the cutting table at Home Depot into 7 pieces 20 inches long for the shelves, and 2 pieces 16 inches long for the sides (but I would suggest cutting the sides to 18 inches instead), then I measured it out, glued/nailed it together like a ladder (and did not do a very good job at it… sooo many bent nails…) Then I hot glued a piece of white posterboard on the back. I also stuck a row of pins on the top to hold the bobbins. Serendipitously, I had rainbow colored pin heads, and I can put pink bobbins on the pink pin, and green bobbins on the green pin. Love! It all cost me less than $8. Easy! Light! Cheap!
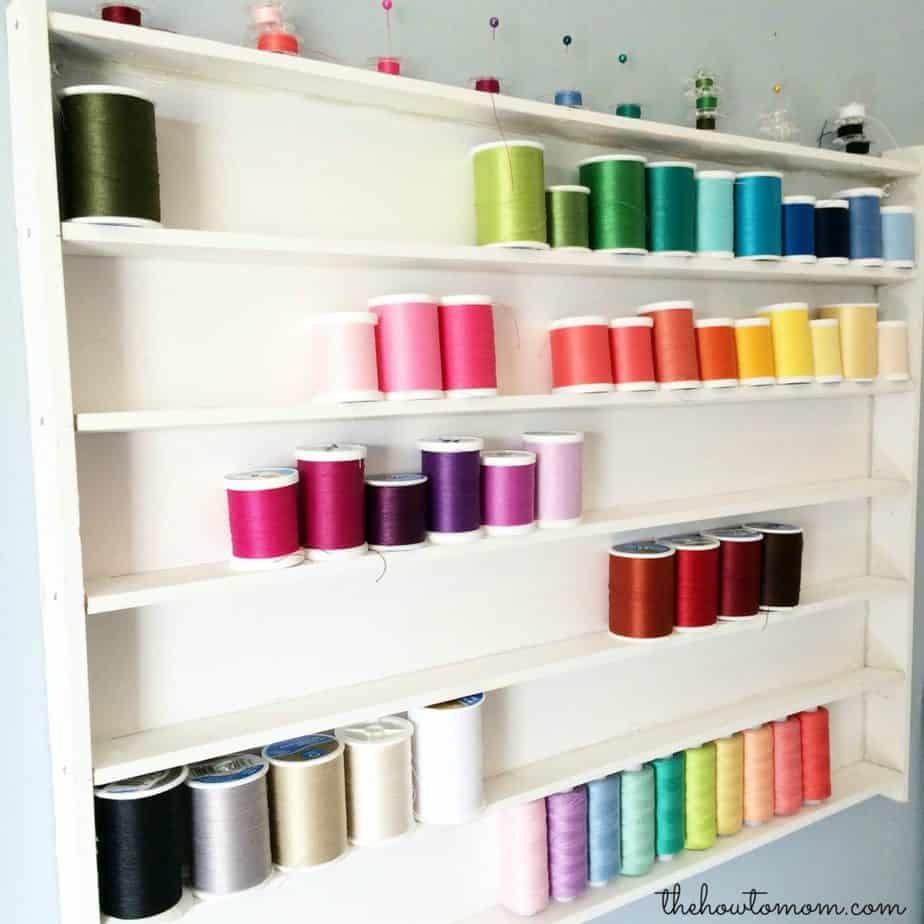
I just attached it to the wall with two thumb tacks. Its probably not level either, but whatever. It was so much fun to put the thread on there, all rainbow-y. So pretty.
I would suggest making the space between the little shelves bigger than I did. It barely holds my “value size” spools. Oops. Also, if I was to do it again, I’d make the bottom shelf with a wider piece of wood, so I could put serger sized spools of thread on it. I did tilt my shelves a bit to help the spools not fall off as easily.
Next came the ribbon shelf made with foam core poster board.
I used 3 pieces of foam core poster board, cut them with an Xacto knife and did a pretty crappy job of keeping the lines straight). There are 7 pieces that are 20×4 for the shelves, and 2 pieces that are 30×4 for the sides. Then the back piece is 20×30 (a whole piece of foam core). I used hot glue to put it together. Again, its not perfect, but it works! Especially for less than $6, you can’t beat that! And it was easy, light, cheap!!
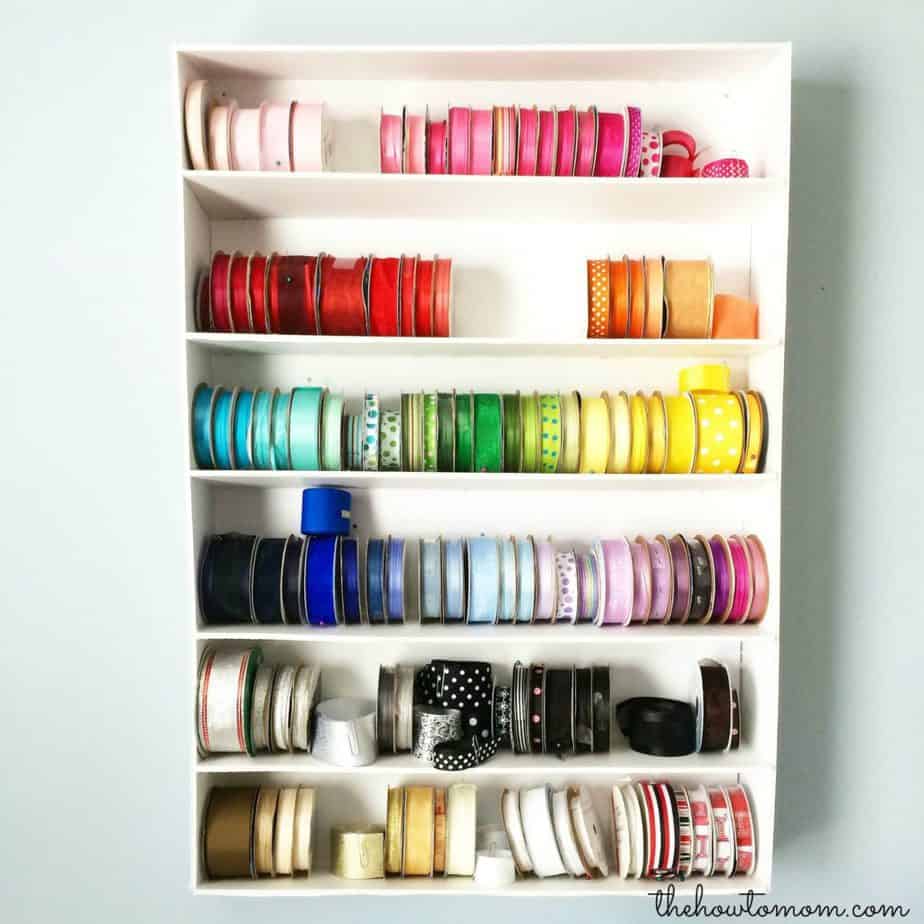
I will mention that the picture I used for inspiration had skinny pieces of foam core to finish off the front of each shelf, and to hold the spools in place. It looks really nice that way, nice and finished. But I was dangerously frustrated with my xacto knife and couldn’t bring myself to cut 7 more pieces. Soooo, instead I just tilted each shelf a bit to keep the spools from rolling out. Problem solved.
The rest of the room still needs some work. I’ve got a white IKEA desk on my wish list, with drawers underneath to help minimize the visual clutter. And I’d still love to do something with rainbowtized buttons somehow.

But now, I’m totally going to pin this to my craft room board on Pinterest.
Make Your Own Beautiful Living Succulent Wreath Centerpiece! Complete video course by Jeannine Romero now available through Skillshare.