

- How to Make a Burlap Wreath – 3 Easy Styles! - May 30, 2022
- How to Revive Wilted Hydrangeas – Guaranteed! - July 28, 2021
- Easy Canvas Painting Ideas – 30+ DIYs for Beginners - June 16, 2021
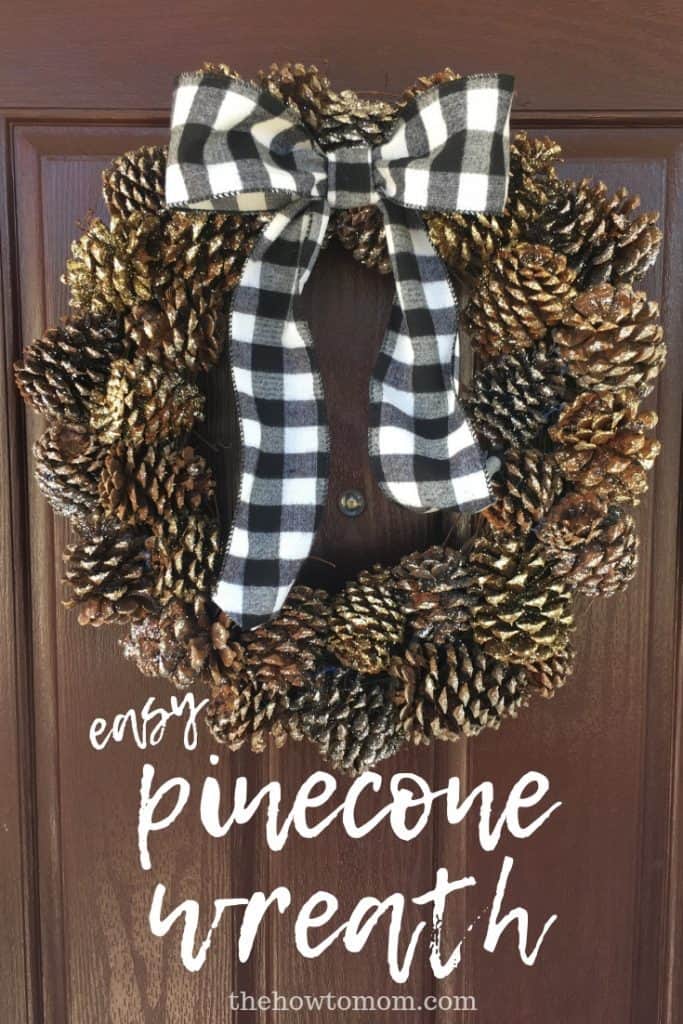
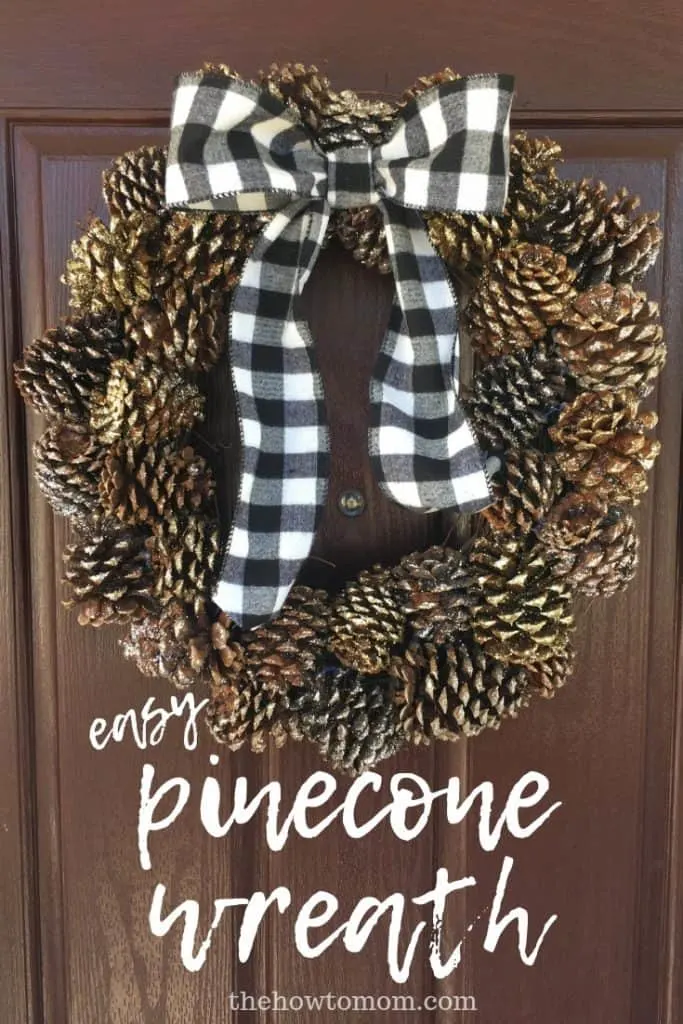
This pinecone wreath comes together quickly for a beautiful wintery wreath! Use scented, glittery store-bought pinecones for a quick no-fuss project!
I wanted a January wreath, something that still felt like winter, but didn’t scream “I haven’t taken down Christmas.” My wintery white poinsettia wreath still looks lovely, but you know, new month, new wreath! Because I’m apparently obsessed with wreaths.
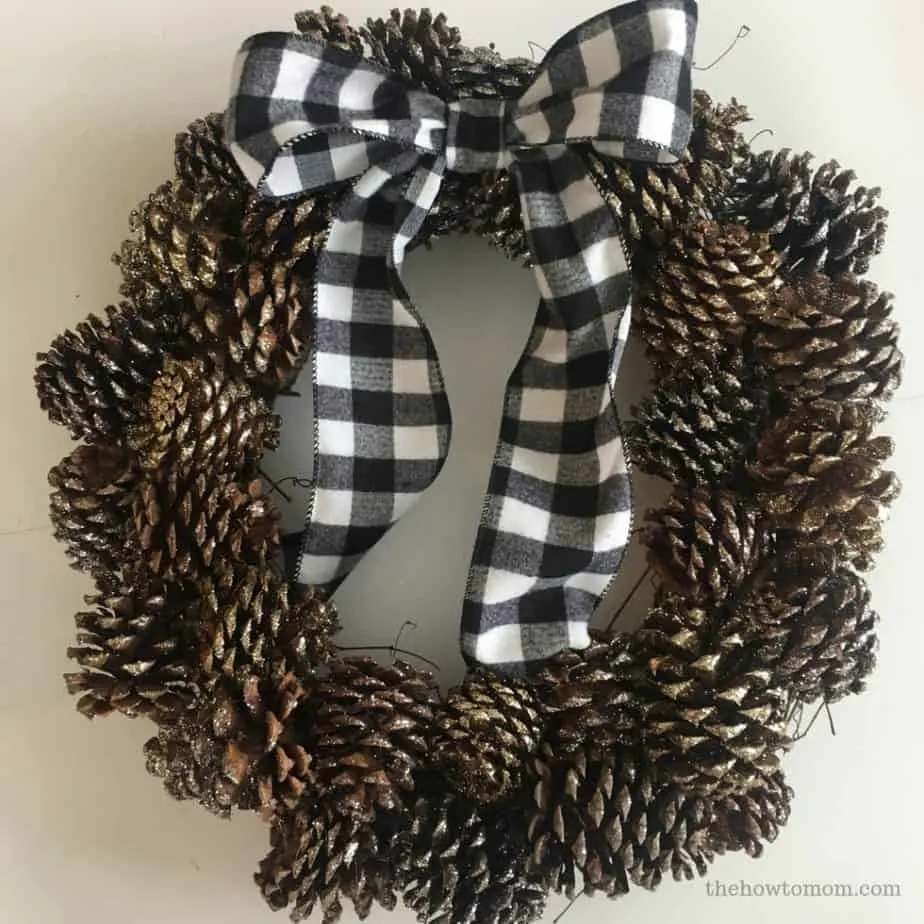
So how about a Glittery Pinecone Wreath?!?
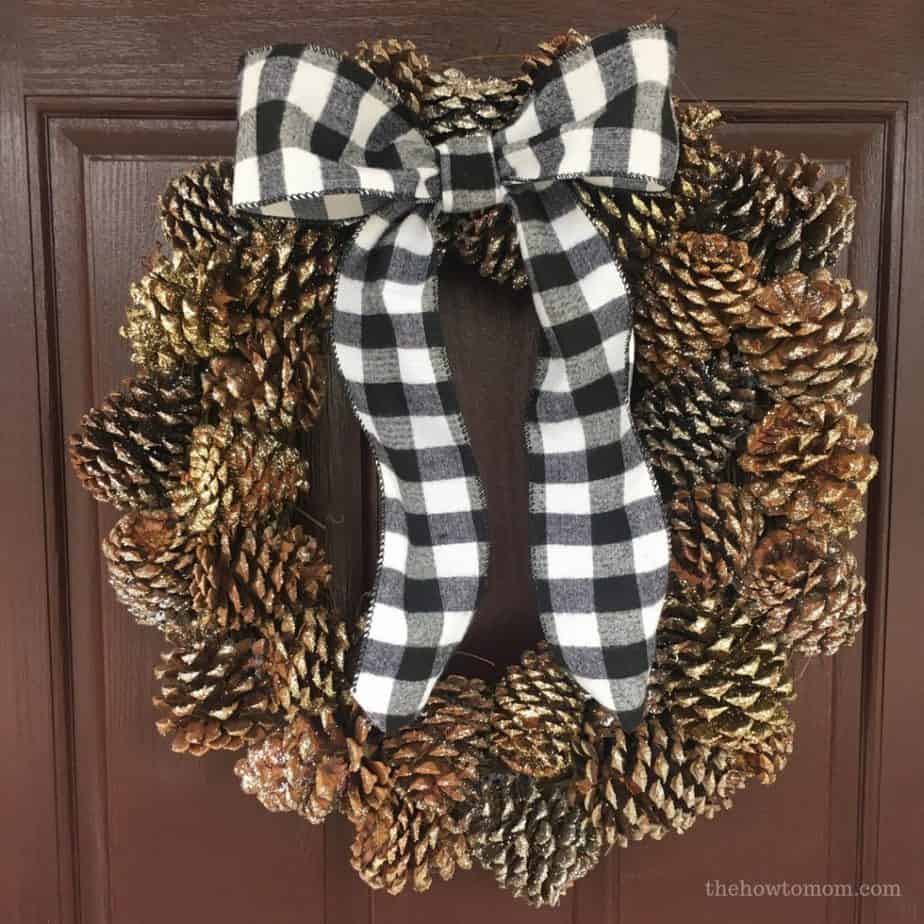
Full disclosure, I made this wreath solely so I could put that GORGEOUS black and white buffalo check bow on it. I can’t resist gingham and buffalo check!
And I make the worlds easiest bows, as you will see.
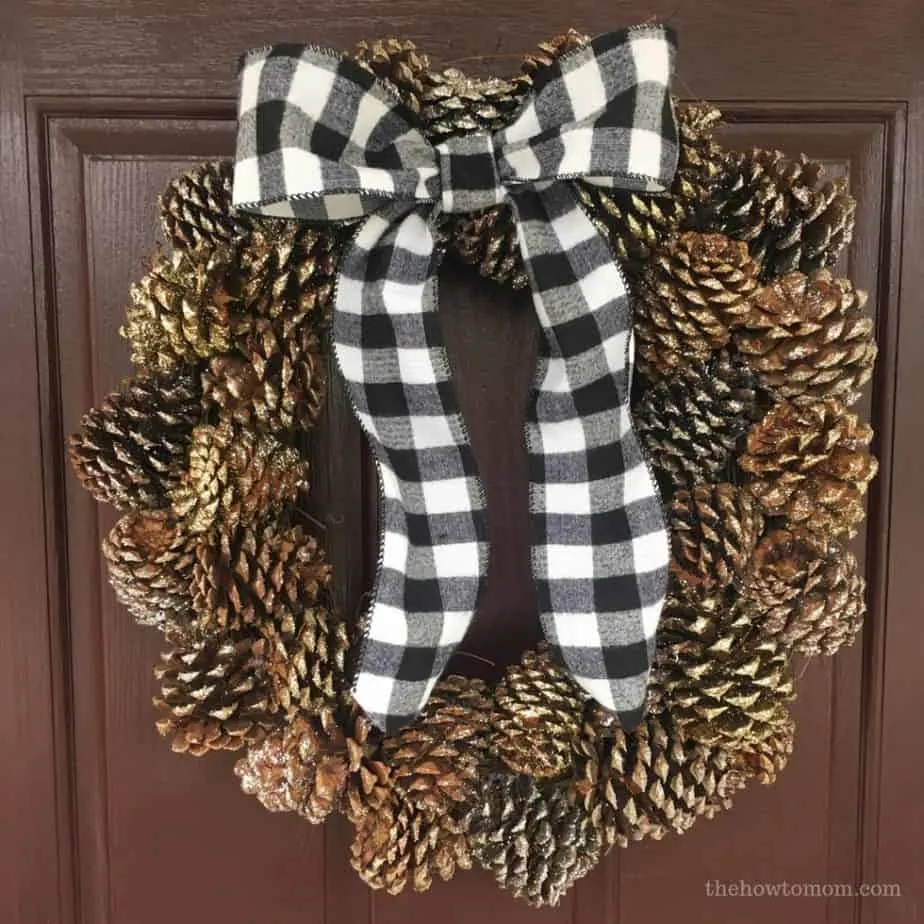
But back to the pinecones! I like the larger size of pinecones, and found these gold and silver glittery gems at my Aldi on clearance for less than $2 a bag, and I bought 3 bags.
I used a grapevine wreath as a base (more on wreath form bases here), because the woody dark stems were an obvious match.

And there isn’t a whole lot of technical-ness. I just slathered on the hot glue and stuck them to the grapevine. With so many shapes and sizes of pinecones, I didn’t want to try and make something uniform, so I went with a bit of a herringbone pattern, alternating the direction of the pinecones.
But really, its just glueing pinecones onto a grapevine wreath. Easy peasy!
How to make a pinecone wreath
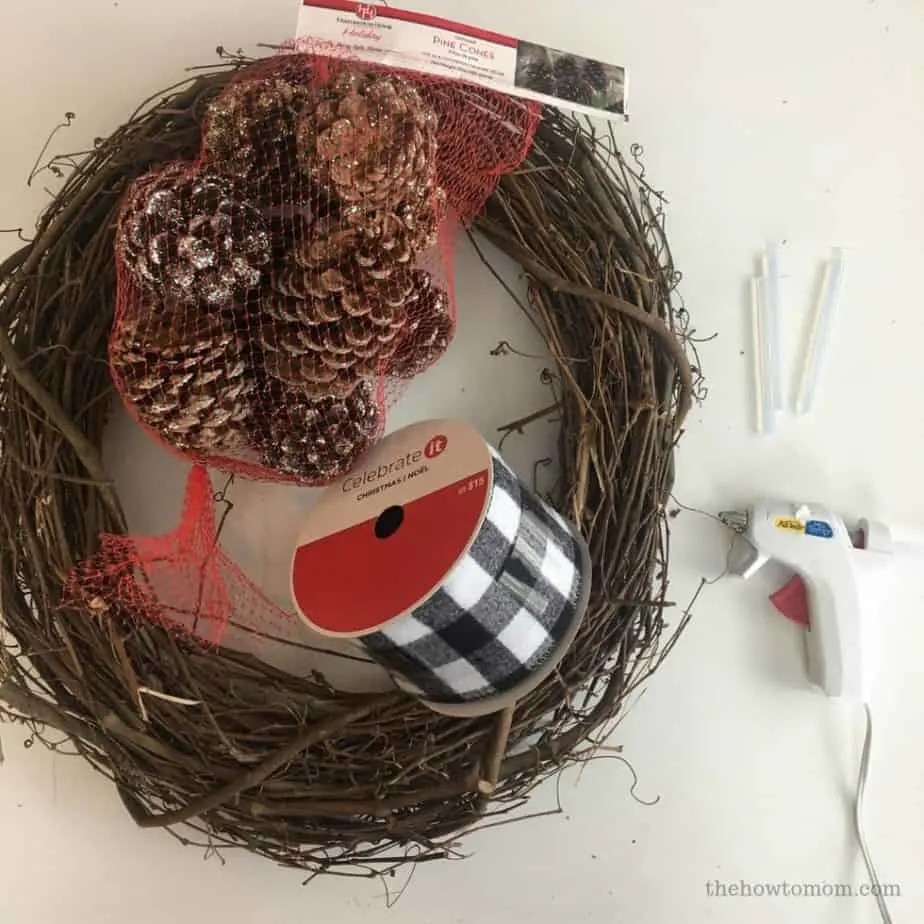
SUPPLIES
A bunch of pinecones
Grapevine wreath
hot glue
ribbon for bow

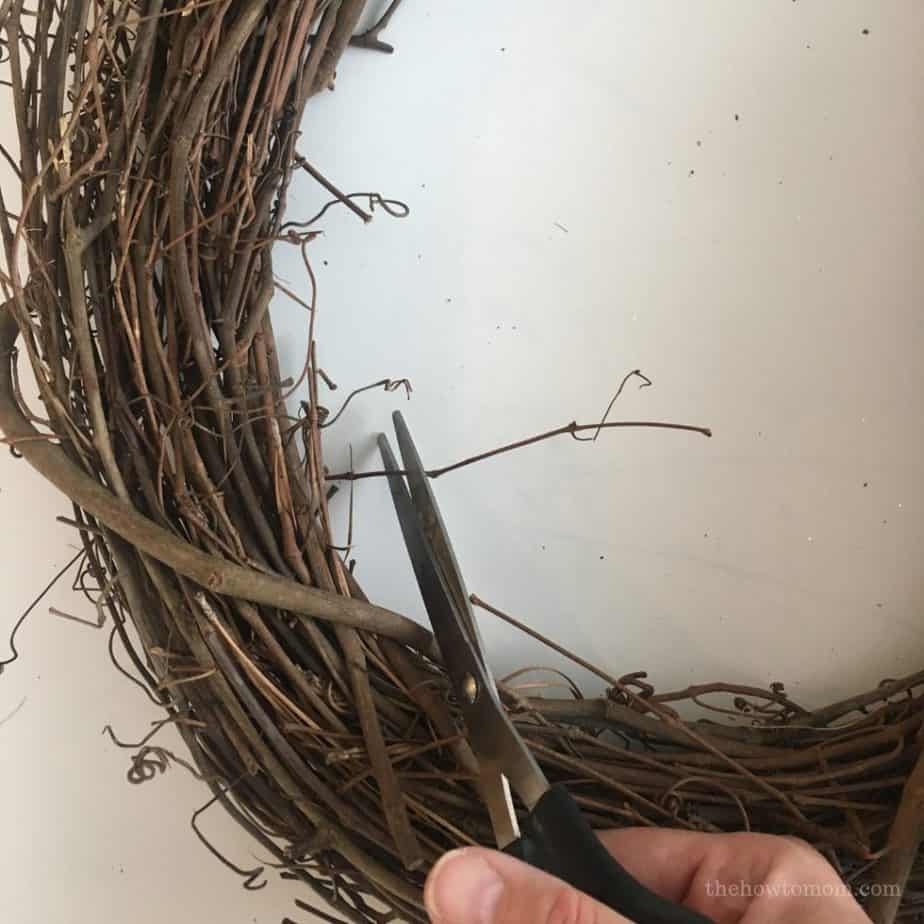
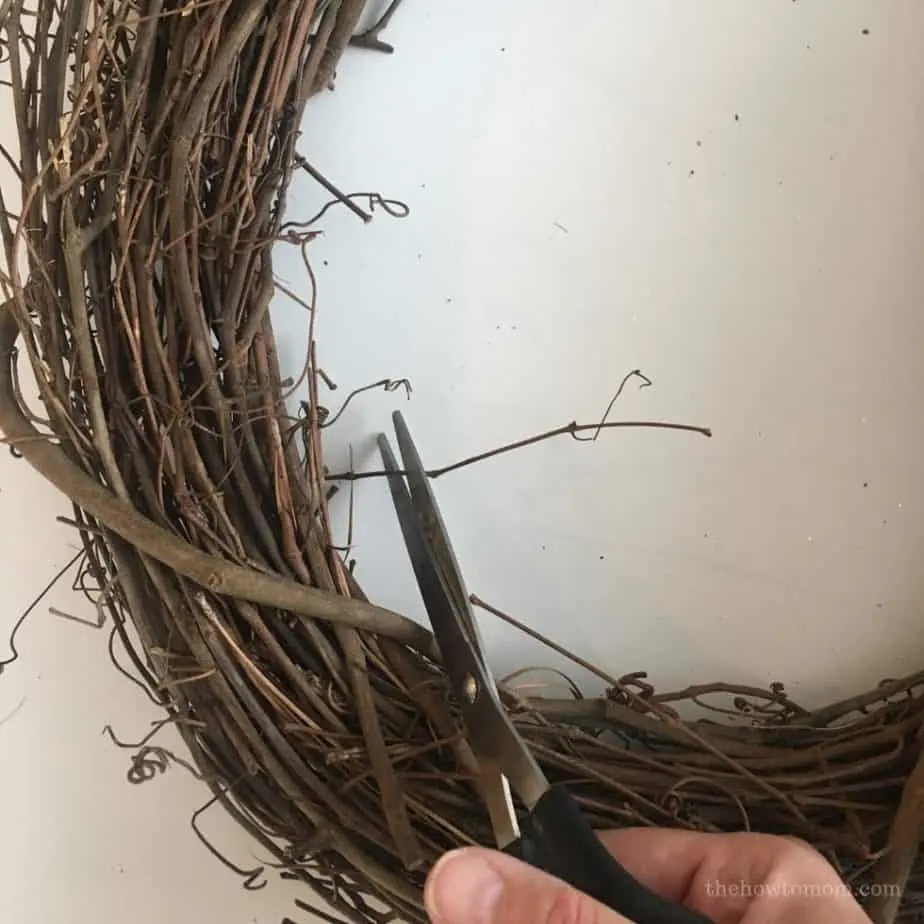
1. Trim up your grapevine wreath a bit. Cut off any weird branches that poke out.
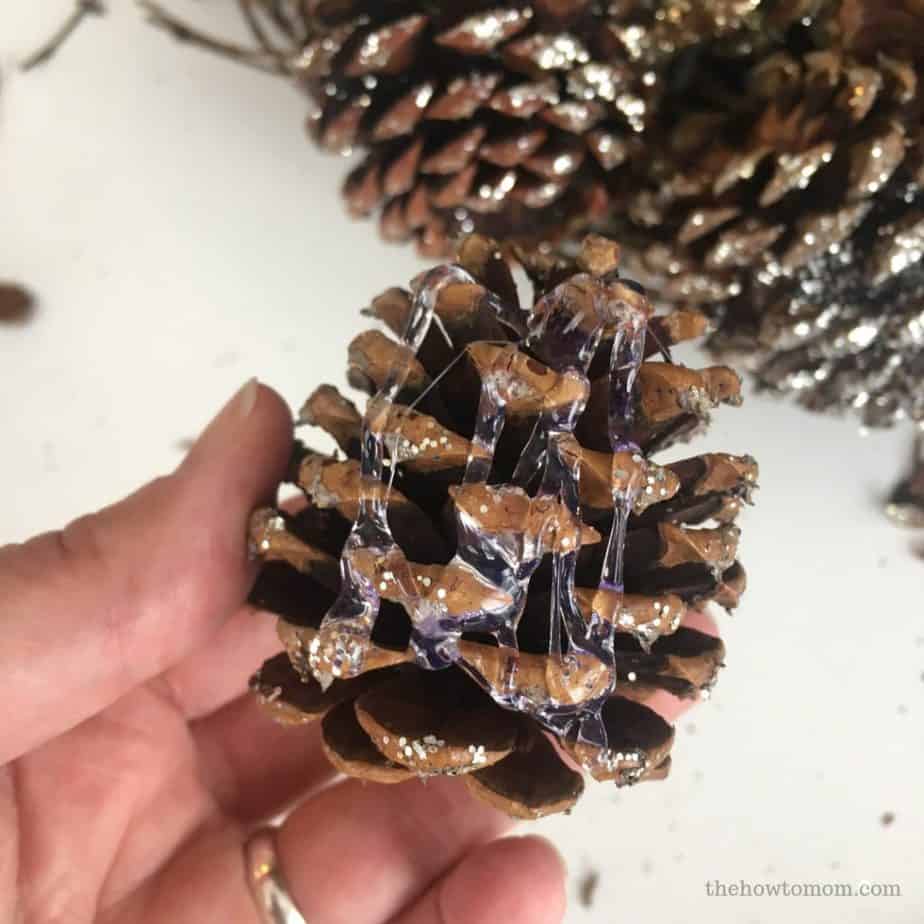
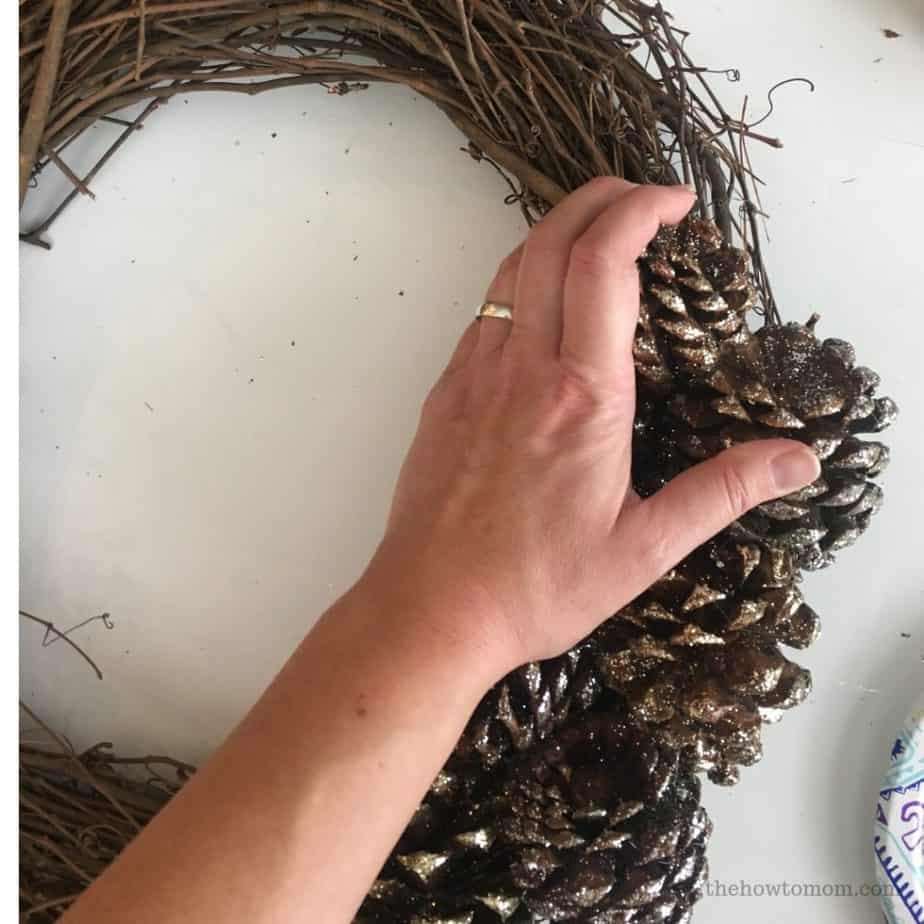
2. Pick a favorite pinecone and slather it with hot glue. Quickly place it onto the wreath and hold in place firmly until glue cools and hardens. I used almost a half stick of hot glue per pinecone. A LOT.

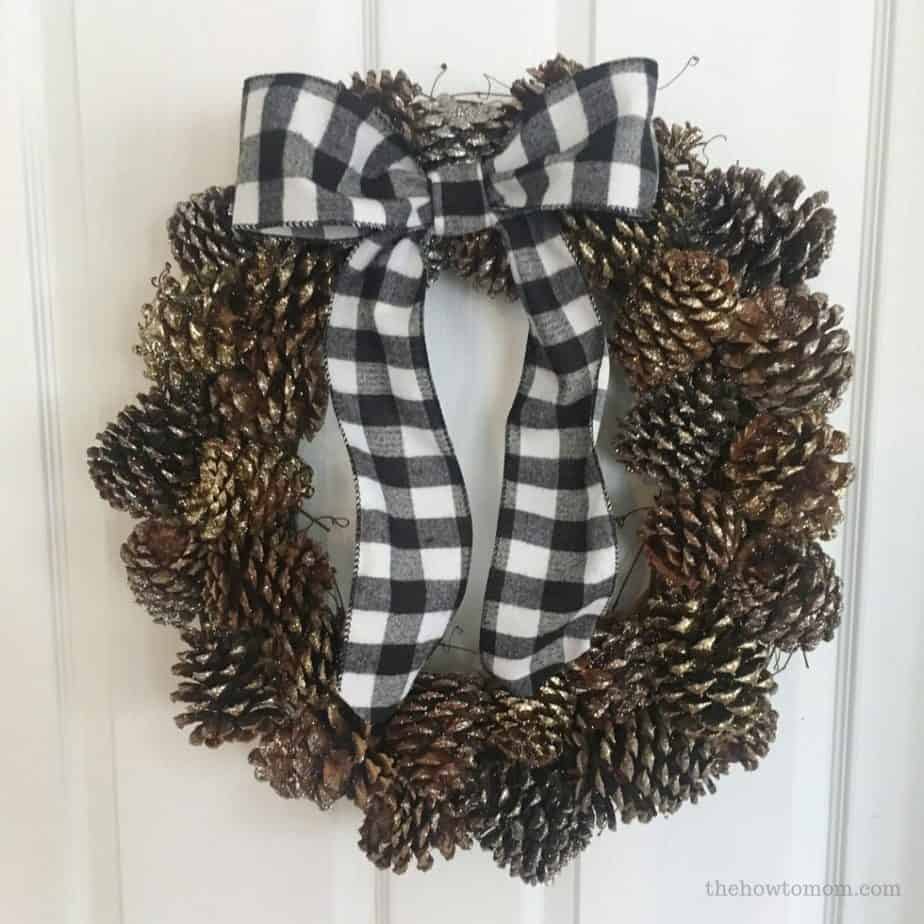
3. Stagger the next pinecone to form a V or herringbone pattern. Make sure to alternate the direction the pinecones face.
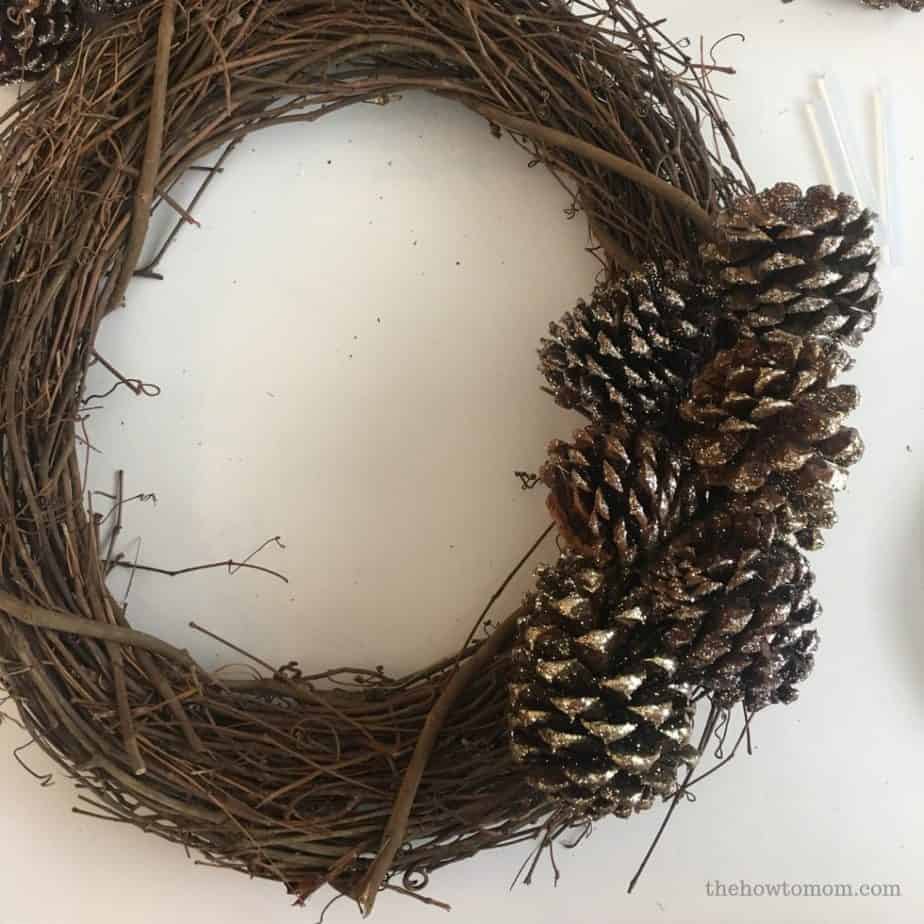

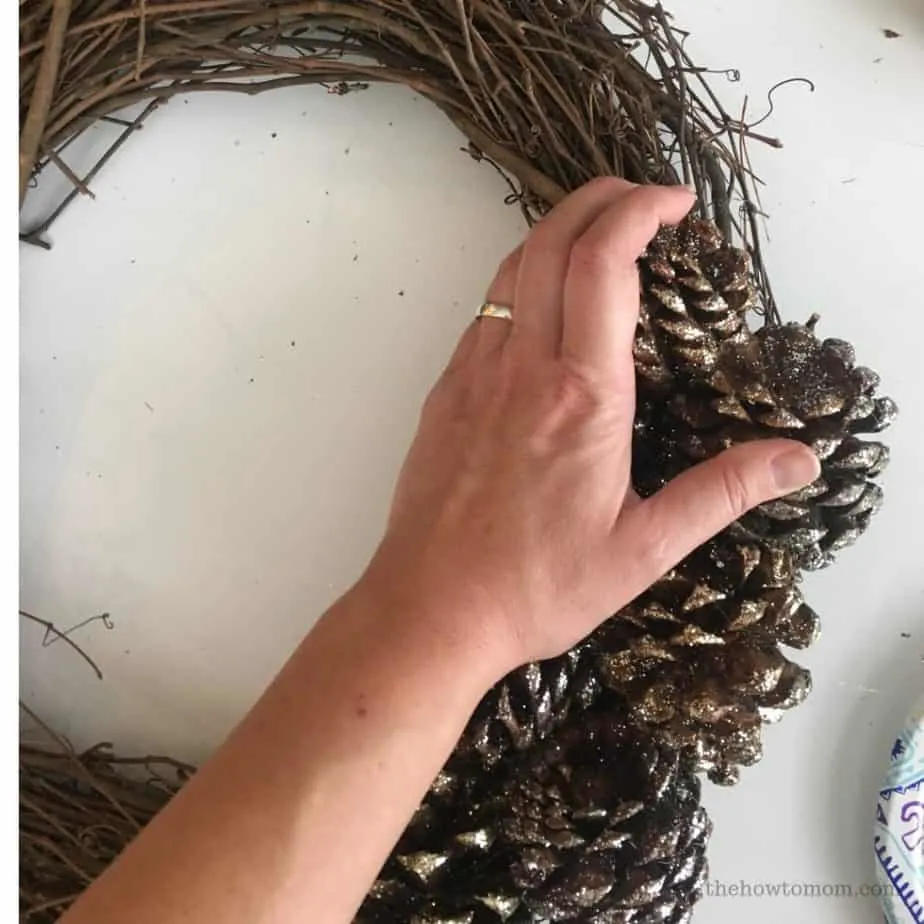
4. Continue around the wreath until you get back to your starting point. Remember to push the pinecones on firmly! You may need to re-glue some. This is me pushing those babies hard.
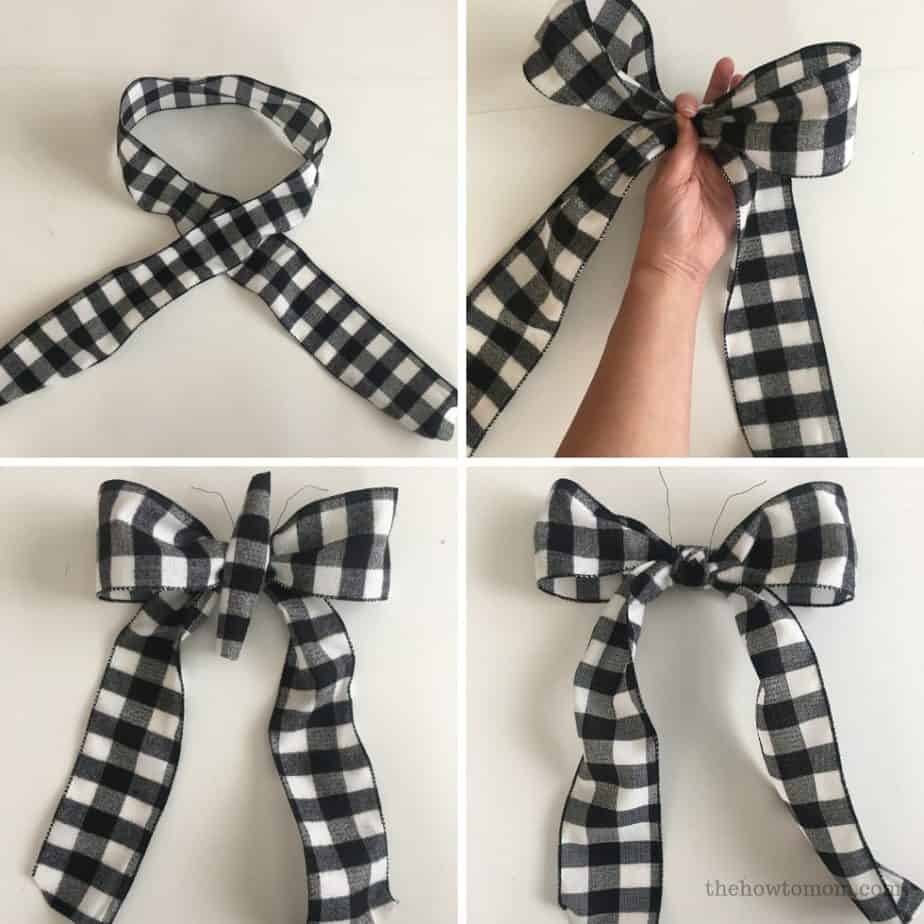
5. Make the bow by forming a loop as shown. Then bring the top of the loop down to meet where the ribbons cross. Secure with string or floral wire. With a shorter piece of ribbon (folded in thirds long-wise) glue around the wire or string to cover it. Trim ends as desired. If you need more step by step instructions, check out my super easy wreath bow tutorial.

6. Glue or wire (or both) bow securely to wreath.
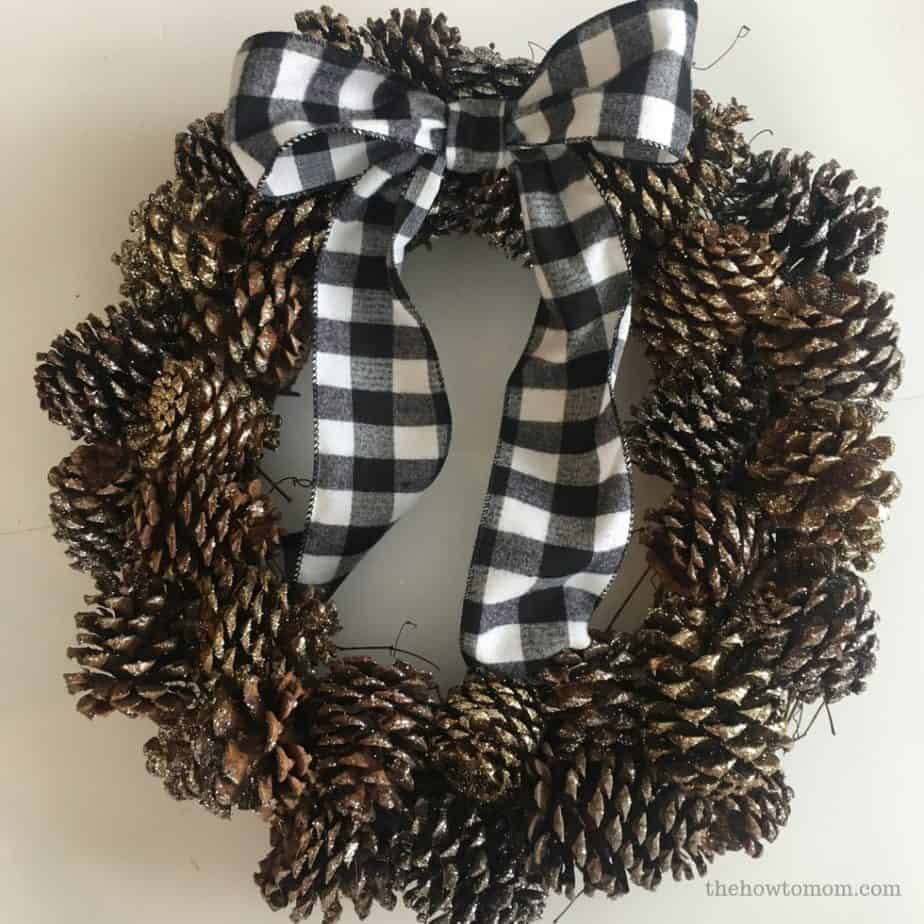
Voila!
And then when you’re ready for a spring wreath, head over to my Easy and Stunning Tulip Wreath DIY, and join the thousands of people who have made a tulip wreath for themselves!
Check out my Etsy Shop: Magnolia Joy to purchase wreaths handmade by me!
PIN THIS:
Make Your Own Beautiful Living Succulent Wreath Centerpiece! Complete video course by Jeannine Romero now available through Skillshare.