


- How to Make a Burlap Wreath – 3 Easy Styles! - May 30, 2022
- How to Revive Wilted Hydrangeas – Guaranteed! - July 28, 2021
- Easy Canvas Painting Ideas – 30+ DIYs for Beginners - June 16, 2021
Learn how to make a burlap wreath with rustic burlap ribbon, using one of three different and very easy step by step tutorials! Burlap wreaths are the perfect base wreath for any seasonal embellishments.
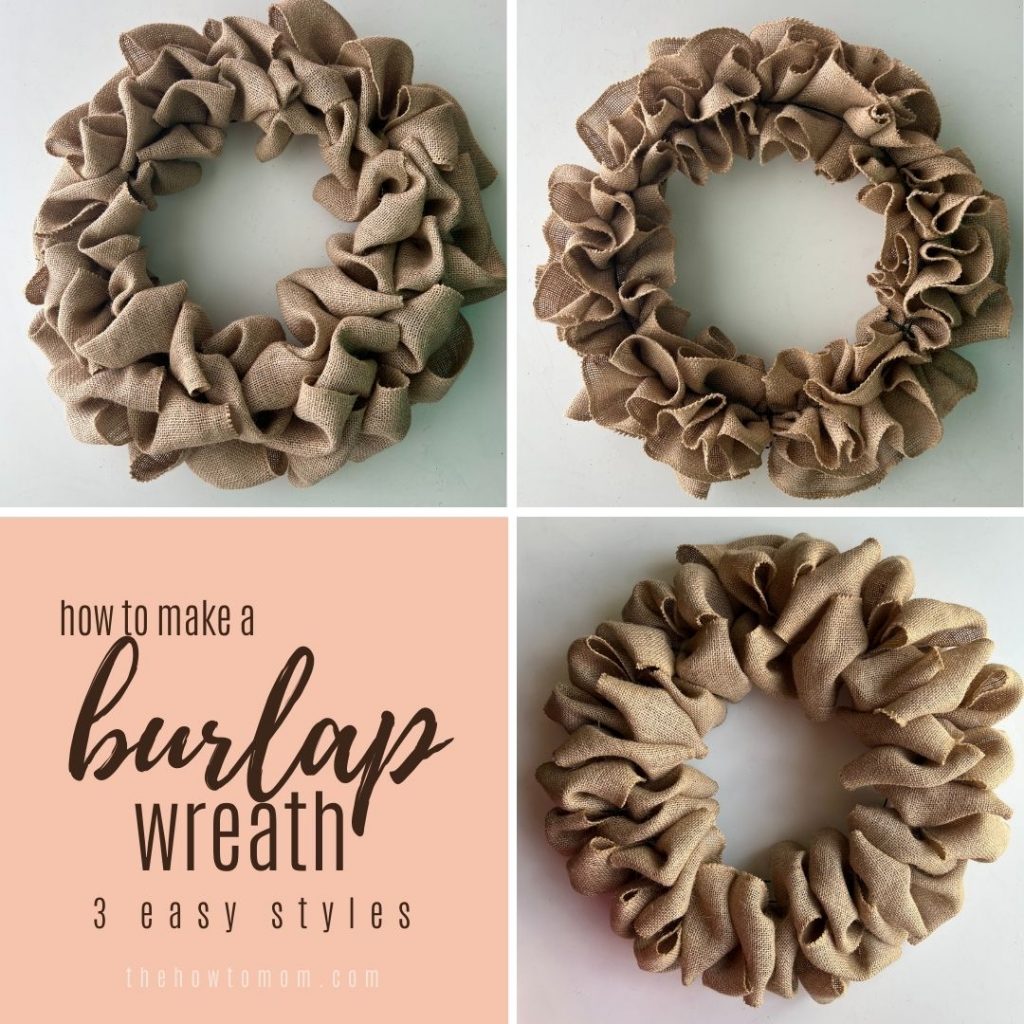
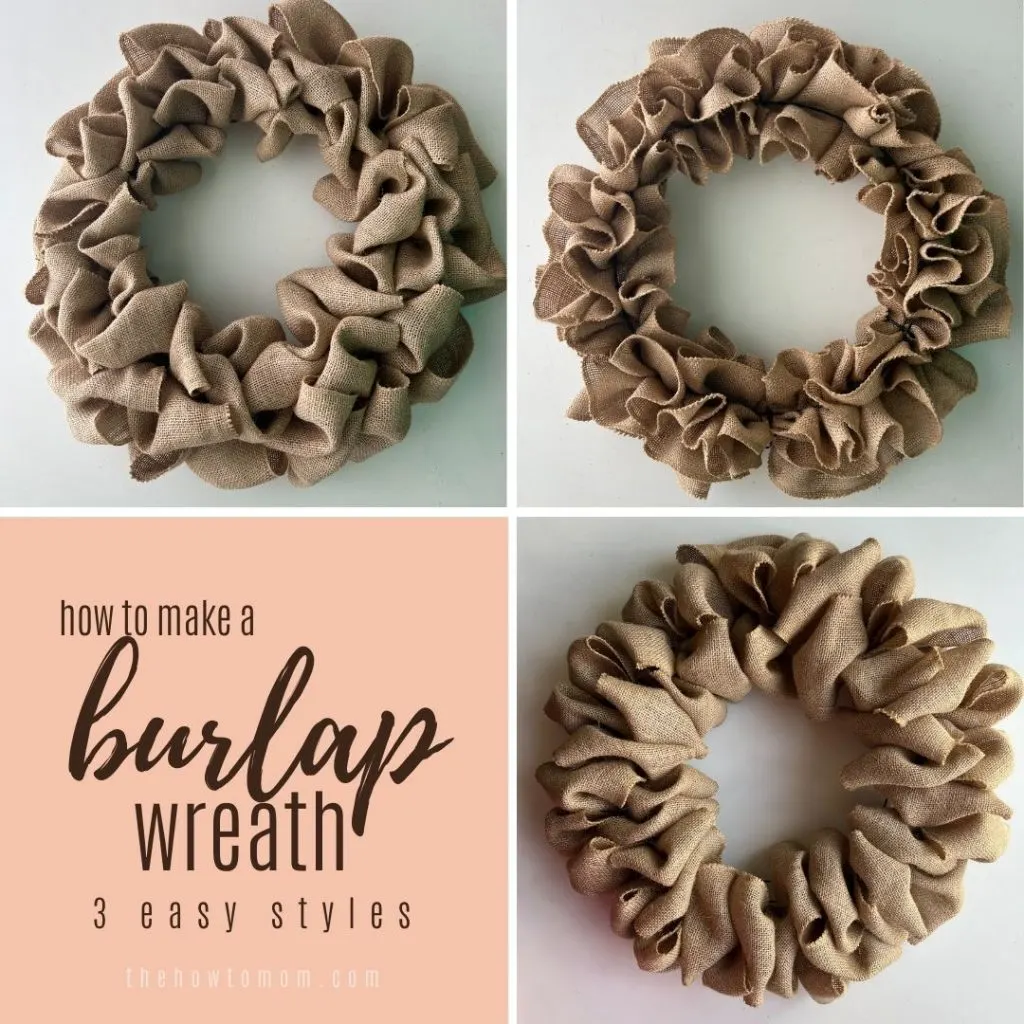
Its easy to make a burlap wreath, this project is fool-proof, even if you don’t consider yourself “crafty.” There are three different techniques that each have a slightly different look, and are very simple to make. All you need is a couple spools of burlap ribbon, a wire wreath frame, wire or pipe cleaners and less than an hour, and you’ll have your very own burlap wreath, perfect for any decor or season!
Burlap Wreath for Every Season
Because of their neutral color and style, wreaths made from burlap can be modified to use for any season or holiday. They are a perfect blank canvas for any decorative accent or embellishments!
Spring is the perfect time to use a burlap wreath. Bunnies, spring carrots, tulips and burlap all go together beautifully. For a spring burlap wreath, a small bunch of tulips tied with a springy pastel plaid bow would be lovely.
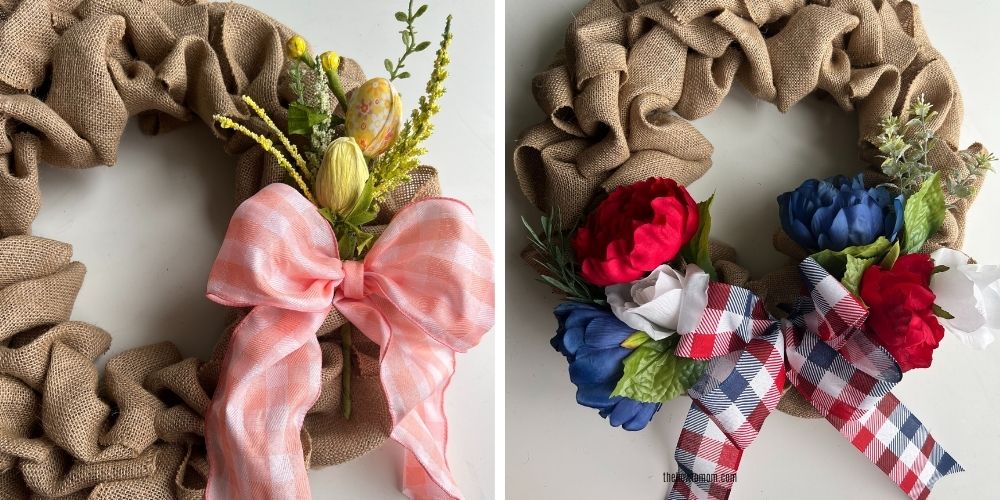
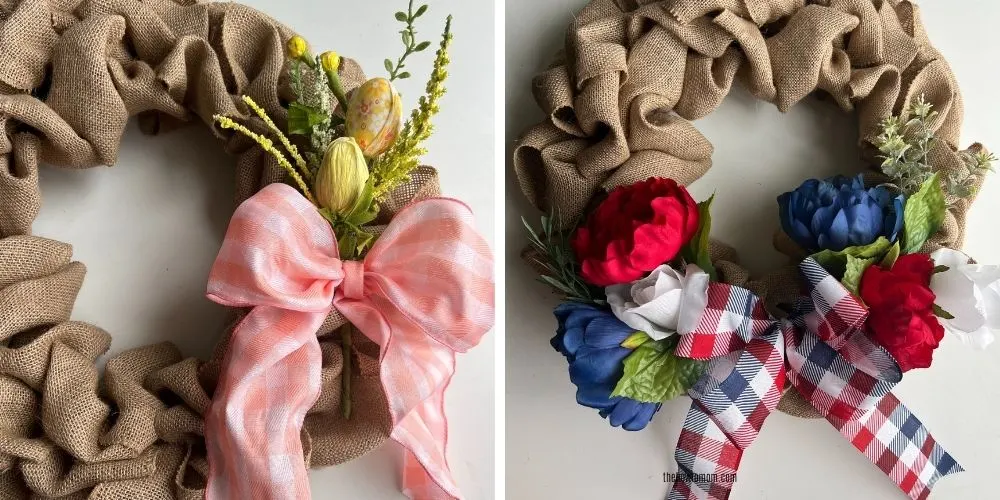
Summer and burlap is also a great combination. Sunflowers, daisies, magnolias and cotton all go great with burlap. An Americana style bow with a sunflower or two would look great on a burlap wreath.
And of course fall and burlap are a great match. Rustic fall leaves and mums pair perfectly with a burlap wreath.
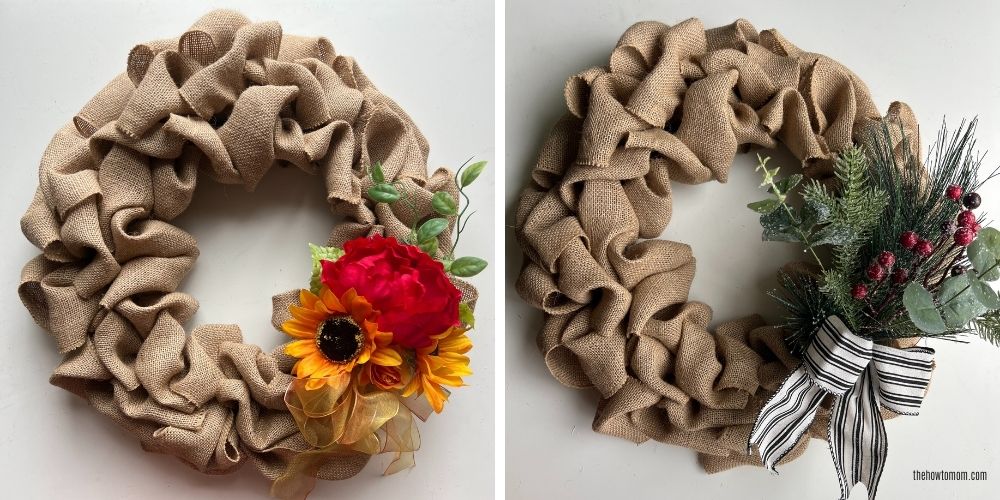
Even in the winter, burlap wreaths can be a great choice. They are a beautiful base for wintery greenery and a crimson or ivory bow.
I have a fantastic and super easy bow tutorial, if you need some help making bows for your wreaths for each season. I promise you can make a pretty bow in a few minutes!
How to Make an Easy Burlap Wreath
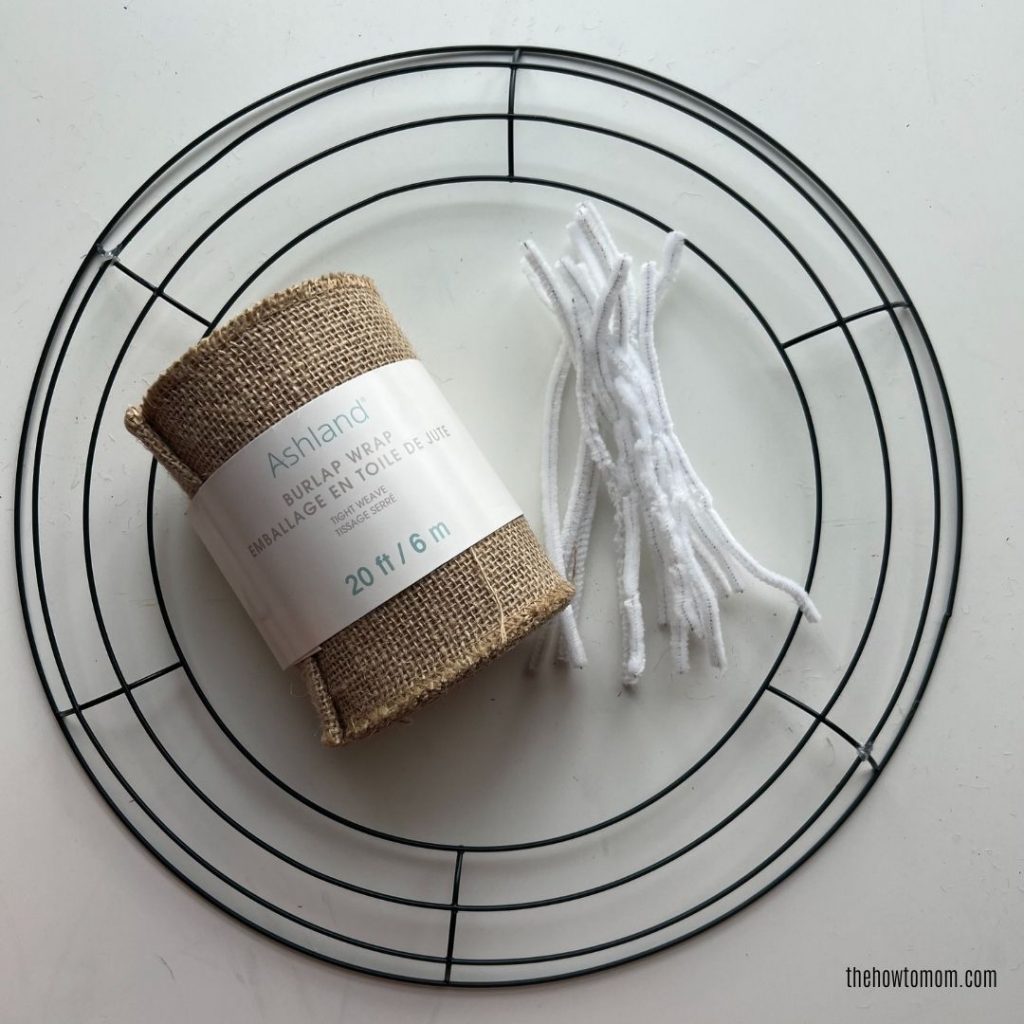
To make a burlap wreath, you need:
- wire wreath form (more about wreath forms here)
- burlap ribbon (I used a little less than two 20 ft spools of 6″ burlap ribbon for each wreath)
- Pipe cleaners or floral wire
Depending on which burlap wreath tutorial you choose, it typically takes less than an hour to make a burlap wreath, from start to finish.
Burlap wreaths can be made to be as full and poofy or streamlined as you like. To make the wreath more poofy, you’ll need more burlap ribbon to create the depth and fullness. Using less ribbon creates a more classic look.
For my exact supplies, I used
- 14″ wreath form from Dollar Tree
- 6″ burlap ribbon (2 spools)
- pipe cleaners
The Three Basic Burlap Wreath Techniques
Burlap wreaths, much like ribbon wreaths or deco-mesh wreaths, are made with one of three basic styles:
- Push-up
- Ruffle
- Poof
There are variations on each of these, depending on width of burlap ribbon and whether you want to add in ribbons or mesh with the burlap. But to keep things easy, I have decided to simplify this tutorial down to these three burlap wreath styles.
Push-up Burlap Wreath Instructions
This is probably the most popular burlap wreath technique. Most of the tutorials online or on Pinterest are this style. Its easy because its just weaving the ribbon up and down through the wire frame. There isn’t any cutting and securing the burlap to the frame, besides the very beginning and the end.
To create this type of wreath, start by securing the end of the 6″ burlap ribbon to the underside of the wire wreath frame. You can use floral wire or pipe cleaner, or even zip ties if you want to.
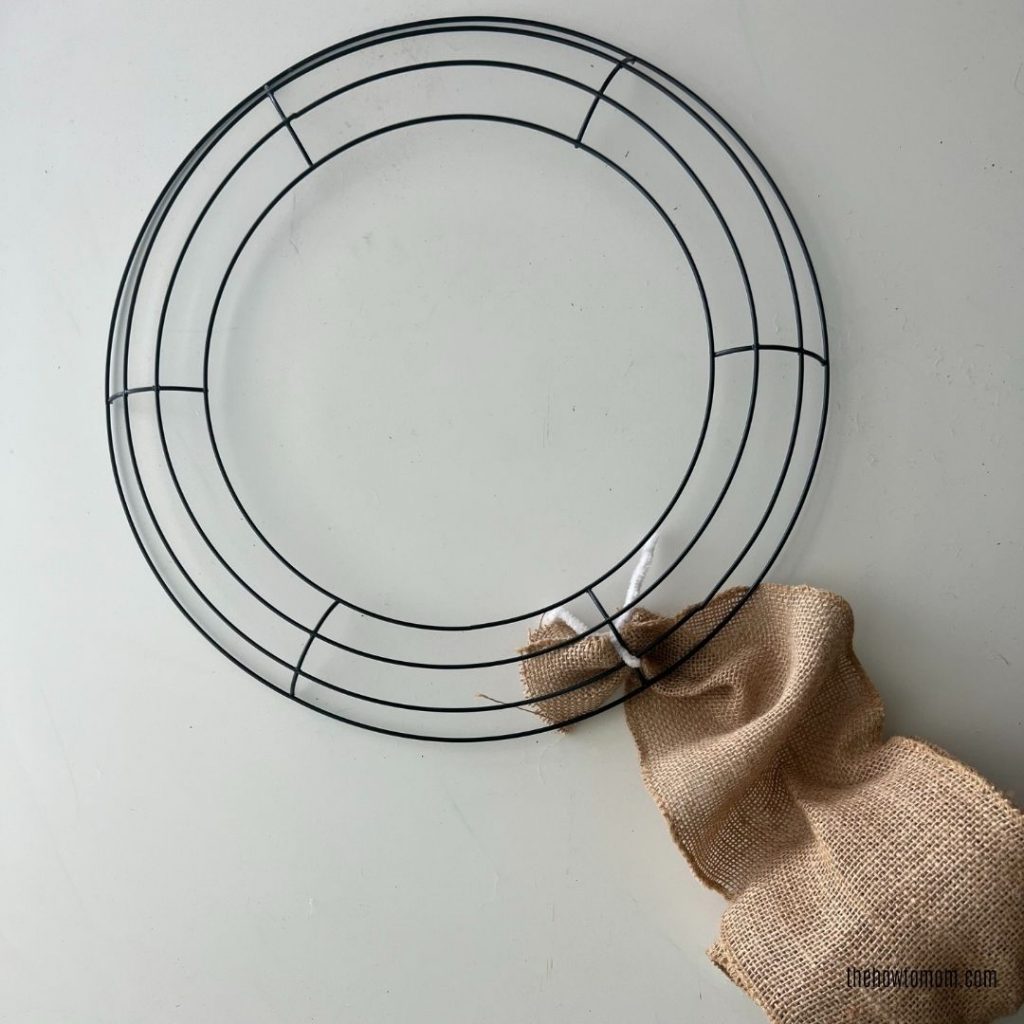
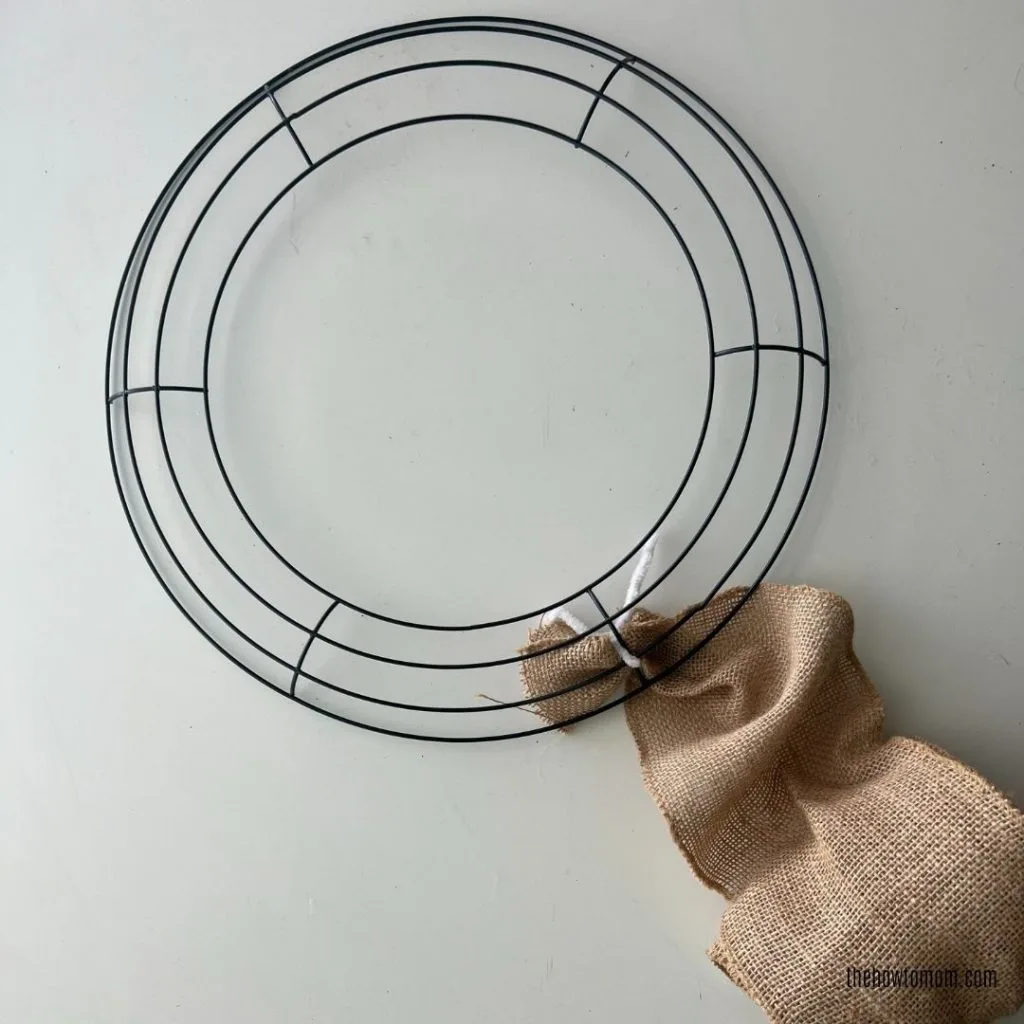
Now you can start pushing the burlap ribbon up in between each horizontal wired section, to create three “loops”. Try to make them equal sizes.
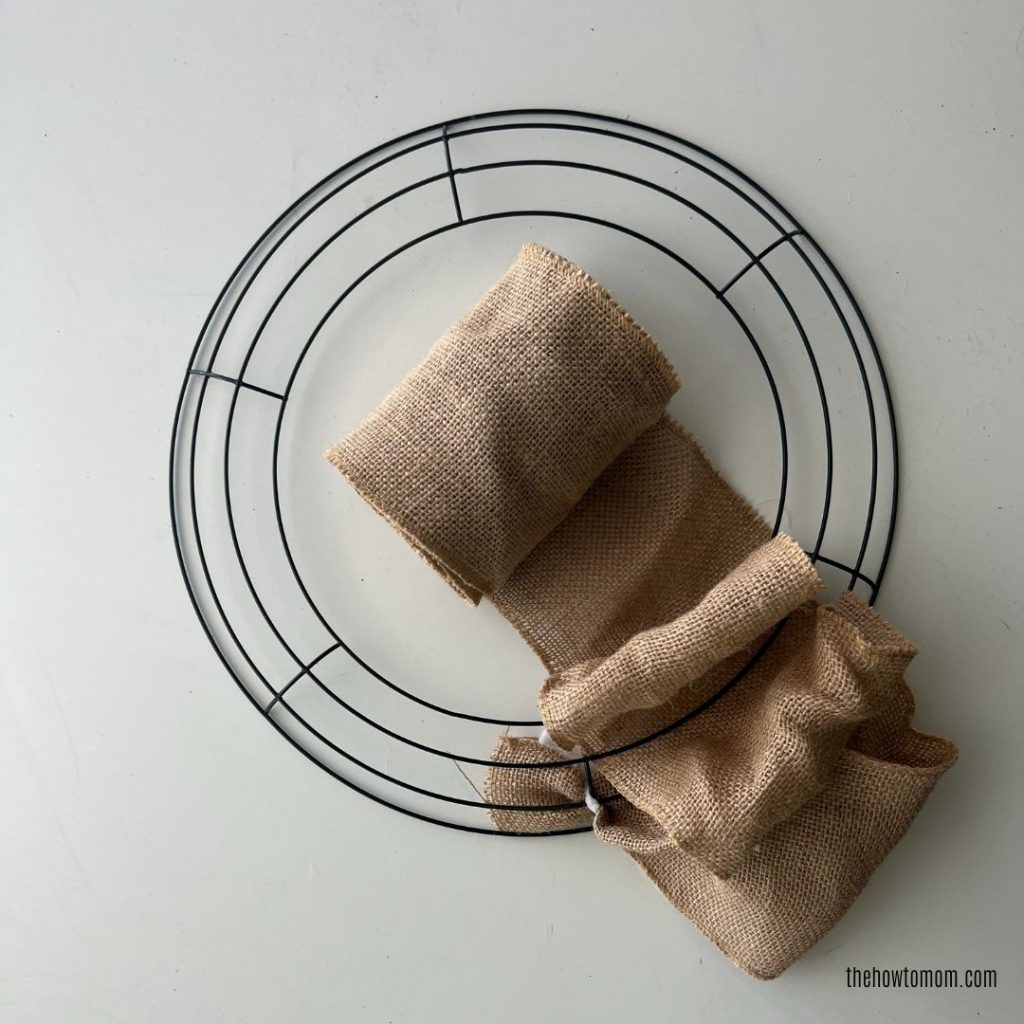
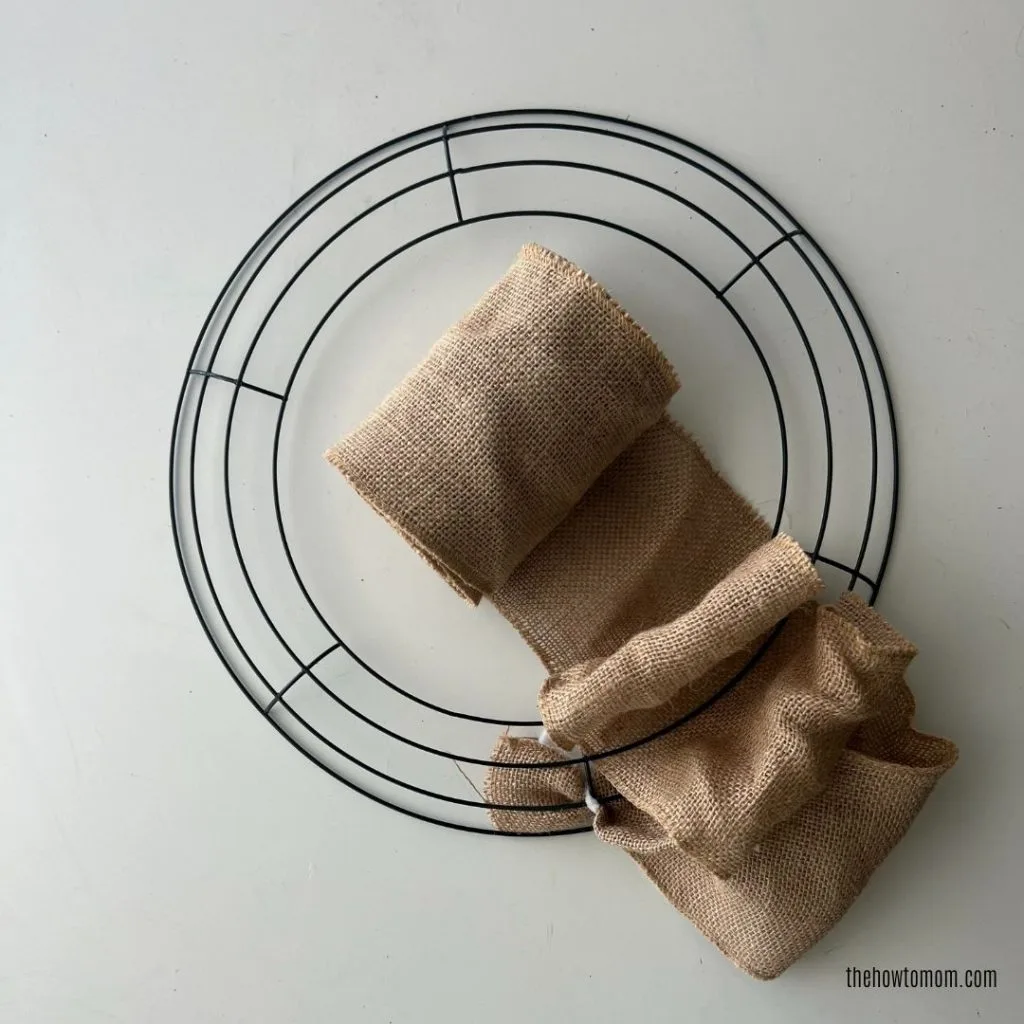
Now repeat by twisting the underside of the ribbon a little and then pushing it up through the three openings again. You can start to “scrunch” the previous loops.