- How to Make a Burlap Wreath – 3 Easy Styles! - May 30, 2022
- How to Revive Wilted Hydrangeas – Guaranteed! - July 28, 2021
- Easy Canvas Painting Ideas – 30+ DIYs for Beginners - June 16, 2021
This post is sponsored by Dollar Tree on behalf of Activate by Bloglovin. All opinions are my own. Affiliate links are included in this post, I’ll be compensated if someone clicks on an affiliate link and makes a purchase.
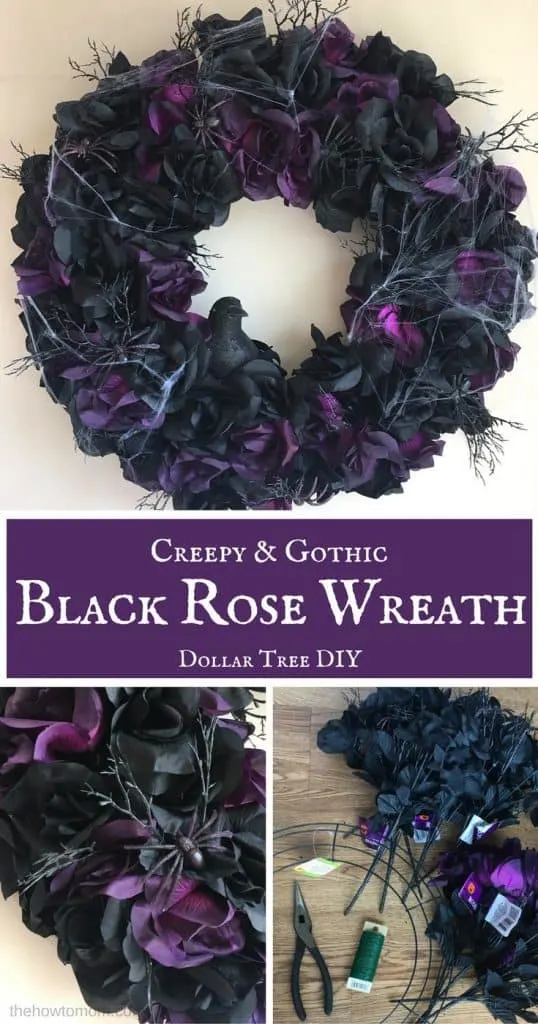
This black rose wreath is gothic, creepy, spooky… all things Halloween! This easy DIY Halloween wreath comes together freaky fast, and won’t scare your budget!
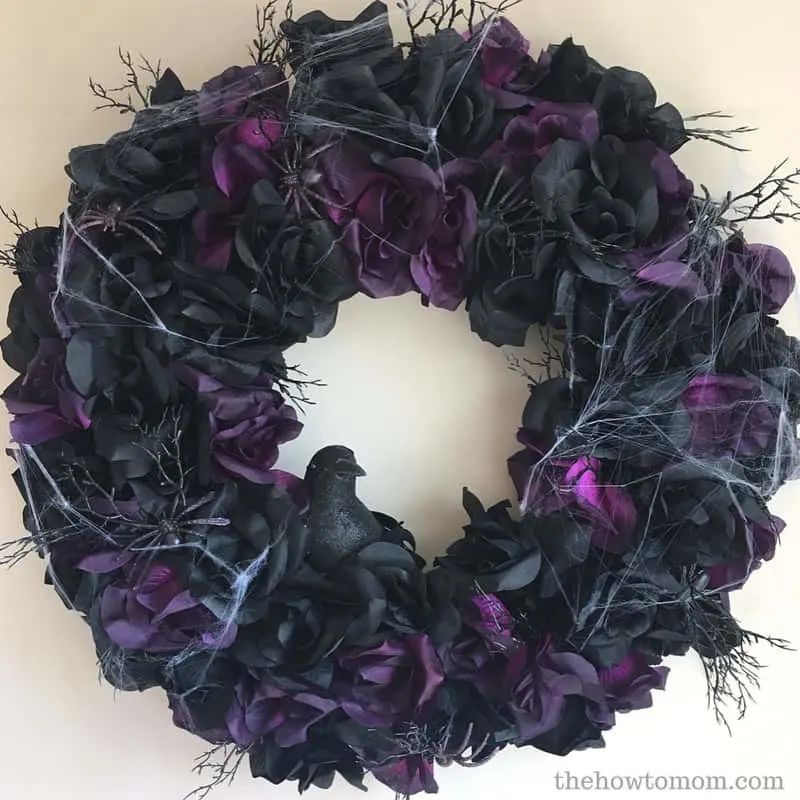
I love inexpensive wreath projects, I think this is my sixth wreath tutorial here on The How To Mom! And true to form, this one is cheeeeeap! All the supplies were purchased at my local Dollar Tree, and added up to less than $20.

This year, they have awesome black and dark purple roses, with attached spiders! They’re just the right amount of creepy! And of course, only $1 per bunch. DollarTree.com carries pretty much everything that they carry in the store, but you typically have to purchase them in “bulk” (usually 10 of each item), so the flowers would be a great item to order. But FYI, after late September, Halloween items will be removed from the website, and will be available only in stores.
Black Rose Wreath Instructions
I used about 15 bunches of roses (in the Halloween section), one wire wreath form (in the floral decor section), and some floral wire (optional). I also added a crow and some spiderweb to the finished product (also from Dollar Tree!) which takes the spooky vibe up another notch.
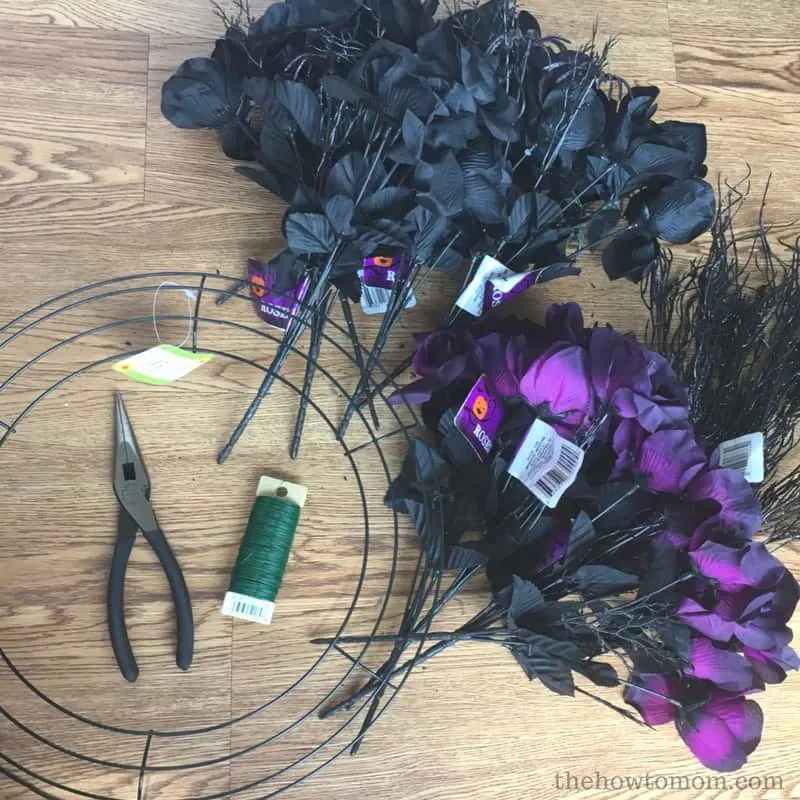
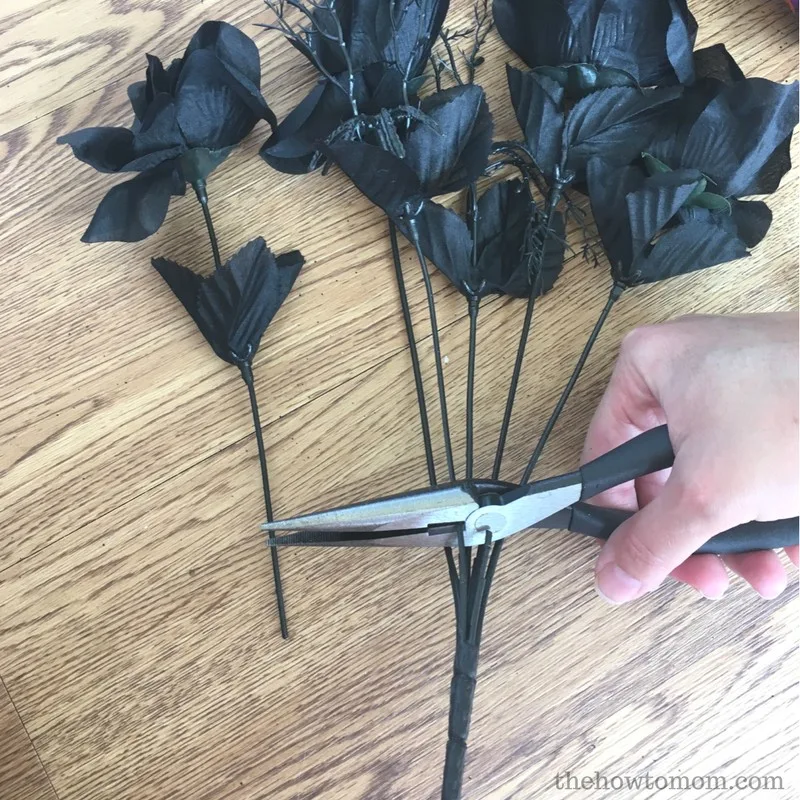
Using wire cutters, cut all the stems off each bunch of roses. You’ll want to slide the leaves up to the top, right under the base of the rose.
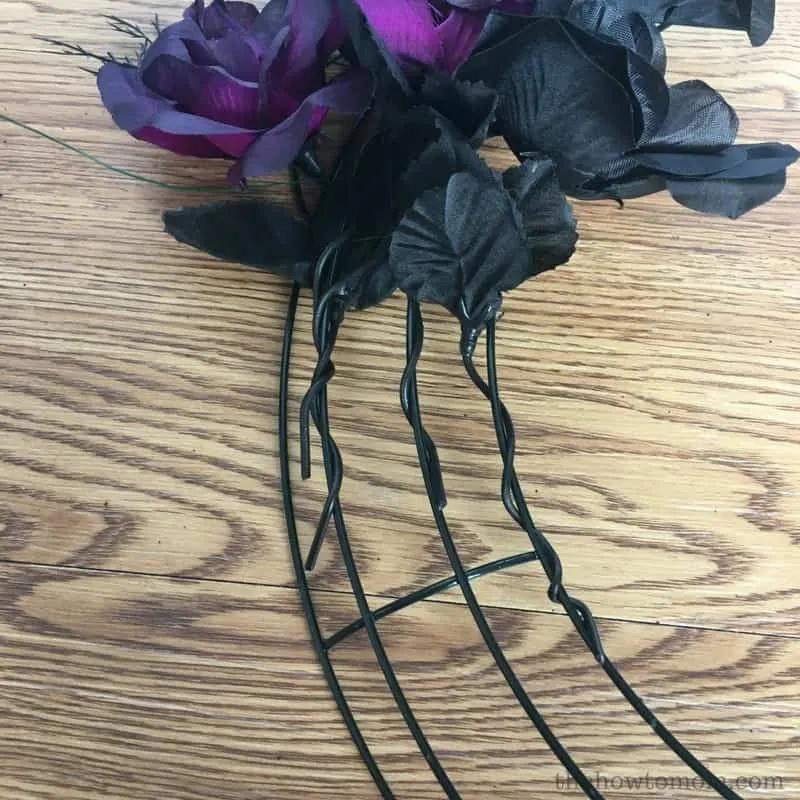
Start weaving the stems onto the wire wreath form. I used some floral wire to secure them, but you might be able to do it just bending the stems around the wires.
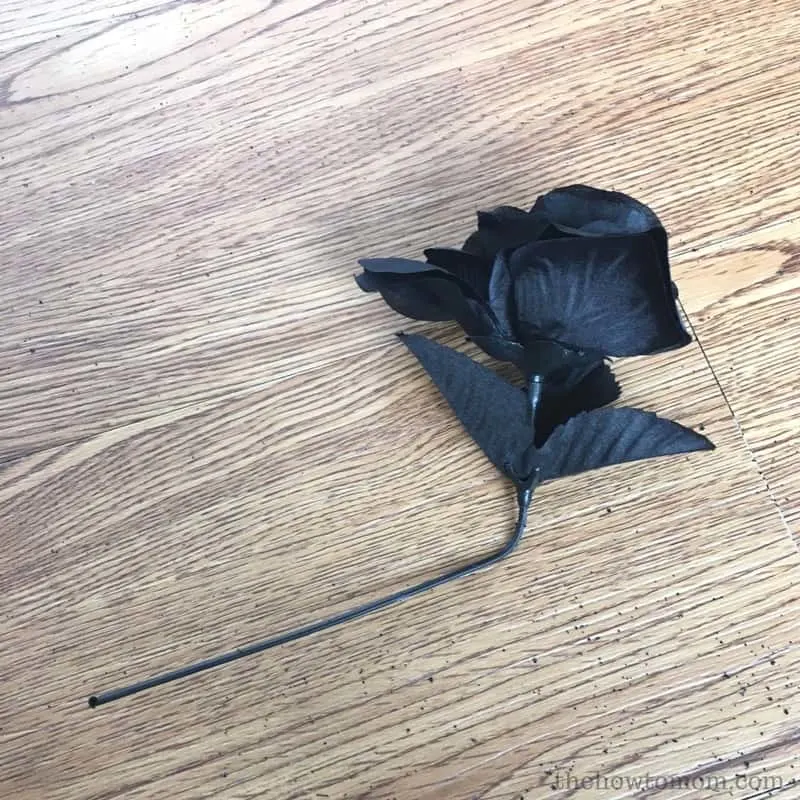
You may want to bend the roses at an angle, so they stand up a bit.

You can see how it really is just kinda weaved and wrapped underneath. I used the wire to almost “sew” the flowers into place. Not sure if this is how the pro’s use wire wreath forms, but hey, it works!
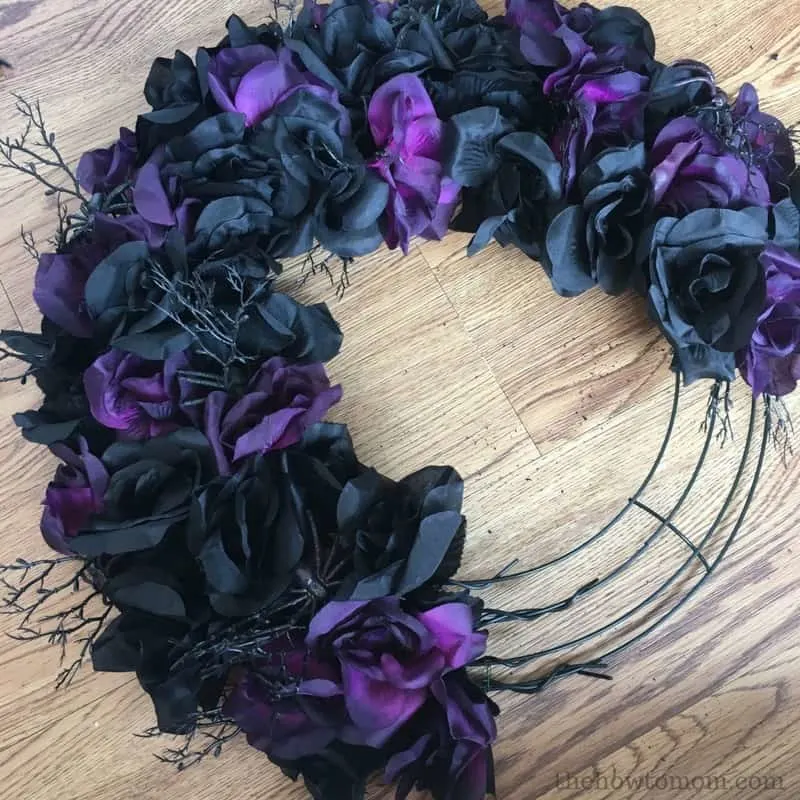
Continue around the wreath form. I alternated the black and purple roses, and mixed in a few of the spidery branches as well. The end gets a bit trickier, but do your best to fill in the last few gaps.
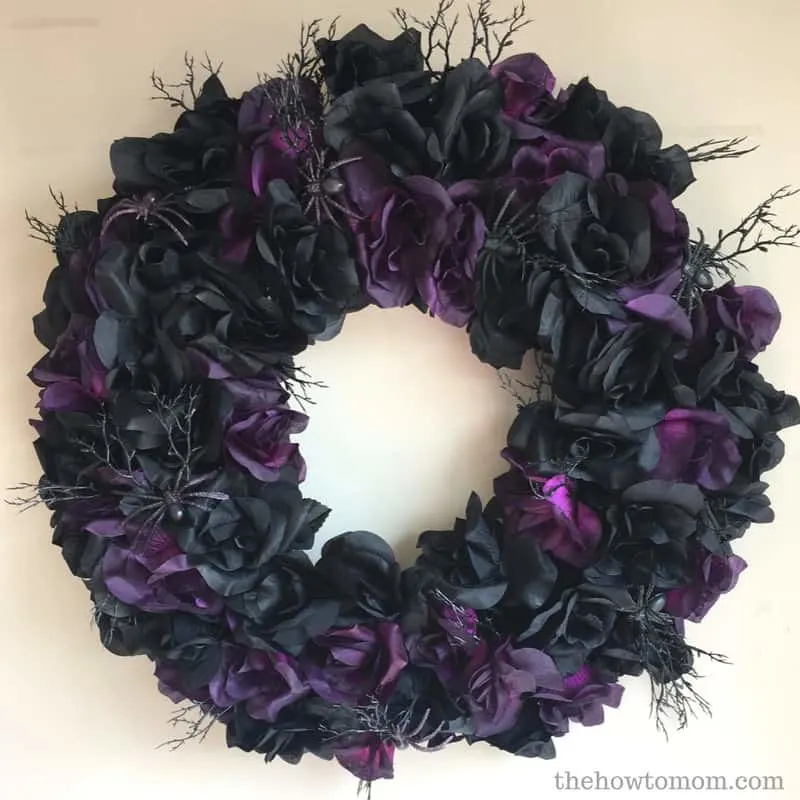
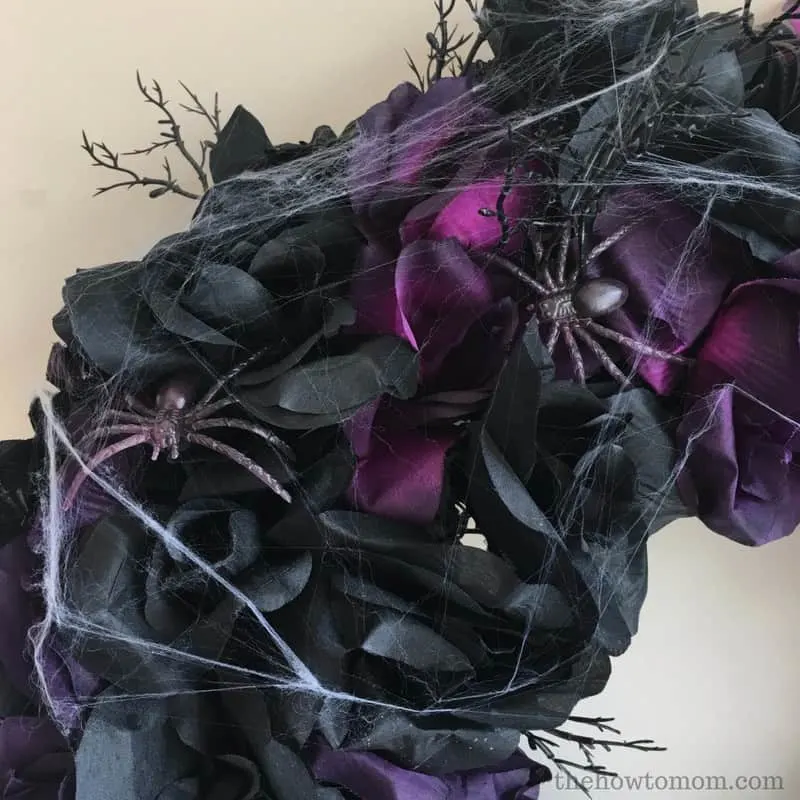
And then your black rose wreath is done! I like it plain, but my girls love it with the crow and spiderwebs too. If you do add the spiderwebs, do it so, so, so sparingly. You only need a teeny bit. I think the wispier spiderwebs look more realistic than a big ol clump.
Want to see more of my EASY wreath tutorials? Check out:
DIY Farmhouse-Style Magnolia Wreath
Easy Mum Wreath
DIY Tulip Wreath
The 15 Minute, 15 Dollar Wreath
PIN THIS!
Make Your Own Beautiful Living Succulent Wreath Centerpiece! Complete video course by Jeannine Romero now available through Skillshare.
