- How to Make a Burlap Wreath – 3 Easy Styles! - May 30, 2022
- How to Revive Wilted Hydrangeas – Guaranteed! - July 28, 2021
- Easy Canvas Painting Ideas – 30+ DIYs for Beginners - June 16, 2021
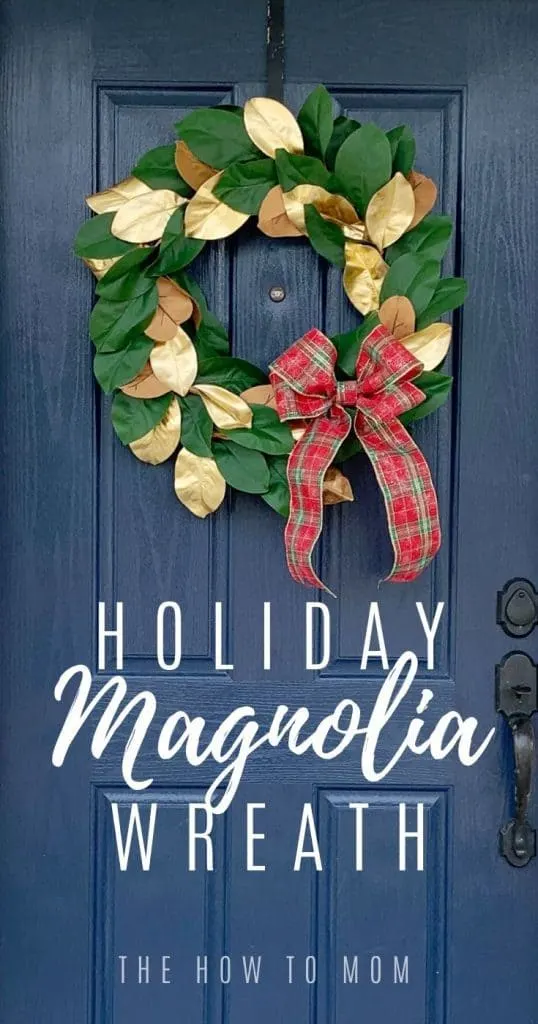
Make this gorgeous holiday magnolia wreath in just a few minutes! The gold and green makes for a fancy and festive farmhouse wreath.
Last year I saw a beautiful Christmas magnolia wreath with green and gold leaves on Pinterest, and I totally fell in love. And I know, I know… I need another wreath like I need a hole in the head, lol.
But the other day when I was browsing at Michaels, I saw this gorgeous faux magnolia garland with gold leaf accents and I knew that the crafting gods were telling me something.
I couldn’t resist, I had to make myself a holiday magnolia wreath!

I used the garland wreath technique that I’ve shared before in my original Magnolia Wreath and also my 15 Minute Green Wreath and my 15 Minute Fall Leaf Wreath, with just a few modifications.
Magnolia for the Holidays
I hadn’t really considered magnolia as a holiday greenery until moving to the south. We have a magnolia tree in our front yard, and it keeps most if its leaves through the winter. It could almost be considered an evergreen! lol
In the last couple years, I’ve seen magnolia wreaths, garland and flowers in the holiday section at the craft stores, so it must be a thing. And I’m here for it.
Magnolia is always in season. Right, Joanna? 😉
Supplies needed to make a Holiday Magnolia Wreath
You’ll need a basic 18in grapevine wreath. You could probably use a smaller wire frame from Dollar Tree as well (see my Ultimate Wreath Guide for more info on wreath bases).
I think the grapevine wreath is a great base for farmhouse style wreaths like this. And I think the 18″ size is best, anything smaller and I think it’ll lose its wreath-ness. The leaves will be jumbled up too much. Just my two cents. 😉
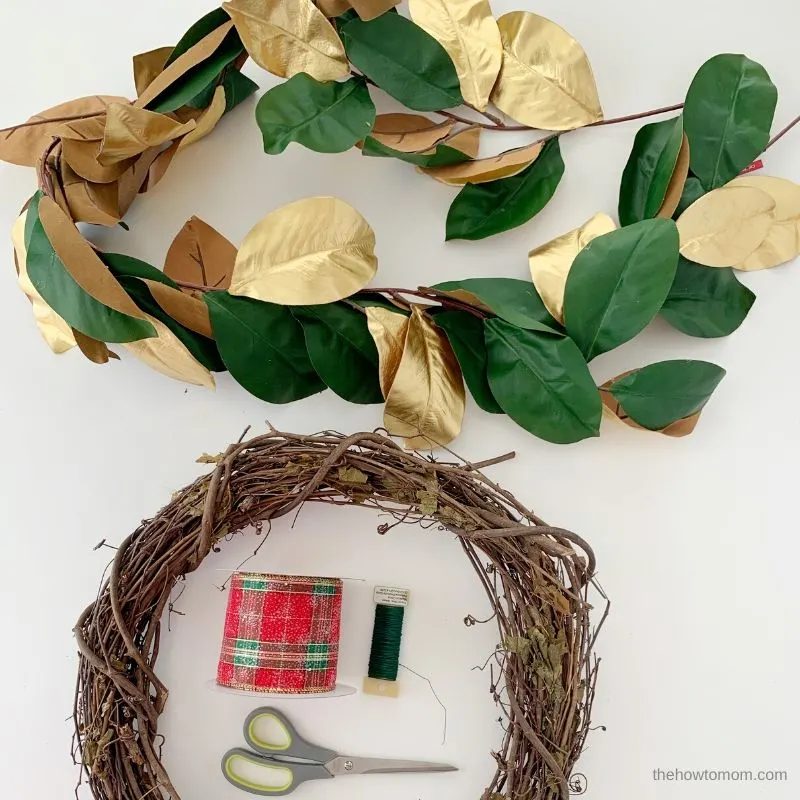
The star of the show is this lovely magnolia garland from Michaels. Its typically on some sort of sale, and there’s always coupons, so don’t pay full price! Try to find one that isn’t super rumpled.
Then you’ll just need some floral wire (or twisty ties!) and maybe a hot glue gun.
And if you want a bow, find a nice coordinating ribbon. I loved this glittery Christmas plaid ribbon. I bought it in the 3.5in width. But anywhere from 2.5-4in wide should work. I have a great bow tutorial to help you tie your bow, and I’ll link to it again at the bottom if you need it.
Let’s make it!
1. Start by cutting off the extra stem at the end. The leaves are all kinda facing the same direction, so you’ll want to start at the end of the garland that has the base of the leaves, so the leaves are all pointing down. I hope this makes sense, lol. You can see it in the picture.
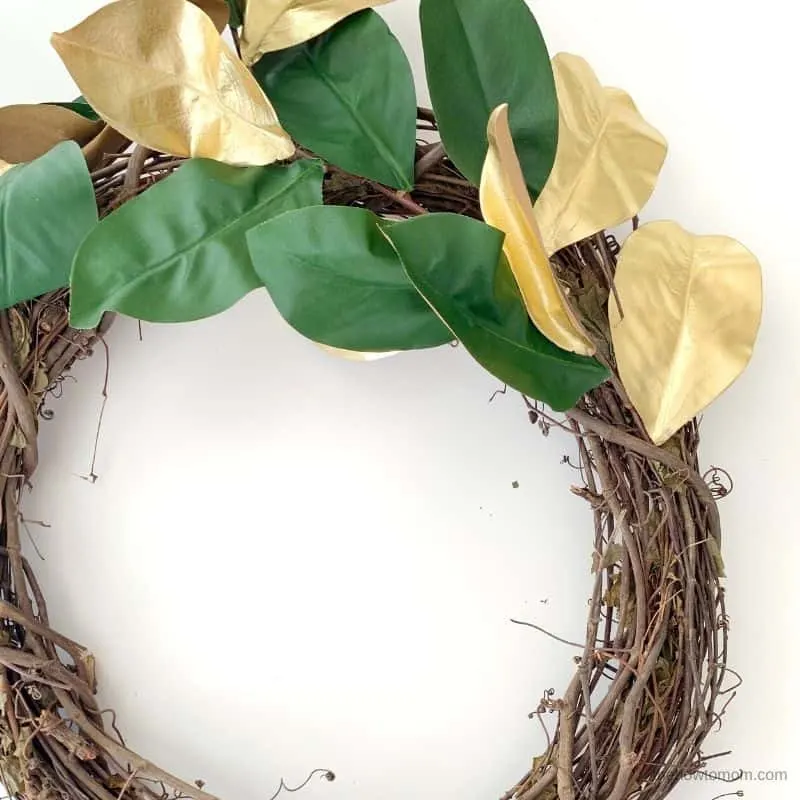
2. Tuck the end of the garland under a piece of the grapevine, and then wire into place. To secure the garland, just wedge your finger underneath a few of the grapevine sticks, and then shove the wire through, and then bring it up and twist it over the garland stem. It doesn’t need to be fancy, it’ll be hidden under the greenery. You can either trim the extra wire, or just tuck it into the grapevine.
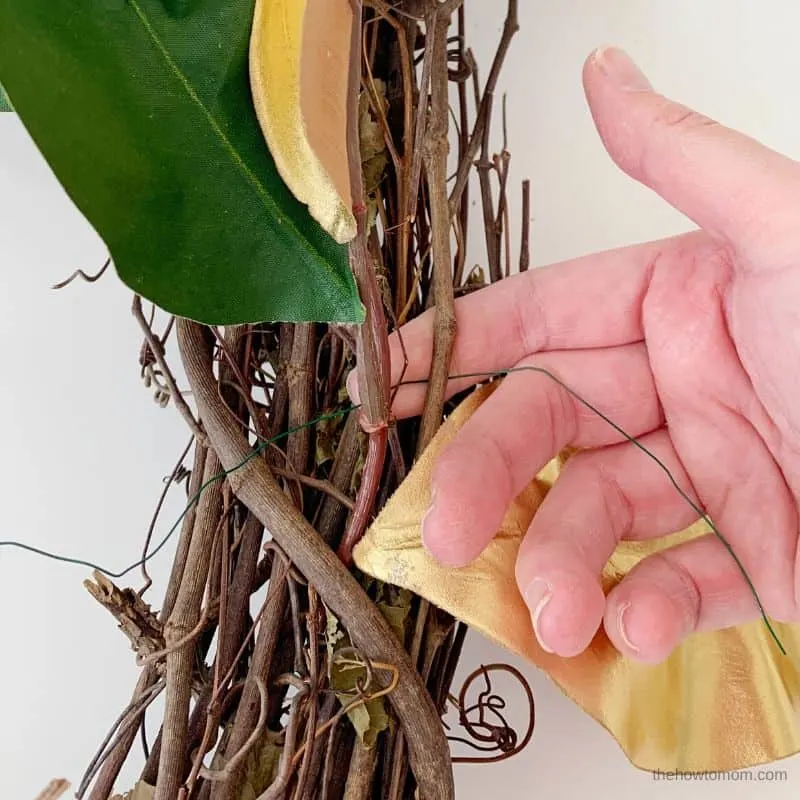
3. Continue securing the garland to the wreath every 4-6 inches. On this wreath, I’d try to secure the stem of the garland more towards the interior of the wreath, since the leaves fan out a bit. It might look a little rumpled, but don’t worry we’ll straighten out the magnolia leaves before we’re done.
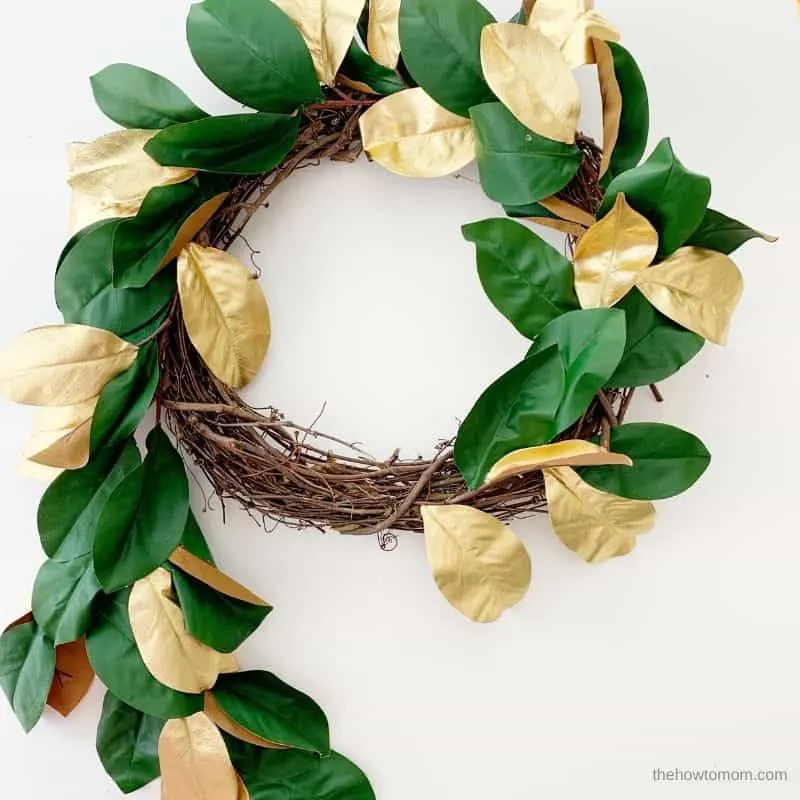
4. When you reach the end (beginning? lol) you’ll likely have a length of magnolia that you won’t want to overlap. So just cut the extra off.
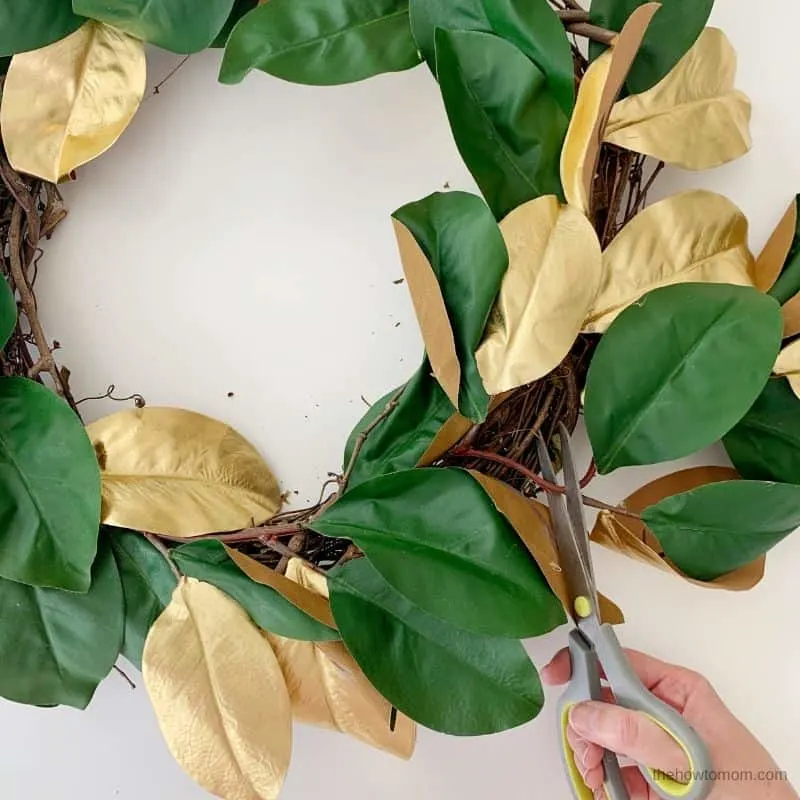
5. Now take a minute to fluff and straighten and see where it looks sparse and where the leaves are too thick. You can use some of the extra leaves to fill in the gaps. Just secure with wire or hot glue.
If some of the leaves are rumpled or folded, try to tack them down to the leaf or grapevine beneath it. Don’t go overboard trying to get everything flat and perfect. The irregularities give it character! Plus, I’m pretty sure its impossible to get it perfect. So don’t try! lol
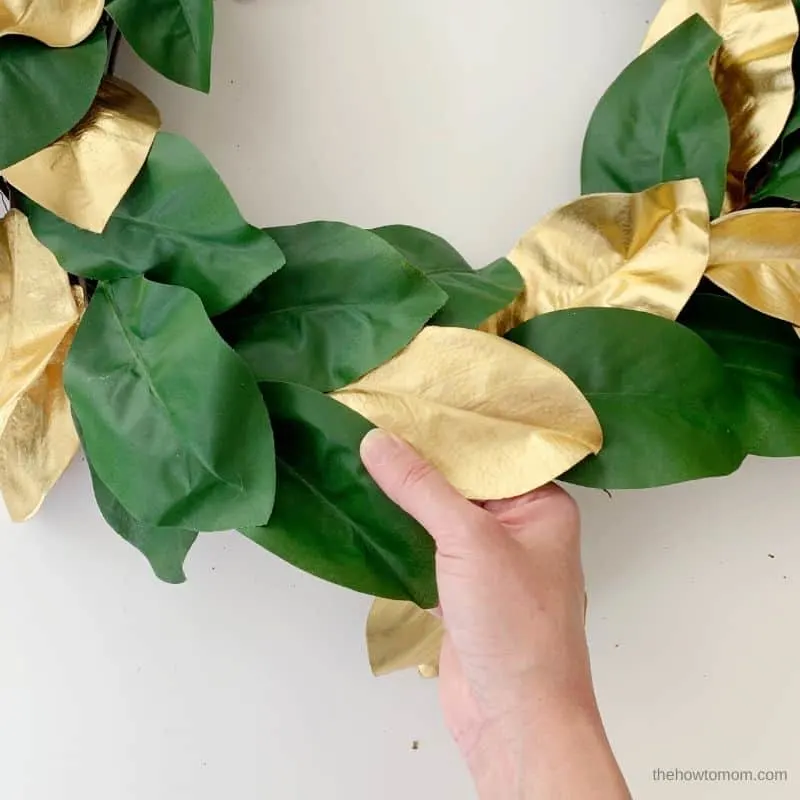
6. I personally like a bit of the brown leaves showing, so I took some of the extra leaves and added them in with the brown underside showing. Just tuck them in and secure with a few dots of hot glue.
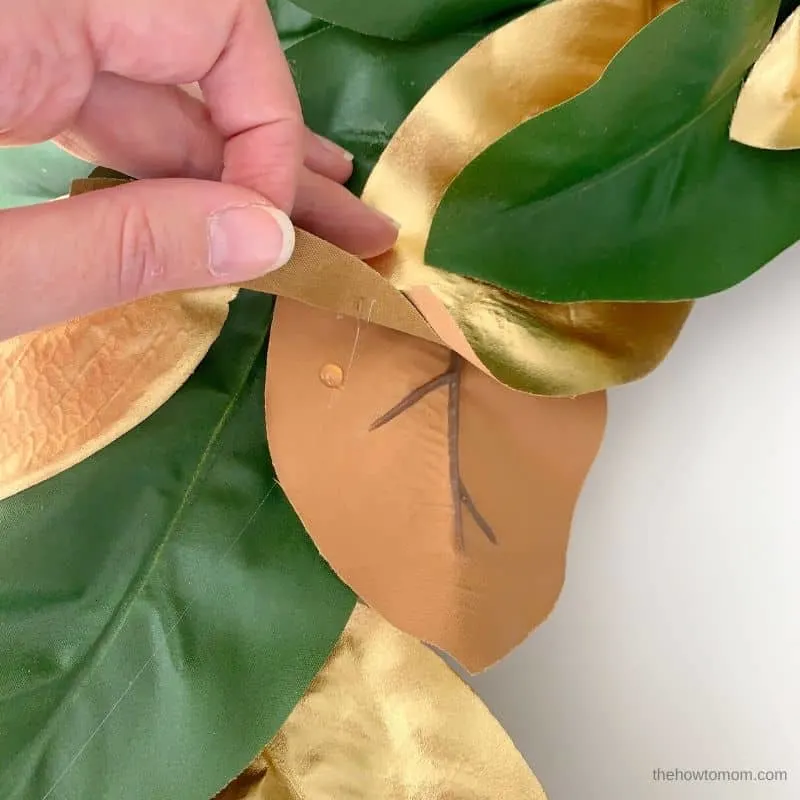
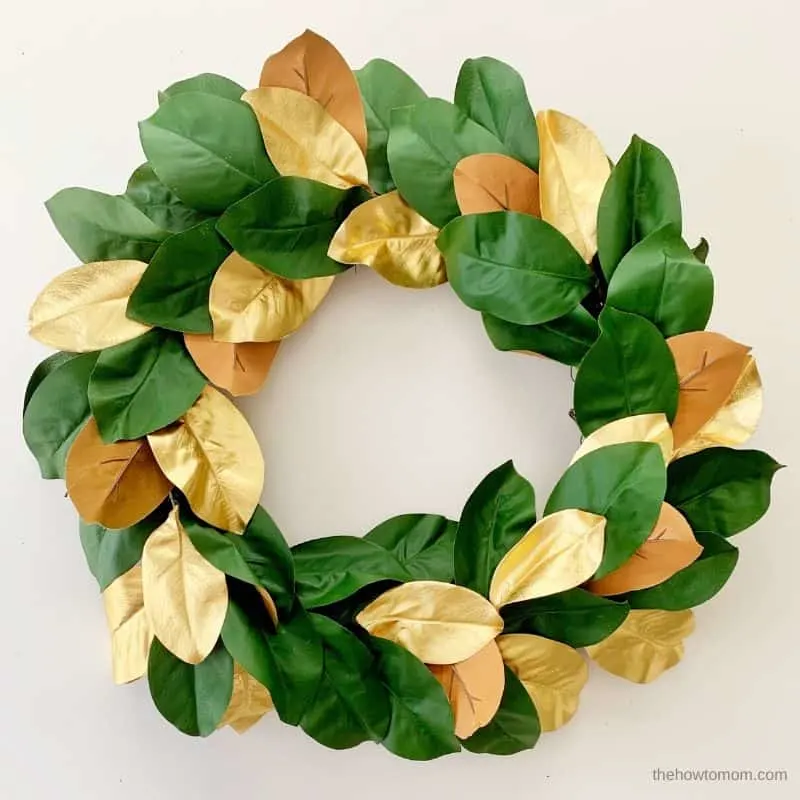
I love how it looks without the bow, I think it would be a gorgeous wreath to hang up from basically November until Valentines Day. The green and gold is just so pretty!
Its like fancy farmhouse, is that a thing? haha Lets make it a thing.
You can also add a bow, if you’d like. I think plaid goes really well with the gold and green, but a sparkly gold bow would be pretty, or a red/maroon. Maybe even white?
For instructions on how to make the bow, you can check out my Wreath Bow Tutorial, I have a few easy options there, including how to make this plaid bow.
I love to see the wreaths YOU make! Tag me @thehowtomom on IG so I can tell you what a great job you did. If you have any questions, you can comment or email me at thehowtomom @ gmail.com.
Happy Holidays!
Make Your Own Beautiful Living Succulent Wreath Centerpiece! Complete video course by Jeannine Romero now available through Skillshare.
