

- How to Make a Burlap Wreath – 3 Easy Styles! - May 30, 2022
- How to Revive Wilted Hydrangeas – Guaranteed! - July 28, 2021
- Easy Canvas Painting Ideas – 30+ DIYs for Beginners - June 16, 2021
Quickly make a DIY wreath frame out of a couple layers of cardboard using this easy technique. Make a perfect circle, or any shape you like!
Wreath frames (also called “wreath bases” or “wreath forms”) are basically the bottom layer of a wreath. Wreath frames are what you attach your flowers or greenery or whatever to, that give the wreath its shape and strength. The terms are pretty interchangeable, so don’t worry too much about that.
This post contains affiliate links. I may receive a commission from qualifying purchases.
There are tons of already made wreath frames available at craft stores and online. There are typically 6 different types:
wire
grapevine
extruded styrofoam
straw
hoop
flat wood
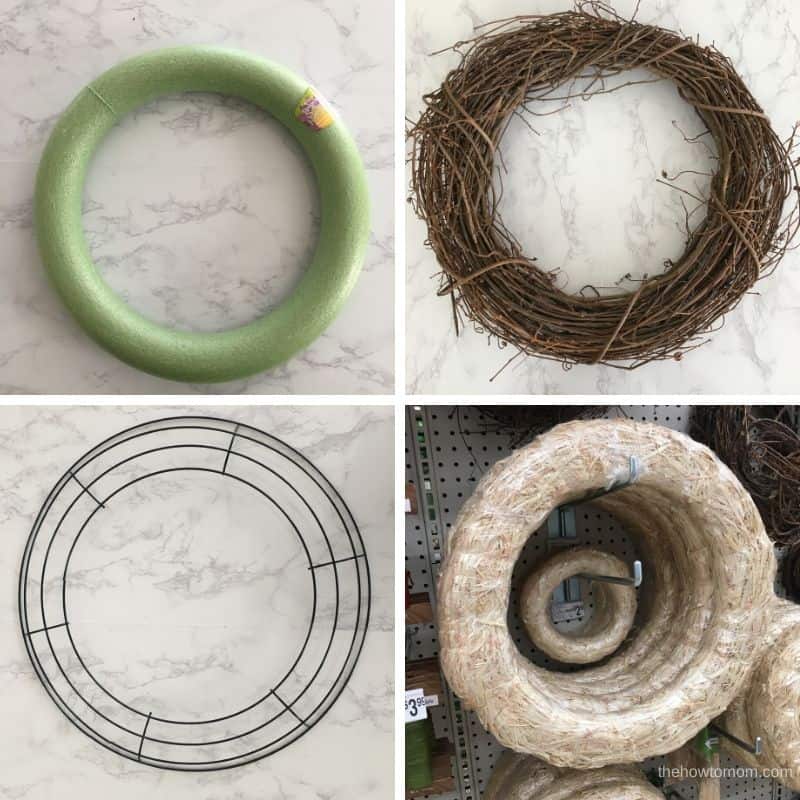

I cover the ins and outs of all the wreath base types in my Ultimate Wreath Making Guide. I show you where to find them, what they look like, what types of projects they’re good for and the pros and cons of each kind of wreath frame. Its kind of silly how much I know and share about wreaths, lol.
But even with all those options, sometimes you need to make a wreath frame. Maybe you don’t want to go all the way to the store, or maybe you don’t want to spend the money, or maybe you need a custom wreath frame to accommodate a particular size or shape.
In these cases, I’d suggest making your own wreath base!
The materials you could make a wreath frame out are pretty much endless. From cardboard to wire to household items like hula hoops or baskets. Basically anything you can attach stuff to and hang will work, lol.
I decided that cardboard would probably be the easiest and most fool-proof way to make a DIY wreath frame, so that’s what I’ll show you here! I did see an old tutorial online here on making a wire wreath form from scratch, but those are literally $1 at Dollar Tree, so I don’t really see the point, haha.
Cardboard Wreath Frame
Most wreaths are between 14 and 18 inches wide so you’re going to need a pretty big piece of cardboard. A large shipping box could work, or an appliance box. You could also use foam core posterboard.
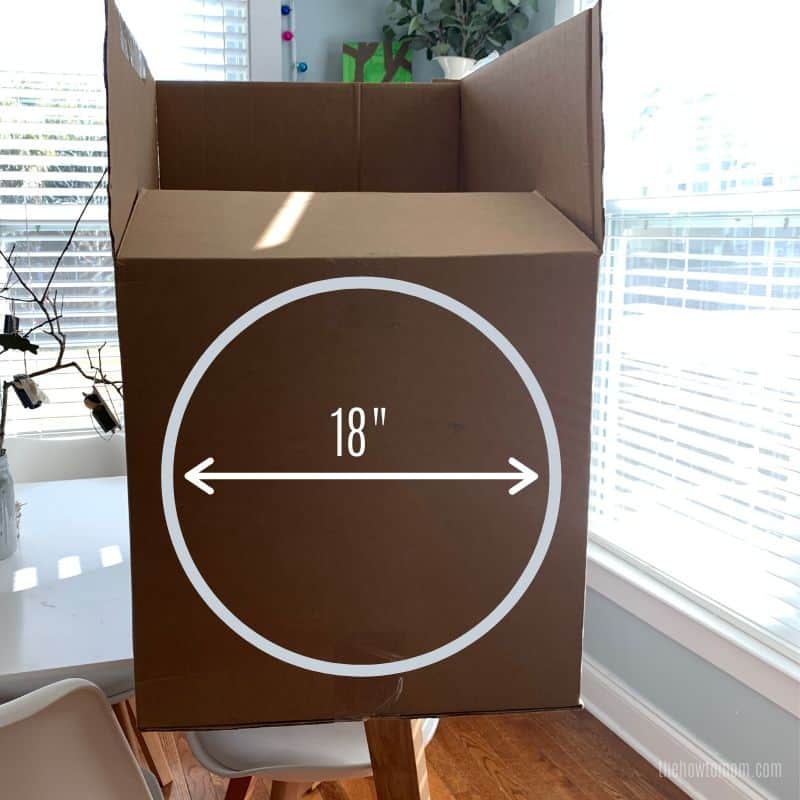

With boxes, if you need to use part of the flap to get the full 18 inches, you would just need to have multiple layers to strengthen the folded part.
You’ll probably want a few layers of cardboard to make a nice sturdy base. How many layers depends on what you’re glueing or attaching to the wreath. The flowers I was going to put on this wreath are fairly light, so I figured two layers of cardboard would be fine.
For this tutorial, I decided to use two tri-fold display boards (like we use for science fairs). I found them at the Dollar Tree, which makes this a pretty cheap project. But if you’re going to the Dollar Tree, you might as well just buy a wreath frame while you’re there… because they have a few different kinds there…for $1…but that’s not why we’re here… haha.
The center part of the display boards is 24″ (like foam core poster board), so it has plenty of space for cutting out the circle.
How to make a perfect circle
Obviously its important to have a symmetrical wreath frame. I don’t know about you, but I suck at free-handing circles. No thanks. I thought about using two large plates and tracing them to get my circles, but I didn’t have any round platters that were big enough.
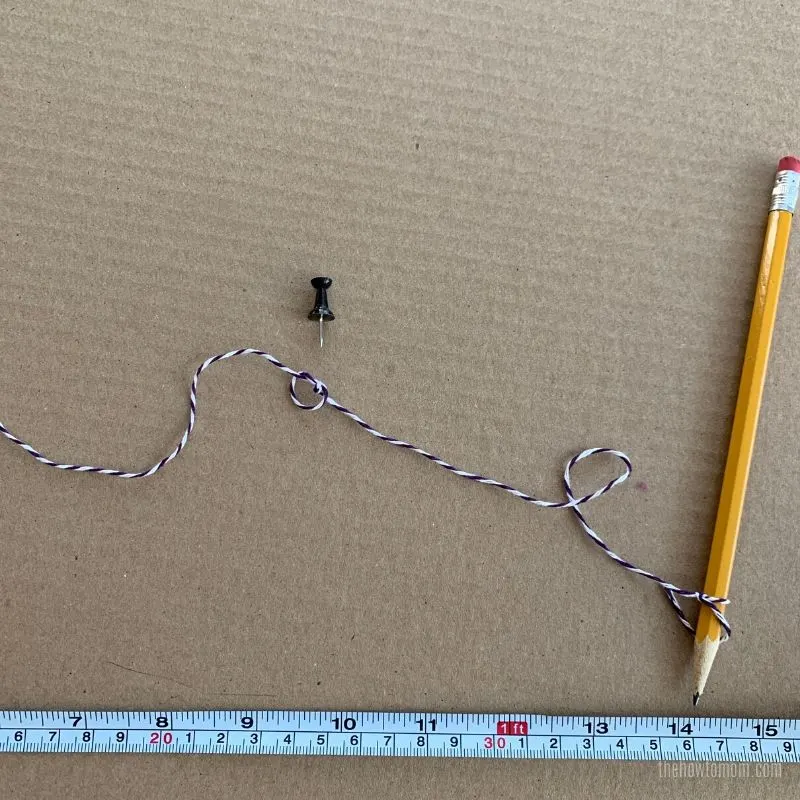
So I decided to use a homemade compass to make my circles.
I’s pretty simple, you just need:
ruler or tape measure
piece of string
pin or tack
pencil

Start by deciding how big you want your wreath frame to be. I’d suggest that 16 or 18 inches is good for front doors, smaller for mirrors or windows. Larger for hanging over fireplaces or dramatic wreaths.
For this project, I decided on a 16″ wreath base. Now, dust off those math skills a bit, and remember about diameter and radius. If we want a wreath that is 16 inches across (diameter), it will have a radius of 8 (half of 16). So our string will need to be 8 inches long, from the pencil to the tack. Don’t cut the string 8″ long, you’ll need some length for tying the knots.
Tie the string to the pencil, then measure 8 inches (or however long you need) and tie a knot. I also used this technique to make quarter circles for Christmas Tree Cones.


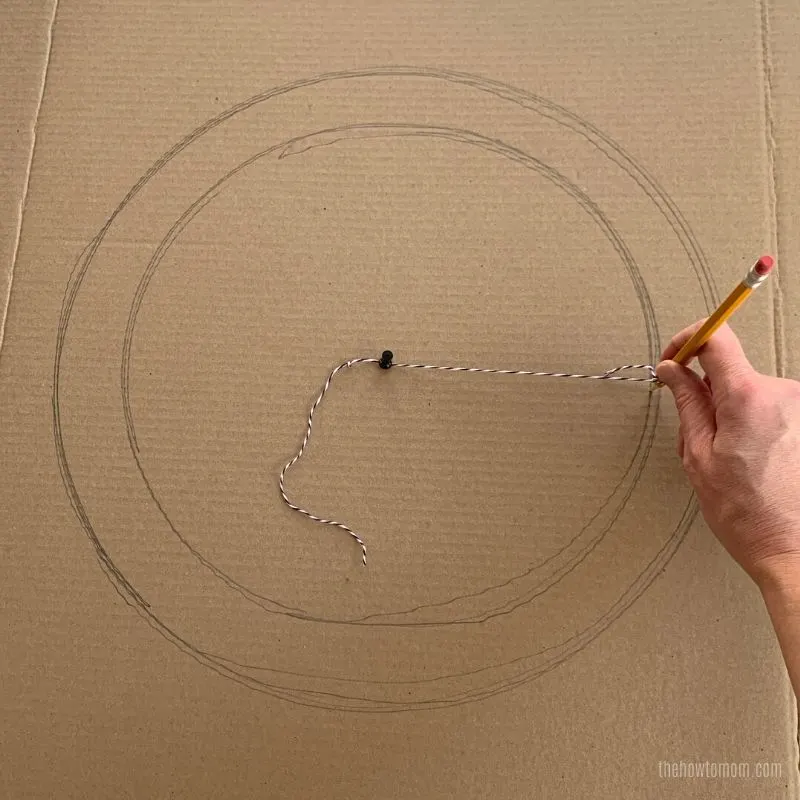
Put the tack or pin in that knot and poke it into the cardboard. Then stretch the string out and use the pencil to draw a circle, keeping the string taut.
Unless you hold the pencil exactly straight, the line will wobble a little. I went around the circle a few times, to try and get a good circle.
To make the inner circle, tie another knot about an inch closer to the pencil. If you want a wide wreath frame, tie the knot a little closer. Put the tack back in the center hole and stretch the string out to draw a smaller inner circle.

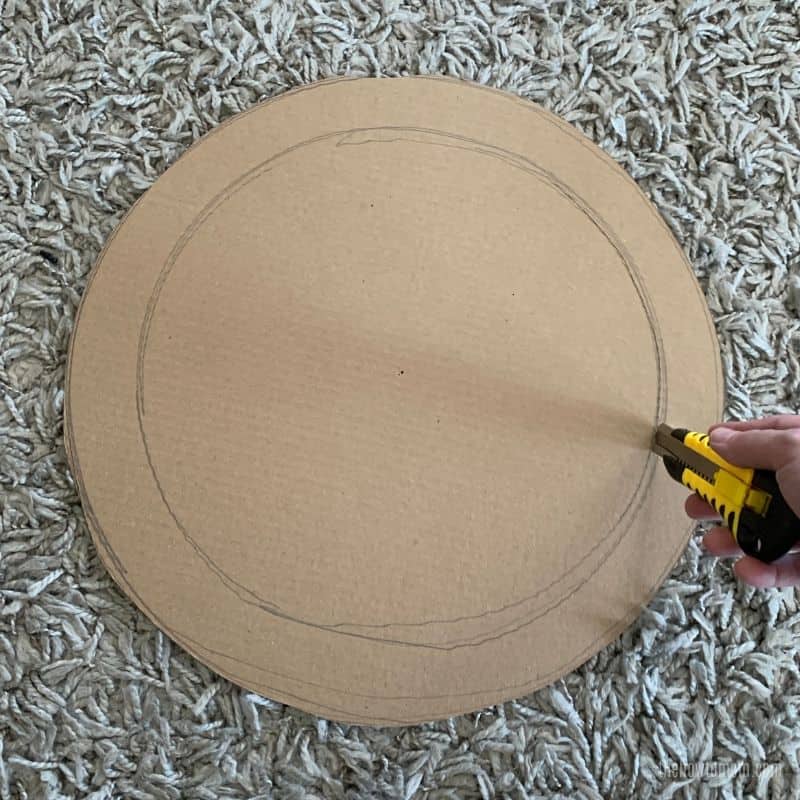
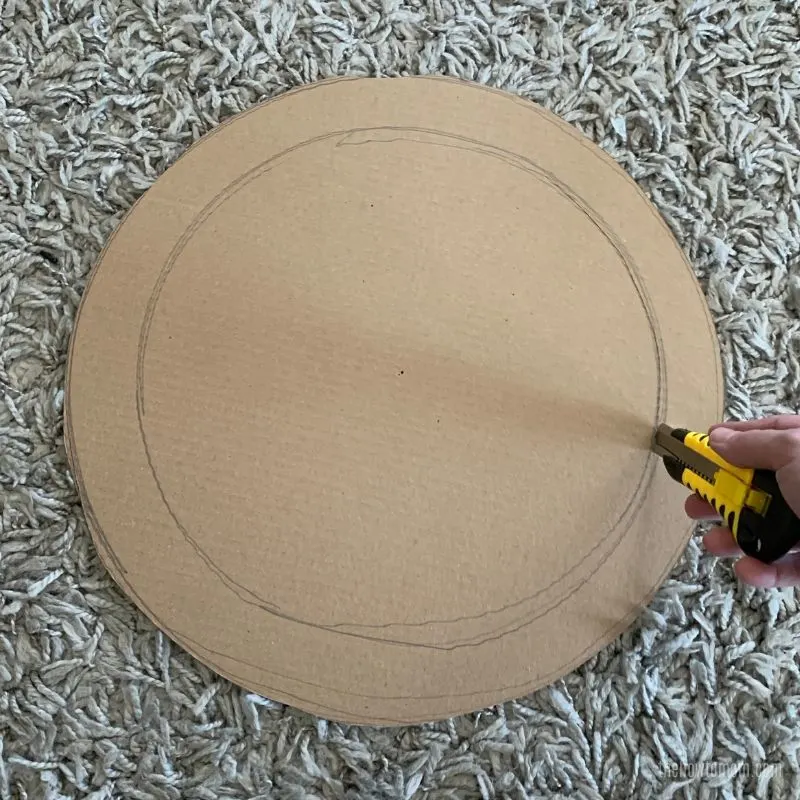
Then using a utility knife, cut out the circle. I just cut in the middle of all the lines. I wasn’t too worried about being precise.
Make sure to not cut on your nice kitchen table or wood floors! I cut on my ratty family room rug. You could also cut on an old towel or on the grass
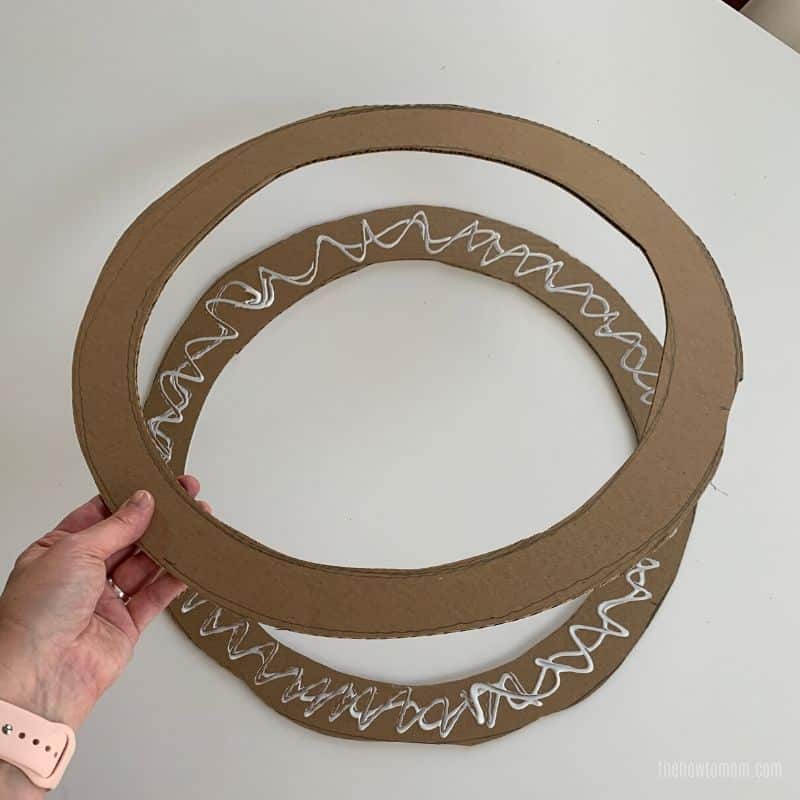
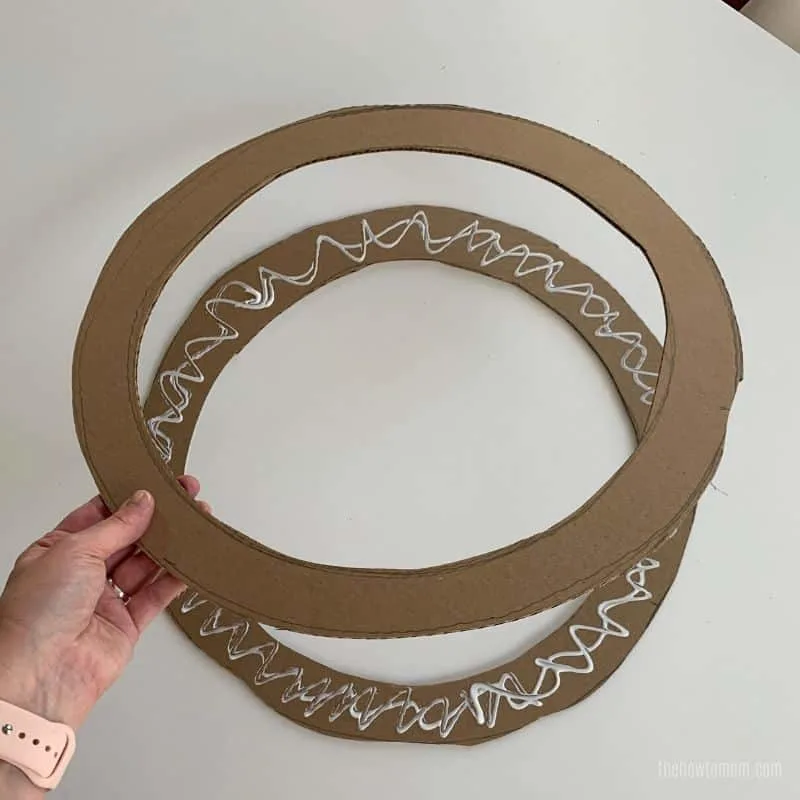
Then you’ll want to use that circle to trace another one out, to give your wreath base more strength. And then cut the second one out and glue the pieces together. I used craft/tacky glue, but school glue or hot glue would work too.
Let it dry and then its ready to use! For the wreath I made, I poked holes in the cardboard to put the stem of the flowers in. I used a skewer, but a pencil or phillips head screwdriver works well too. If you’re worried about the cardboard showing, you can wrap the wreath in tinsel or ribbon or burlap to cover it.
Wreath Frame FAQs
What type of wreath works best with a cardboard base?
Since these wreath frames are flat, it works well for wreaths that you want a flat surface (duh!). My Conversation Heart Wreath would be perfect with this, in fact I think I will re-do it with this base instead of the embroidery hoop I used.
It can work for flowers too, although sometimes flowers look better on a bit of a curve, to give it some depth and dimension. Leaves might be a good option as well, like a magnolia leaf wreath.
This wreath works great with things that need to lay flat like cinnamon sticks, crayons, candy pieces, flip flops, you name it!
What other wreath shapes could I do?
How about a heart for Valentines Day? Or a square wreath? Maybe an oval wreath to match the oval window on your front door? Really, the options are endless.
This technique also works great for making “letter” wreaths, like the first initial of your last name.
Where can I hang this wreath base?
This wreath frame works great for indoor use. It can be used outside, but just remember that its cardboard and might deteriorate in the elements.
Because of how flat this wreath base is, its perfect for hanging in between a storm door and a front door. That usually only allows for around 5 inches, so this totally works!
Make Your Own Beautiful Living Succulent Wreath Centerpiece! Complete video course by Jeannine Romero now available through Skillshare.