- How to Make a Burlap Wreath – 3 Easy Styles! - May 30, 2022
- How to Revive Wilted Hydrangeas – Guaranteed! - July 28, 2021
- Easy Canvas Painting Ideas – 30+ DIYs for Beginners - June 16, 2021
Warm up your wintery front door with this beautiful minimalist, Scandinavian style eucalyptus wreath. This easy DIY wreath will brighten up any gloomy day!
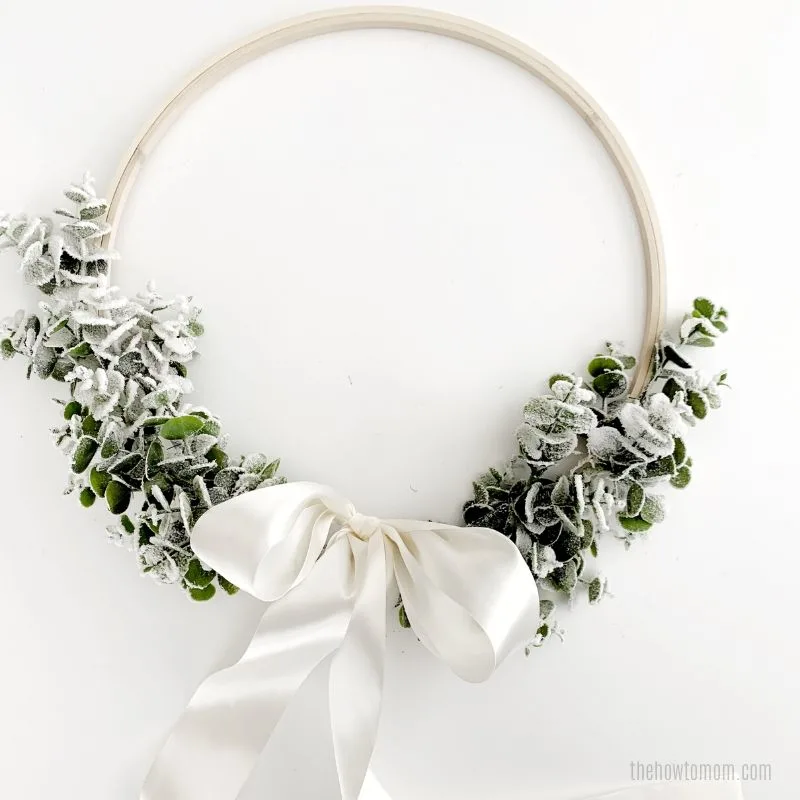
After Christmas, when all the festive decorations are put away, doors all around town feel bare and boring. People aren’t quite sure what to hang on their front door between the Christmas holidays and Easter/spring. A neutral, wintery wreath is perfect for hanging in January and February.
I had so much fun shopping for the wintery greenery for this wreath on my Instagram stories (follow me! @thehowtomom). The trip to Michaels is saved in my highlights if you want to check it out, along with a quick and dirty version of how I made this wreath. Or you can read on for a more detailed version!
This post contains affiliate links. I may receive a commission from some purchases.
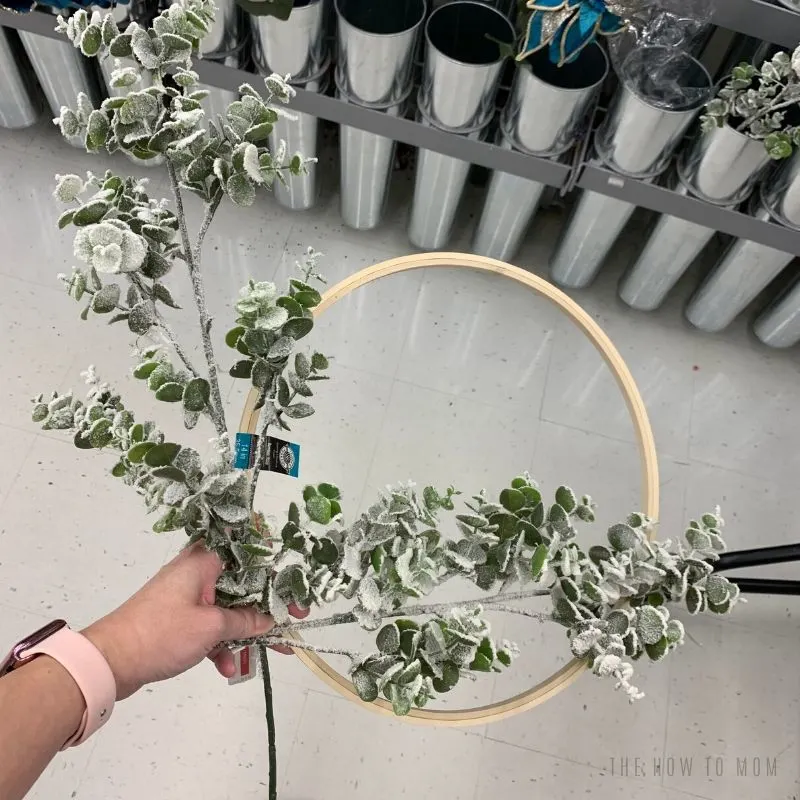
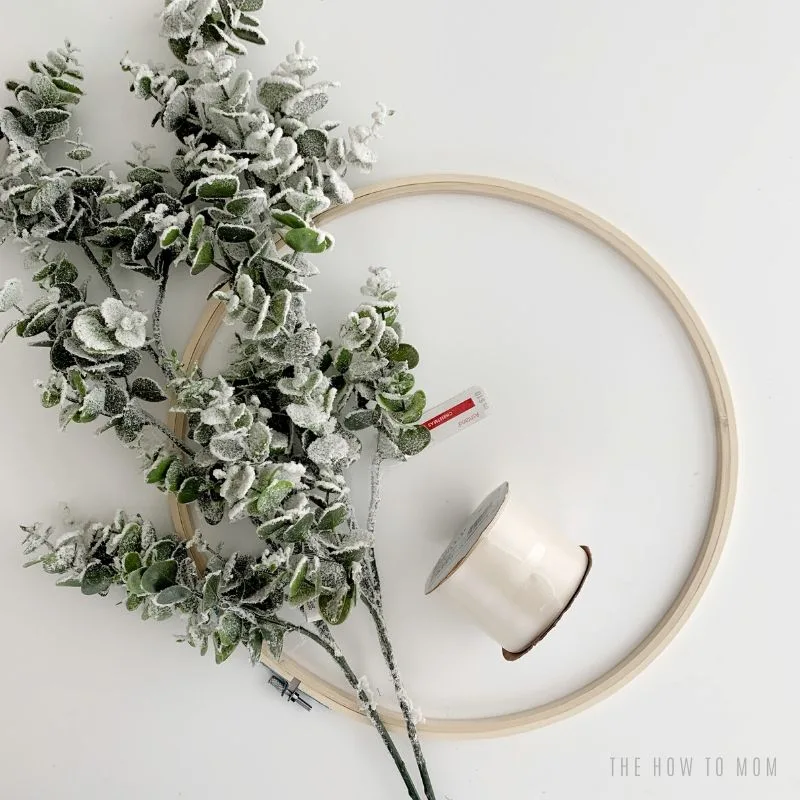
My goal was to find some nice snowy greenery on clearance from Christmas to use to make this wreath (and also another winter wreath, because that’s just who I am, lol). I settled on this beautiful flocked, snowy eucalyptus. So I bought two branches, along with an embroidery hoop and some ivory satin ribbon.
I wanted to do a minimalist, Scandinavian style wreath. To accomplish that, I left a lot of the hoop exposed and did a super simple bow. I didn’t want it to be perfectly symmetrical, so I left one side a little fuller than the other. I’ll show you how in a minute…
Other Wintery Greenery for Wreaths
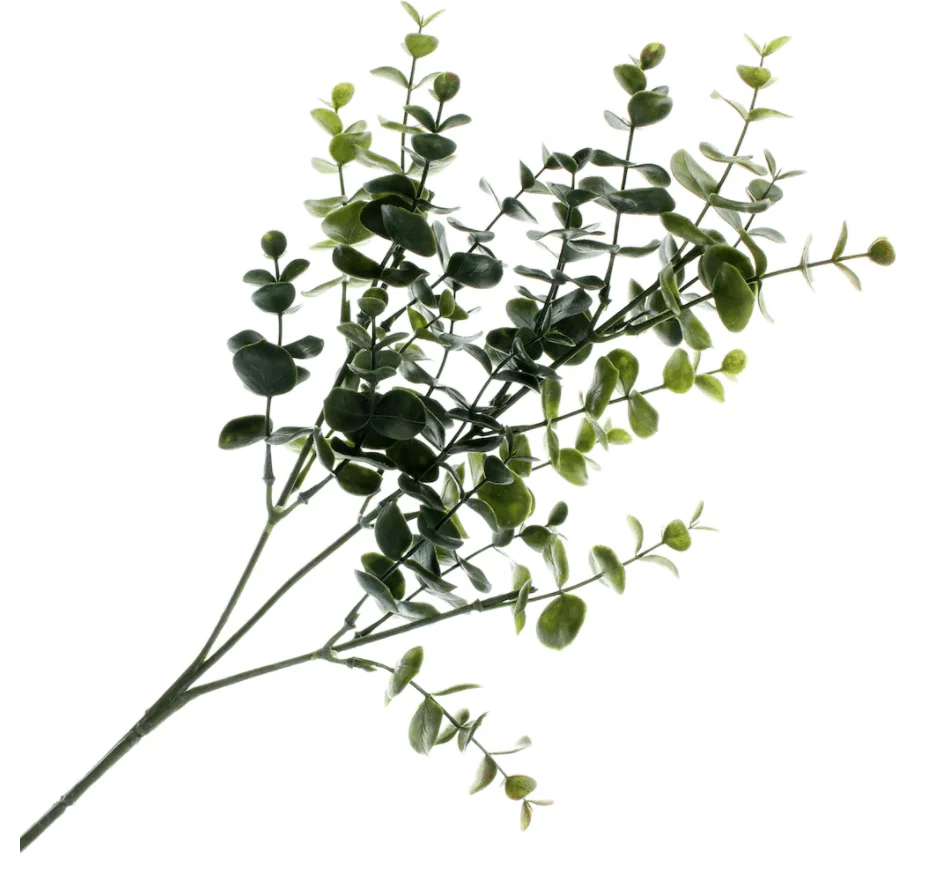
If you can’t find the same eucalyptus (I’m gonna get good at spelling that today! lol), you can look for other flocked options. Any snowy evergreen branches would totally work.
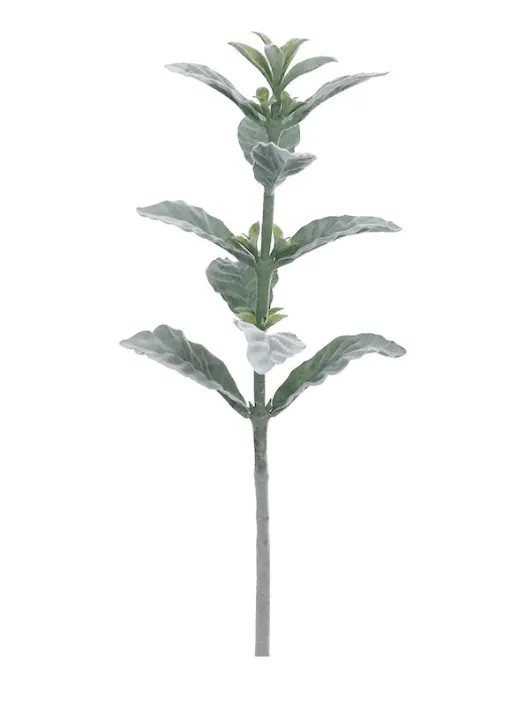
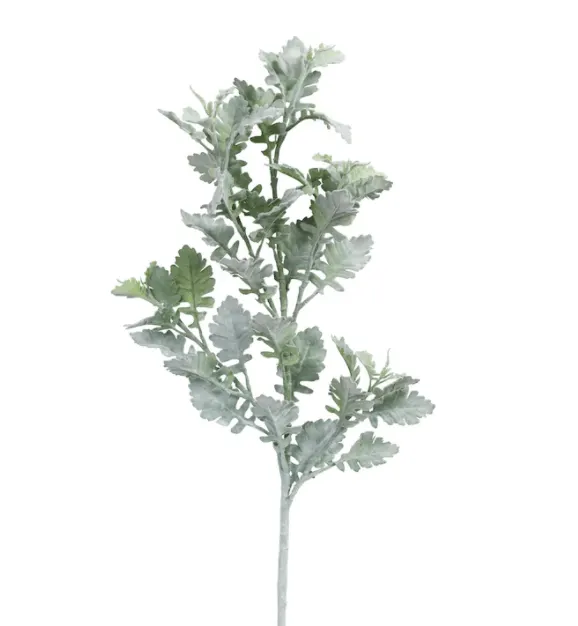
There are also two popular fuzzy types of greenery you could look for: dusty miller or lambs ear. Aren’t those great names?! They can usually be found year round, and “go” with most seasons.
If you’re looking to make a more versatile spring version, look for “silver dollar eucalyptus“. It has the broad flat round leaves, and often has teeny berries/buds mixed in. It is also a super popular greenery option.
*I’ve got all the supplies linked up at the end of the tutorial below. You should be able to add them all to your cart and order it online to pick up in store. That’s my favorite way to roll, because they usually have great coupons for it!
Minimalist Eucalyptus Wreath DIY
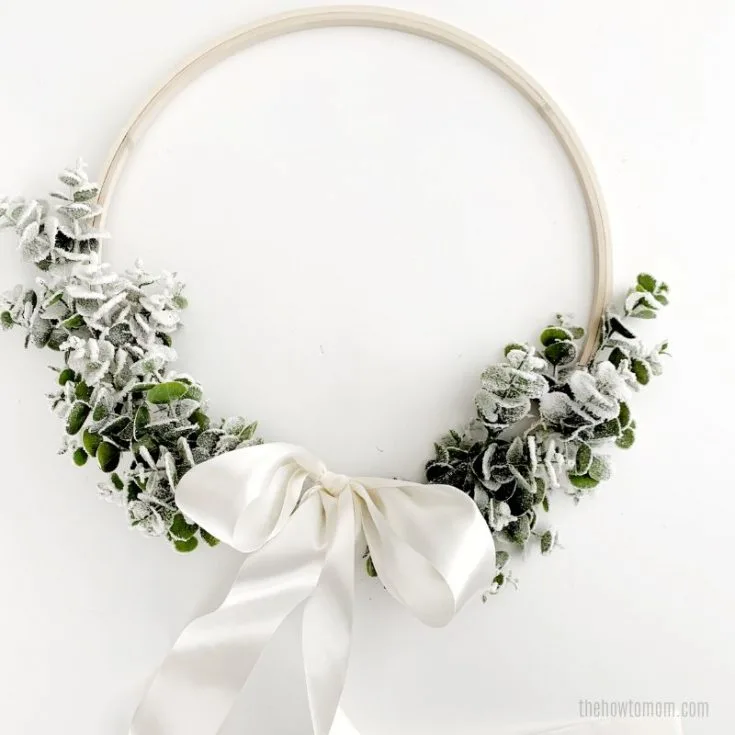
Make this lovely minimalist wreath with flocked/frosted eucalyptus or dusty miller or lambs ear.
Materials
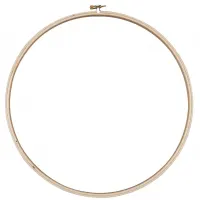
- 14" embroidery hoop
- Greenery - Eucalyptus, lams ear or dusty miller
- 2.5" satin ribbon in ivory
- floral wire
Tools
- wire cutters
- hot glue gun
Instructions
- Using the wire cutters, cut the long stems off.
- Lay the branches on hoop to start to figure out placement. You want the stems to go in opposite directions, with a little bit of overlap in the middle.
- Thin the leaves a bit, if desired, by cutting some of the smaller branches off. I like a more asymmetrical look, so I kept one side longer and fuller than the other.
- Using the floral wire, start to attach the stems to the hoop by wrapping the wire around the stem and hoop tightly. Concentrate where the branches meet, and then secure in one or two more places as the branches need to bend to follow the shape of the wreath.
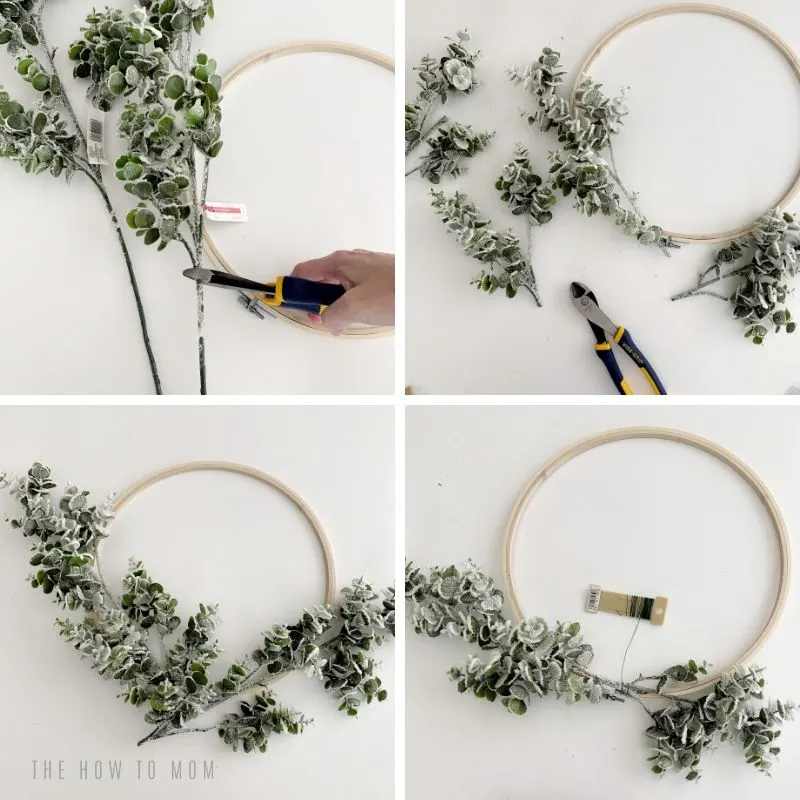
- Fill in any gaps with smaller stems, if needed. Just use the floral wire or hot glue gun to secure them.
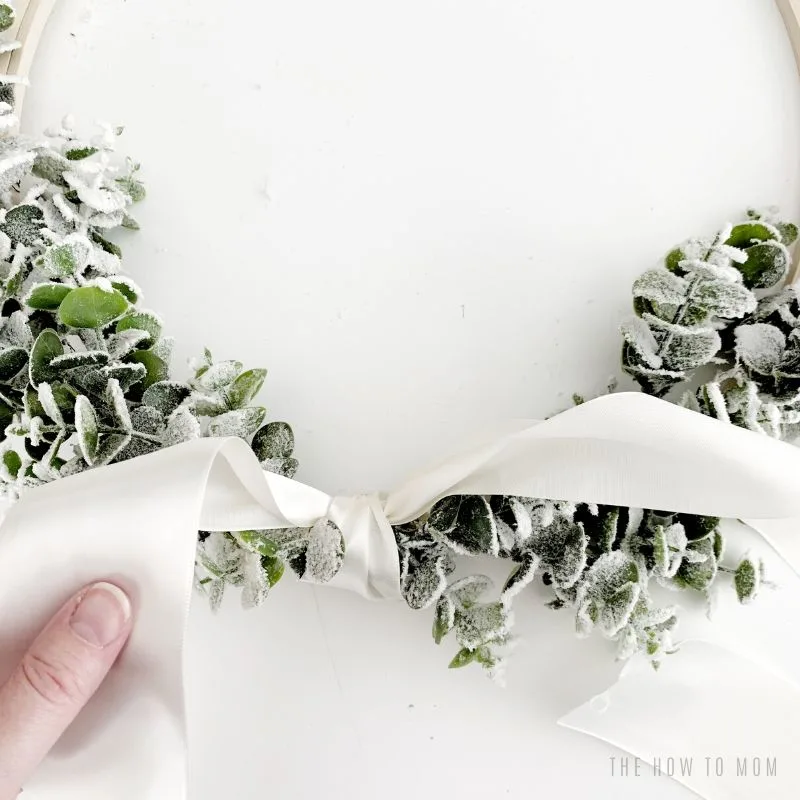
- Cut about 2 yards of the ribbon. Tie it to the wreath in the center of the stems. Tie a floppy bow, just like a shoelace. Cut the ends of the ribbon at an angle and/or melt the very edges with a lighter to prevent fraying.
Notes
If you find that the hoop slips to the side when you try to hang it asymmetrically, you can use your hot glue gun to run a thin bead of hot glue on the underside of the wreath and let it cool without touching it. This gives it a little grip and traction to prevent sliding.
Recommended Products
As an Amazon Associate and member of other affiliate programs, I earn from qualifying purchases.
I like the simple loopy bow. I think it compliments the minimalist style, and actually this wreath would be really lovely for a wedding! I used the technique in my floppy bow tutorial. But if you’d like to make a more substantial bow for your wreath, I show you 3 easy bow styles in my post on how to make a wreath bow. They’re all super easy!
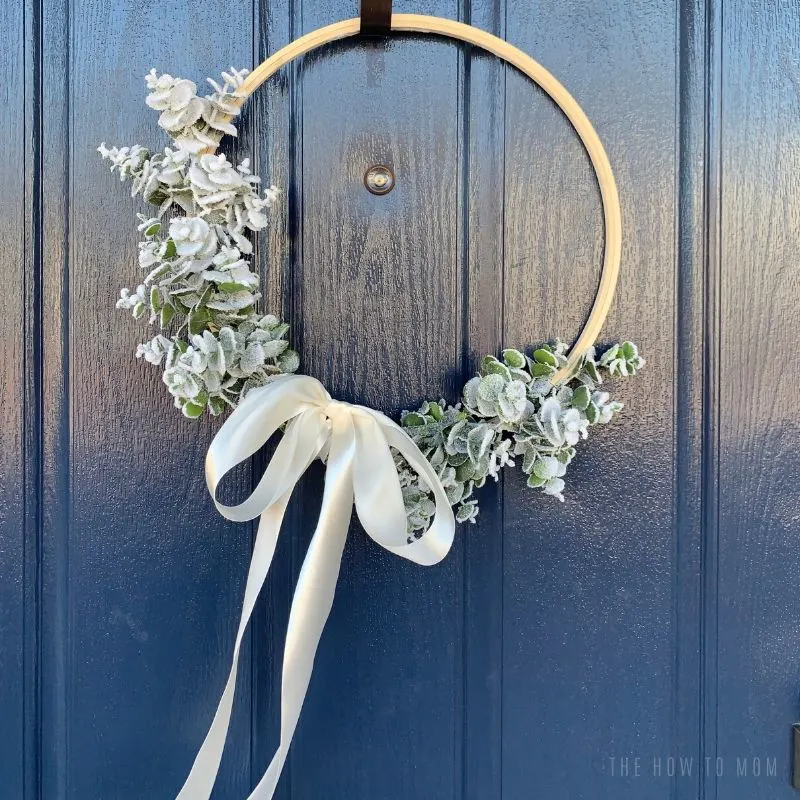
Here’s the finished wreath on my door. I think its really pretty on a front door, and it would also be lovely hung inside on a wall or a door. For more tips on hanging wreaths, you can check out my ridiculously comprehensive wreath hanging guide post.
This beautiful winter wreath now lives in Utah. I held a giveaway on my Instagram (@thehowtomom) and sent it to the sweet winner, Janie. Hopefully she’ll share pics of it in its new home!
If you’d like more help making a wreath, you can check out my ultimate wreath making guide, where I go over all the different styles, techniques, supplies and more, so that you can make whatever wreath your heart desires! I’m always happy to help, just reach out on Instagram or email thehowtomom @gmail.com.
Make Your Own Beautiful Living Succulent Wreath Centerpiece! Complete video course by Jeannine Romero now available through Skillshare.

