

She enjoys all aspects of home DIY- from simple crafts to complete home remodels.
- Clay Moon Phase Wall Hanging - July 4, 2023
- What To Do When a Toddler Won’t Keep Their Blanket On - June 10, 2023
- How Do Child Locks Work in Cars? (And When To Use Them!) - June 10, 2023
We’ve always loved the idea of drying out bouquets from special occasions.
Whether it’s a Valentine’s Day bouquet from a significant other, a celebratory bouquet from a loved one, or a bridesmaids arrangement, flowers are a meaningful gift that are often so pretty, we never want to get rid of them!
In this article, we’ll teach you how to use dried flowers to make a beautiful wall hanging to commemorate any occasion, or just to brighten up your home with a gorgeous springtime accessory.

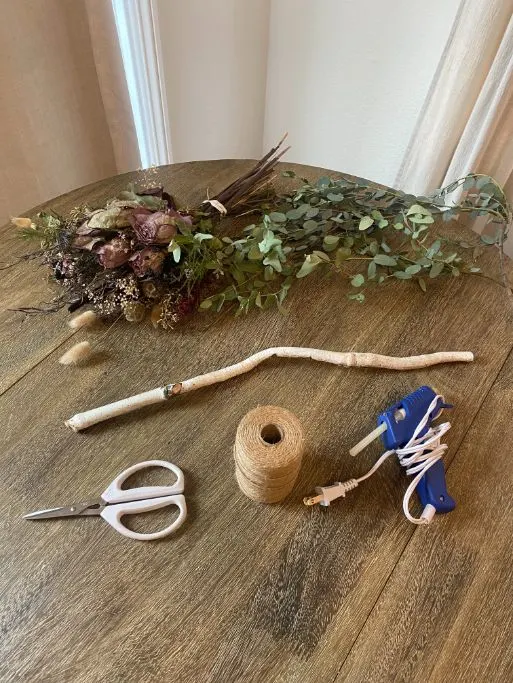
Supplies Needed:
- Scissors
- A hot glue gun
- Dried flowers
- Dried greenery (we used eucalyptus)
- Jute twine
- A branch or twig

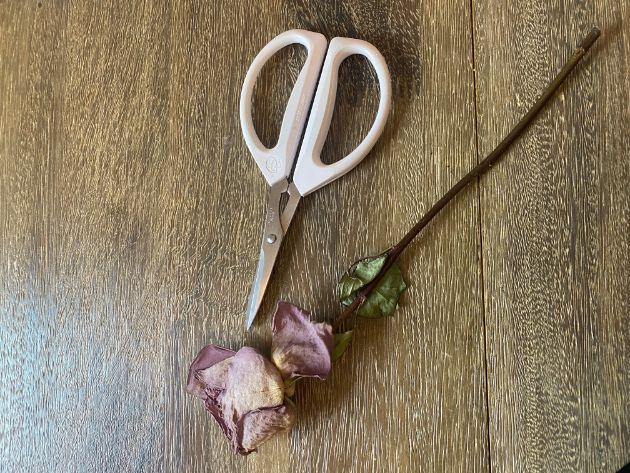
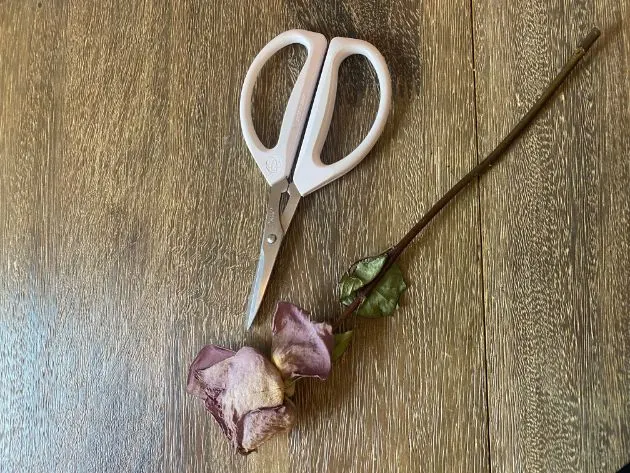
Step One
Take your branch (we found an old birch tree and cut a branch off of that) and trim it to your liking.
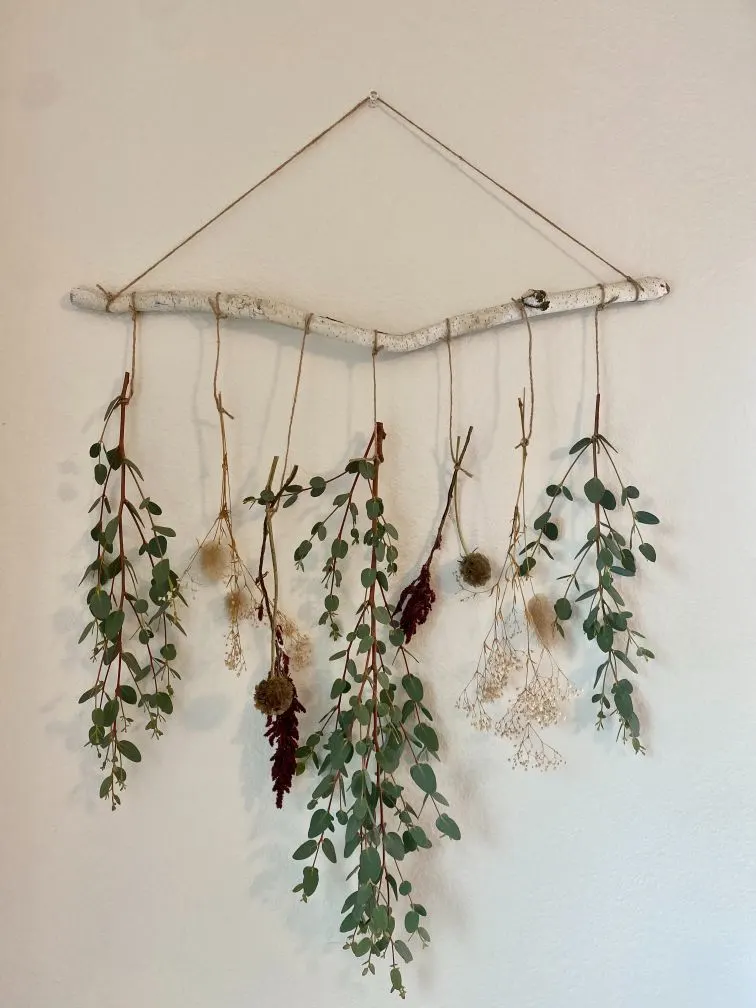
Prepare your flowers and twine as well, making sure that you have each type of flower separated into piles if you want your flowers to be somewhat symmetrical/similar on each side (this is what we did, see finished photo for reference).
Step Two
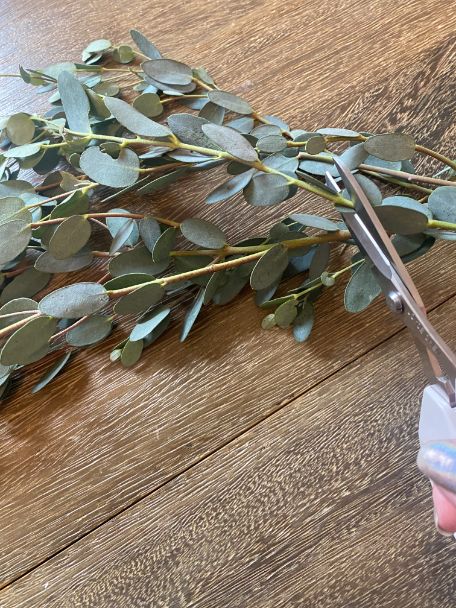
Cut your greenery into small sections to hang from your branch, making sure to clear off any leaves from the top part of the stem so that you have a good spot to tie your twine.
You can also choose to leave the leaves on the stems where you’ll tie the twine if you prefer the look of that.

Step Three
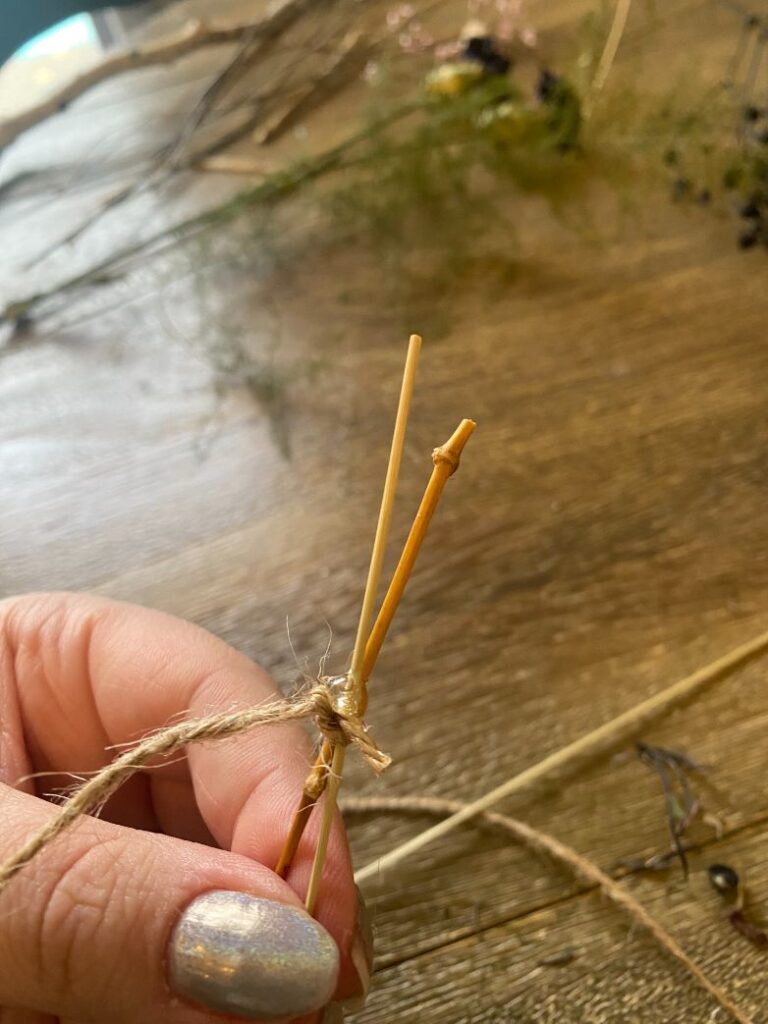
Take your twine and cut a short piece off, about a foot long. Then, take a couple of your flowers and pair them together.
You’ll tie them together using the twine, so arrange the flowers how you want them to hang.
Tie one end of the twine around the stems of the flowers, using a double knot to secure the twine in place.

Step Four
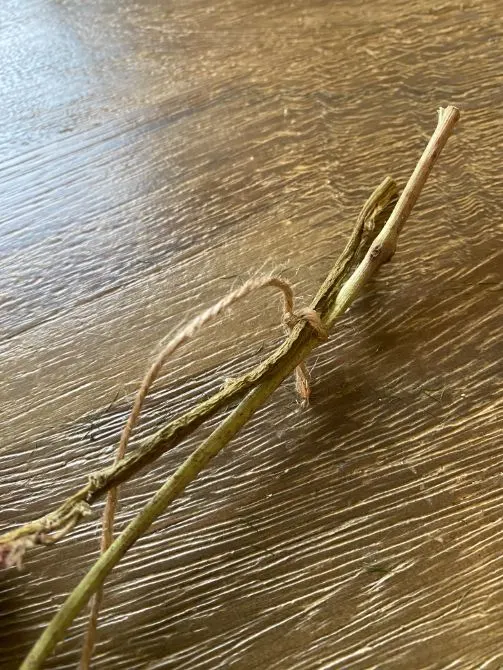
Make sure that your double-knotted twine isn’t going to slip off of your stems.
Sometimes, flower stems have natural knobs or little offshoots that you can use as a sort of “stop” above where you’ll tie your twine. If not, you can use your hot glue gun to glue a small drop right above where you’ve tied your twine onto the stem to ensure that the flowers don’t slip out of the knot.
Cut off any excess twine on both ends of the string.

Step Five
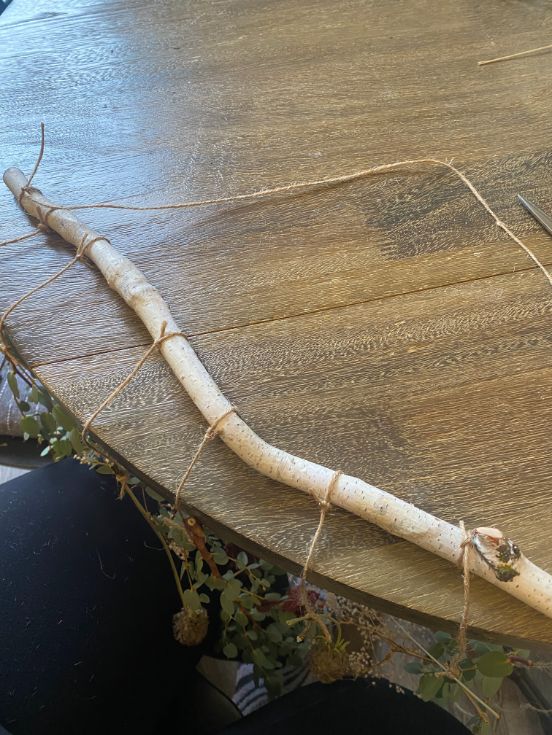
Tie the other end of the twine to your branch, securing the twine however long you’d like the flowers to hang from the branch.
Repeat this process until all of your greenery and flowers are hanging how you like them from your branch, spacing them evenly apart on the branch.
We started with a long, full piece of eucalyptus in the center, and then worked our way outwards, making the flowers hang shorter as we neared the edges of the branch. We then finished each end with more eucalyptus.

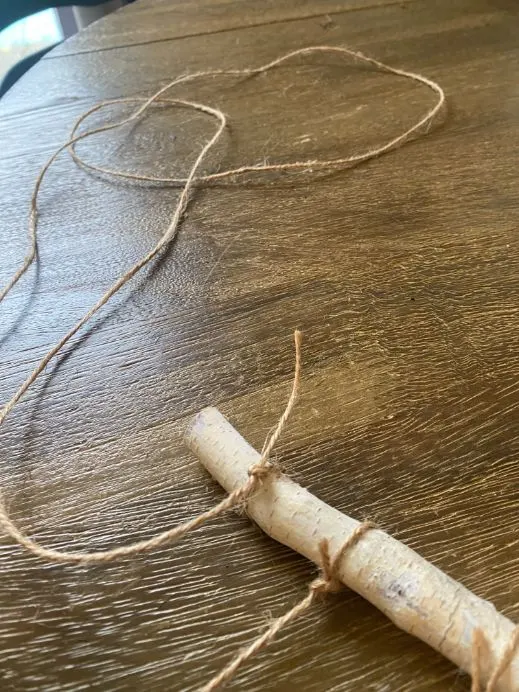
Step Six
Cut a long piece of twine, about 2 feet long. This is going to be the hanger for your wall hanging. Tie one end of the twine to one end of your branch, double-knotting to secure it.
Take the other end and line it up to the other end of the branch, making sure to tie it however long or short you want your hanger to be.
Double knot this as well, and cut off the excess twine on both ends.

Step Seven
Enjoy your beautiful floral wall hanging! We used a bridesmaid bouquet that we already had, so this wall hanging is very special and commemorates an important day.
Here are some other fun DIY crafts you may be interested in:
- How To Make A Summertime Watermelon-Themed Wall Hanging
- Modern Farmhouse Faux Wall Garden – Upcycle Craft Project
- Upcycle An Old Bar Stool Into A Cute And Functional Shelf!
Make Your Own Beautiful Living Succulent Wreath Centerpiece! Complete video course by Jeannine Romero now available through Skillshare.