

- Free Video Tutorial – Gratitude Farmhouse Decor Craft - July 25, 2023
- DIY Dollar Tree Bird Feeder Craft - July 4, 2023
- Embroidery Hoop Organizational Wall Art - February 28, 2023
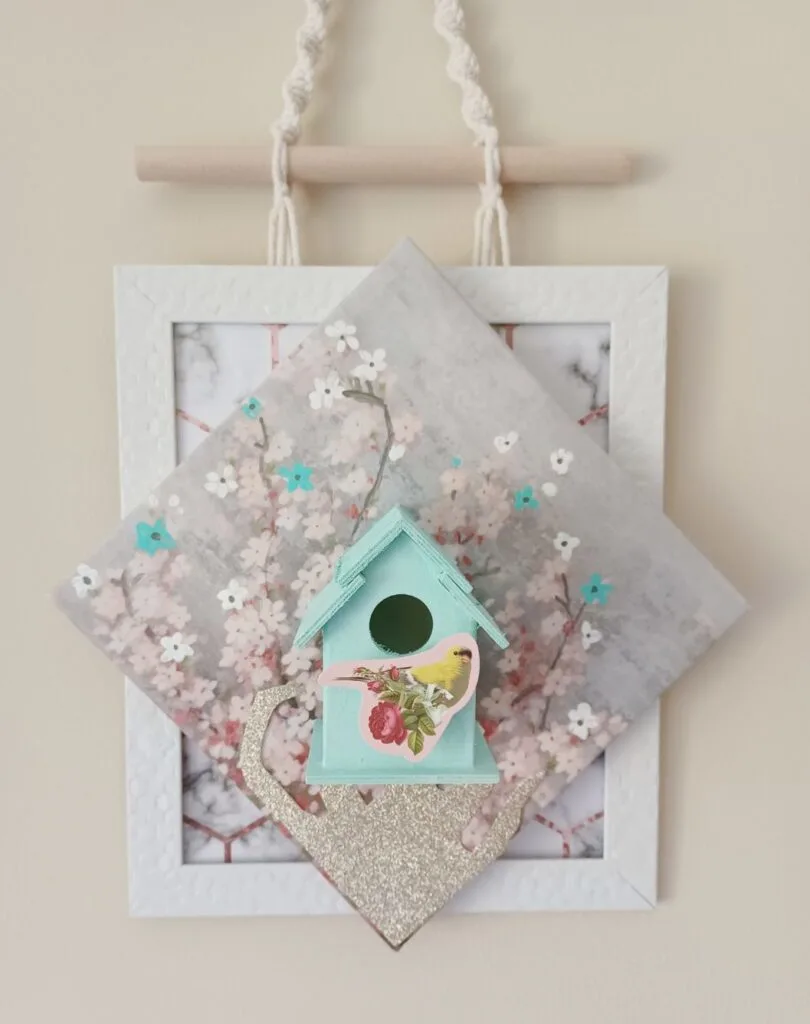
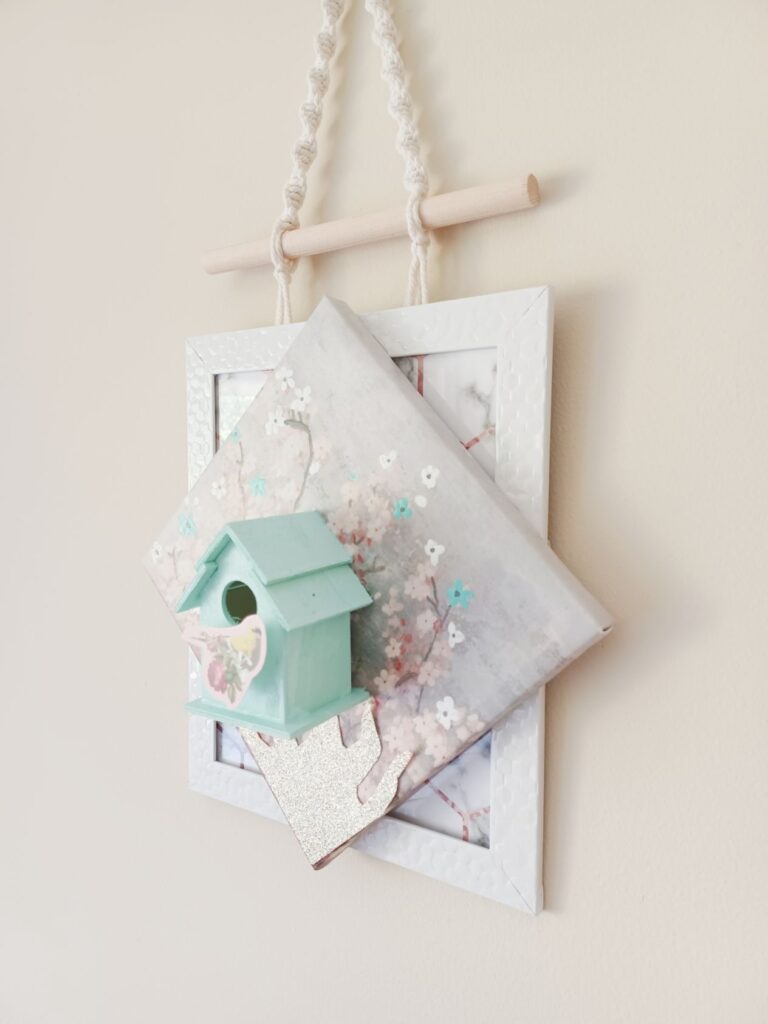
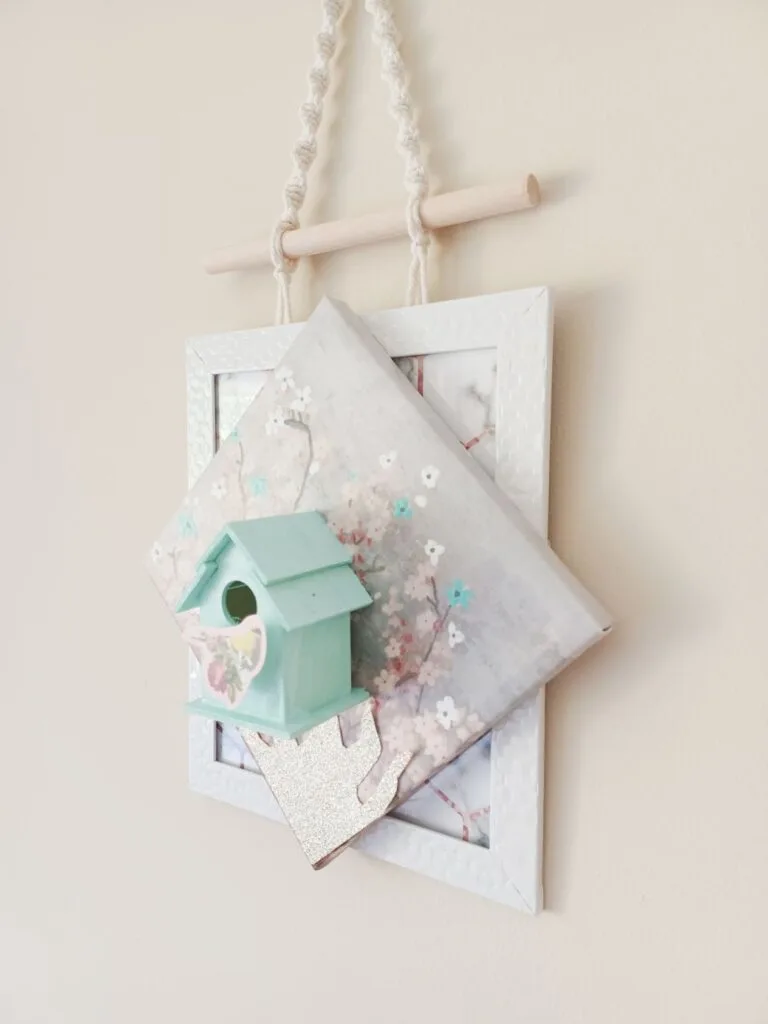
Does your teen daughter need a new wall hanging? Show them this cute wall picture upcycle idea. You can use items you already might have or you can purchase cheaply at your local Dollar Store. This project is fast, easy and fun to create.

A great upcycle takes items and changes their use. This upcycle changes the items only slightly as we just combine them all to make a new item.
Recently I did that with old holiday items in this Recycled Holiday Winter Snow Angel Centerpiece. I took different holiday decor items I no longer wanted and changed them a little, combining them together to give a new purpose.
Kids and teenagers love upcycling. Well, so do a lot of adults too, and I am one of them! So let me show you how I made this.
I needed to make this as a gift for a young friend of mine. I took and made a small note and stuffed it hanging out of the birdhouse instead of giving a card.
It was a hit and brought a giggle and smile!
It makes me happy to make items to give away that bring extra joy to someone’s day. Maybe if you decide not to make this for yourself, consider making it to give to someone else!
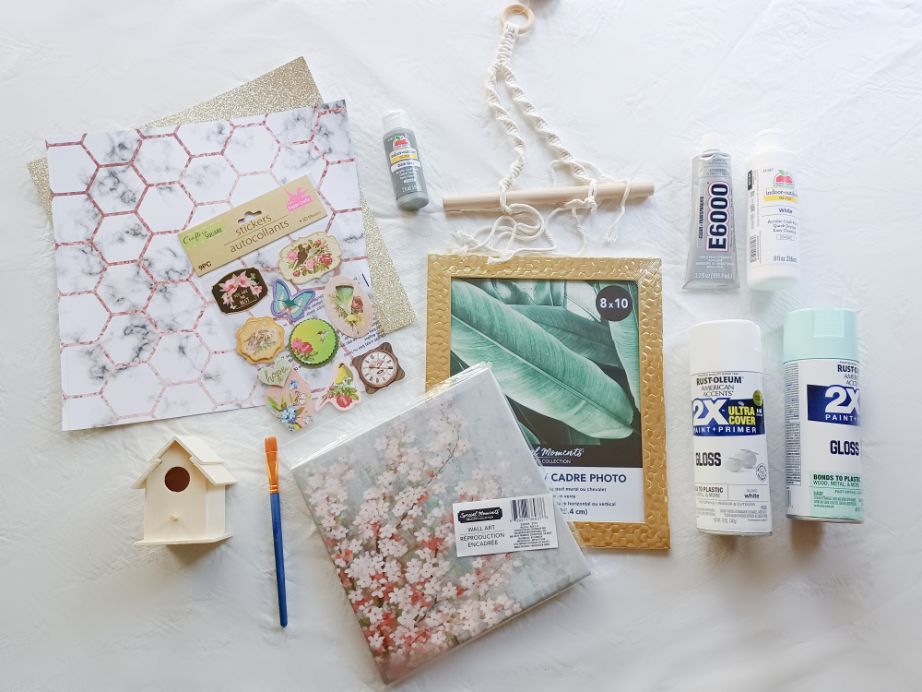
Supplies Needed:
- An 8 x 10 frame
- A small canvas picture
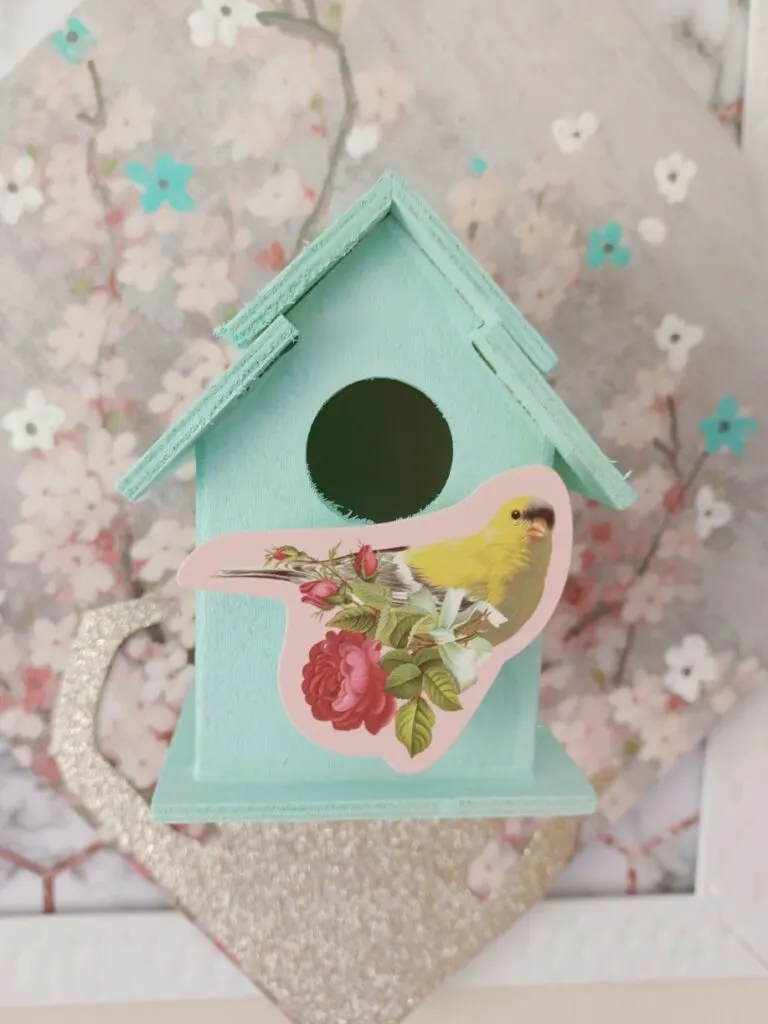
- A small wooden bird house
- A small bird picture on card stock or a thick bird sticker
- One piece of decorated scrap booking paper
- Hot glue gun or E6000 glue
- Spray paint and or acrylic in the colors you desire
- Scissors
- Macrame wall hanger (or just use rope, string or twine and braid it)

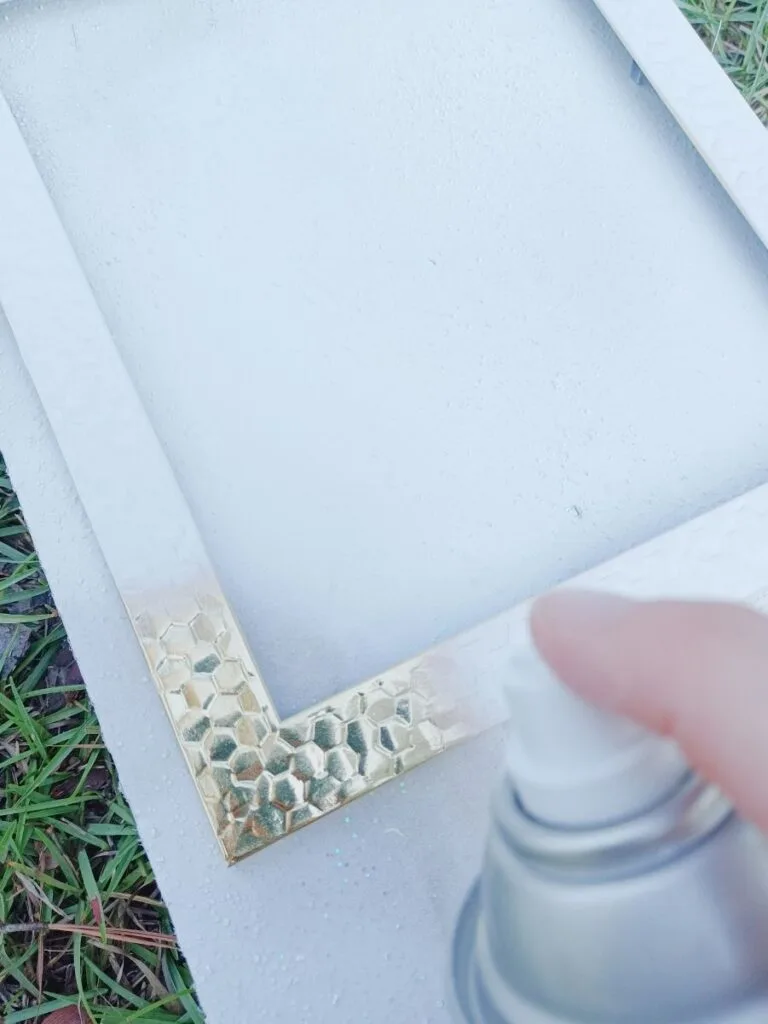
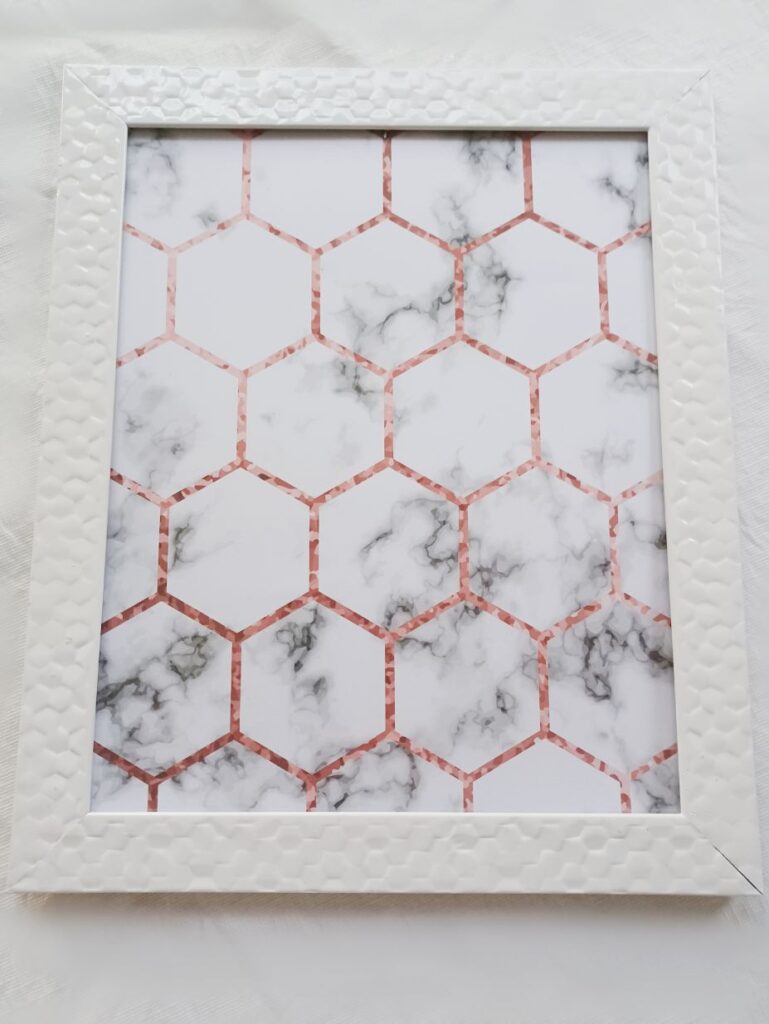
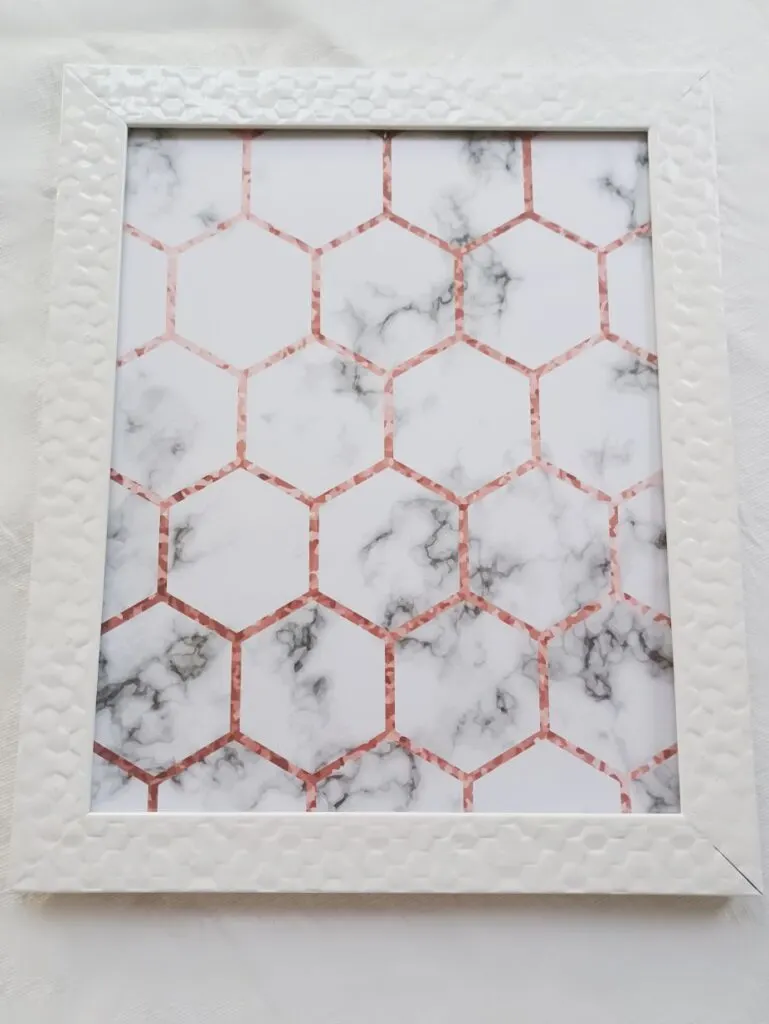
Step One
Paint your frame and bird house.
Depending on what type of frame you have will depend on the paint you use. I chose to use leftover spray paint for my frame. The Rust-Oleum American Accents paint (link to Amazon) is amazing. It will stick to any type of frame, wood or plastic.

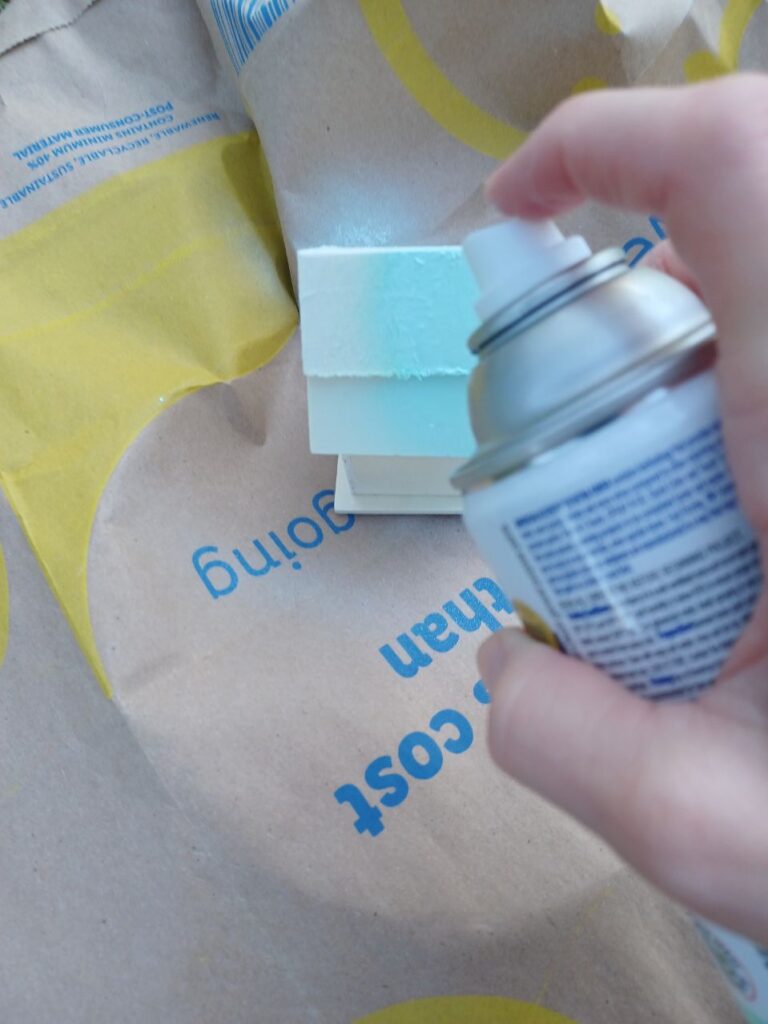
I also used leftover spray paint to paint the little wooden bird house from Dollartree. However, if you only have acrylic, that will work just as well on wood.
I had both and since I like to do the quick and easy way of doing things, I just spray-painted to speed things up.

Step Two
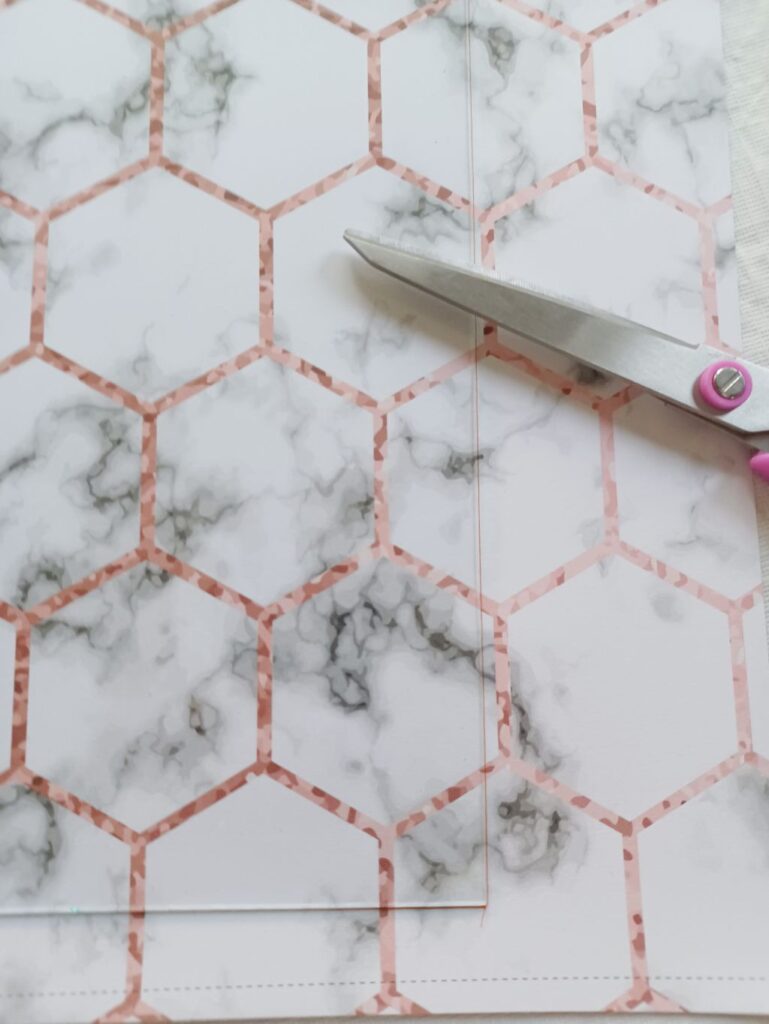
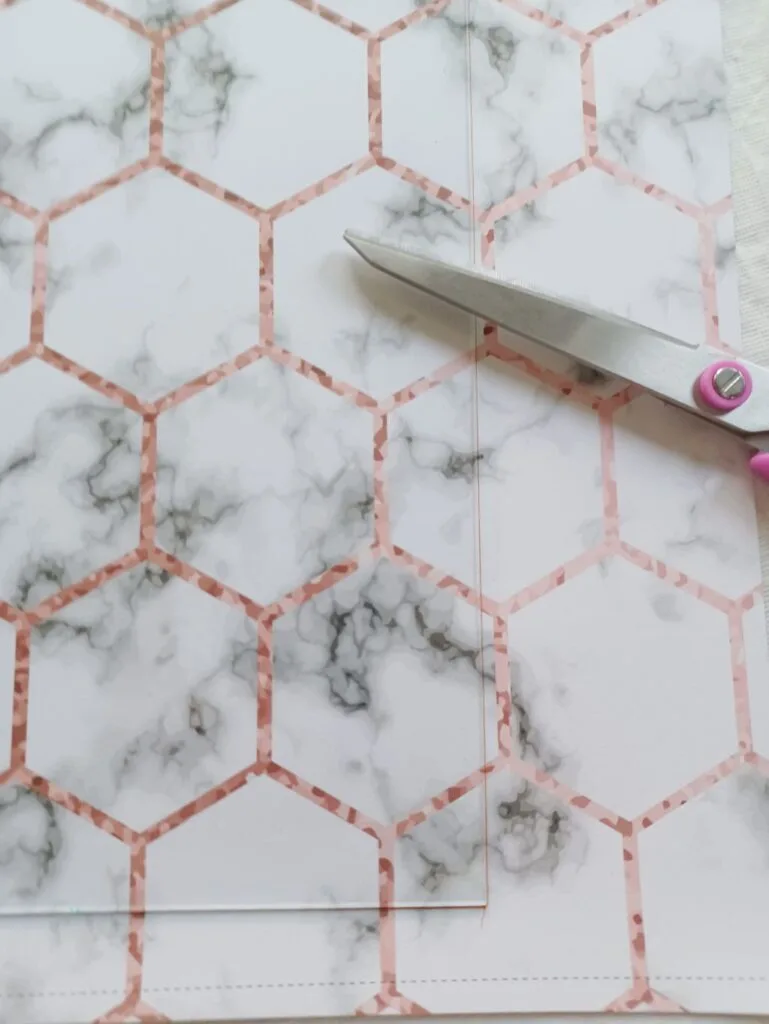
Trace your glass out on your scrapbooking paper. This is great to do while your spray-painted items are drying.
Step Three
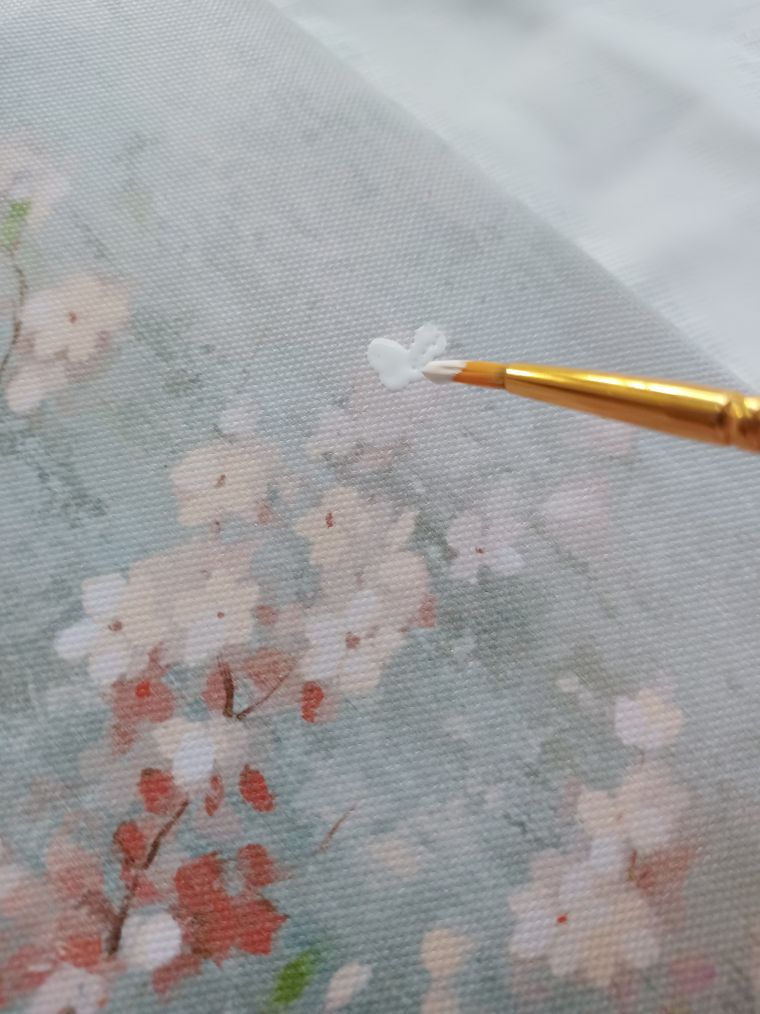
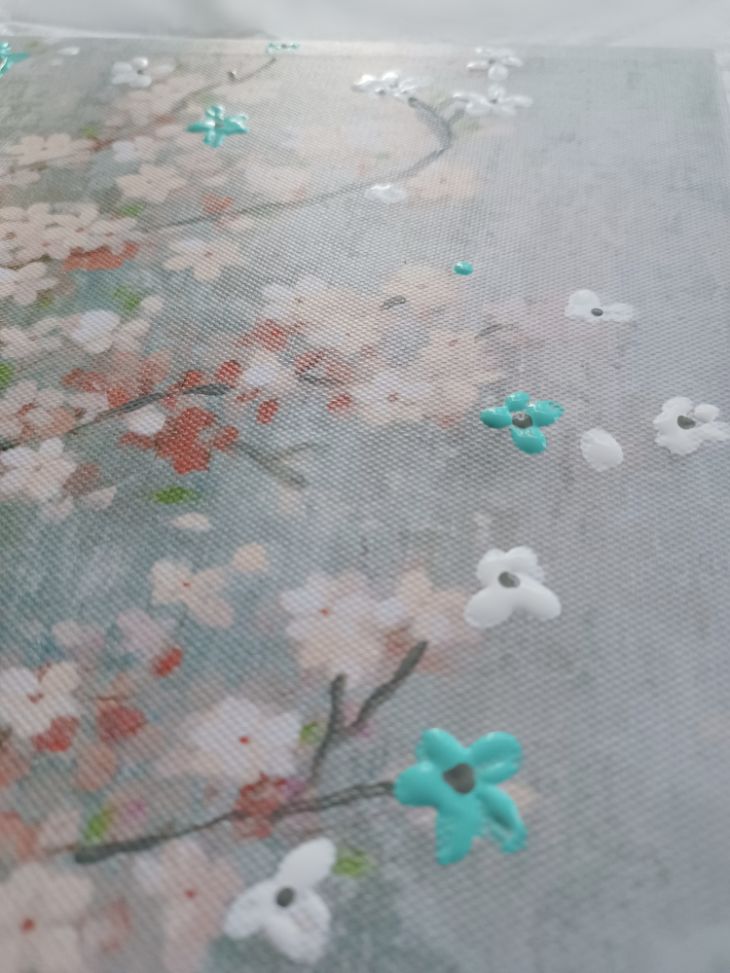
Add in paint to your canvas.
So you can take an old canvas picture or a small one from Dollar Tree for this. You take some of your acrylic paint and simply get creative and add some simple enhancements to the picture to make it pop a little more.
I just added a few extra flowers.


Step Four
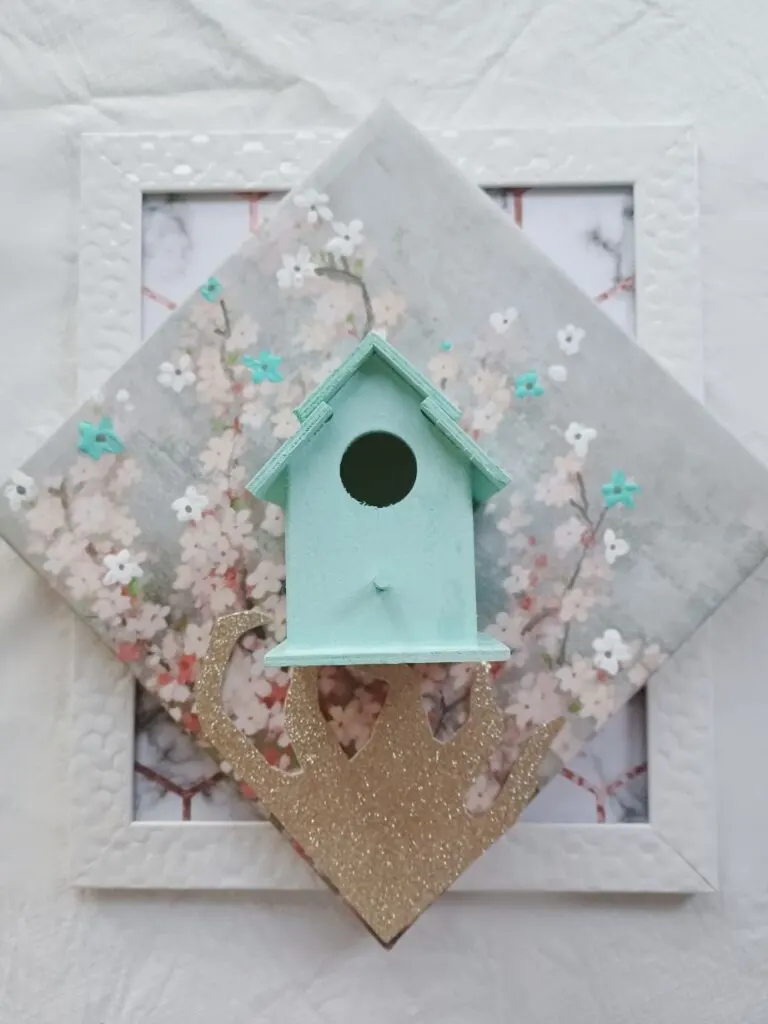
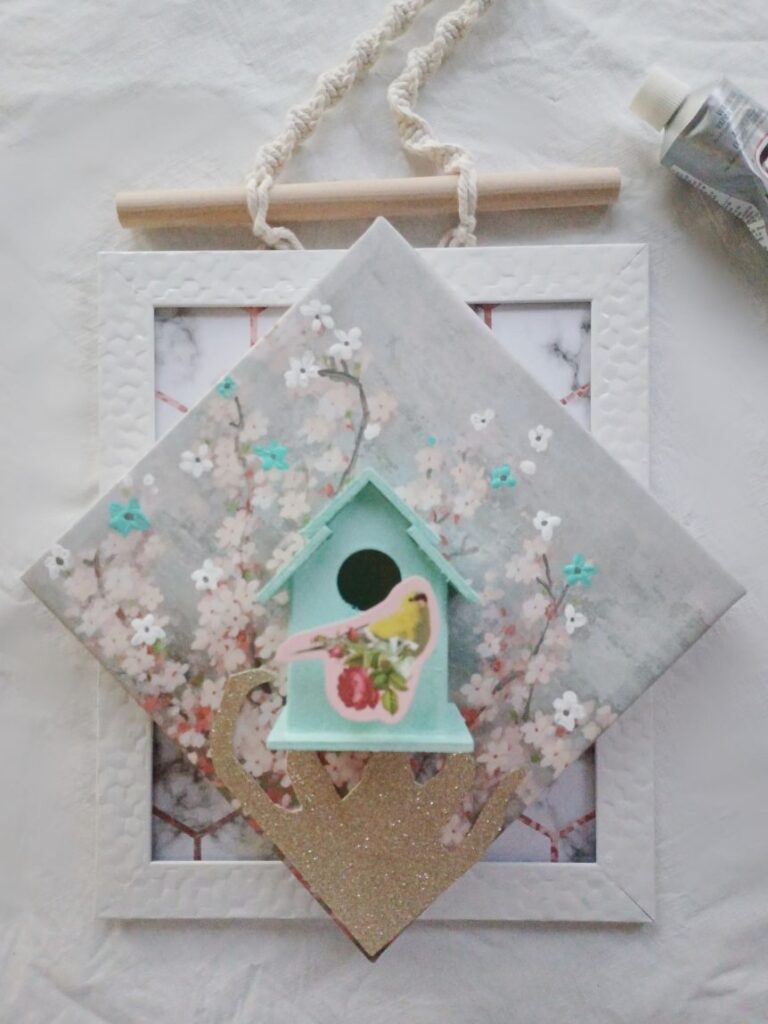
Assemble.
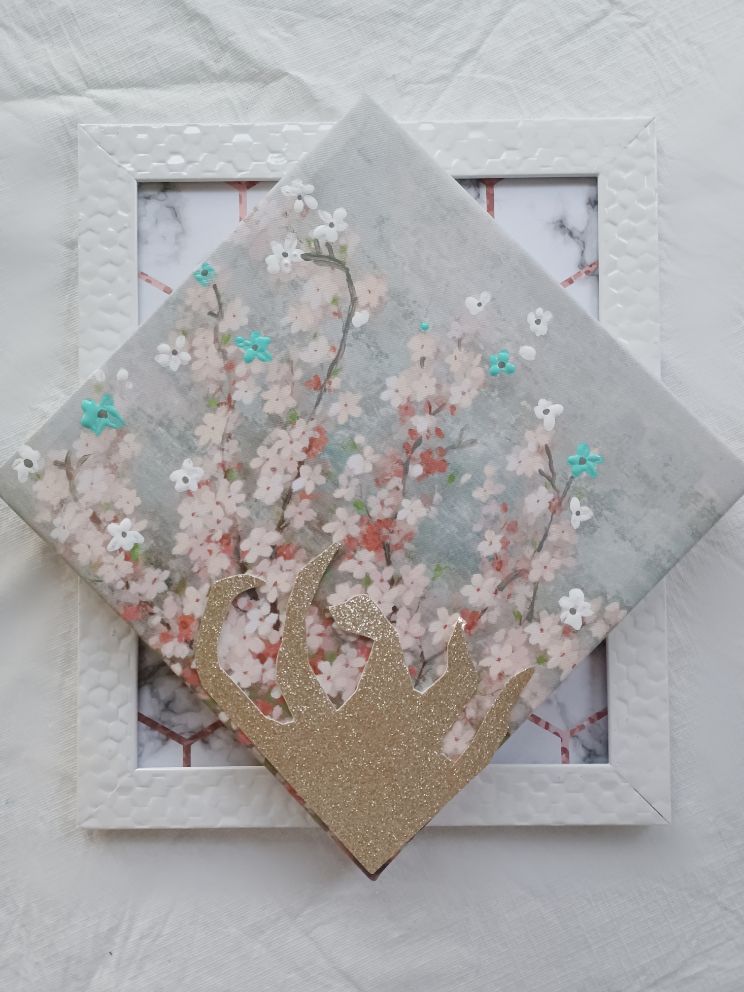
In this step we will assemble all the pieces together. Start by placing your paper into your dried frame.
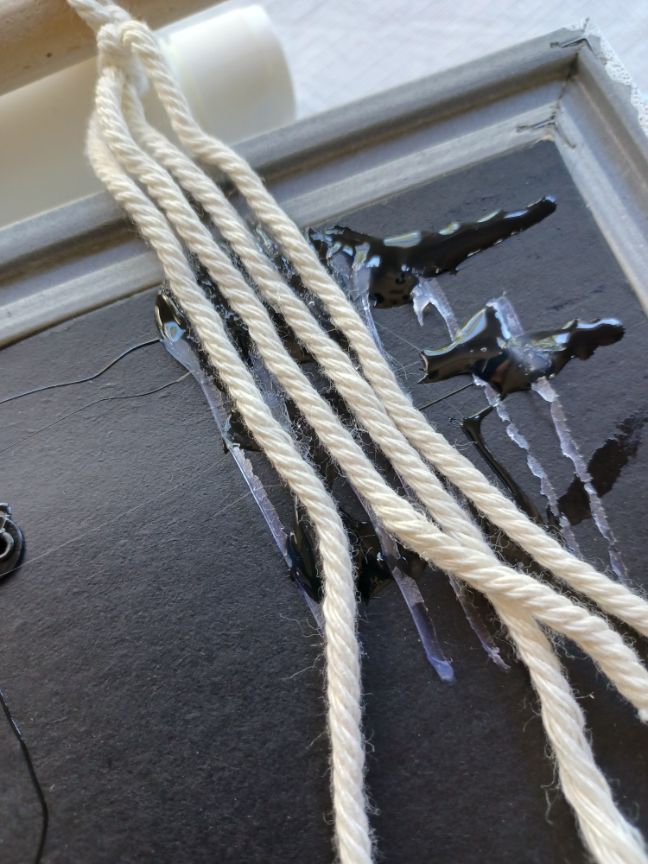
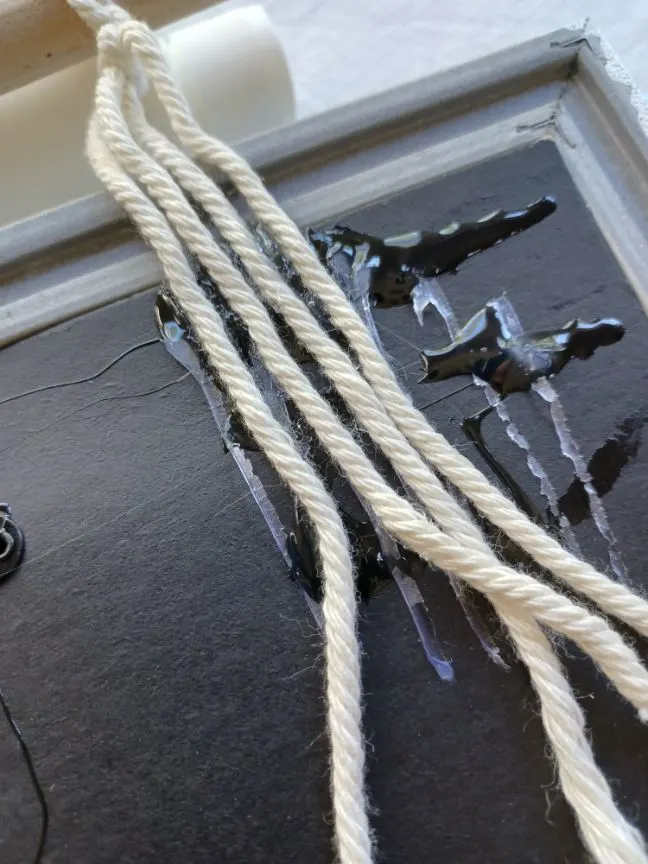
Next, glue down your macrame hanger. If you do not have one you could create a macrame one out of string by looking up tutorials. OR simply using string in its simplest form.
I wanted a little flare of something artistic. I took some scrap gold scrap booking paper and cut out a flame to glue to the bottom corner of the canvas. It gave my art some pazz.

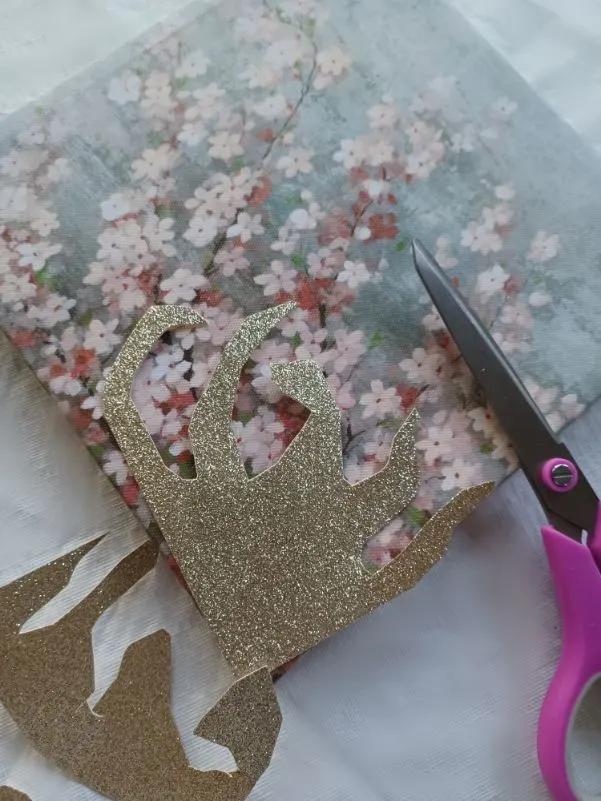

Glue everything including the bird house together.

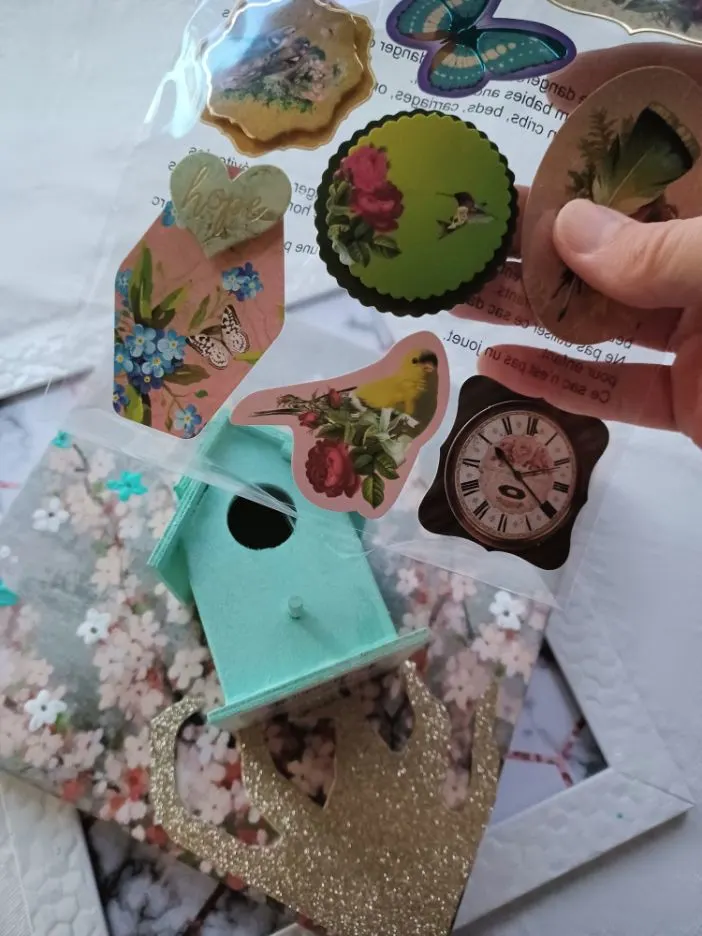
Next take the bird sticker or card stock bird you will use and put her into place. My thick firm sticker was perfect and needed no other card stock for stability.
I add extra glue to the end of the perch for the bird to rest on. She looks right at home there.


Consider this:
- Consider giving this to a friend or loved one instead of a store bought card with a note rolled up and stuck in the bird house entrance.
- Make for a teen to surprise them who might need some extra encouragement. Give them a little treat attached with a note saying, “You are extra sweet here is a little tweet”!
- Give all the parts needed to make this and an address to this tutorial in a box wrapped and give as a gift to a teen or anyone of any age who could use something to do.
- Make for a little girls room.
- Give to someone in a rest home or hospital to decorate their room instead of a card.
- Make for yourself.
- Do a holiday version if you want to instead of evergreen.
- Make it to celebrate spring.
- Make it and leave it on a neighbors door anonymously saying “You are sweet here is a tweet”. Love your secret neighbor admirer.
- Use the same concept and make one for a boy using boy themed paper and canvas. Use a car or dinosaur or anything you can think of.
- Make one for the bathroom with another note hanging from it boldly saying “ Please be tweet and wipe the seat”.
- Write a poem and give it with this as a gift to someone special.

There are so many ideas you could use this for and I am sure you could probably think of more! This cute little pop of spring or summer will bring smiles and joy for sure.
I hope this post inspired you to take items and combine them for a new look or purpose when considering room decor or in making an I am thinking of you gift.
You may also enjoy these fun and simple DIY Craft Projects:
- Modern Farmhouse Faux Wall Garden – Upcycle Craft Project
- Upcycle An Old Bar Stool Into A Cute And Functional Shelf!
- DIY Fairy Garden Nightlight Craft Project
Make Your Own Beautiful Living Succulent Wreath Centerpiece! Complete video course by Jeannine Romero now available through Skillshare.