

She enjoys all aspects of home DIY- from simple crafts to complete home remodels.
- Clay Moon Phase Wall Hanging - July 4, 2023
- What To Do When a Toddler Won’t Keep Their Blanket On - June 10, 2023
- How Do Child Locks Work in Cars? (And When To Use Them!) - June 10, 2023
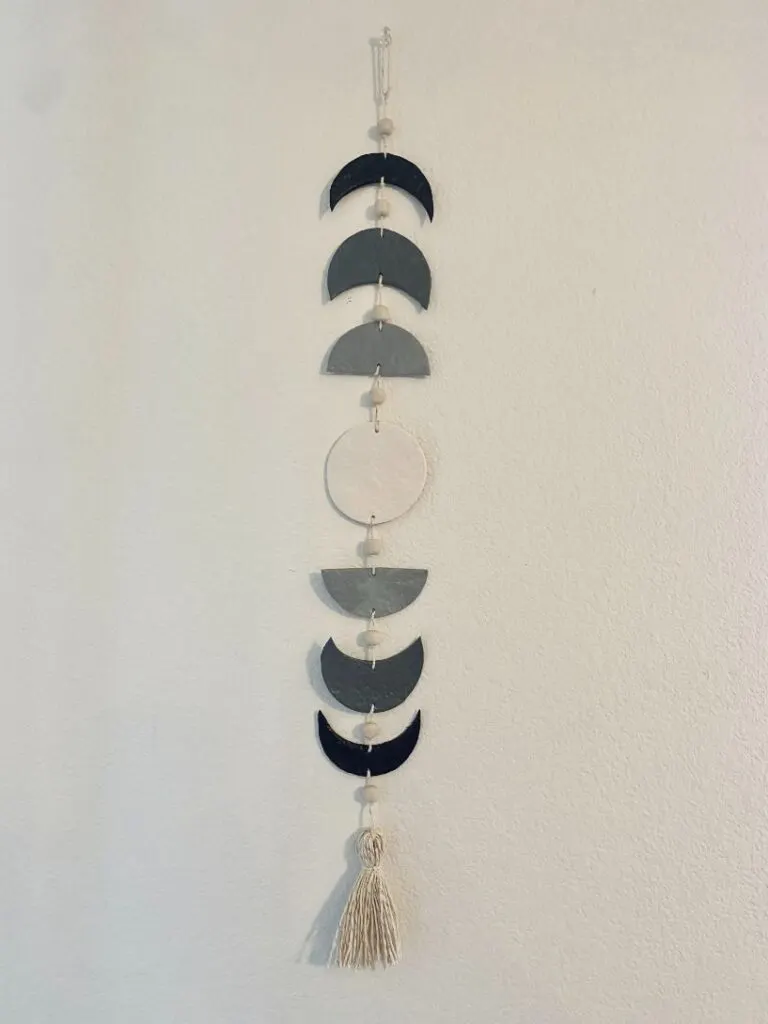
I’m really into the moon and stars these days. I wanted to make something to remind me of the night sky, and voila, this craft was born! Follow along to make this beautiful moon phase wall hanging out of polymer clay.

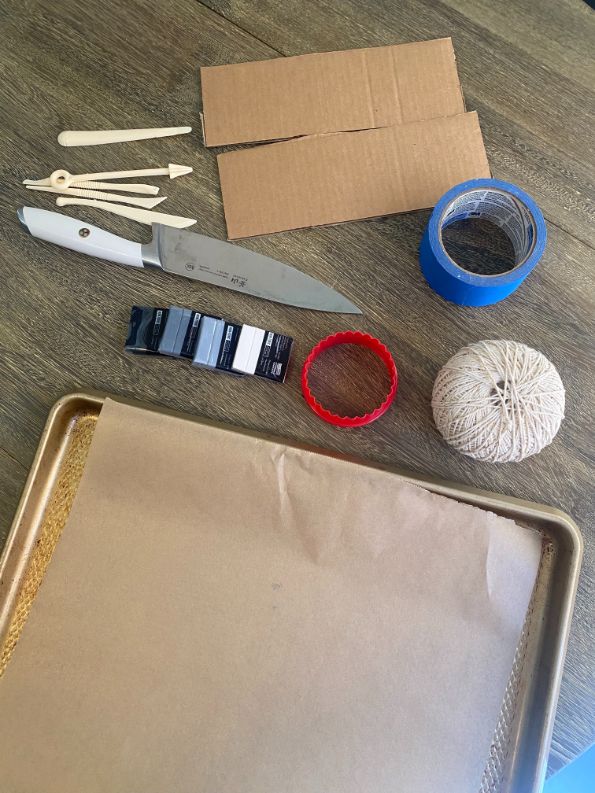
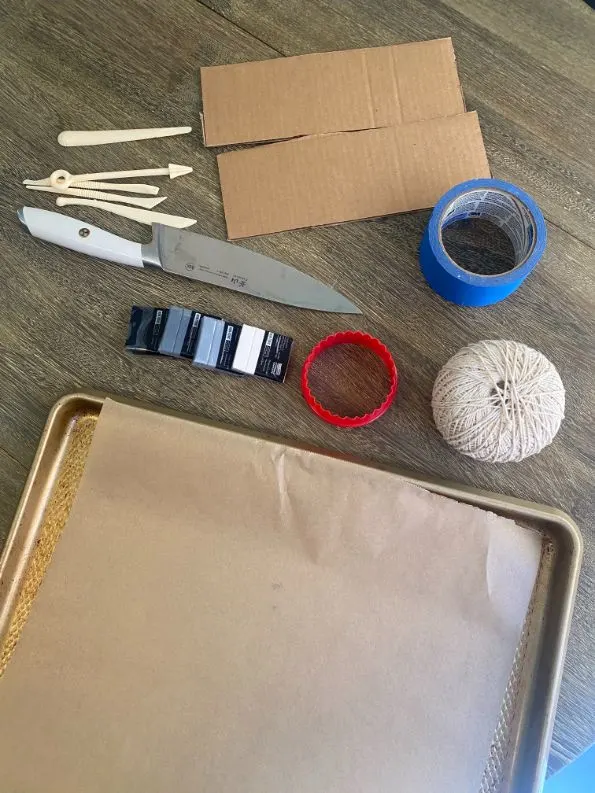
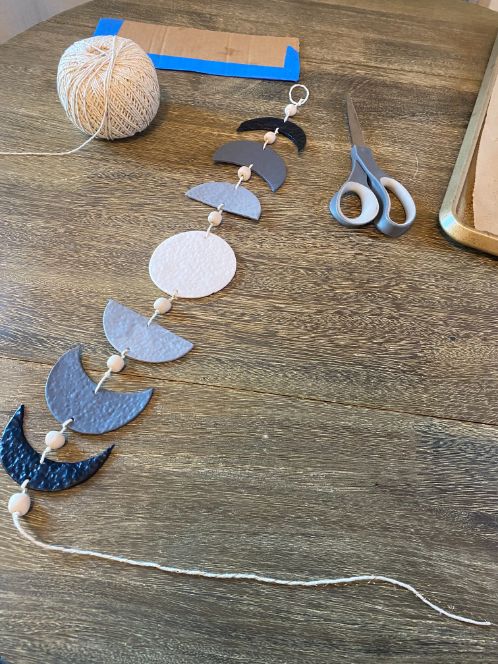
You Will Need:
- Polymer clay (link to Amazon)
- A Knife
- Clay sculpting tools (mine came with my clay!)
- Twine
- A safety pin, paper clip, needle, or toothpick (not pictured)
- Scissors (not pictured)
- Two pieces of cardboard
- Duct tape or painters tape
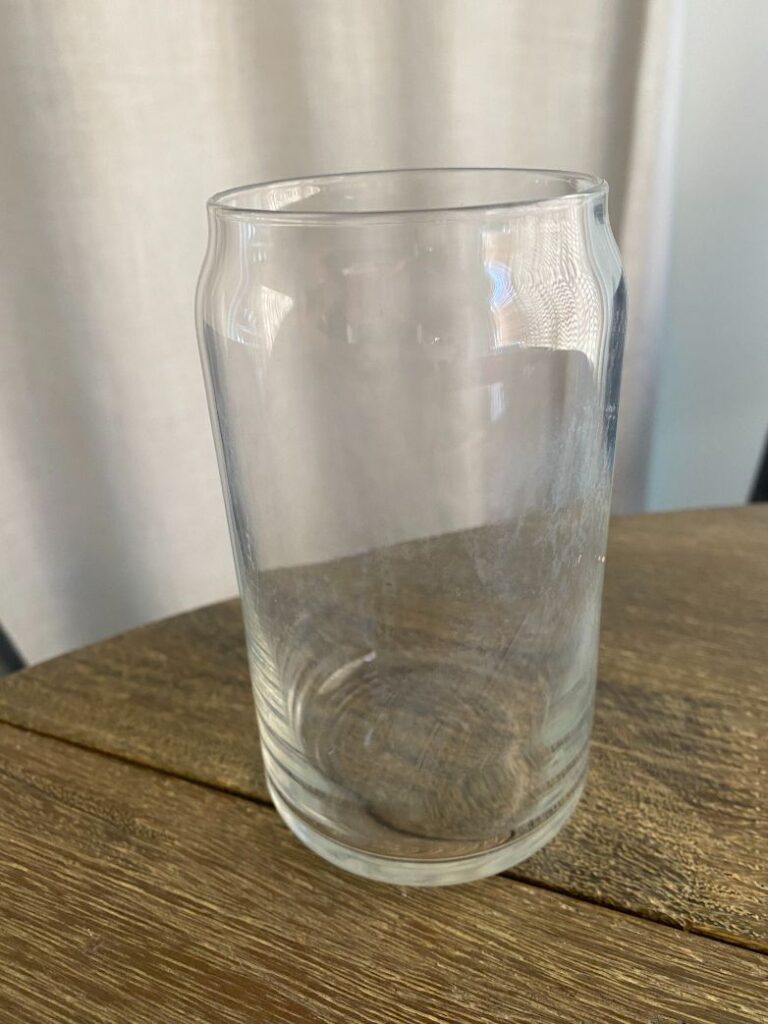
- A straight-sided glass or a clay roller
- A circle cookie cutter
- A baking sheet
- Parchment paper

Step 1:
Preheat the oven to whatever temperature your clay specifies (mine was 325 Fahrenehit). Pick out four colors of clay. I think it looks nice to start the center moon with white, then get darker with each color, making an ombre effect.
Take your white clay (or whatever color you want your full moon to be) and condition it in your hands by rolling it between your palms into a rope, then squeezing it and rolling it into a ball, and repeating that process a few times until the clay is softer.


Step 2:
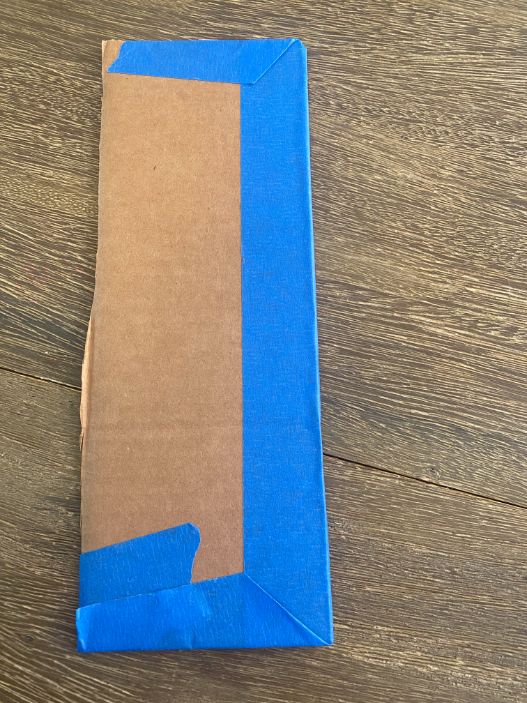
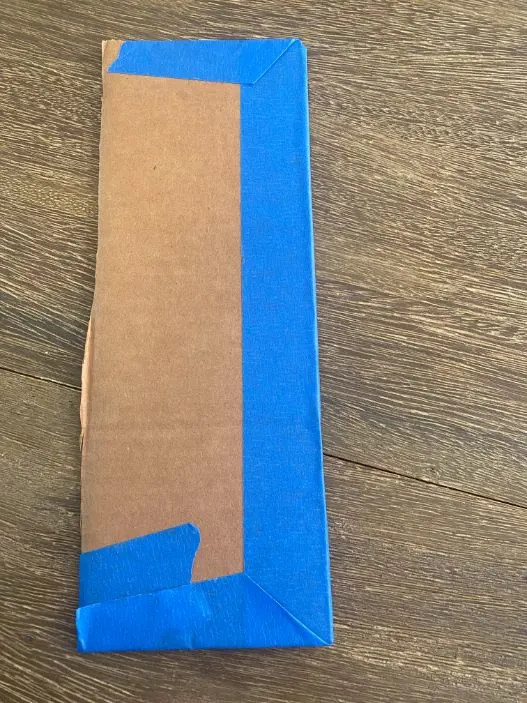
Take your two pieces of cardboard and your tape. Wrap one edge of each piece of cardboard in tape. These will be a guide to keep your clay rolled the same thickness every time!
Step 3:
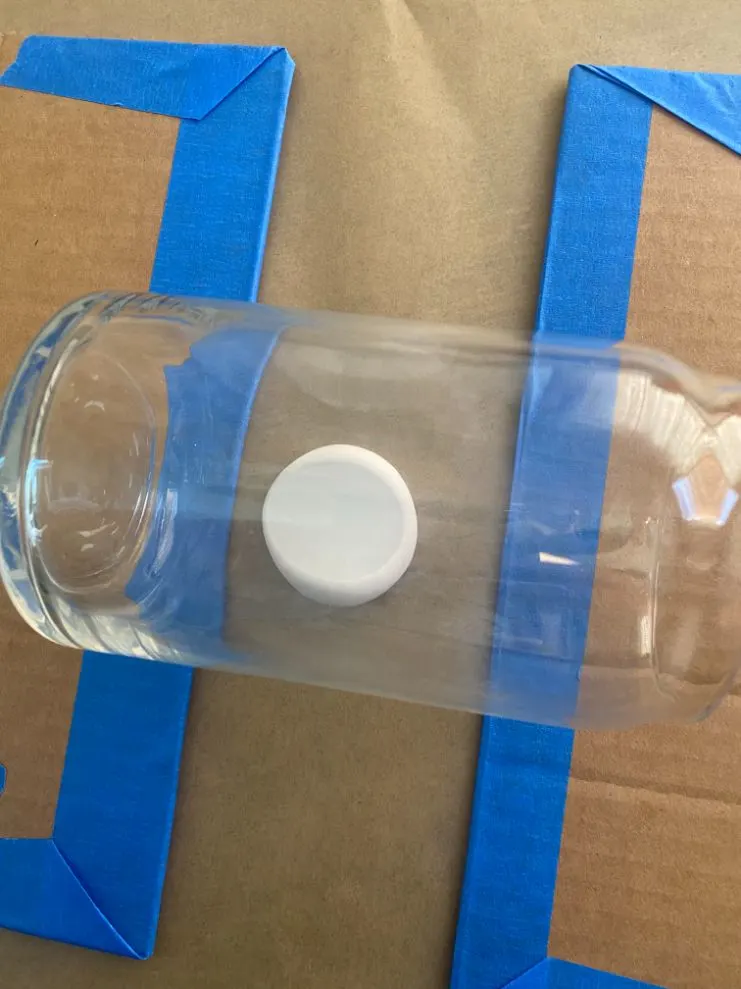
Get a piece of parchment paper. and place your cardboard guides on top of it.
Take your flat-sided glass or your clay roller and roll your clay out, using the guides to keep the glass from pressing too hard on the clay and rolling it too thin.

Step 4:
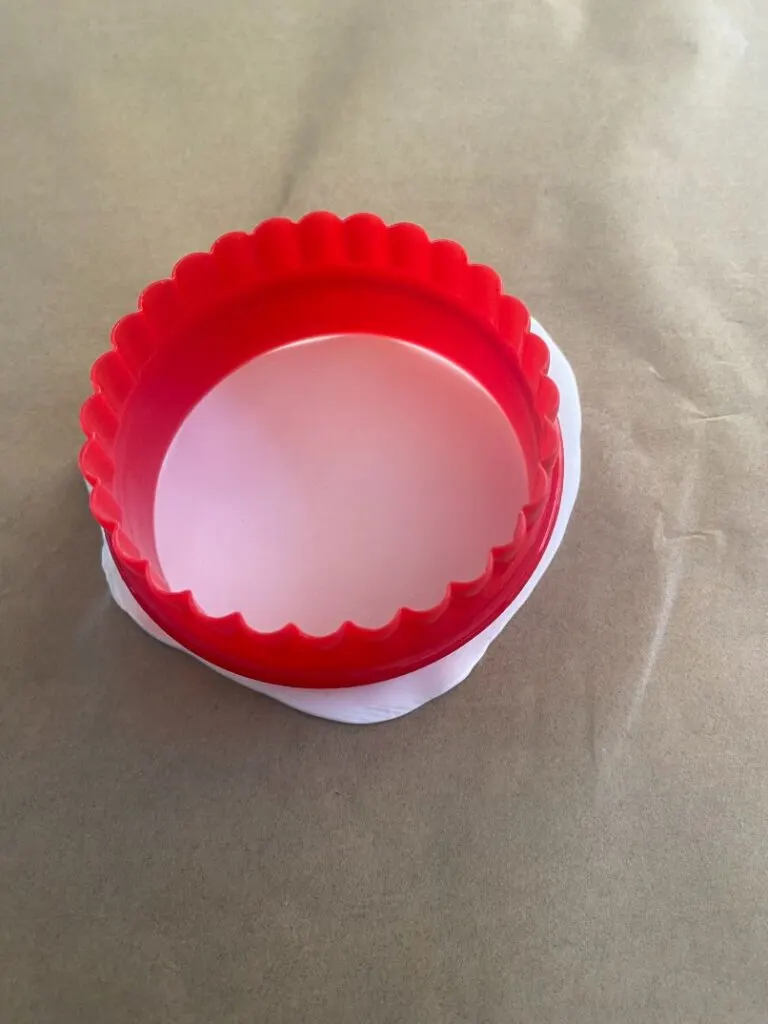
Take your circular cookie cutter and cut out a circle. This will be your full moon!

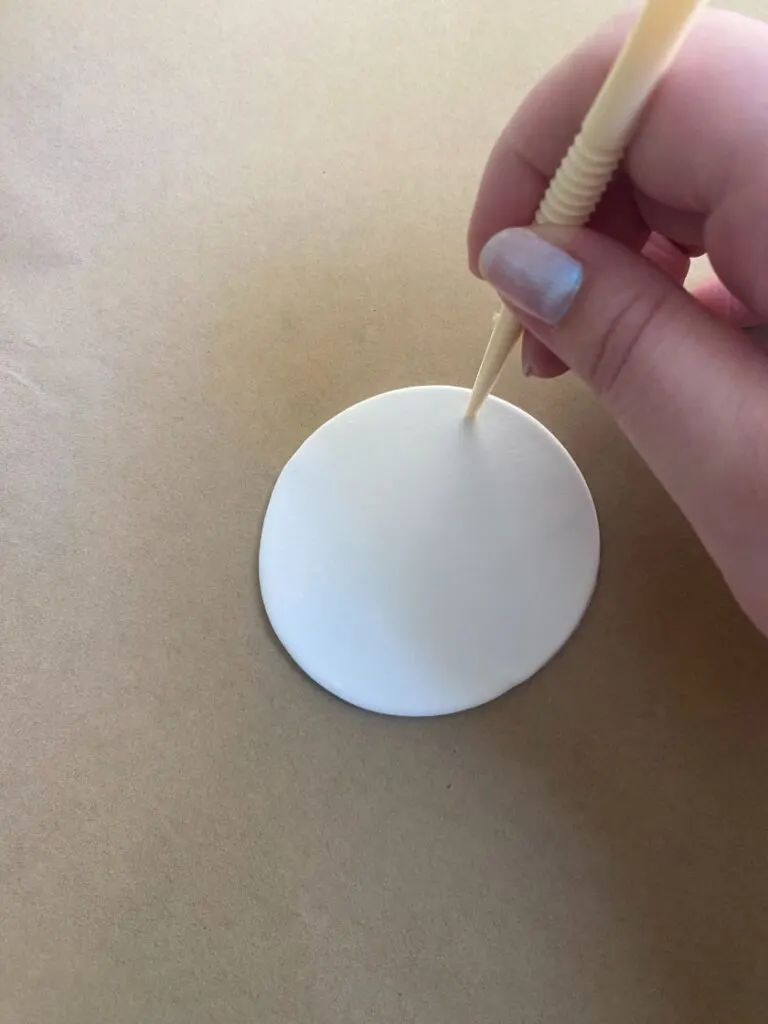
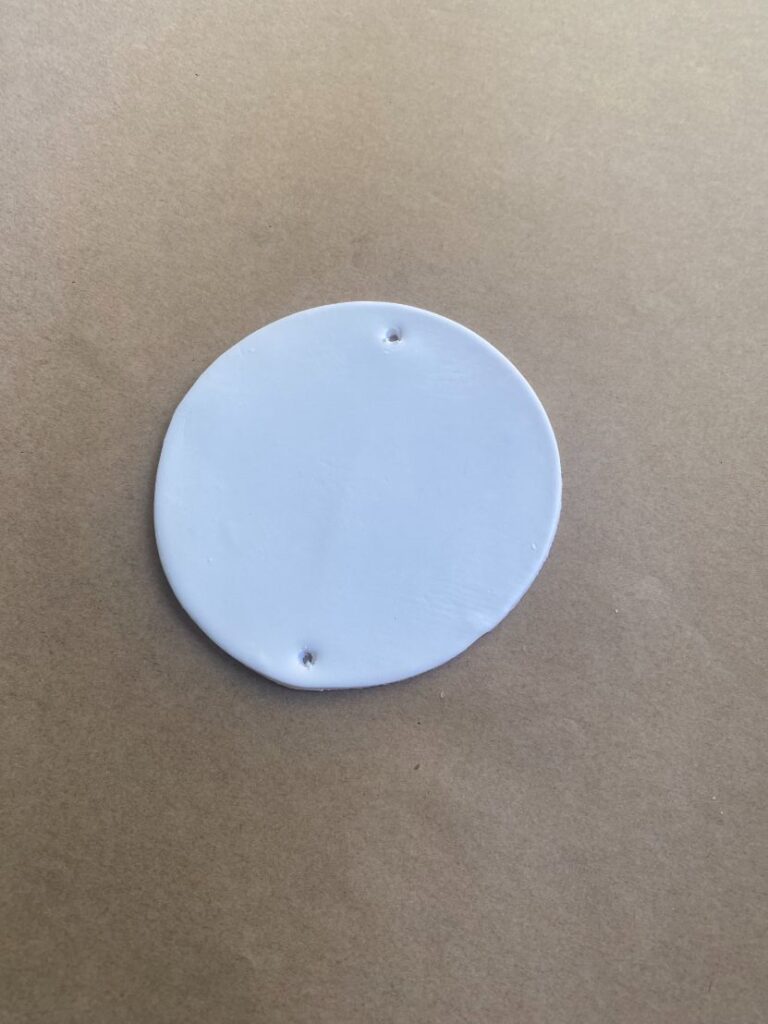
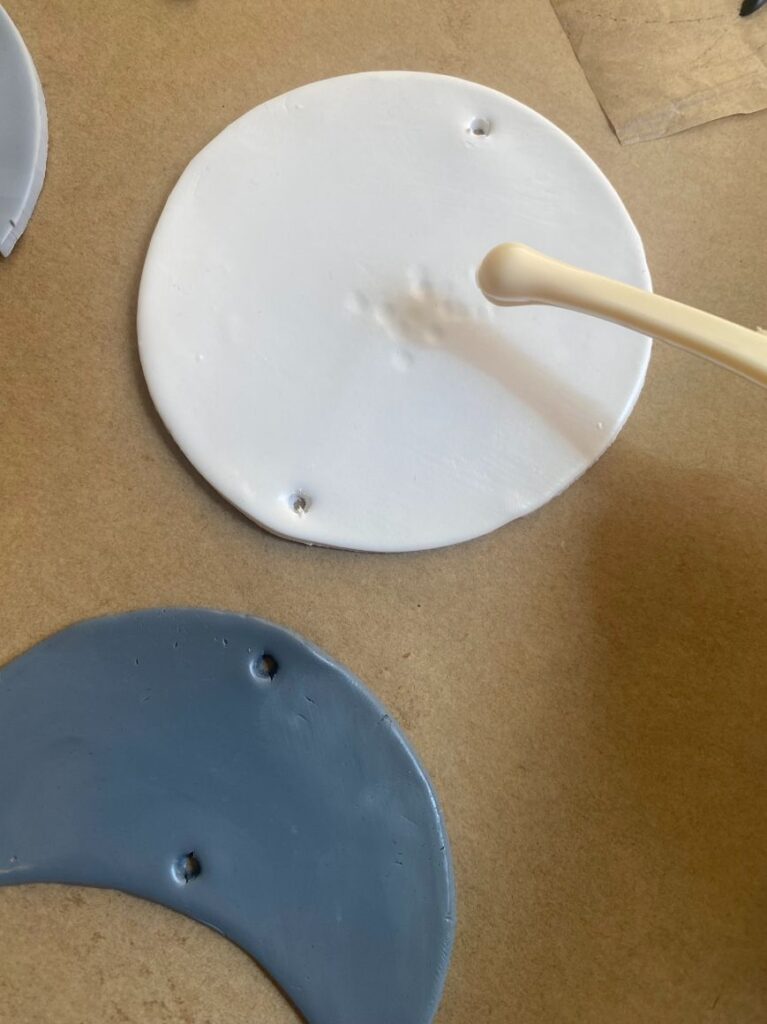
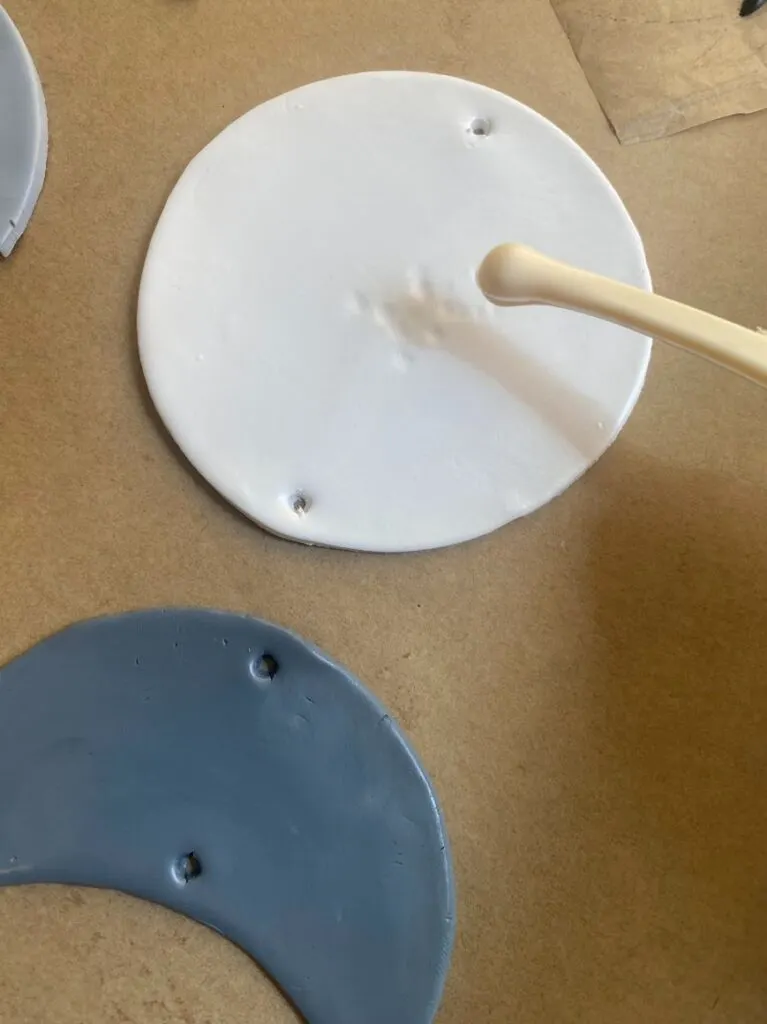
Step 5:
Using the end of one of your clay sculpting tools, poke a hole into the top and bottom of the moon. Set this on a sheet of parchment paper on your baking sheet.


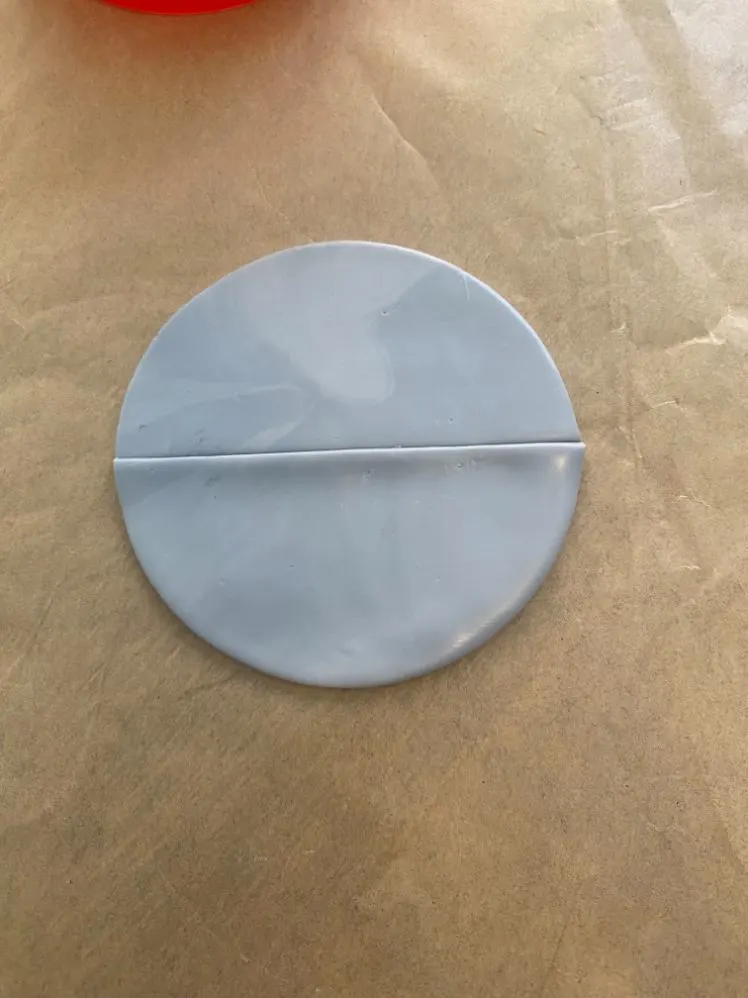
Step 6:
Take your next-lightest color and repeat steps 3 and 4. This time, take your knife and cut this moon in half.
Repeat step 5 on each half of the moon.

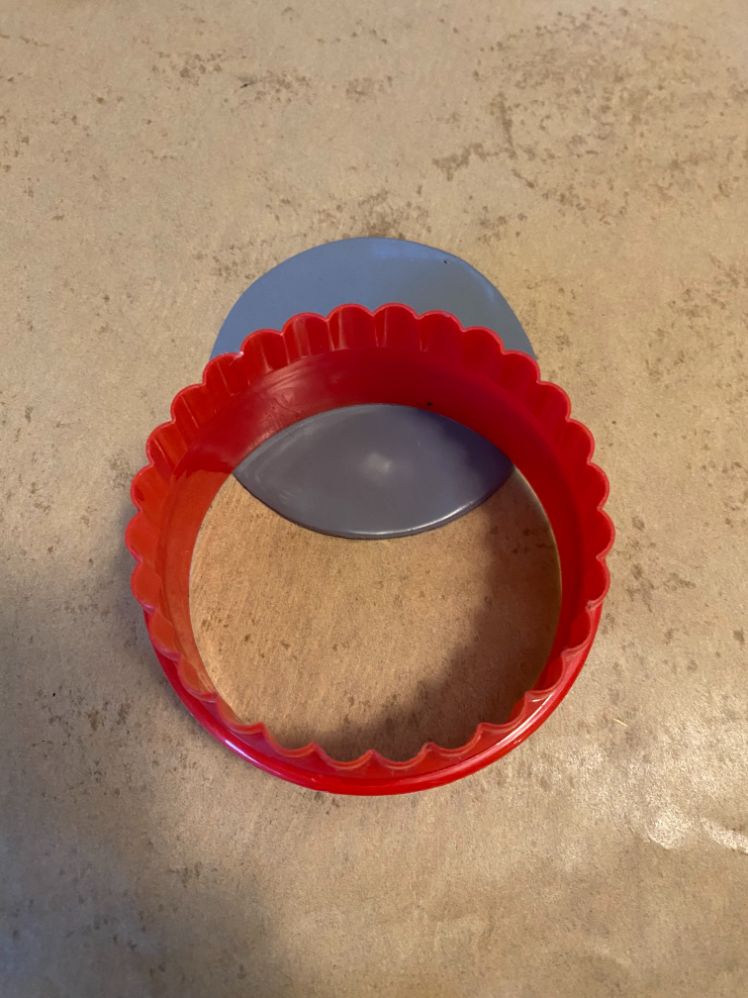
Step 7:
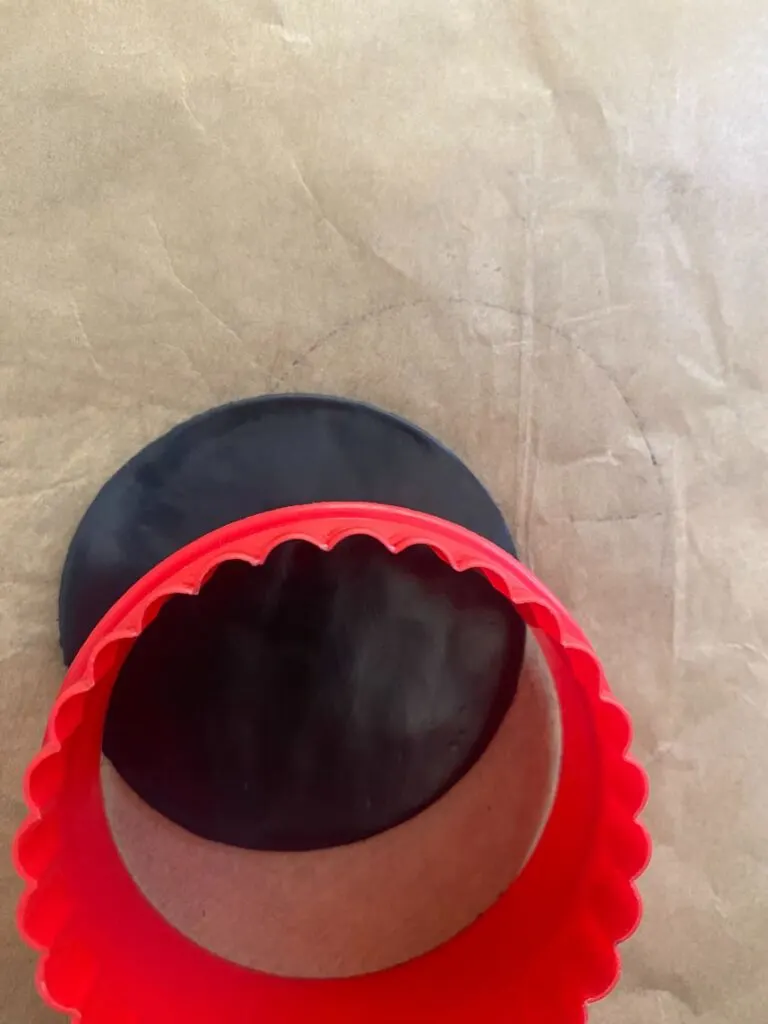
Repeat steps 3 and 4 with your next-lightest/second-darkest color of clay. Take your cookie cutter and cut out a sliver of your moon to look like the picture.
Repeat this until you have two identically-sized moon phases in this color. Repeat step 5.

Step 8:
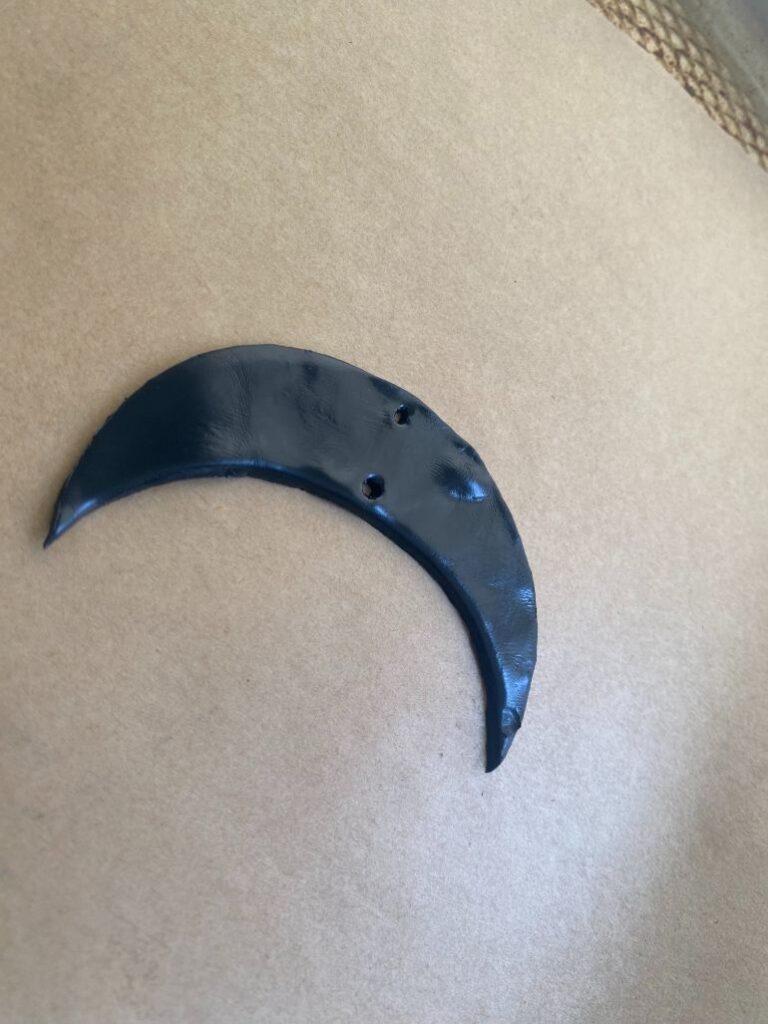
Repeat steps 3, 4 and 7, with your darkest color of clay, this time cutting a bigger sliver of your moon off with your cookie cutter to make the remaining moon phase the smallest/thinnest crescent.
Do this twice to form two identical crescent moons. Repeat step 5.


Step 9:
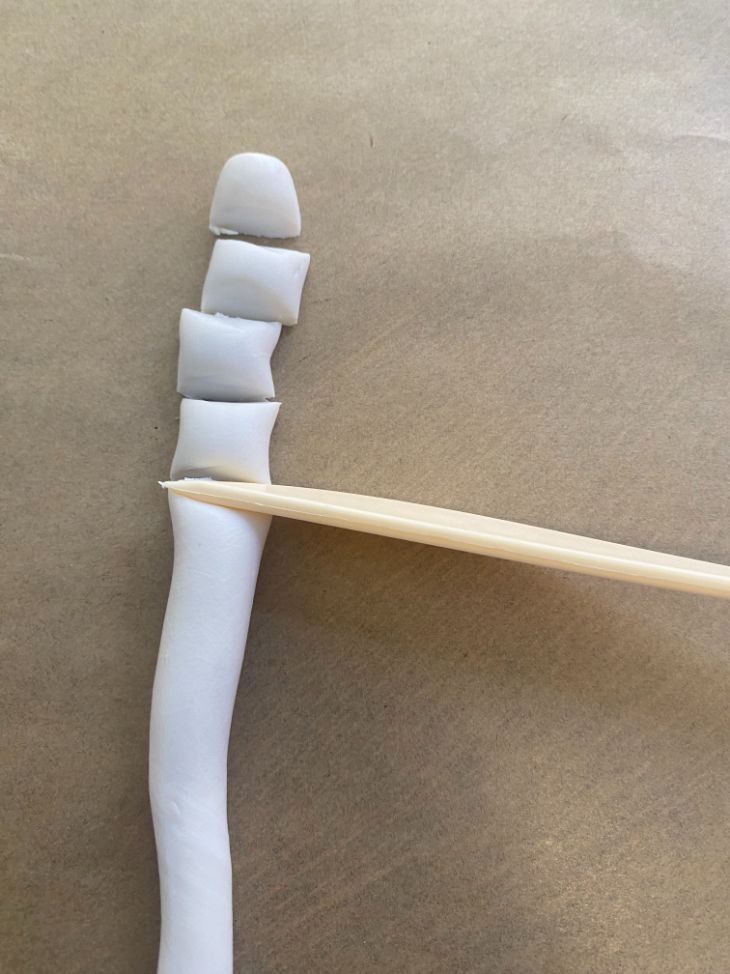
Take your white clay that you have left over from the full moon and roll it into a rope. Then, using your clay sculpting knife or a regular knife, cut it into small sections, like the picture.
Roll these into balls (you only need 8, but I made more just in case I didn’t like the shape of some of them).

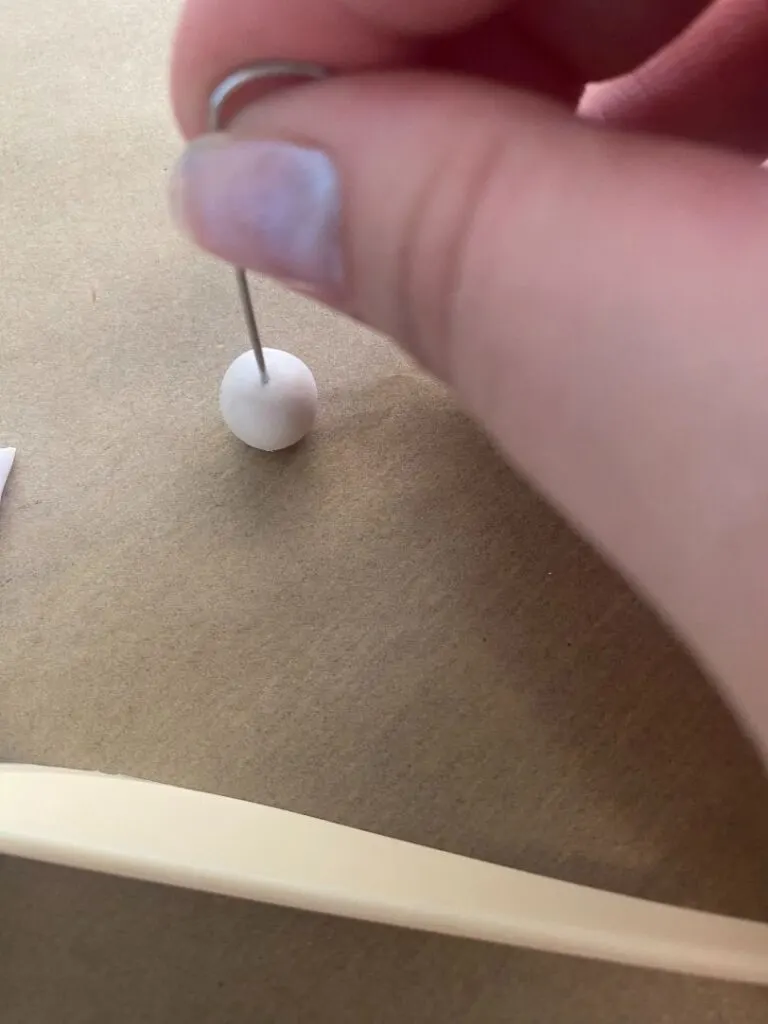
Step 10:
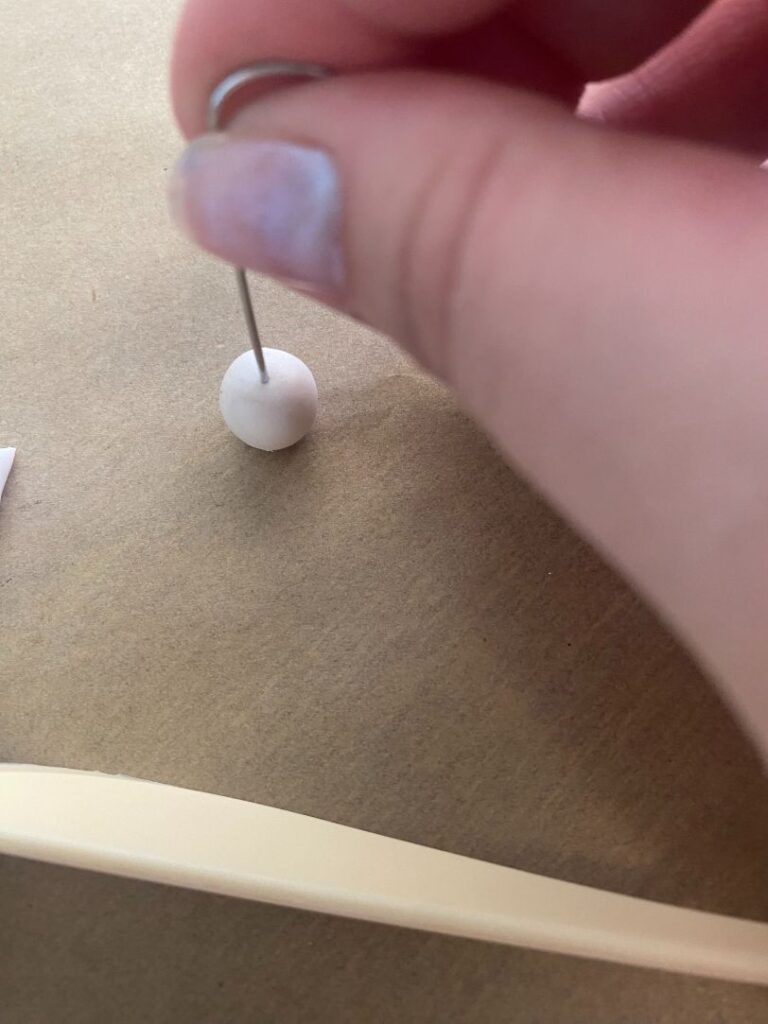
Take your safety pin, paper clip, needle, or toothpick and use it to make a hole in the ball. This will be a clay bead that you’ll use to string onto the wall hanging later on.
Ensure the hole is big enough to fit whatever twine you’re using!
Repeat this until you have at least 8 little clay beads. Place them on the parchment on your baking sheet.
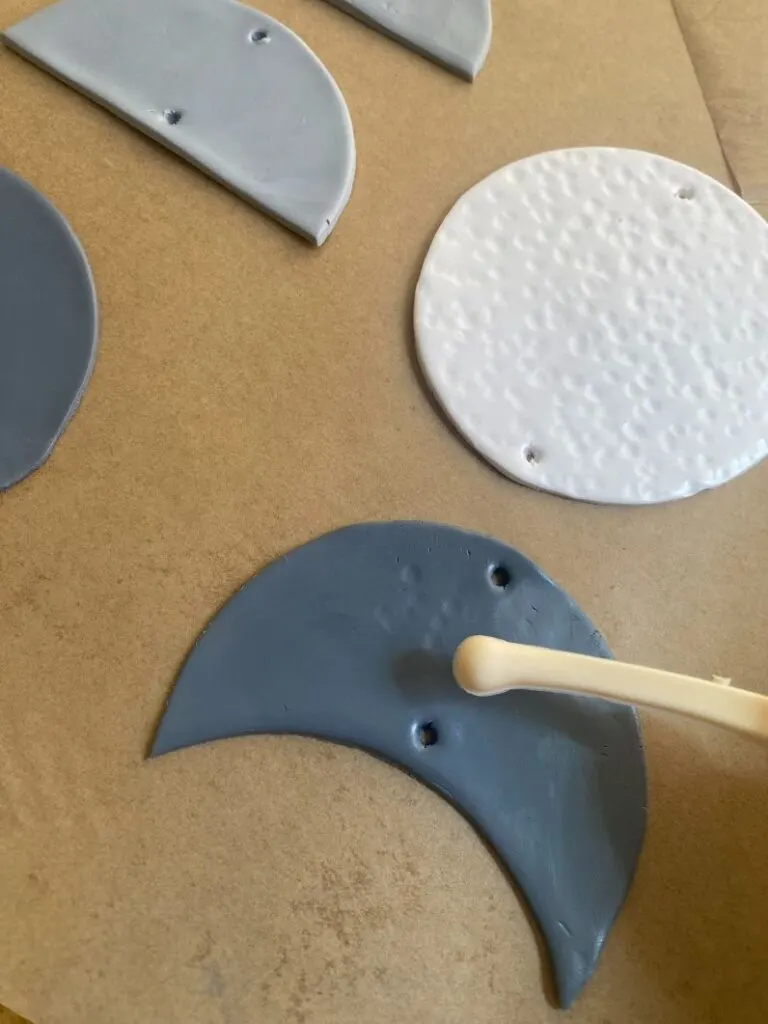
Step 11:
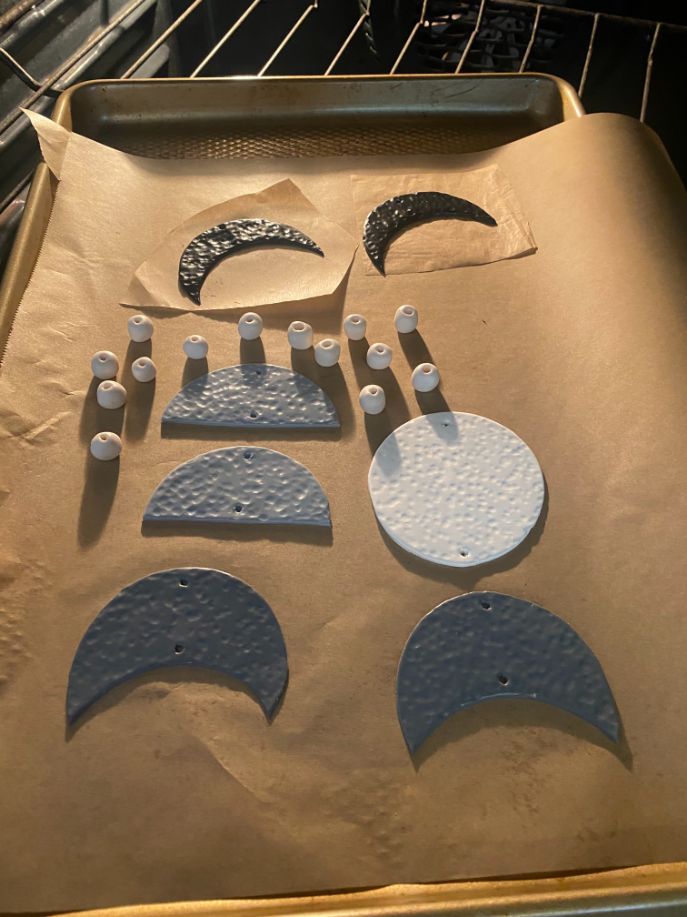
Using one of your rounded clay sculpting tools, repeatedly tap the rounded side on the surface of your moon phases to create texture. This will make them look more like moons!

Step 12:
Place your baking sheet with all of your clay items into the oven, timing it according to the instructions on your clay. When the time is up, let the clay cool completely.

Step 13:
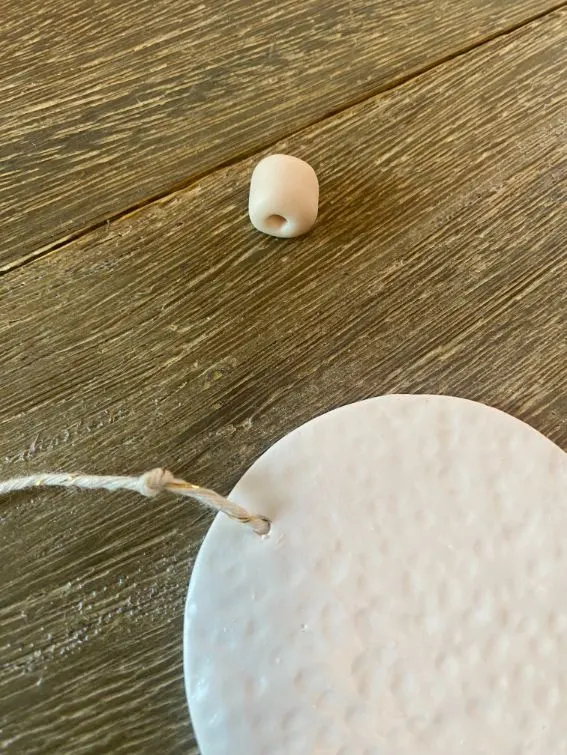
Take your twine and cut a long piece, longer than you want your wall hanging to be.
Take this string and thread it through the top of your full moon (the full circle), pulling the moon to the middle of the string and then tying a knot to keep it in place.
Thread through the hole on the opposite end of the moon and tie another knot.


Step 14:
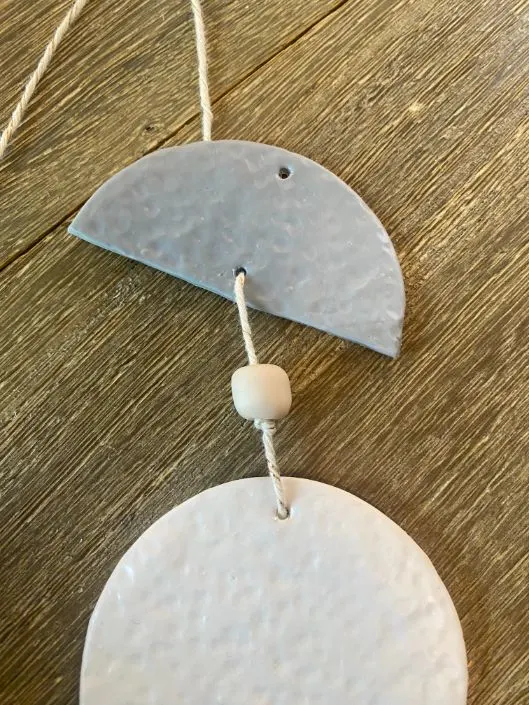
Tie a knot about a third of an inch above the top of your moon. This will be where your bead sits. Take one of your clay beads and slide it onto the string, resting it above the knot you just tied.

Step 15:
Take one of your half moons and slide the string through the bottom of it, making sure that the string is only visible on the backside of the half moon.
Tie a knot to keep this half moon in place, then thread the string through the hole in the top. Repeat step 14.


Step 16:
Take your large crescent moon and thread the string through the bottom hole just like you did with the half moon.
Tie another knot here to keep the moon in place, then thread the string through the top hole of the large crescent. Repeat step 14.

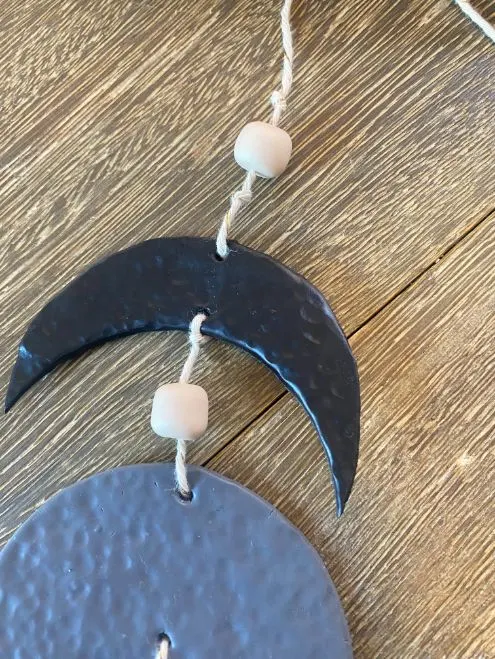
Step 17:
Take your smallest crescent (your darkest color) and slide the string through the bottom hole, tying a knot to keep it in place like you did with the other moon phases.
Thread the string through the top hole and repeat step 14 once more.

Step 18:
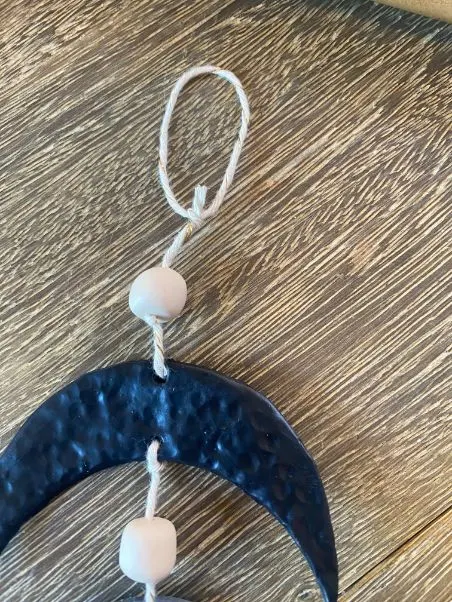
Take the end of your string and tie a loop a third of an inch above where your last bead sits at the top of your string. This will be what you hang it from.

Step 19:
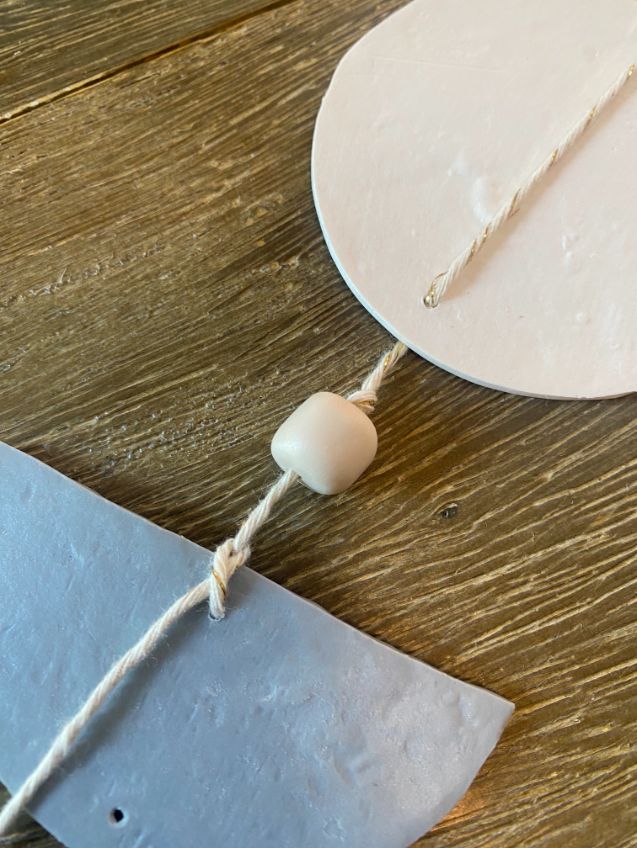
Take the string hanging from the bottom of your full moon.
Thread a bead onto this string and tie a knot underneath it to keep it in place. Then, take your half moon and tie it in place, and repeat the process that you did with the top half of your wall hanging until your moon phases are mirrored, like the picture.
Do not cut off the extra string hanging from the bottom yet.
Step 20:
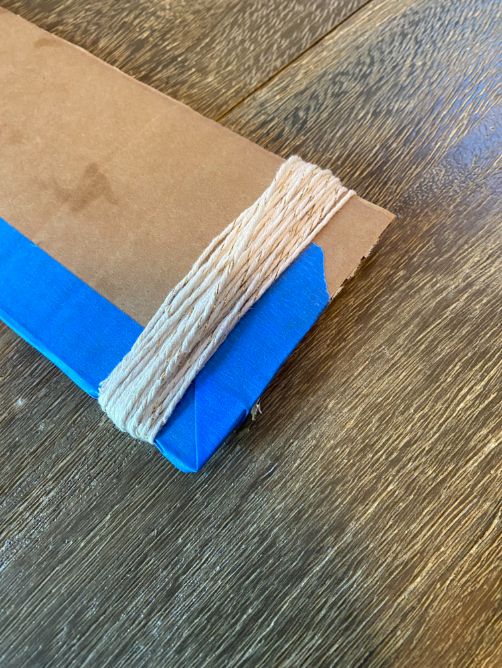
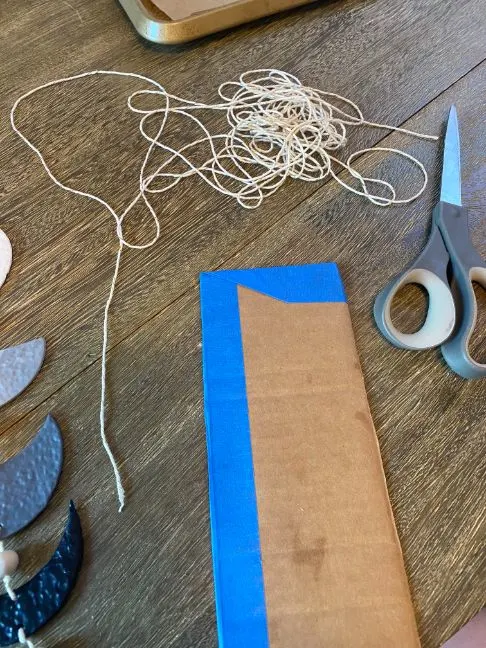
Take your twine and cut a very long piece. Grab one of your cardboard guides and wrap the long piece of twine around it.

Step 21:
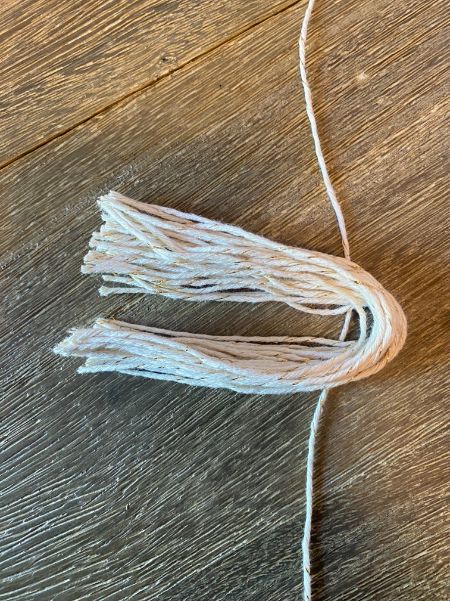
Take the twine and slide it off, making sure to keep the string looped. Take your scissors and cut one end of the loop so that the strings hang free.
This is going to be your tassel.
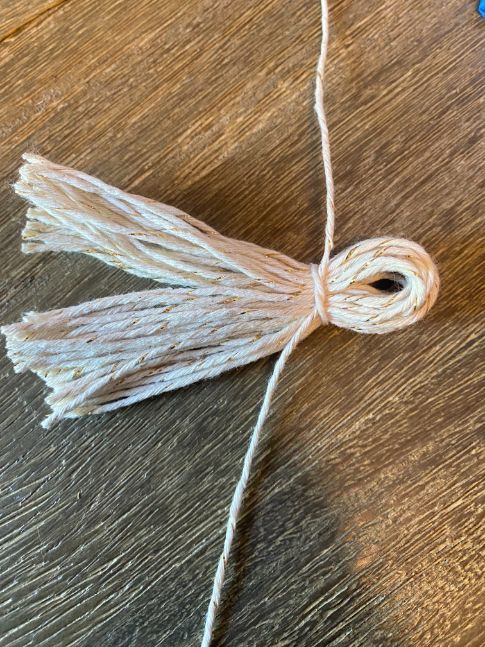
Cut another piece of twine, about 6 inches long, and place the looped end of the tassel strings on top of the 6 inch string. Tie the string in a knot around the group of strings to form a tassel.


Step 22:
Take the string hanging off of the bottom of your wall hanging and thread it through the top of your tassel, tying a couple of knots to keep the tassel in place. Cut off any excess string.

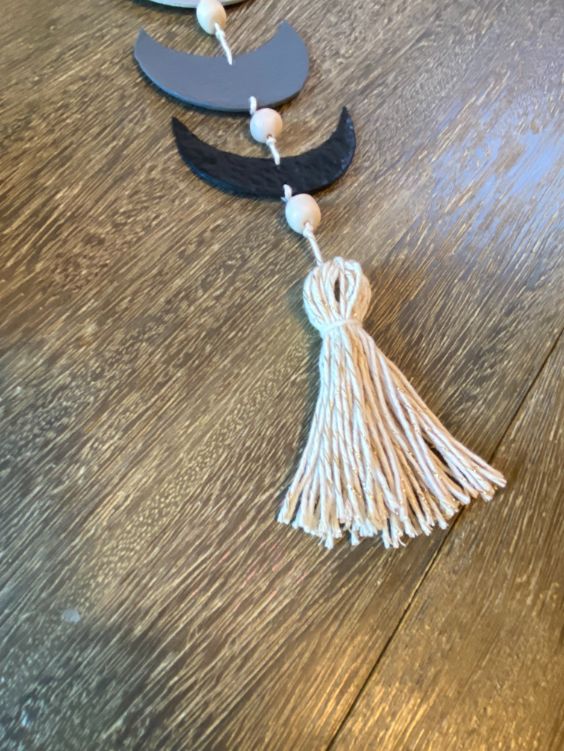
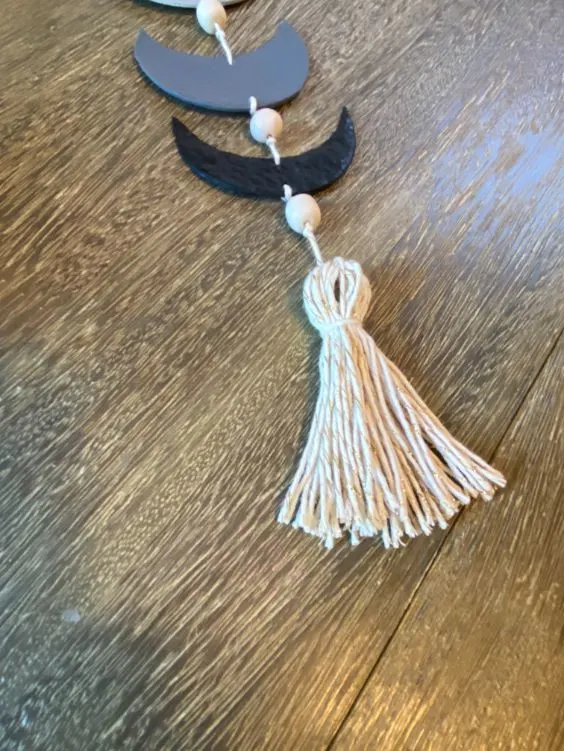
Step 23:
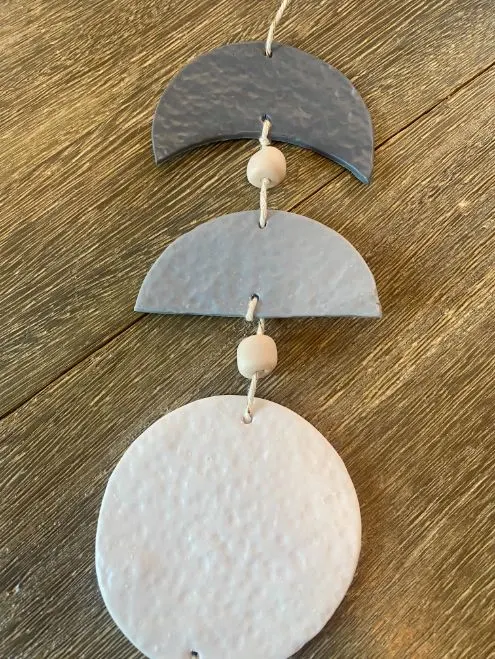
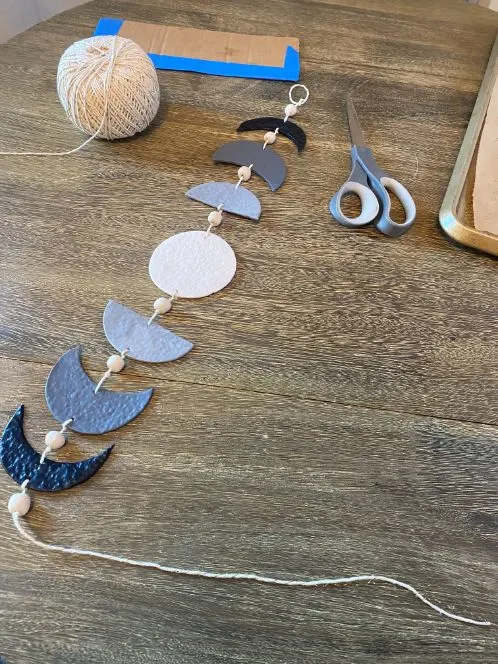
Voila! You have a gorgeous moon phase wall hanging to remind you of those beautiful night skies. Enjoy!
Here’s some more crafts you may enjoy:
- DIY Moss Mirror – Step-By-Step Tutorial
- DIY Pressed Flower Globe – Step By Step Tutorial
- DIY Moon Suncatcher – Simple Craft Idea!
Make Your Own Beautiful Living Succulent Wreath Centerpiece! Complete video course by Jeannine Romero now available through Skillshare.