

She enjoys all aspects of home DIY- from simple crafts to complete home remodels.
- Clay Moon Phase Wall Hanging - July 4, 2023
- What To Do When a Toddler Won’t Keep Their Blanket On - June 10, 2023
- How Do Child Locks Work in Cars? (And When To Use Them!) - June 10, 2023
Florals never go out of style, especially in the spring. I love to incorporate fresh flowers into my home decor, but they’re so expensive and only last about a week.
Faux flowers are nice, but they don’t provide the same je ne sais quoi as real flowers.
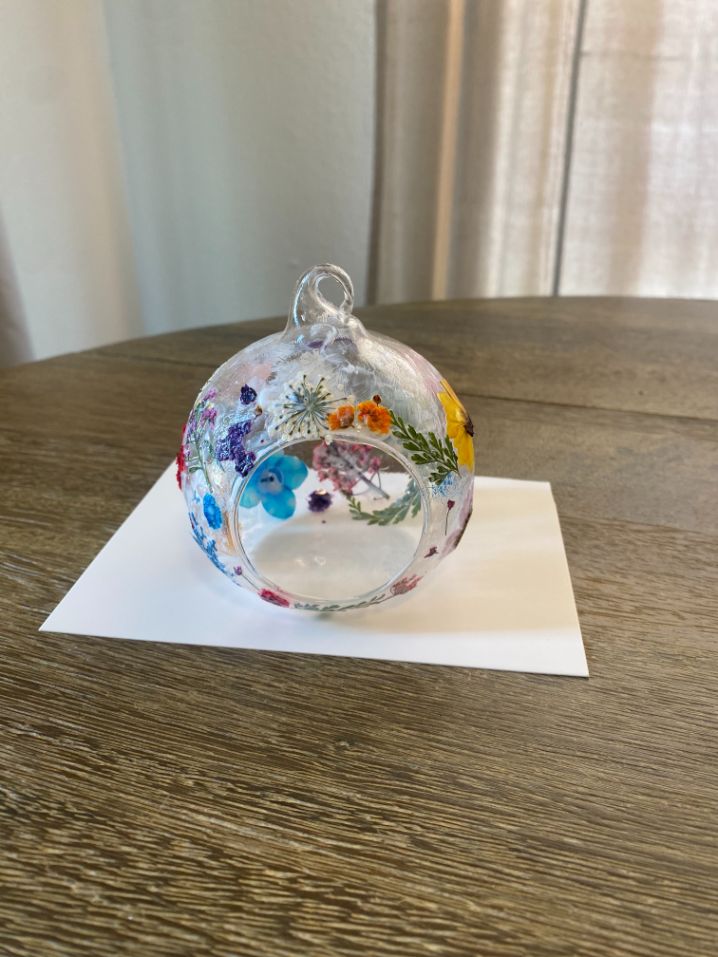
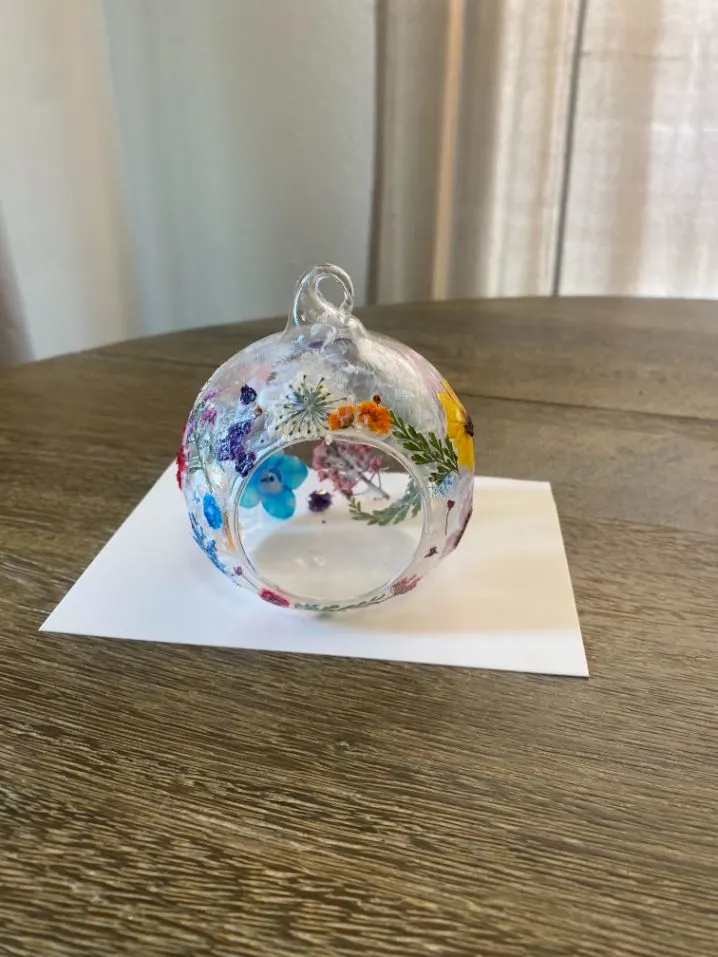
That’s why I decided to use pressed flowers to create these beautiful hanging terrariums, perfect for hanging in the sun or accent with an electric tealight candle.

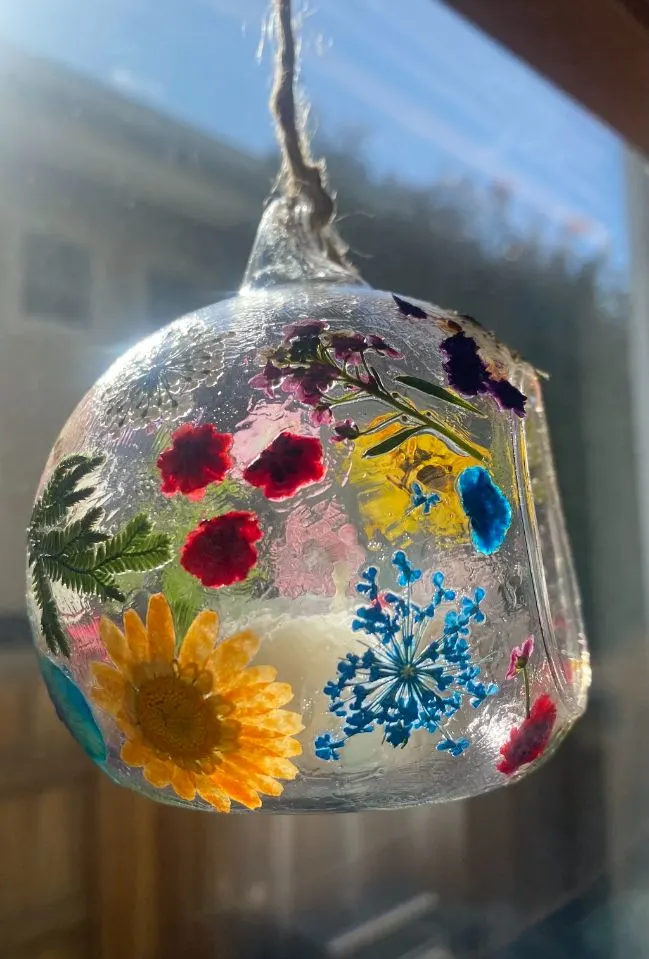
Follow along to learn how to make these gorgeous floral accent globes yourself!
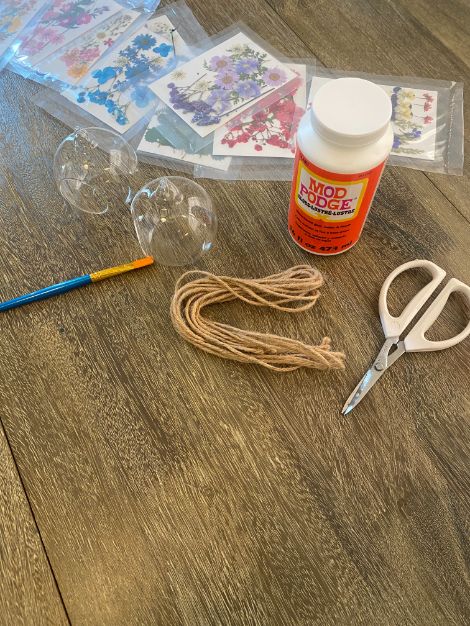
Supplies Needed:
(Links are to Amazon)
- Glass globes with string included
- Real pressed flowers
- Gloss Mod Podge
- Scissors
- Paintbrushes

Step One:
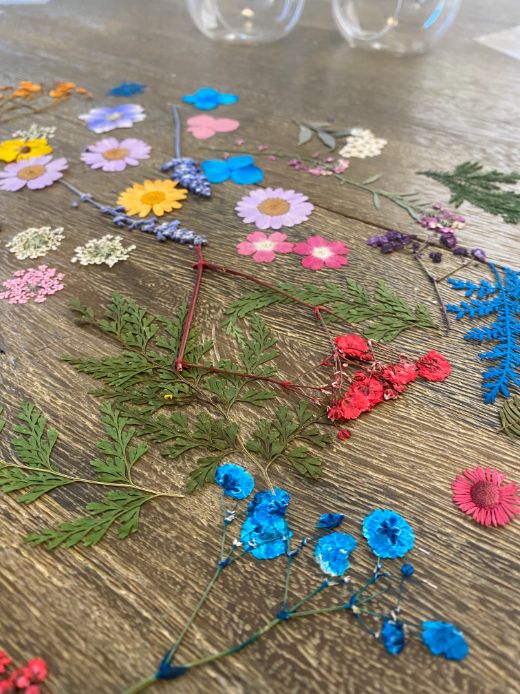
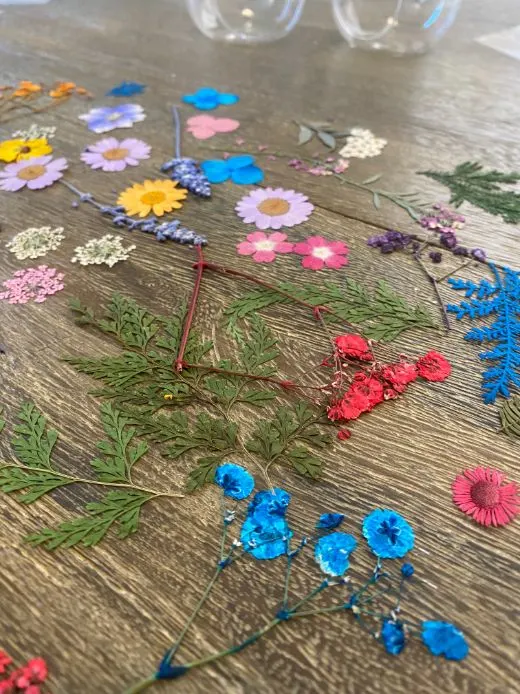
Grab your assorted pressed flowers and pick out the colors you’ll want to use.
Cut open the packages, take out your flowers of choice, and lay them out on your flat surface for easy access once you start the application process. It will be harder to go back and pick flowers out of their packaging if you have glue on your fingers.
Try to pick out flowers that are mostly flat and do not have bulbous centers. They need to be relatively flat to adhere to the sides of your globes.
Step Two:
Take your mod podge and open it. Grab one of your paintbrushes and dip it into the mod podge. Take one of your glass globes and apply mod podge to a spot on the side of it.

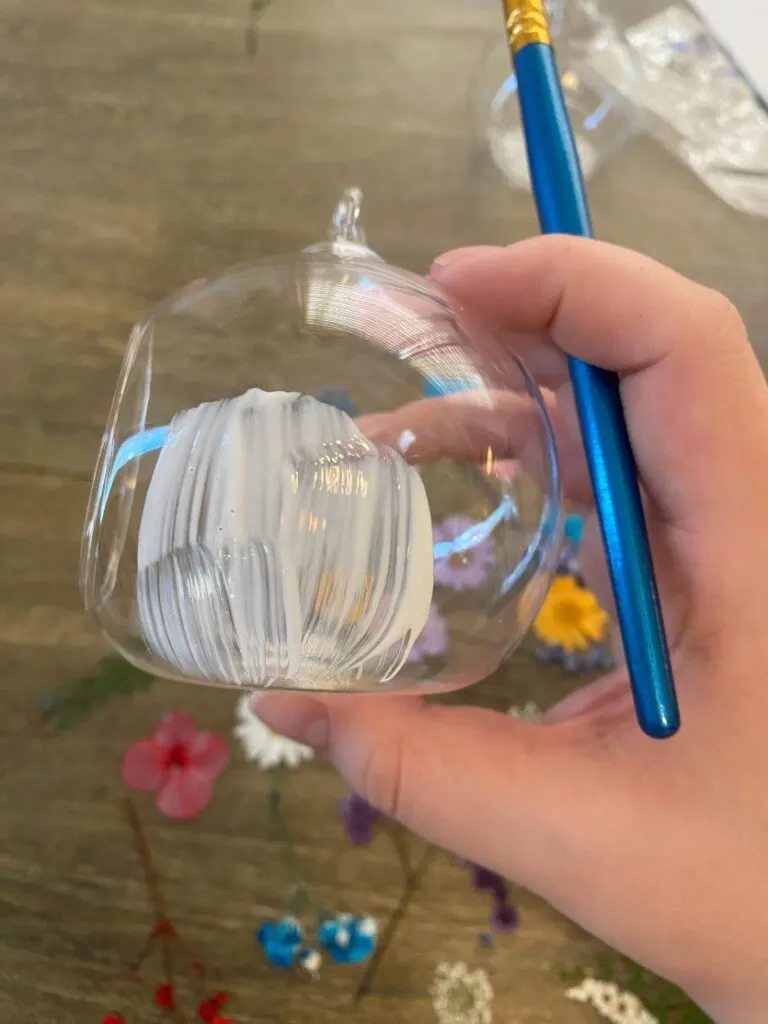
Step Three:
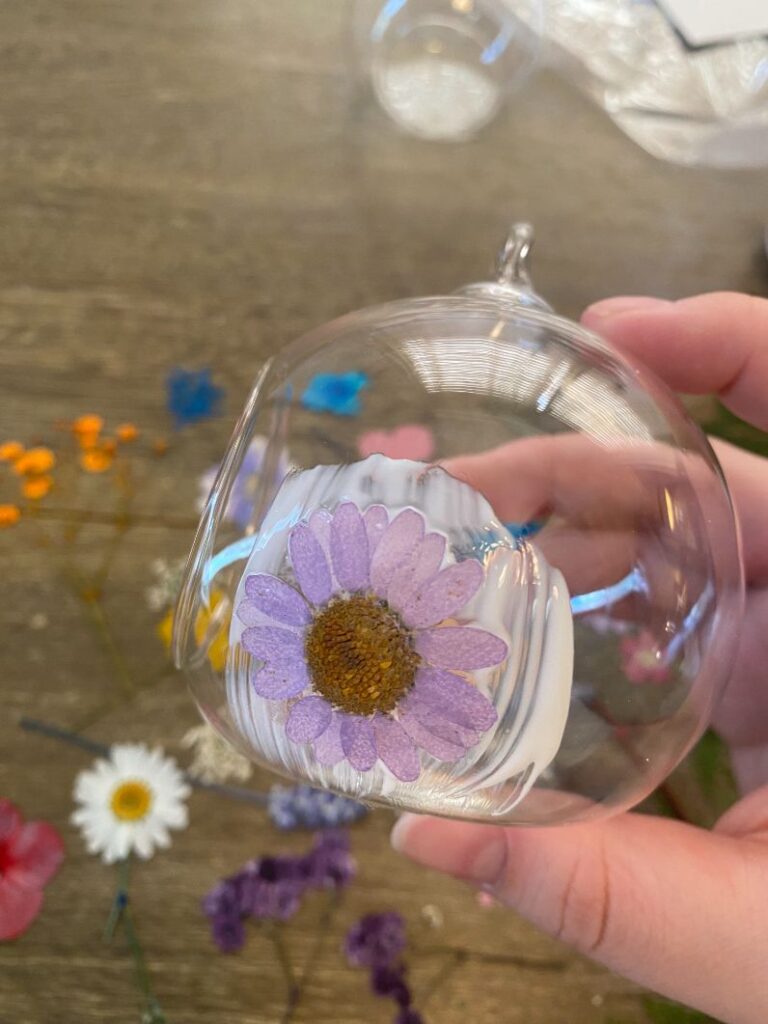
Take one of your flowers and press it onto the spot you just applied mod podge to. Certain flowers will not lay flat enough to stick to a rounded edge, so you may need to experiment with this step.
Some flowers have layered petals, so you may need to take your brush and put a bit of mod podge between petals on some flowers to get them to adhere fully to the glass.
You also may need to remove some flowers from their stems, as the stem can sometimes be too rigid to bend to the rounded sides of the glass.

Step Four:
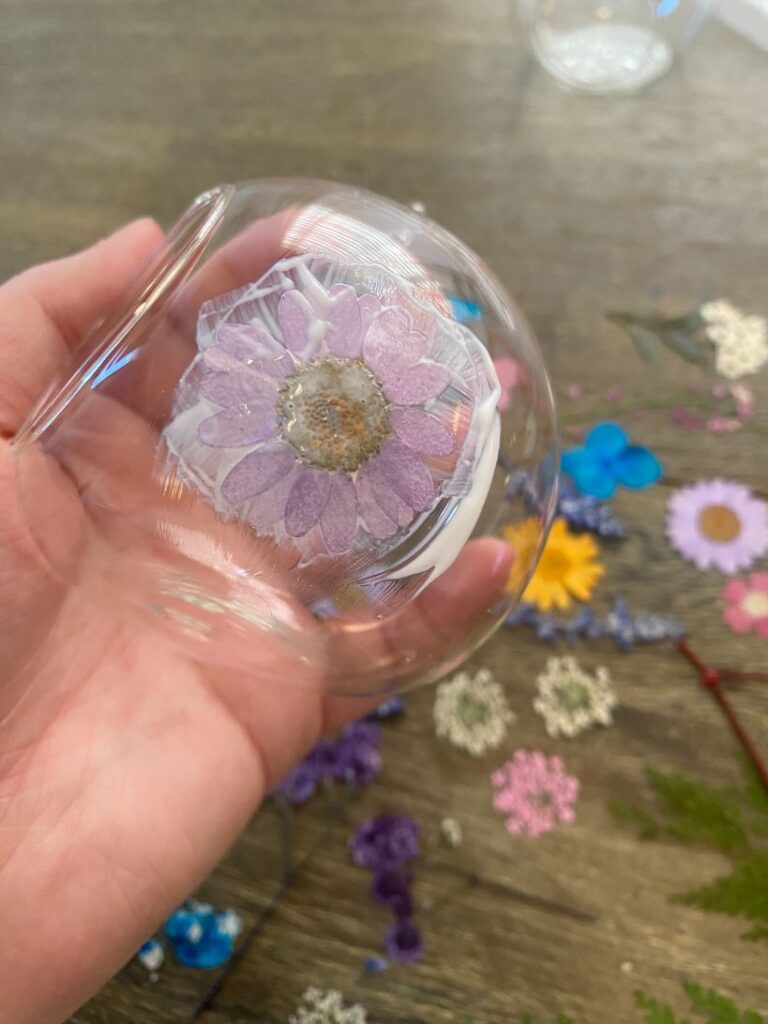
Take your paintbrush, dip it into the mod podge once again, and brush a coat of it over the top of the flower you just placed on the glass.
Don’t be afraid to put a generous amount; the mod podge will always dry clear.

Step Five:
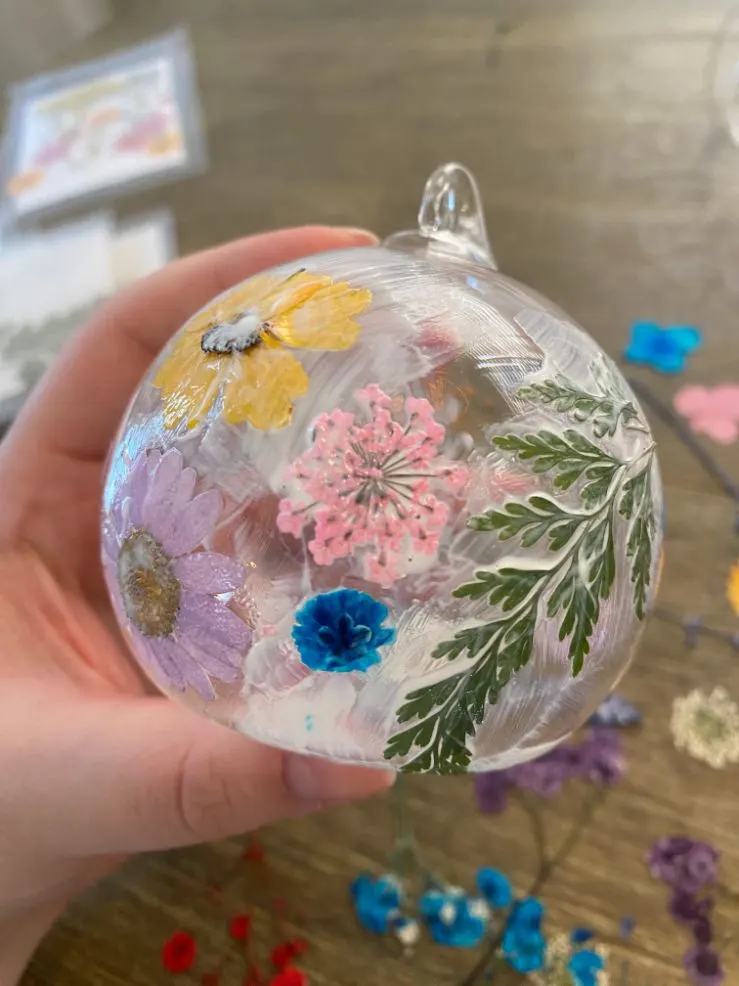
Repeat steps 2-4 until your glass globe is covered with flowers to your liking.

Step Six:
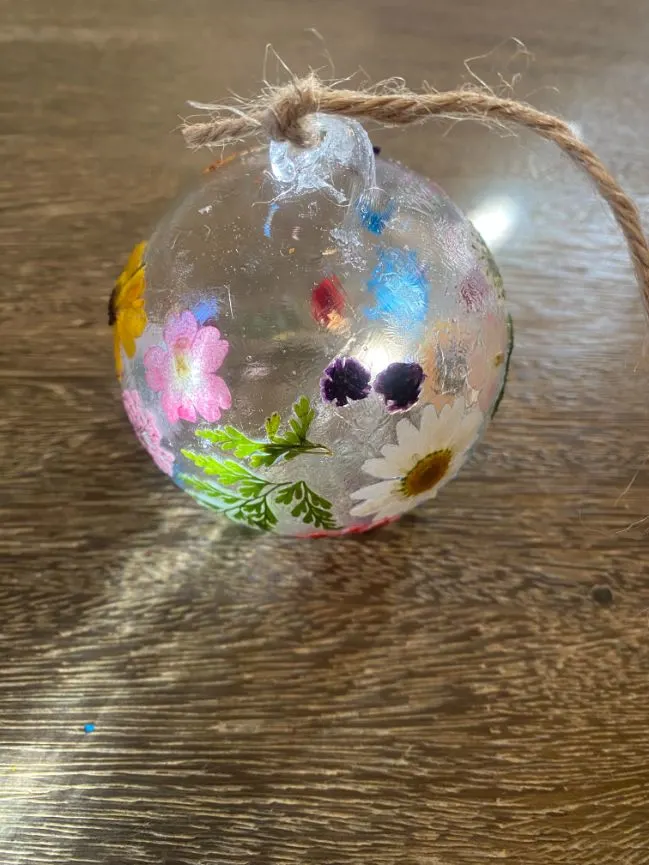
Take your paintbrush and paint any uncovered areas of the glass with mod podge.
I decided to leave the tops of my globes clear to let the light in through the top, but you can cover the globes completely if that’s your preference.
Set the globe aside to dry, and repeat steps 1-6 with as many globes as you’d like to cover with flowers.


Step Seven:
Take the string that came with your globes and tie one end to the top loop of the globe (you can alternatively use fishing wire if you don’t want your string to be visible).
Repeat this for however many globes you have, cutting off any excess string with your scissors.

Step Eight:
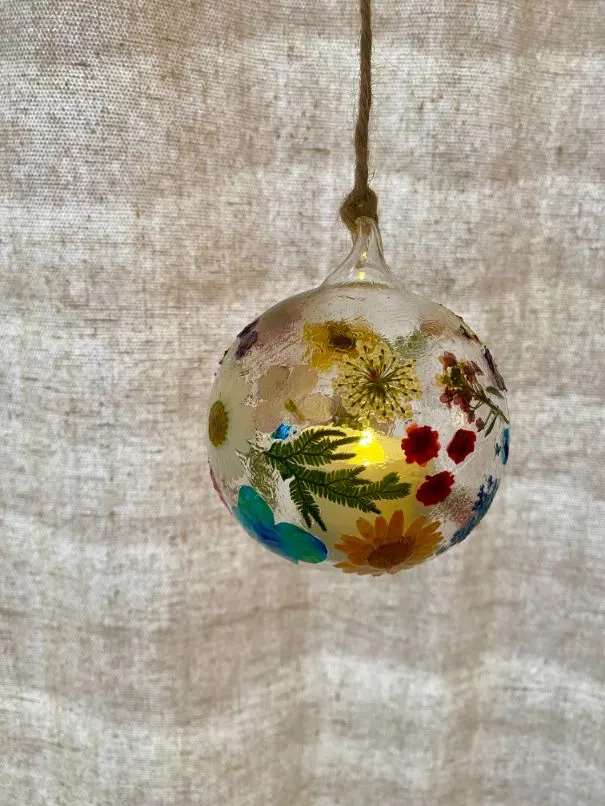
Find a place to hang your beautiful glass globes.
You can hang these in the sun and put plants in them, or hang them with tealight candles inside. (I recommend using electric ones, as the glass could overheat and break with a real candle). You can shop for electric tealight candles online (link to Amazon).
Enjoy the view!

For more creative DIY projects, have a look at these craft tutorials:
- DIY Mossy Mushroom Wreath
- DIY Moon Suncatcher – Simple Craft Idea!
- Love Pops DIY Upcycle Craft Project (Fun and Simple!)
Make Your Own Beautiful Living Succulent Wreath Centerpiece! Complete video course by Jeannine Romero now available through Skillshare.