

She enjoys all aspects of home DIY- from simple crafts to complete home remodels.
- Clay Moon Phase Wall Hanging - July 4, 2023
- What To Do When a Toddler Won’t Keep Their Blanket On - June 10, 2023
- How Do Child Locks Work in Cars? (And When To Use Them!) - June 10, 2023
I love all things whimsical. I love woodland creatures, fairy gardens, and magical worlds where things like fairies and gnomes exist.
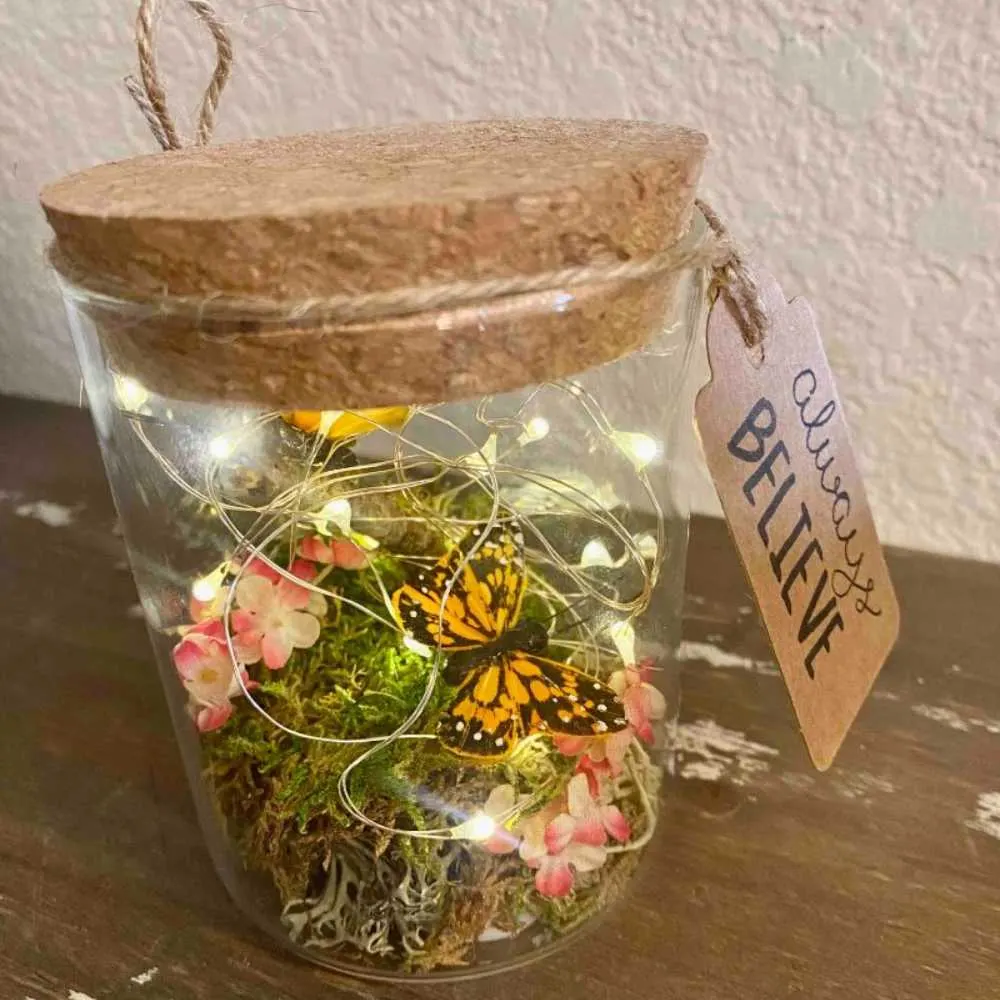
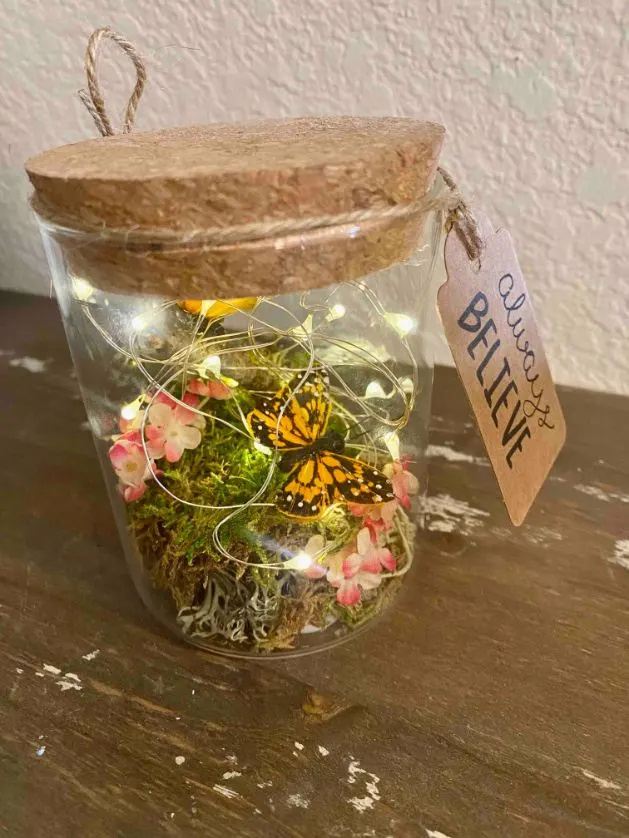
That’s why I decided to bring a little magic to my own home with this adorable fairy garden night light! You can use this to bring a spark of joy and magic to any space, or you can make it with your kiddos and use it as an actual night light for their rooms!

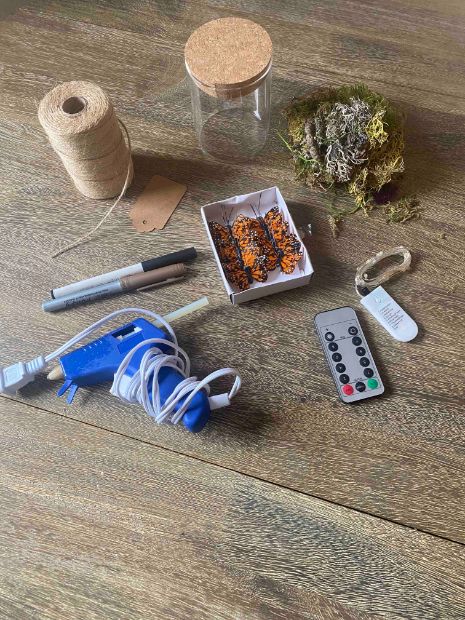
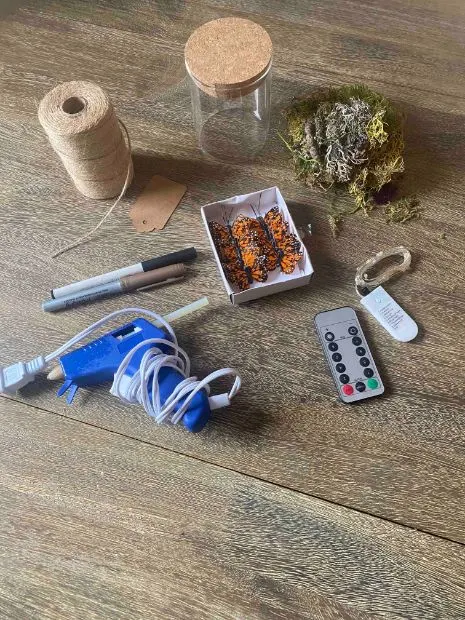
Supplies Needed:
- Fake butterflies (link to Amazon)
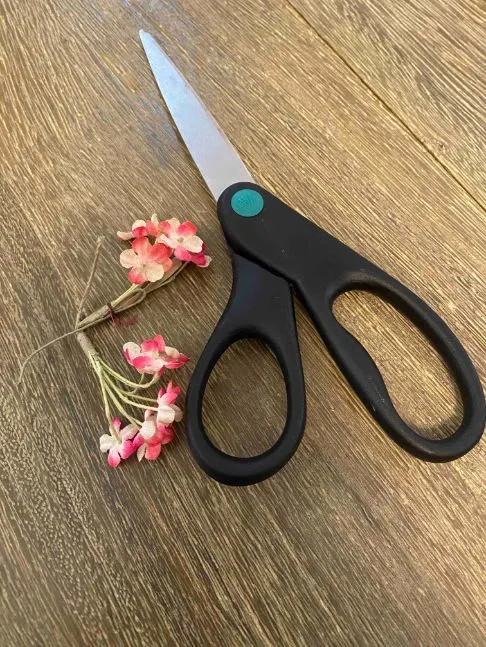
- Fake flowers
- Moss
- A glass jar with a cork lid (link to Amazon)
- Scissors
- Burlap twine
- Brown paper tags
- A black marker and pen
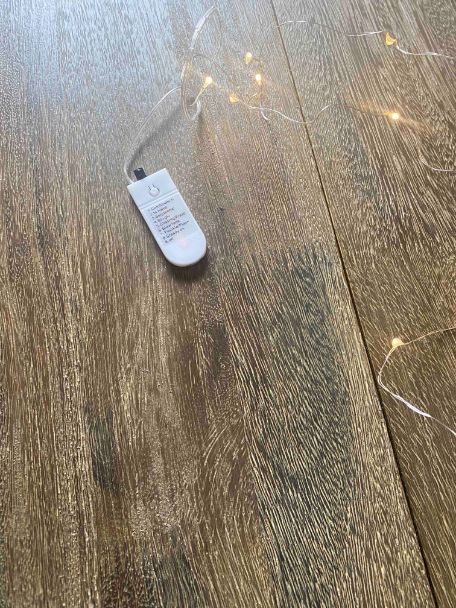
- String of battery-powered fairy lights. You’ll want the ones with a remote!) (link to Amazon)
- A hot glue gun

Step 1:
Take the tag out of the fairy lights and the remote, and unravel the lights completely.

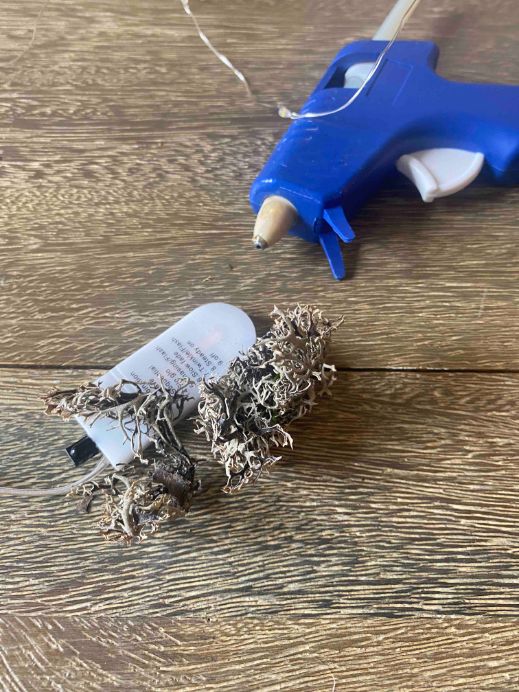
Step 2:
Take your hot glue gun and moss. Glue small pieces of moss on the top and around the sides of the battery pack for your fairy lights, being careful not to glue any moss on the little black receiver (this is what makes your remote work).


Step 3:
Take the extra cord that is attached to the battery pack. Roll it up and place it underneath the battery pack as you place the pack in the bottom of your jar.

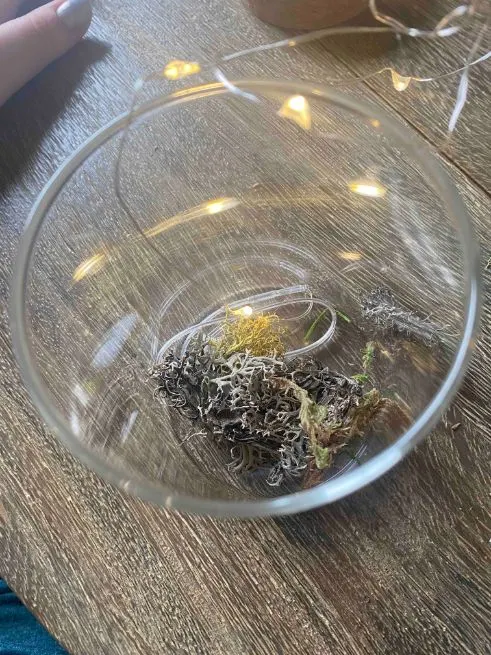
Step 4:
Cover the battery pack with moss and your fake flowers, adjusting them however you like them to appear from the outside of your jar.

Step 5:
Take your butterfly and remove any wire that is attached to it.
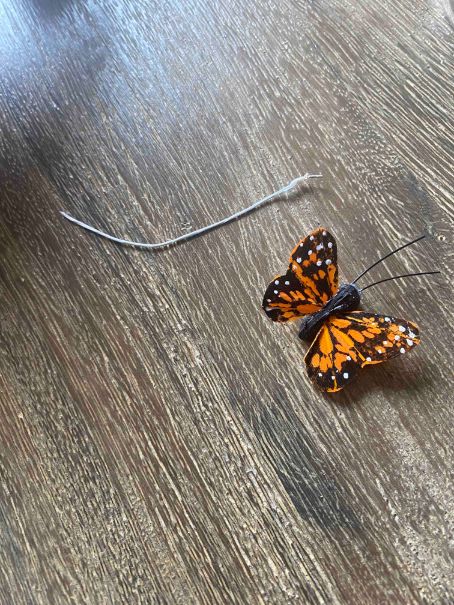

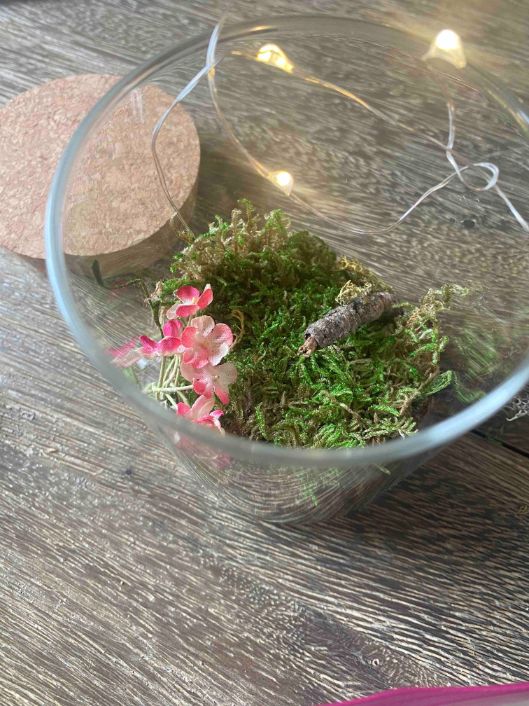
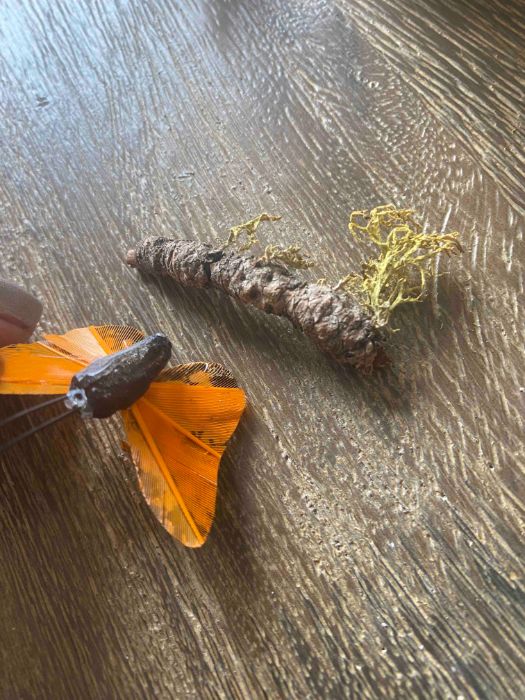
Step 6:
I found a little twig attached to some of my moss, so I decided to use it for one of my butterflies to perch on! This is completely optional, but it’s not hard to find a little branch or twig outside to use for this purpose if you like the look of it.
Take your hot glue gun and apply hot glue to the back of your butterfly, placing it on your twig. If you do not have a twig or other object to glue your butterfly to, you can skip this step and simply place it on top of the moss.

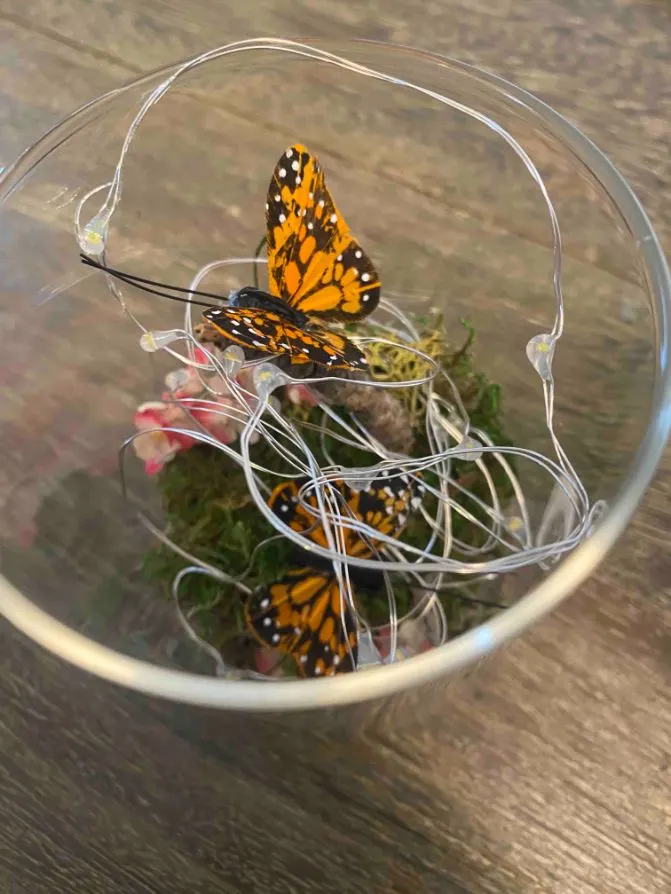
Step 7:
Fit the rest of the fairy lights into the jar, placing any additional butterflies that you’d like on top. Seal the jar with the cork lid.

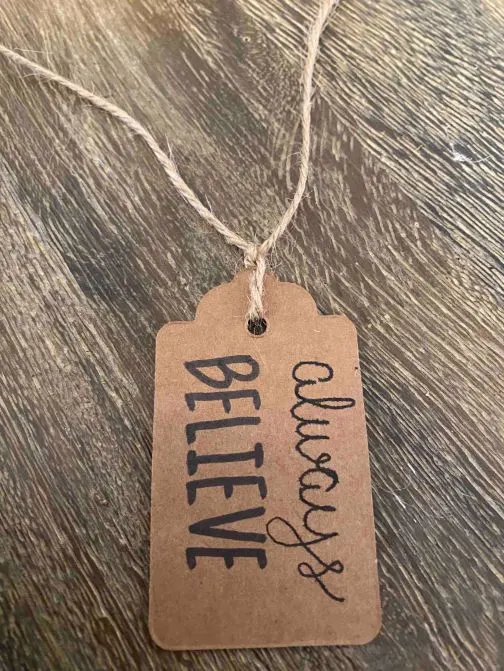
Step 8:
Take your marker, pen, and brown paper tag. Write the phrase “always” in pen, and “believe” in marker.


Step 9:
Take your twine and cut a long piece of it. Thread this through the hole in your brown paper tag, tying a double knot around the tag once it’s in the middle of the twine so that it will hang off of the side of your jar. Tie this twine around your jar with a small bow, cutting off any excess twine.

Step 10:
Take your remote, turn on your lights to whatever setting you like, and enjoy your magical fairy garden night light!

You may also be interested in these creative DIY projects:
- DIY Teacup Candles (Simple Step-By-Step Guide With Pictures)
- DIY Floral Monogram Letters – Simple Step-By-Step Guide
- How to Tie Dye with Sharpies (Quick And Simple Craft Project)
Make Your Own Beautiful Living Succulent Wreath Centerpiece! Complete video course by Jeannine Romero now available through Skillshare.