

- Free Video Tutorial – Gratitude Farmhouse Decor Craft - July 25, 2023
- DIY Dollar Tree Bird Feeder Craft - July 4, 2023
- Embroidery Hoop Organizational Wall Art - February 28, 2023
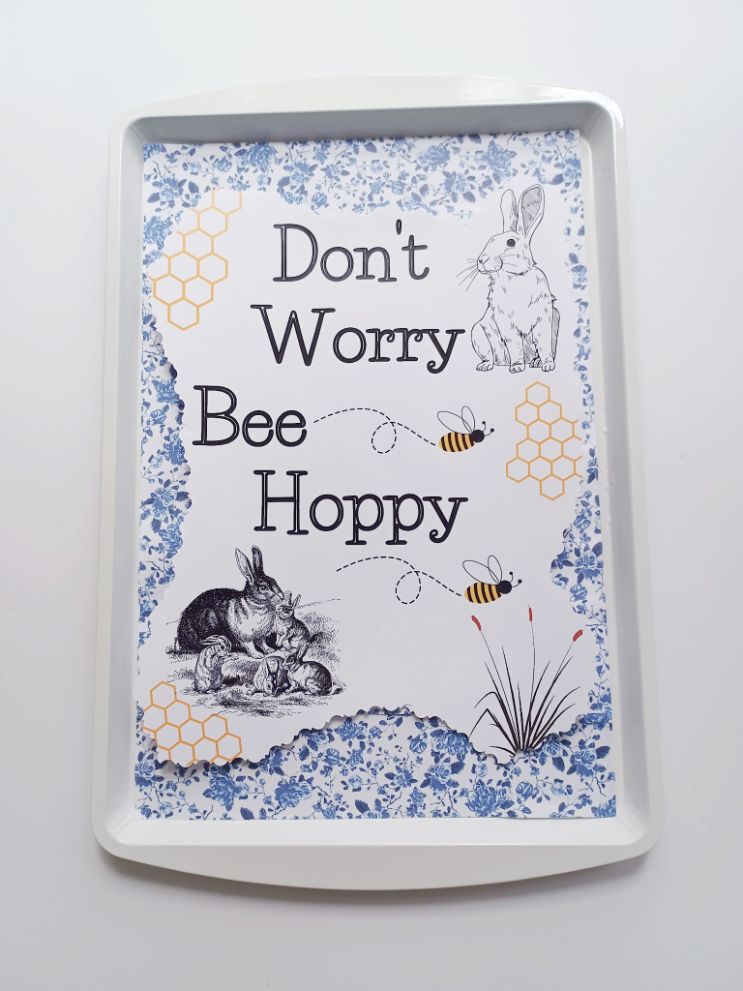
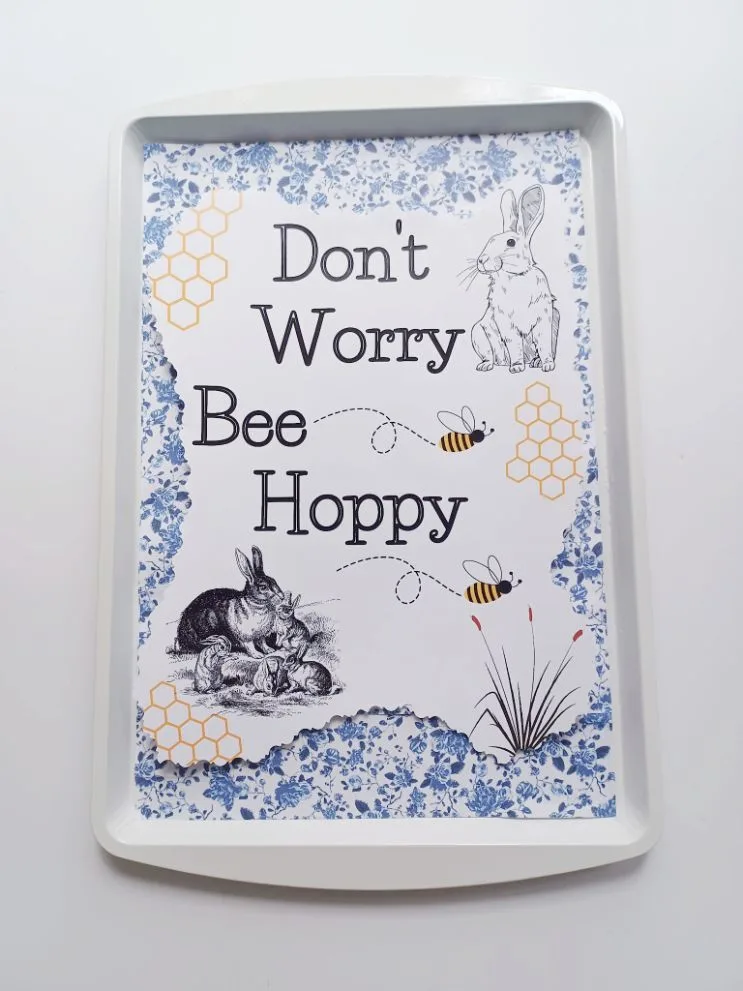
I was thinking of the song Don’t Worry Be Happy by Bobby McFerrin. Then the idea hit me: why not make a craft and create my own printable with a cute spin on those words to celebrate Spring?
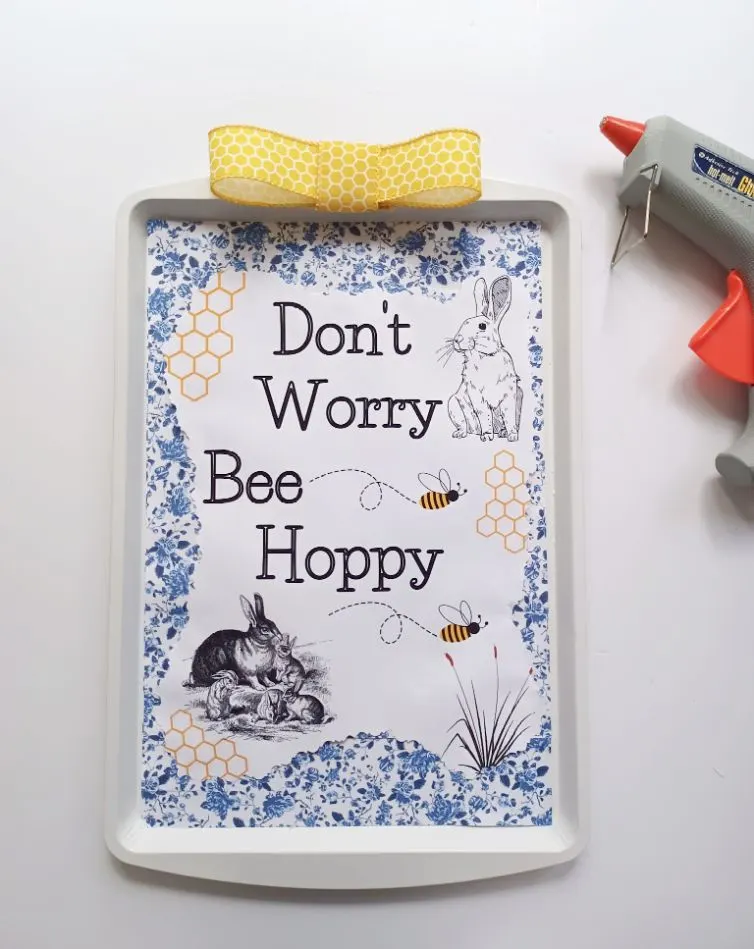
Spring is a time of renewal and growth, and there’s no better way to celebrate than with this cheerful Don’t Worry Bee Hoppy craft!

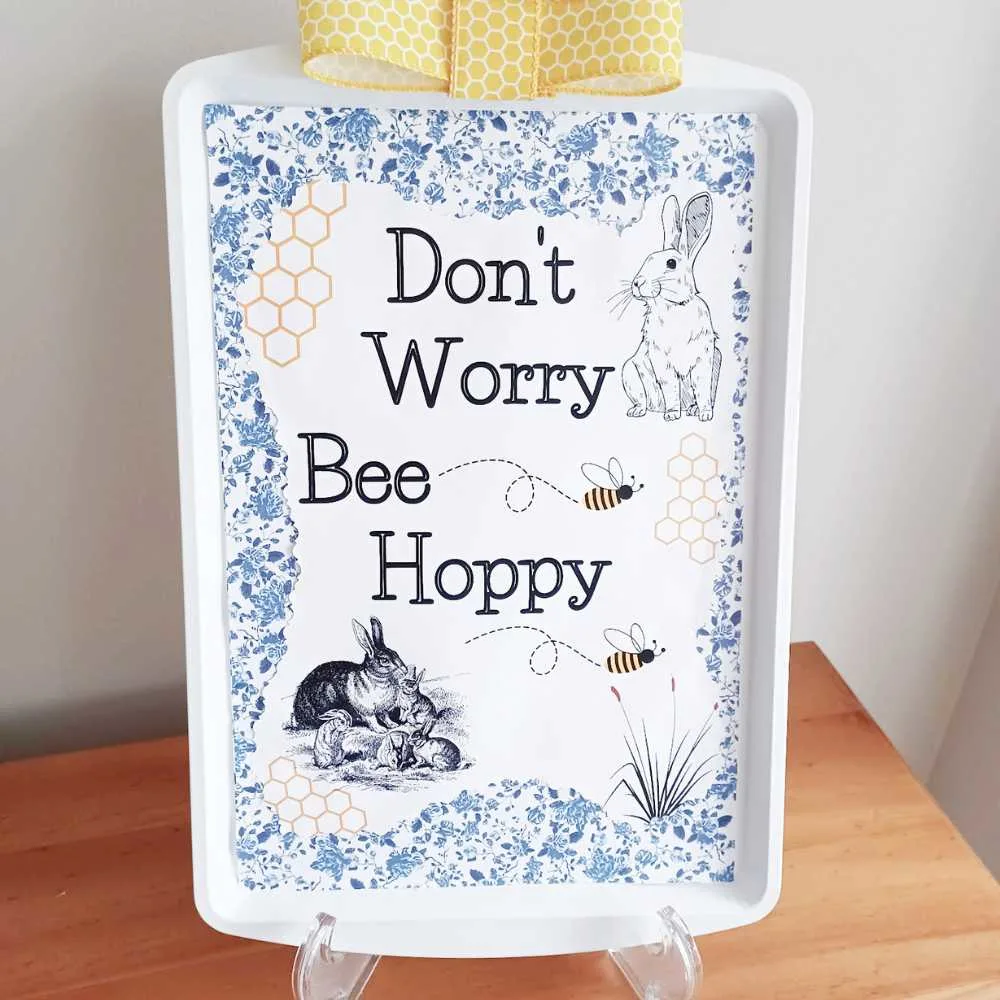
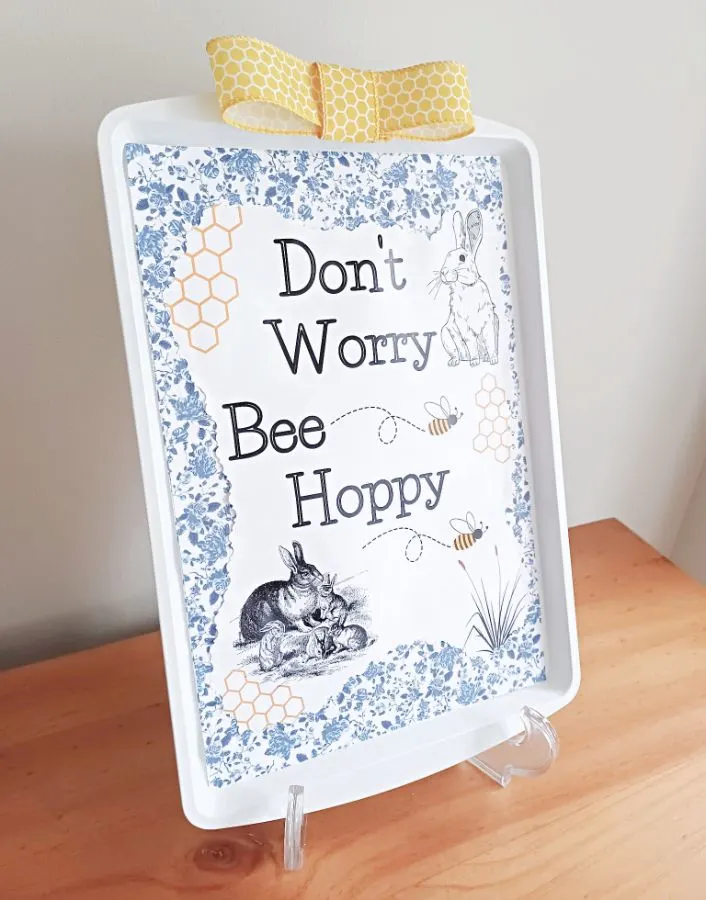
Whether you use it to decorate your home, hang it in a window, or give it away as a gift, this free printable craft is sure to bring a smile to everyone’s face. The best part is that it’s easy to make and requires minimal materials, so you can make it in no time at all!
So get creative, download the free printable, and Don’t Worry – Bee Hoppy!
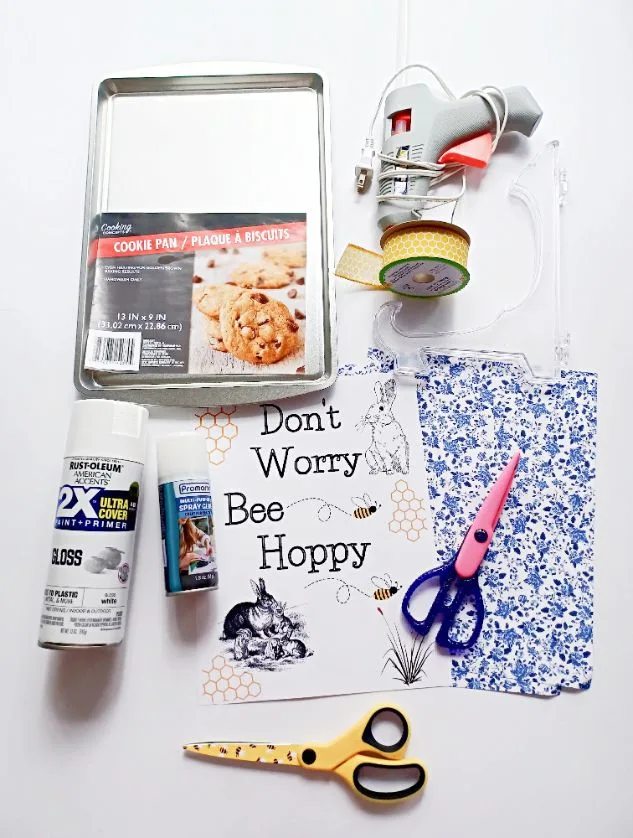
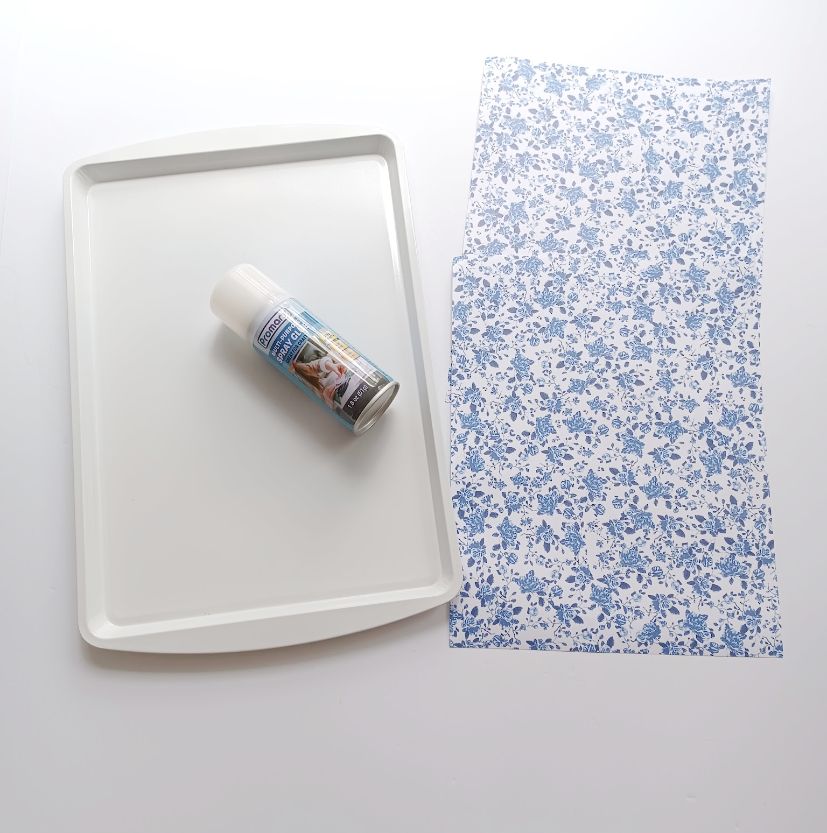
Supplies needed
- Free Don’t Worry Be Hoppy printable (PDF Version) (Canva Template)
- Dollar tree cookie sheet
- Ribbon
- Scissors (regular or fancy cut)
- Display stand
- Spray adhesive
- Rustoleum spray paint
- Hot glue gun
- 2 sheets of pretty paper

Step one
Spray paint your cookie sheet the color you desire.
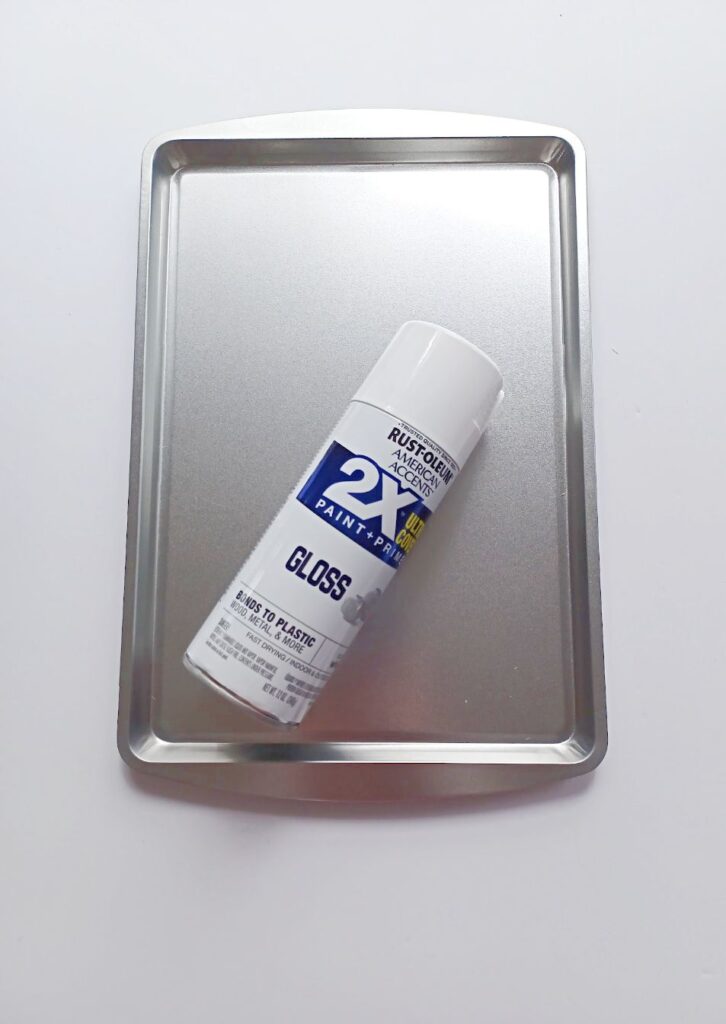
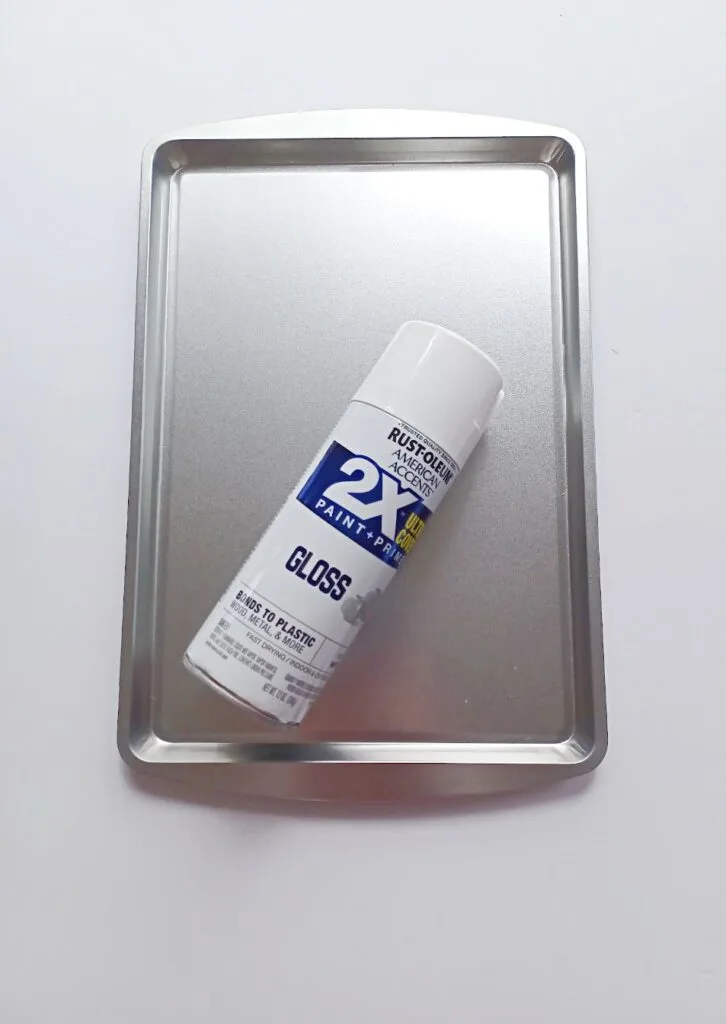
Remember to paint both the front and back sides. However, if you plan on hanging it on the wall the back side wouldn’t be necessary to paint.
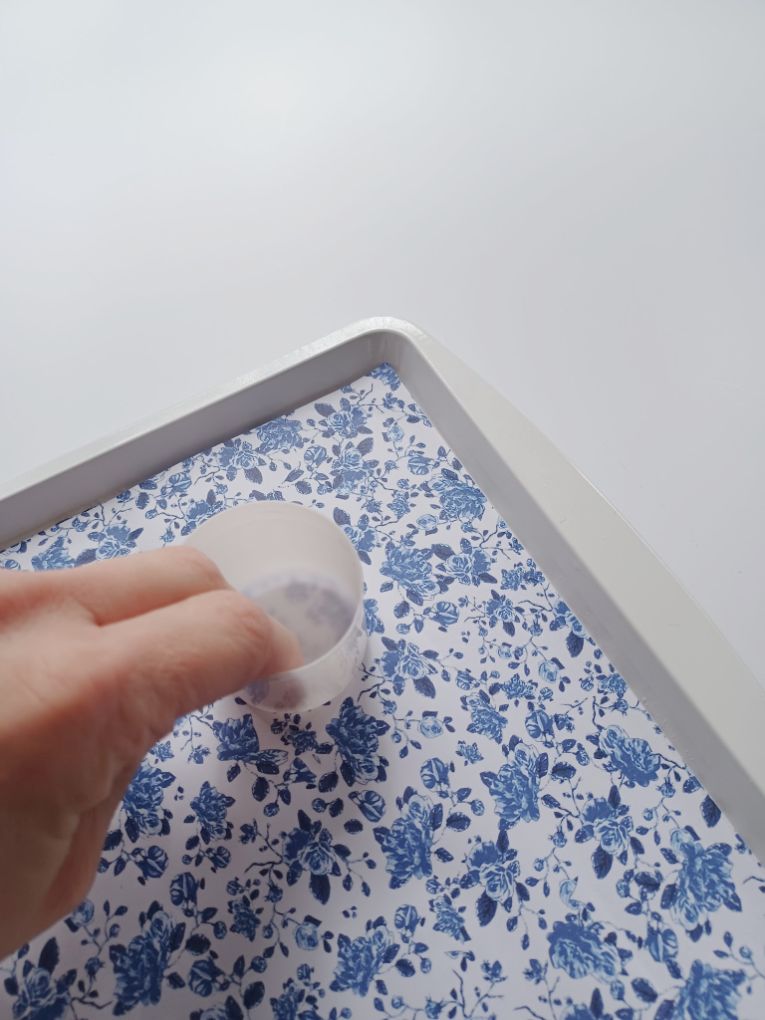
Step two
Spray adhesive your pretty paper to fill the flat inside of the cookie sheet.

I bought paper that fit the inside of the sheet perfectly and I did not need to cut it to fit.
Tip: use the flat part of the spray glue lid to press down your paper to the tin evenly.

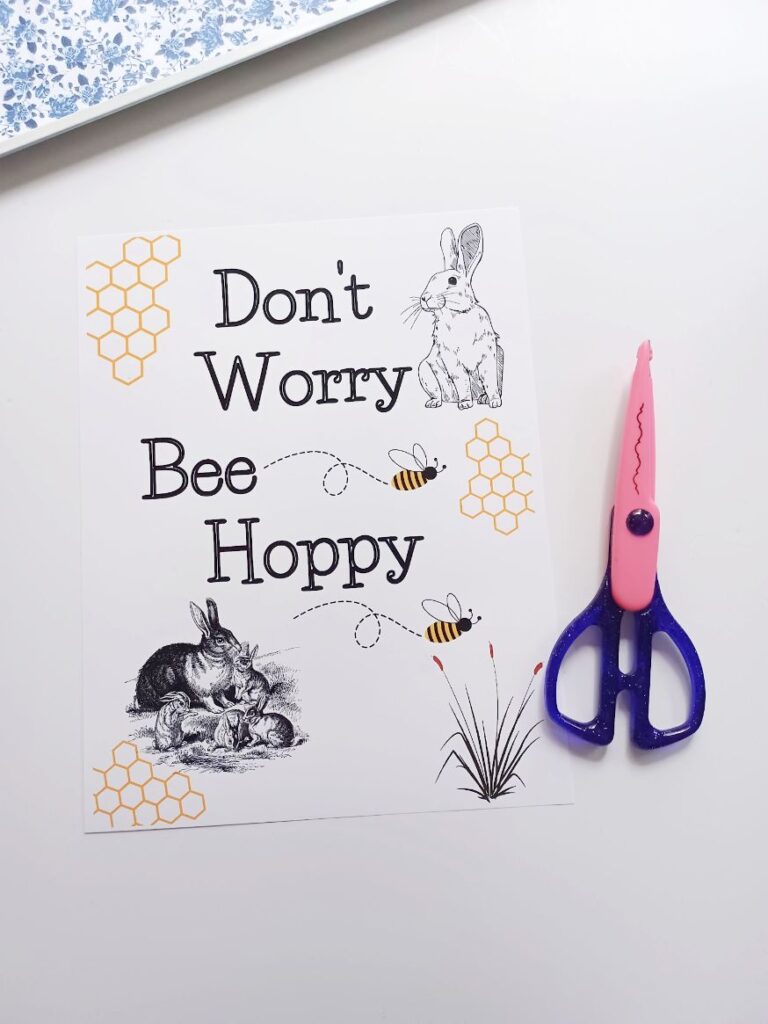
Step three
Print and cut out your printable.

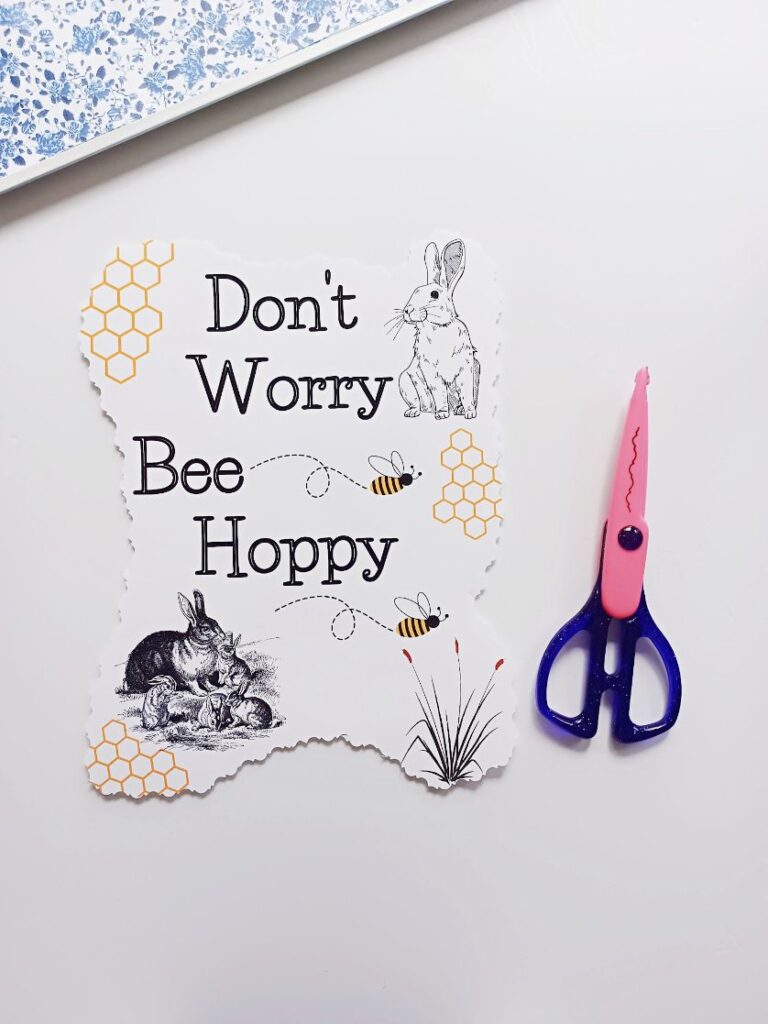

I wanted to give mine character so I used my fancy cut scissors to cut out at random around my printable. That way it would also show more of the beautiful spring flower paper behind it for better contrast.
Step four
Glue Printable to the cookie sheet.
You can spray adhesive glue or hot glue gun your picture into place on your sheet.
Step five
Make your ribbon accent.
Loop some of your ribbon around and size it up to the size you want for the top of your craft. Cut and then glue in the middle in between the layers. You only need one small dot to hold it together.
Cut a piece for the front for a more complete look.
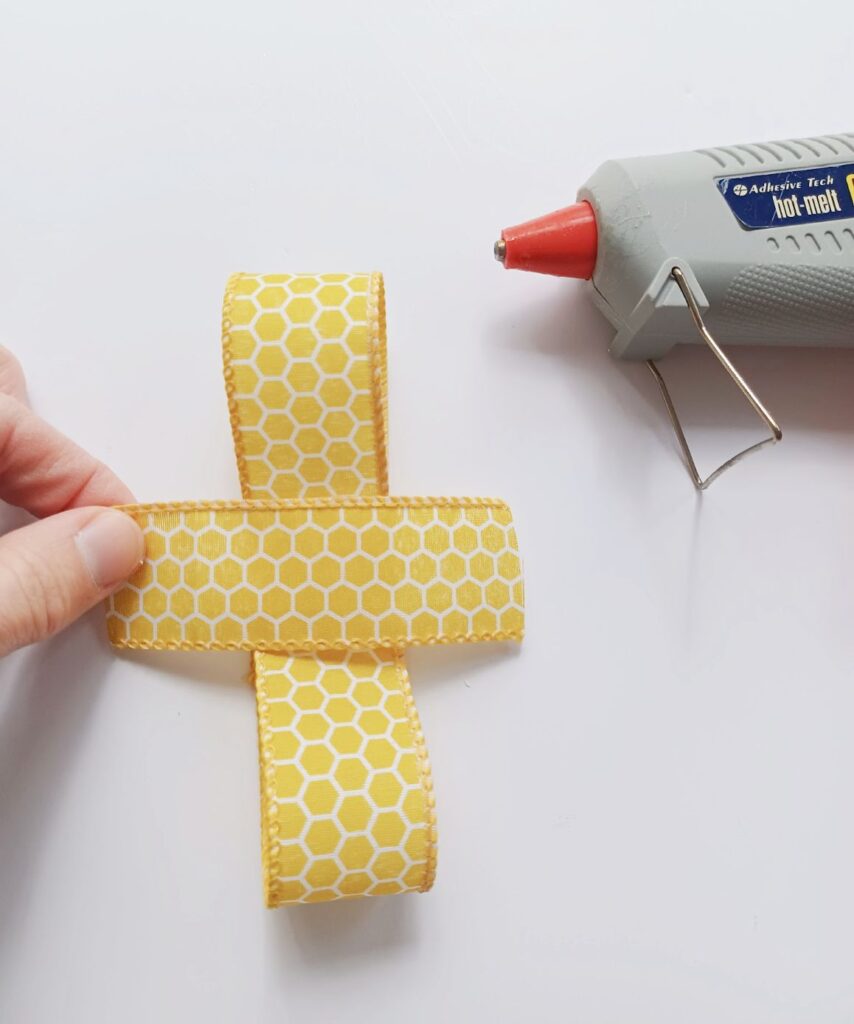
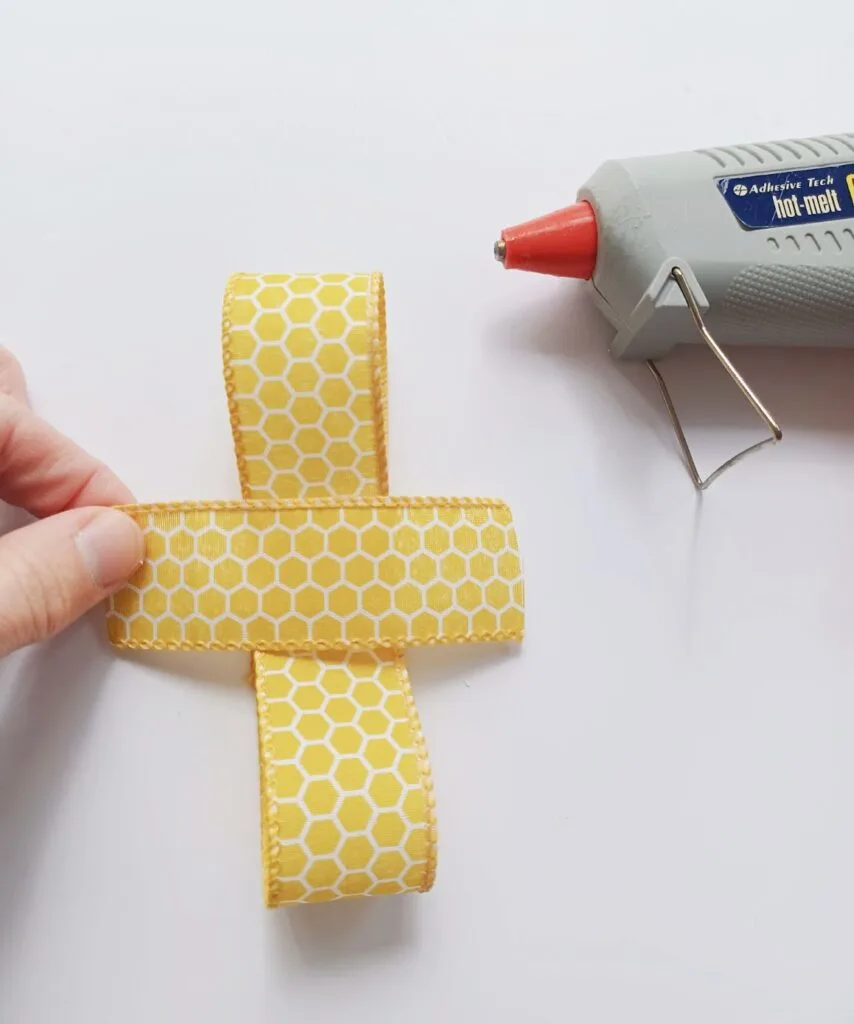
Fold and glue in the back.


Step Six
Glue to the top of your cookie sheet craft.
It is ready in six simple steps! Display and enjoy!


You May also be interested in these creative DIY craft projects:
- DIY Fairy Garden Nightlight Craft Project
- Wooden Beads Wall Art Hack (plus 23 bonus ideas)
- Farmhouse Inspired DIY Plant Holder [Repurposing Craft Project]
Make Your Own Beautiful Living Succulent Wreath Centerpiece! Complete video course by Jeannine Romero now available through Skillshare.