

She enjoys all aspects of home DIY- from simple crafts to complete home remodels.
- Clay Moon Phase Wall Hanging - July 4, 2023
- What To Do When a Toddler Won’t Keep Their Blanket On - June 10, 2023
- How Do Child Locks Work in Cars? (And When To Use Them!) - June 10, 2023
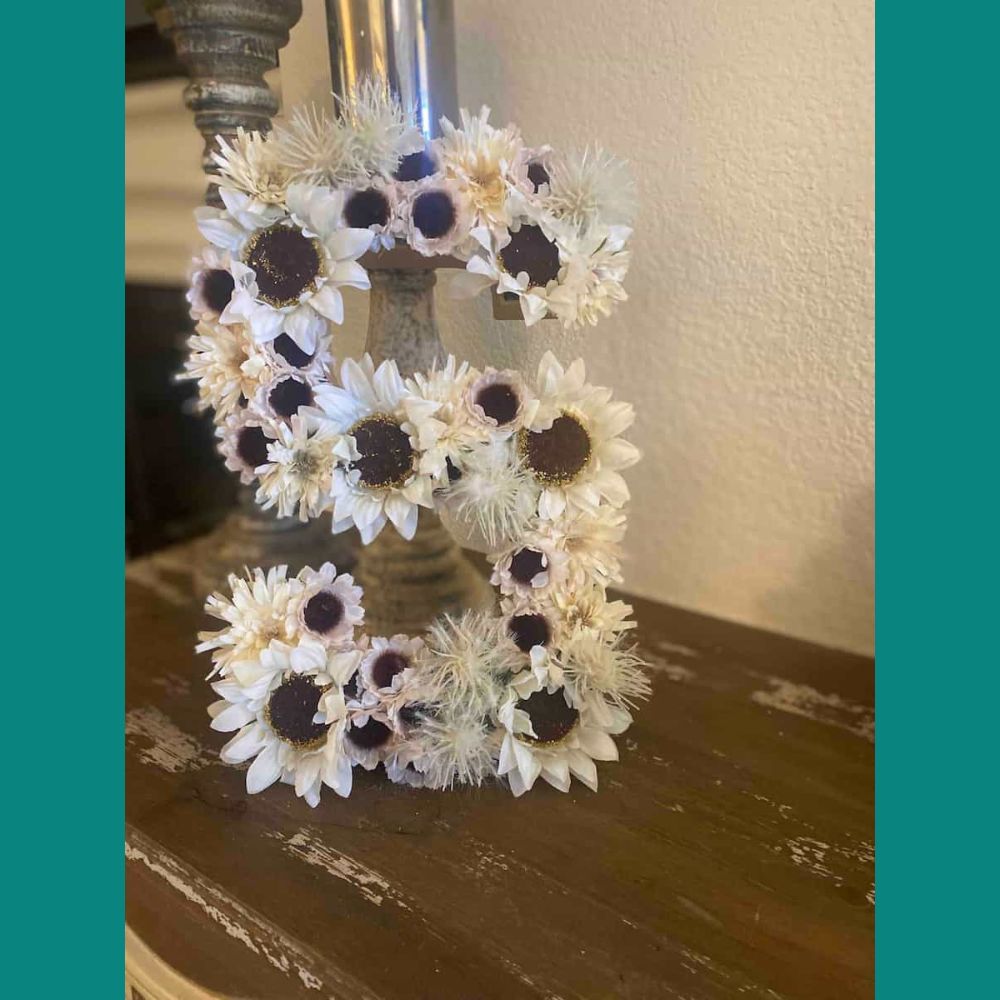
When springtime comes, I love stepping outside and smelling all of the fresh floral scents around us, and I wanted to bring a little floral inspiration to the inside of my home that will last season after season. In this article, learn how to make your own floral monogram initials!

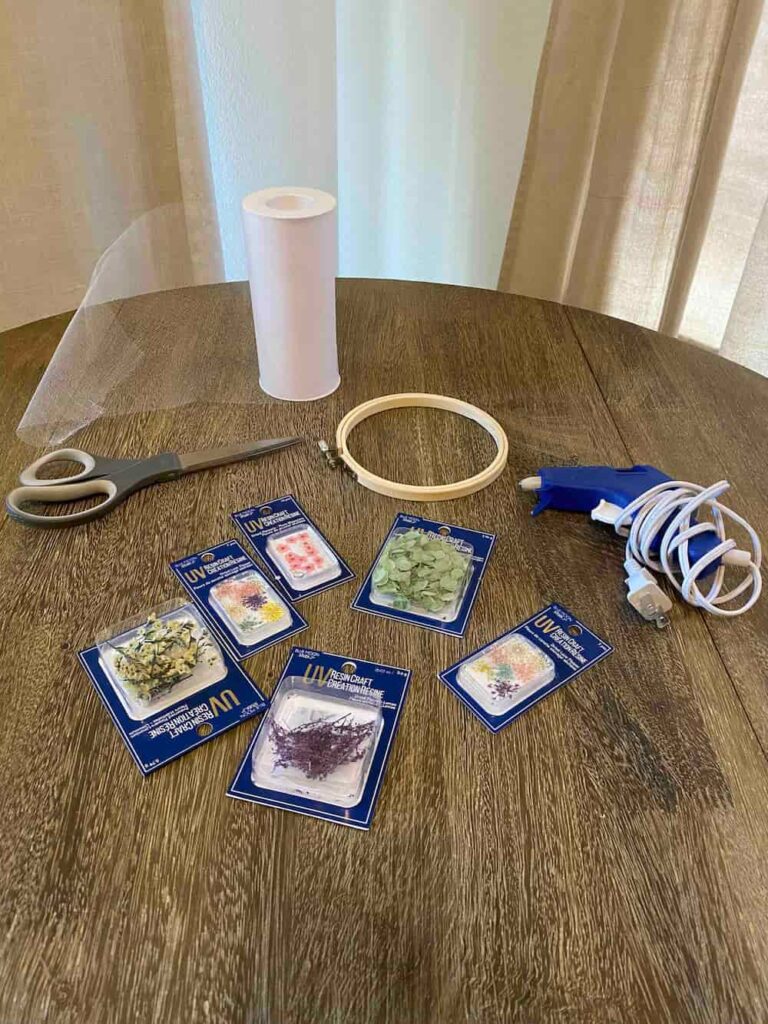
Supplies Needed
- Dry floral foam (found this at Michael’s)
- A hot glue gun
- Fake flowers
- A paper mache letter of your choice (I found mine at Joann.com but you can also get these at Amazon through this link.)
- A box cutter or X-Acto Knife
- Scissors or wire cutters

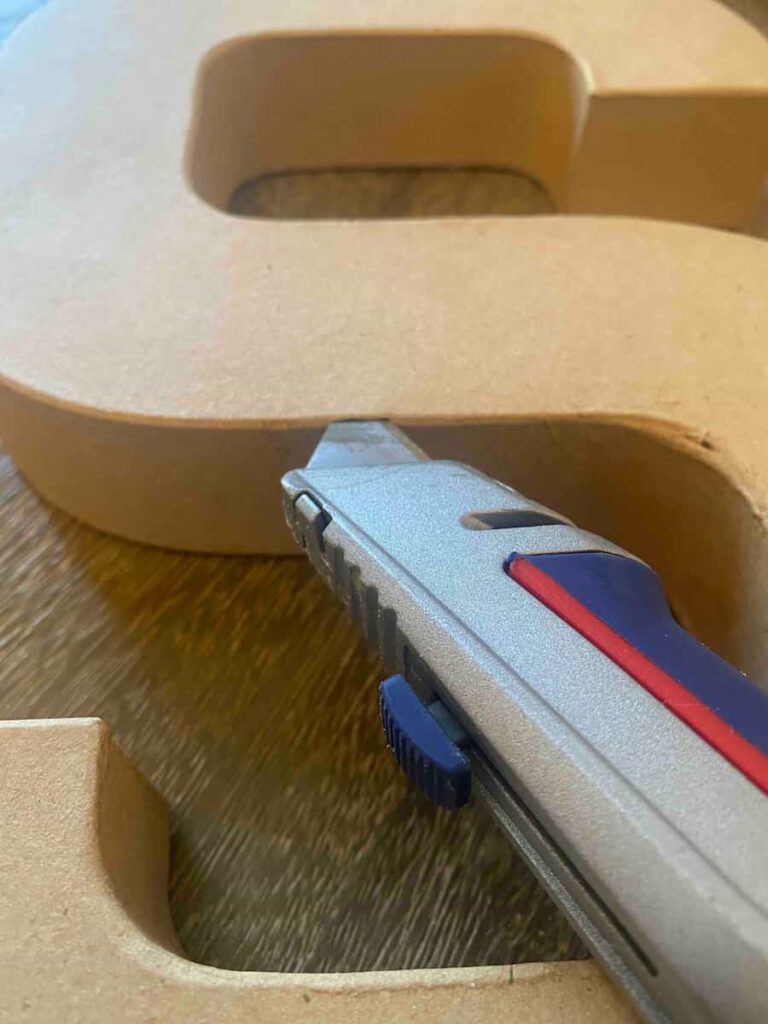
Step 1:
Taking your box cutter, slowly and carefully cut off the top/front of your paper mache letter. Be careful to only cut off the top.

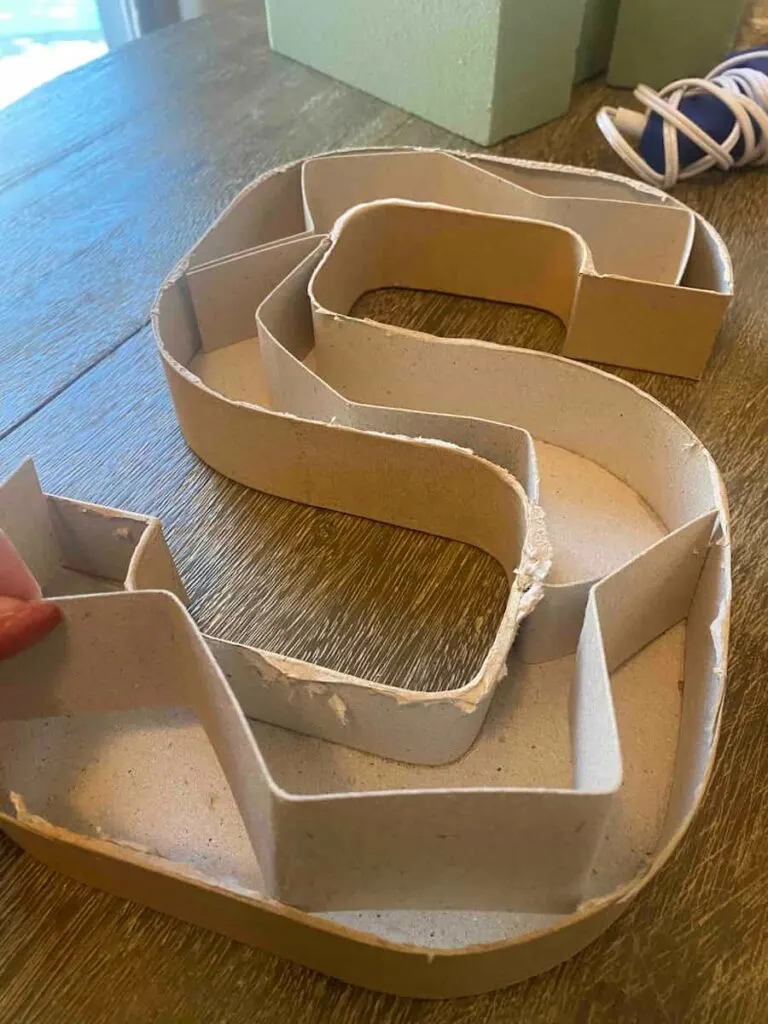
Step 2:
Once you’ve cut off the top layer of your paper mache letter, you should have a hollow letter.
There may be a small liner layer inside of the hollow part; if so, remove this liner so that the space inside your letter is completely cleared.

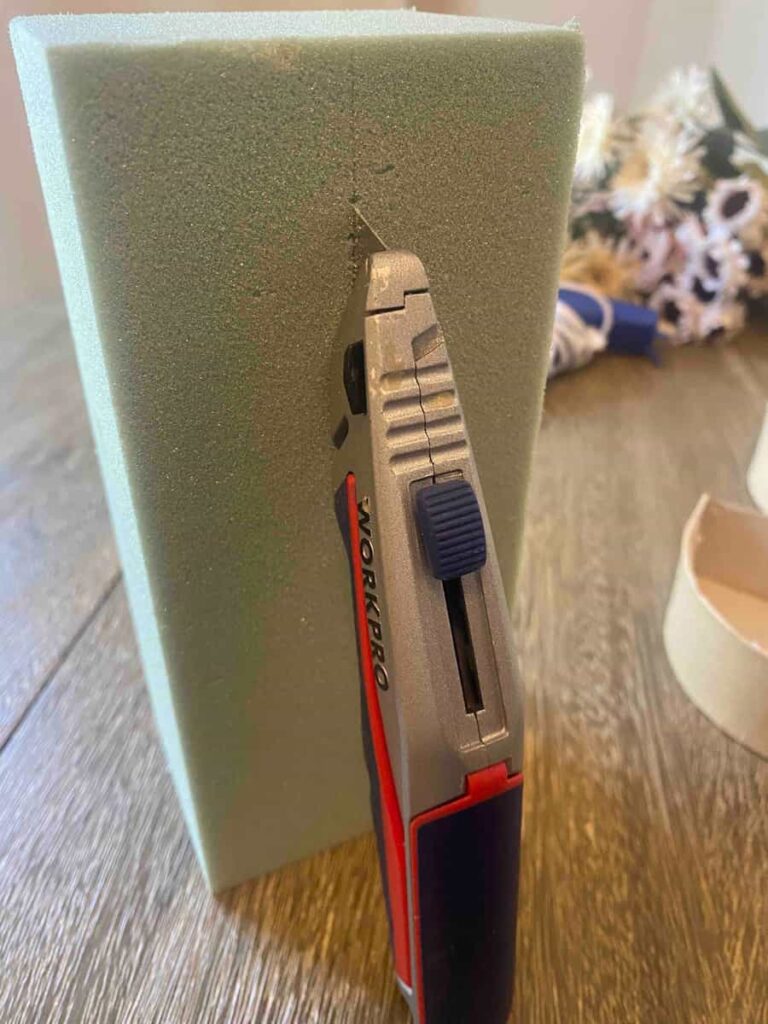
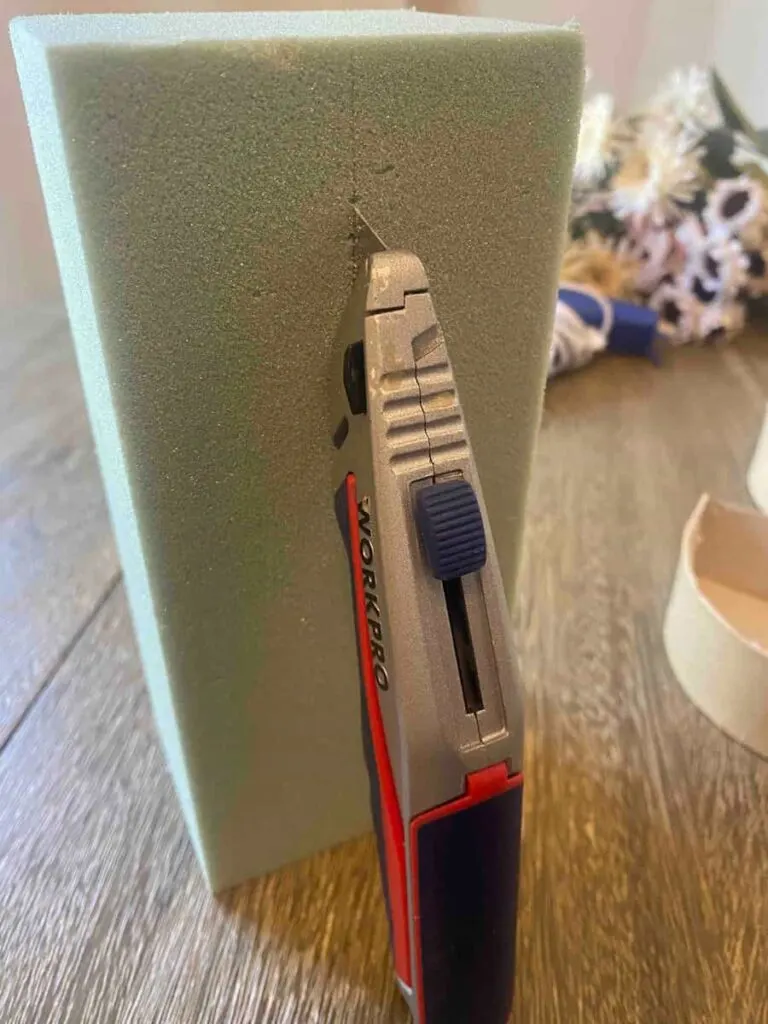
Step 3:
Taking your X-Acto Knife or box cutter, cut one of your floral foam bricks in half longways.
From there, line your foam up against the side of your letter and score it (leave a small knife mark) where the height of your letter stops against the foam.
This will be the height that you’ll need to cut your foam to fit.
Step 4:
The great thing about dry floral foam is that if you simply take a big piece and press it down over the top of the letter, it will cut itself along the edge of your letter, making for the perfect-sized piece every time.
Using this method along with using your X-Acto knife or box cutter to cut smaller pieces to fill in gaps, fill in all of the hollow space inside of your letter with floral foam.
Make sure to hot glue these into place so that they’re sturdy enough to hold your flowers.


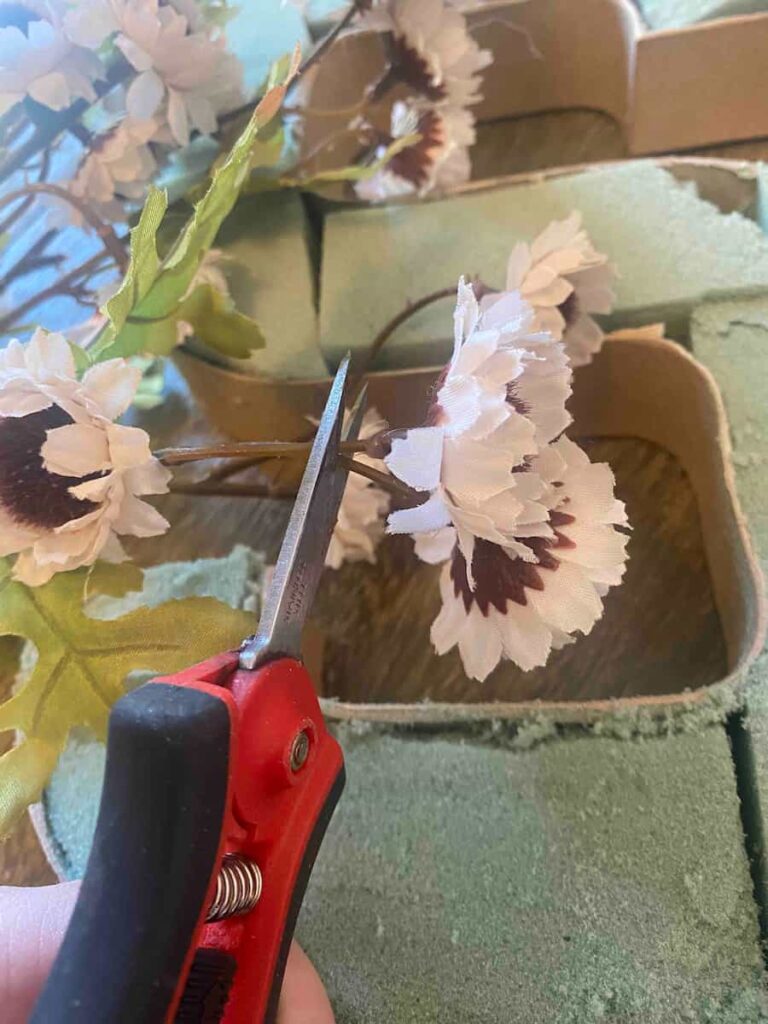
Step 5:
Take your scissors or wire cutters and begin to cut your fake flowers off of their stems.
Make sure to leave a bit of stem or wire behind on each flower so that you have something to stick into the floral foam.

Step 6:
Being to apply your flowers to your floral foam! This step is really all about placement of your flowers, so you can play around with the layout before you actually push the flowers down into the foam.
Make sure not to try to rearrange them too many times, as the floral foam can lose its integrity after too many holes are made in one area.


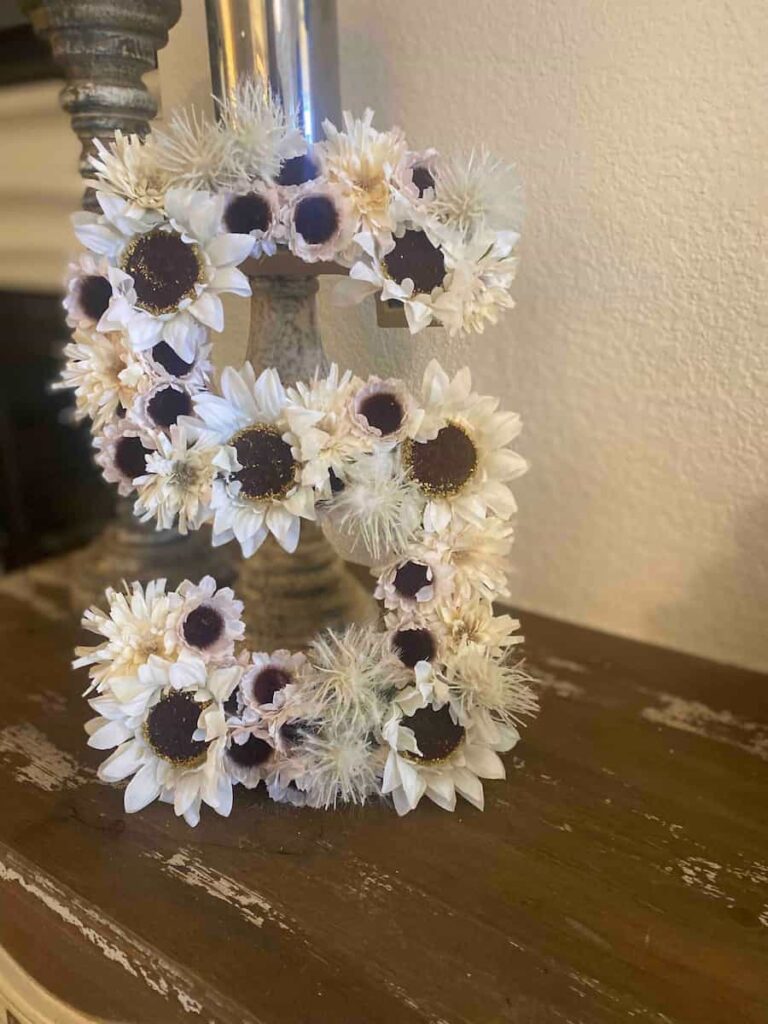
Step 7:
Completely cover your letter with florals until you’re happy with the way it looks. Enjoy your floral initial!
You can make one for every member of the family, make a monogram of all of your name’s initials, or simply make your first initial; the possibilities are endless.

And remember, this project isn’t just for spring. Anytime throughout the year that you have flowers blooming you could create a new colorful floral monogram initial.
Here are some other DIY craft projects you may enjoy:
- DIY Floral Embroidery Hoop – Simple & Beautify Craft Project
- Wooden Beads Wall Art Hack (plus 23 bonus ideas)
- Farmhouse Inspired DIY Plant Holder [Repurposing Craft Project]
Make Your Own Beautiful Living Succulent Wreath Centerpiece! Complete video course by Jeannine Romero now available through Skillshare.