

She enjoys all aspects of home DIY- from simple crafts to complete home remodels.
- Clay Moon Phase Wall Hanging - July 4, 2023
- What To Do When a Toddler Won’t Keep Their Blanket On - June 10, 2023
- How Do Child Locks Work in Cars? (And When To Use Them!) - June 10, 2023
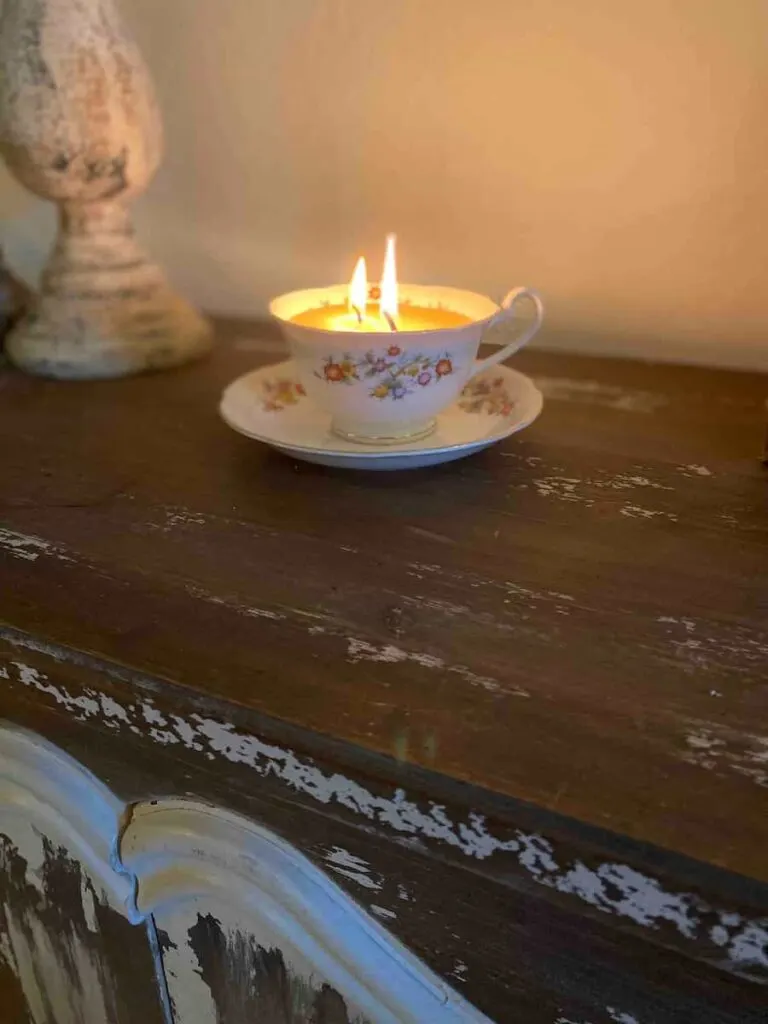
I love a good cup of tea in any season, but something about Spring screams tea party. Grab your old teacups (with or without saucers!) because, in this article, I’m going to show you how to make your own teacup candles.
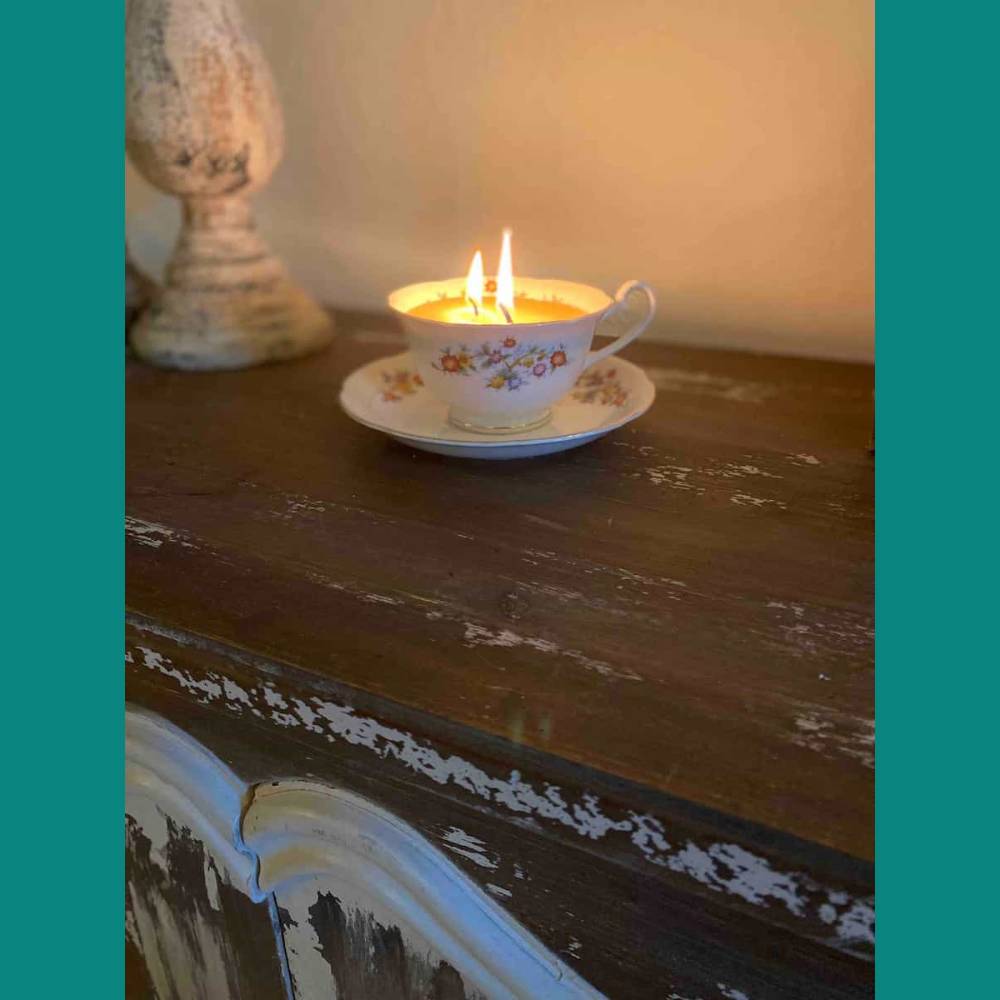

The best part? You can burn these candles and then reuse the teacups later, and they make great gifts!
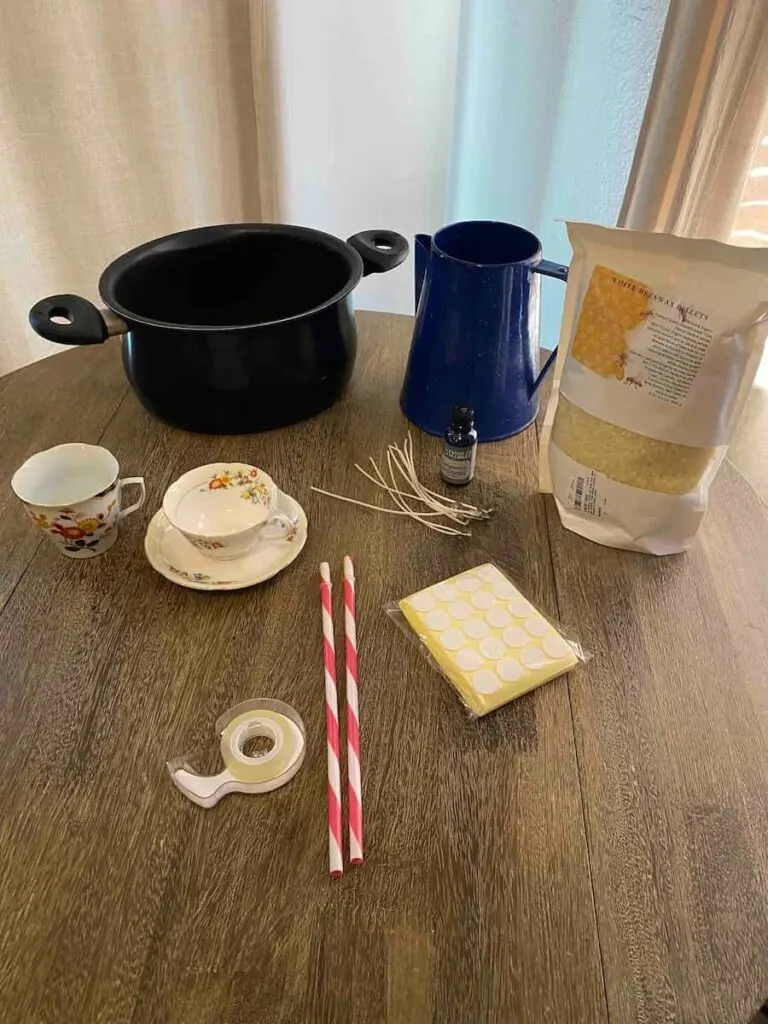
Supplies Needed:
- Beeswax or soy wax pellets
- Candle wicks
- Wick stickers
- A large pot
- A pot, tin, or other metal receptacle (one that you don’t need to use for anything else)
- Hard plastic straws (can also use disposable wooden dowels)
- Tape
- A teacup (I chose one with flowers to reflect the season!)
- Food coloring (optional)
- Essential oils of your choosing (optional)

Step 1:
Make sure that your teacups are washed and dried before starting this project! You want a clean surface for the wax to adhere to.
Take your metal receptacle (this is what you will put your wax in; I used a tin pitcher that I found at a thrift store!) and wash and dry this out. Fill your bigger pot with water halfway up, and put it on the stove to boil.
Step 2:
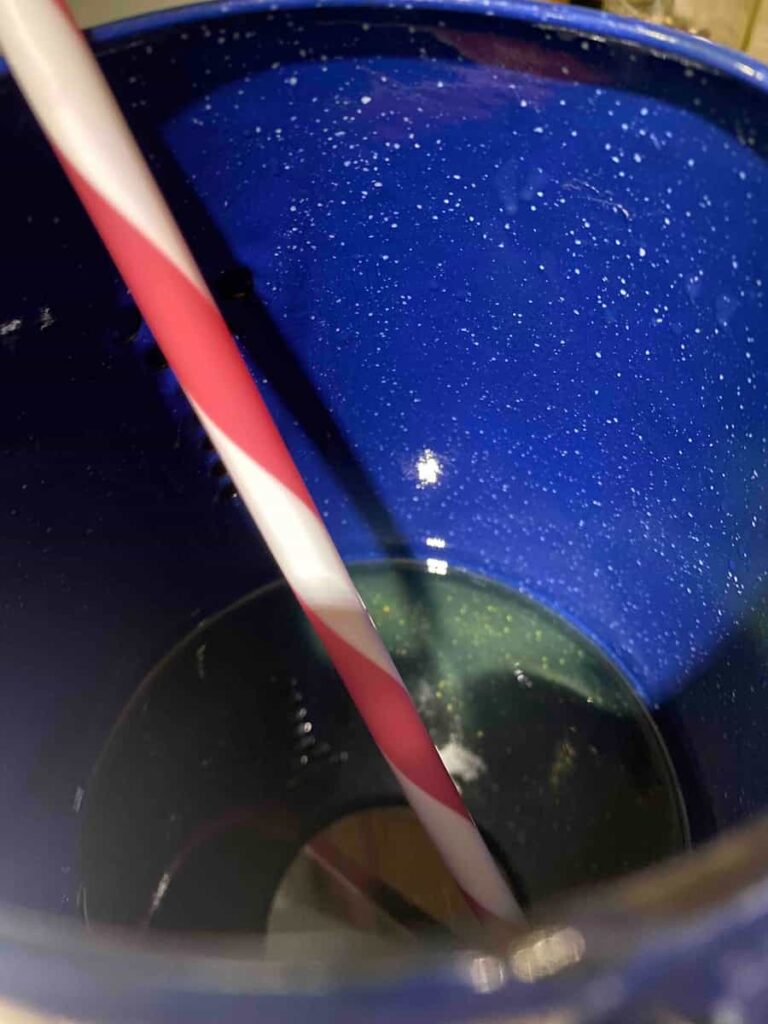
Pour your wax pellets into your metal receptacle, and place this in the pot of boiling water that’s on your stove. Always put more than you think you’ll need to fill your teacup; it melts down once heated!

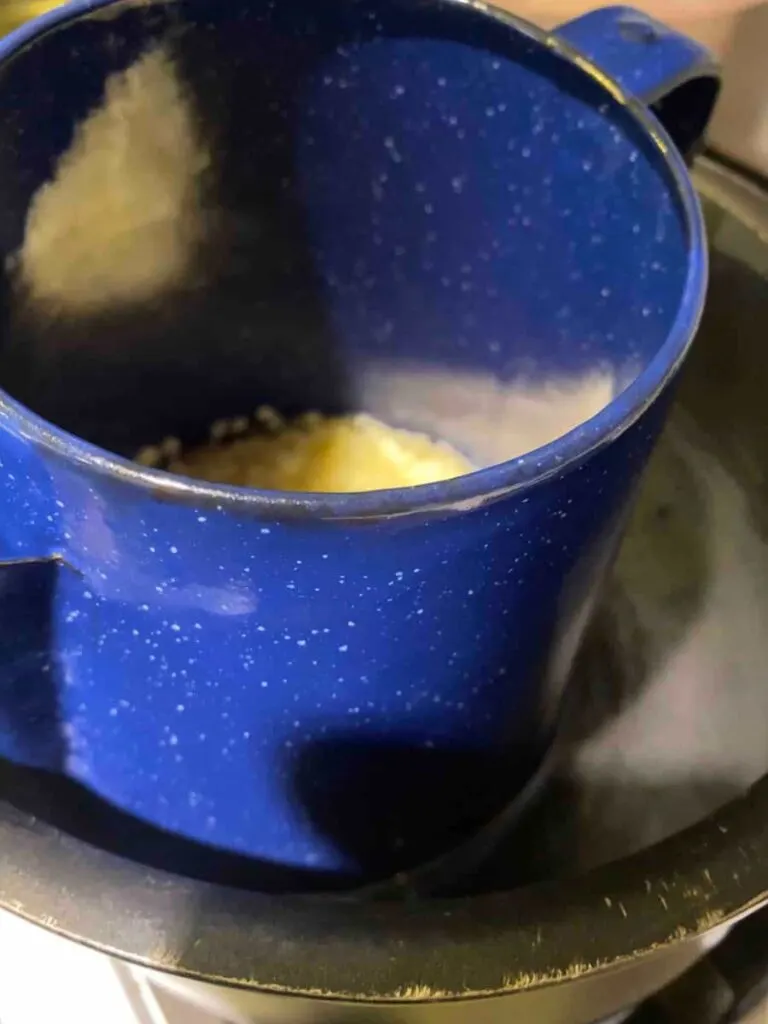
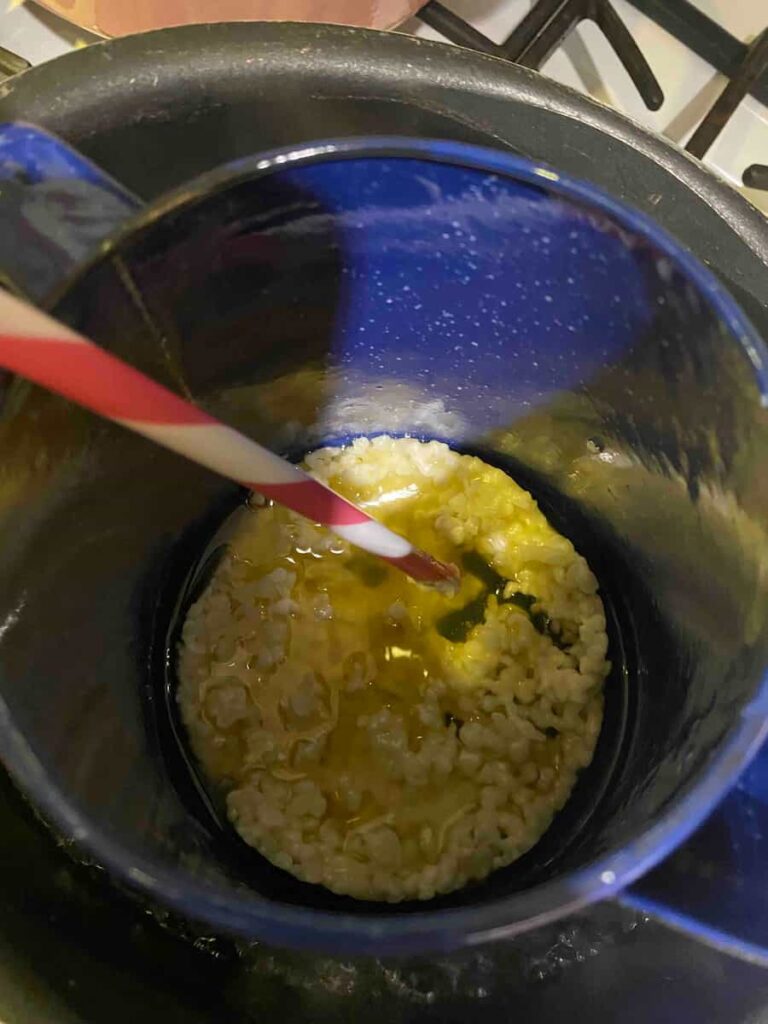
Step 3:
Gently stir this wax frequently as it begins to melt. You can use your plastic straw to stir, or use a wooden dowel if you have one.)

Step 4:
While your wax is melting, you can put your wicks into the bottom of your teacups using wick stickers.
Because the shape of teacups is wider on the top than on the bottom, you’ll want to use two wicks to avoid tunneling when your candle burns.
Go ahead and place two wick stickers on the bottom of the inside of your teacup. Peel the protective layer off.
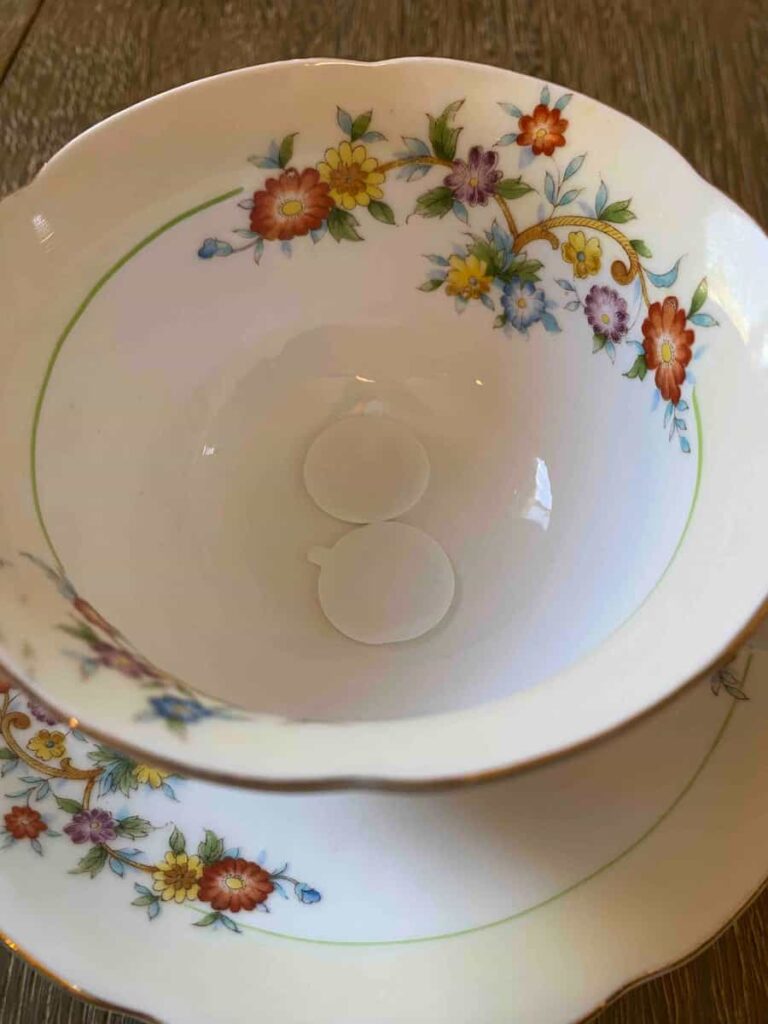

Step 5:
Take your wicks and straighten them out as best as you can, making sure that the base of your wick is standing up straight from the metal disc that it’s attached to. Taking this metal disc, push it into the wick sticker firmly.
Repeat this step for your second wick, and your teacup is ready for wax!


Step 6:
Once your wax has completely melted, take it out of the water and let it begin to cool slightly. You’ll want to keep an eye on this, as you want it to begin cooling but not cool enough to solidify.
When your wax has reached the point that it has partially cooled (it will begin to look slightly cloudy) you want to quickly add any essential oils and/or food coloring for your candle and stir this in. (I chose tangerine essential oils to give it a citrusy, springlike scent. I also chose to leave the beeswax its natural color.)
From here, take your melted wax and pour it into your teacup that has the wicks ready. You will notice that the wicks begin to bend. This is normal, and we’ll fix it in the next step.


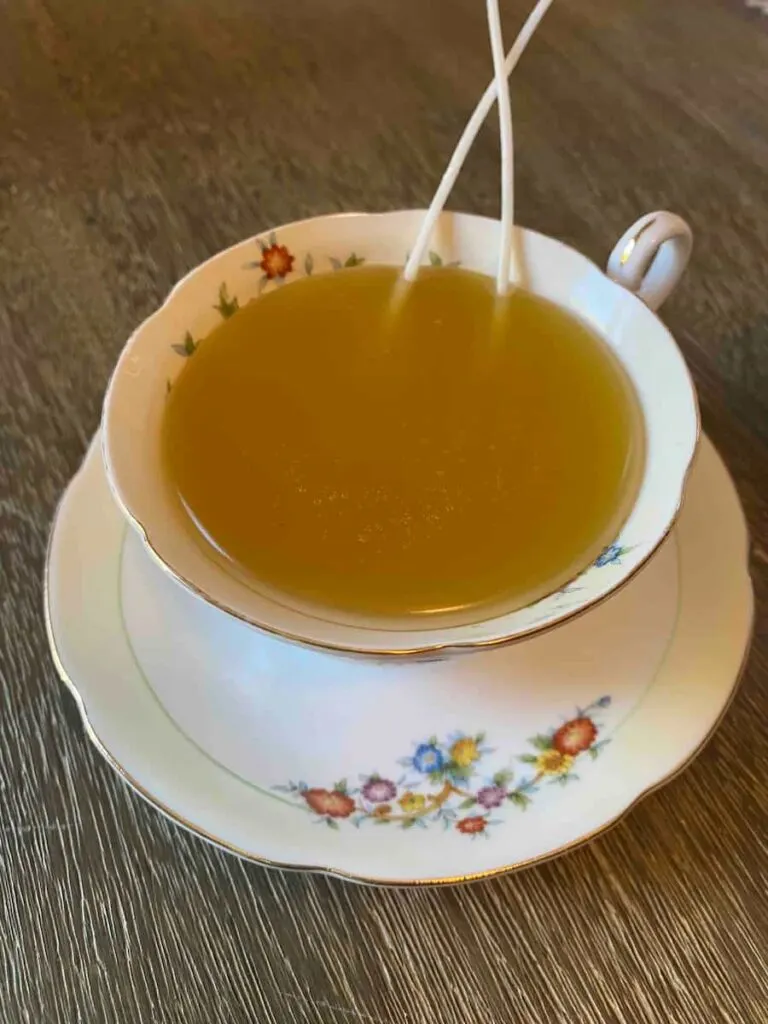
Step 8:
Take one of your plastic straws or wooden dowels and your tape. You’re going to tape the straw to the side of the teacup so that it acts as a support for your wicks to stand up straight as the wax cools.

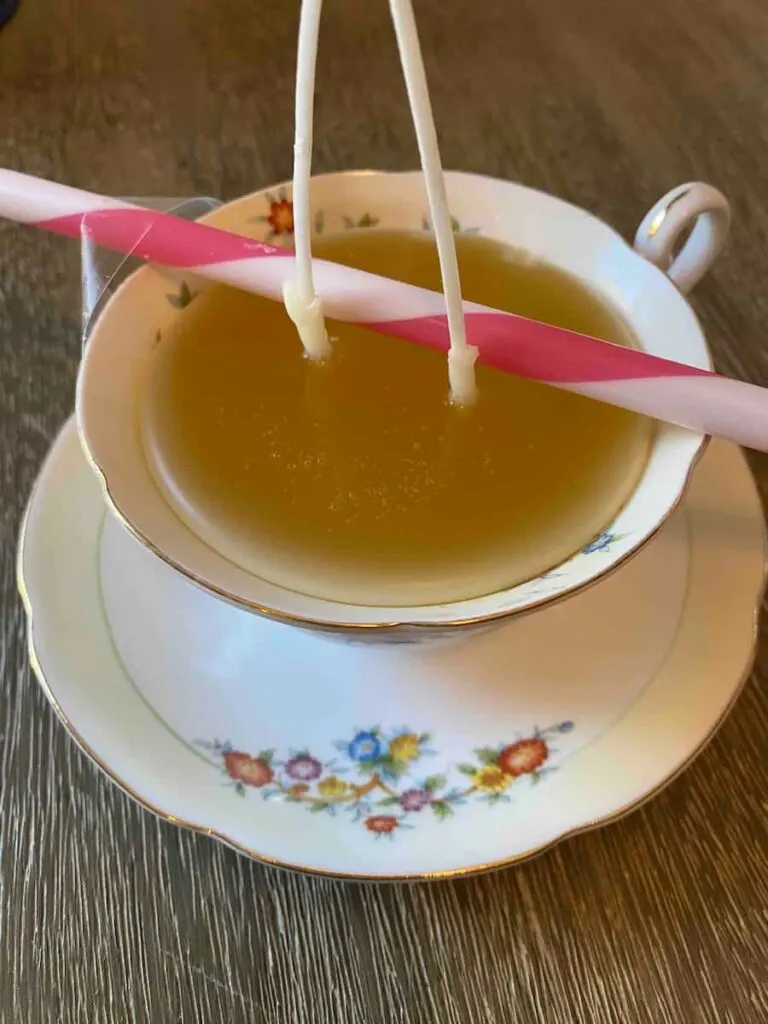
Step 9:
At this point, it’s just a waiting game. Allow your wax to cool completely before removing the straw/dowel support for your wicks.
Once cooled, you may trim your wicks to your desired length. From there, simply enjoy your beautiful teacup candle!

Here are some other fun DIY craft projects you may enjoy:
- DIY Floral Monogram Letters – Simple Step-By-Step Guide
- DIY Floral Embroidery Hoop – Simple & Beautify Craft Project
- Farmhouse Inspired DIY Plant Holder [Repurposing Craft Project]
Make Your Own Beautiful Living Succulent Wreath Centerpiece! Complete video course by Jeannine Romero now available through Skillshare.