

She enjoys all aspects of home DIY- from simple crafts to complete home remodels.
- Clay Moon Phase Wall Hanging - July 4, 2023
- What To Do When a Toddler Won’t Keep Their Blanket On - June 10, 2023
- How Do Child Locks Work in Cars? (And When To Use Them!) - June 10, 2023
We love to see all of the fresh flowers in bloom everywhere in the spring. Their lovely scents and cheery colors bring springtime joy to our hearts!
But fresh flowers aren’t the only way to enjoy the floral season. In this article, we’ll show you how to craft an embroidery hoop with dried flowers that will bring cheery, bright florals to any space in your home!


There are plenty of ways to customize this according to whatever your style is. You can spray paint your embroidery hoop a different color like gold or black, and you can also use a different color of tulle!
We chose white to “disappear” on our white walls, but there are tons of color options as well.
We purchased our dried flowers, but this project is a great way to use any preserved flowers that you have from special occasions if you have them!
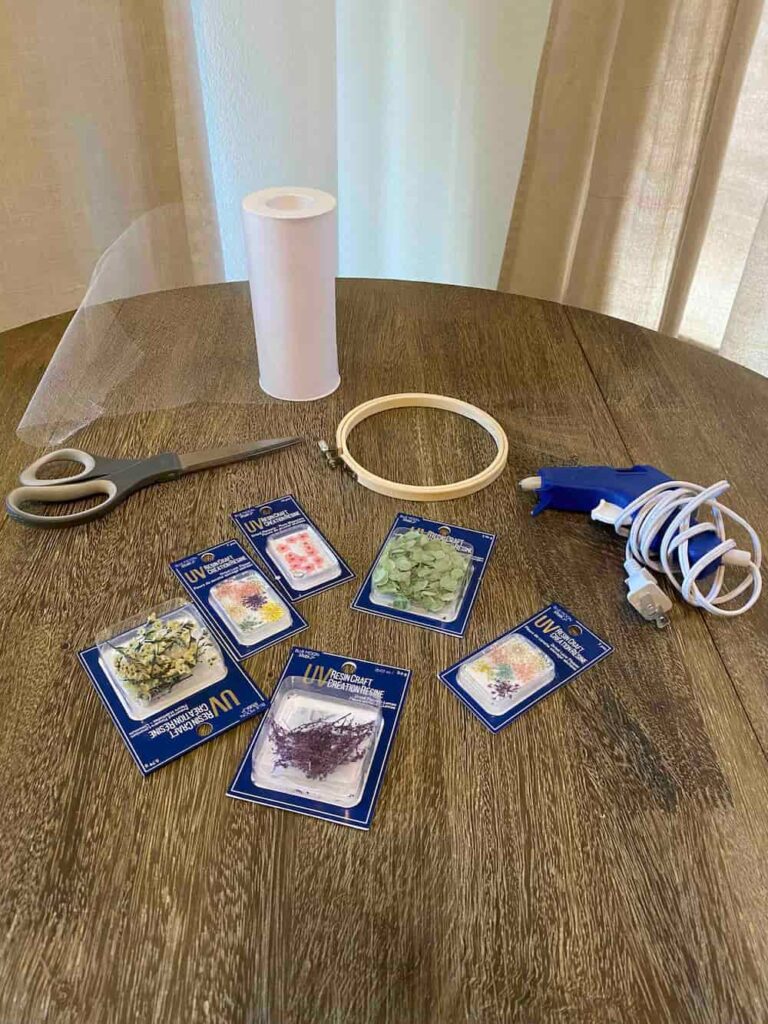
Supplies Needed:
- Dried flowers (we bought ours at Michaels)
- Scissors
- Tulle fabric
- A hot glue gun
- A wooden embroidery hoop (we used a 5 inch one)

Step 1:
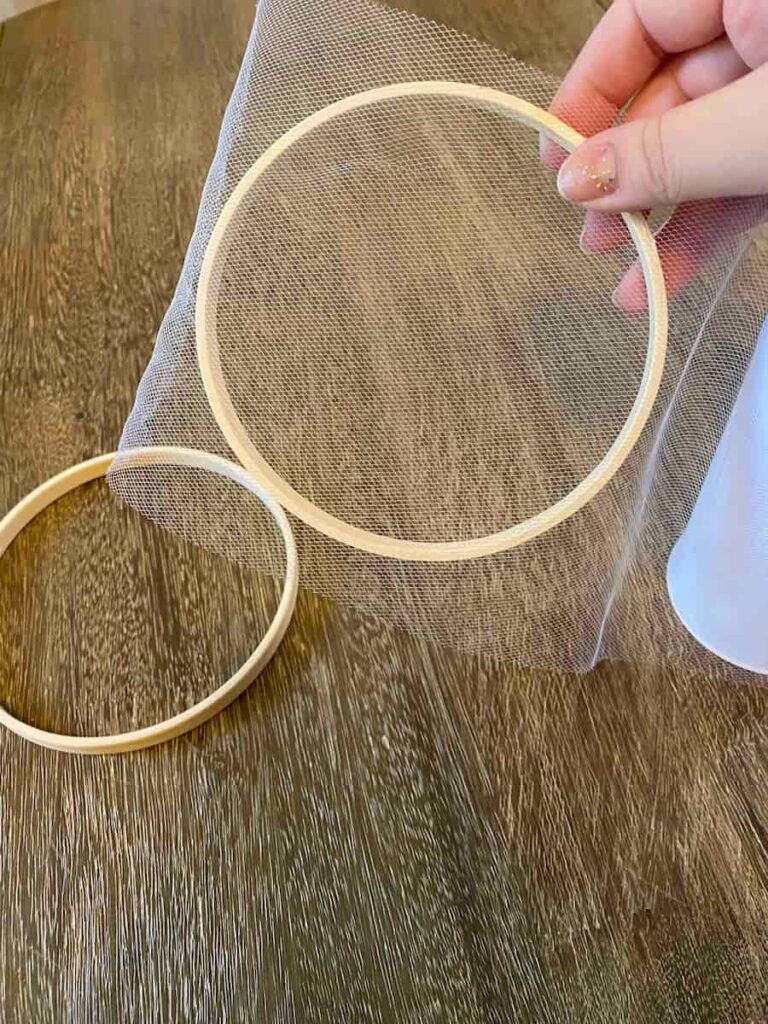
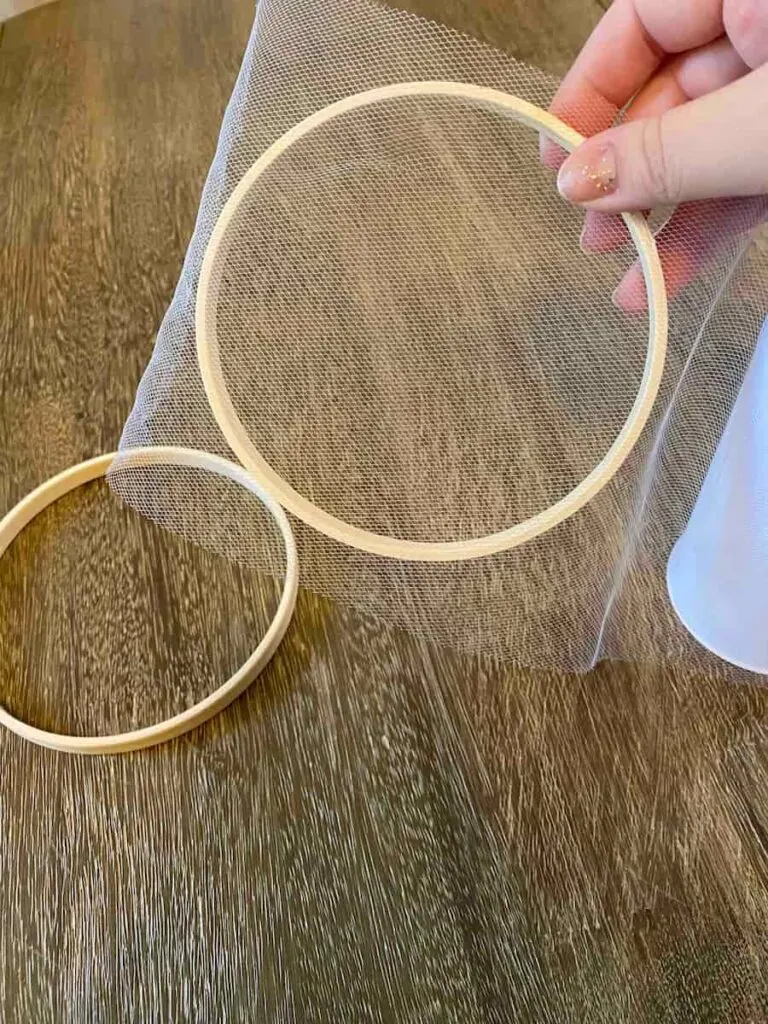
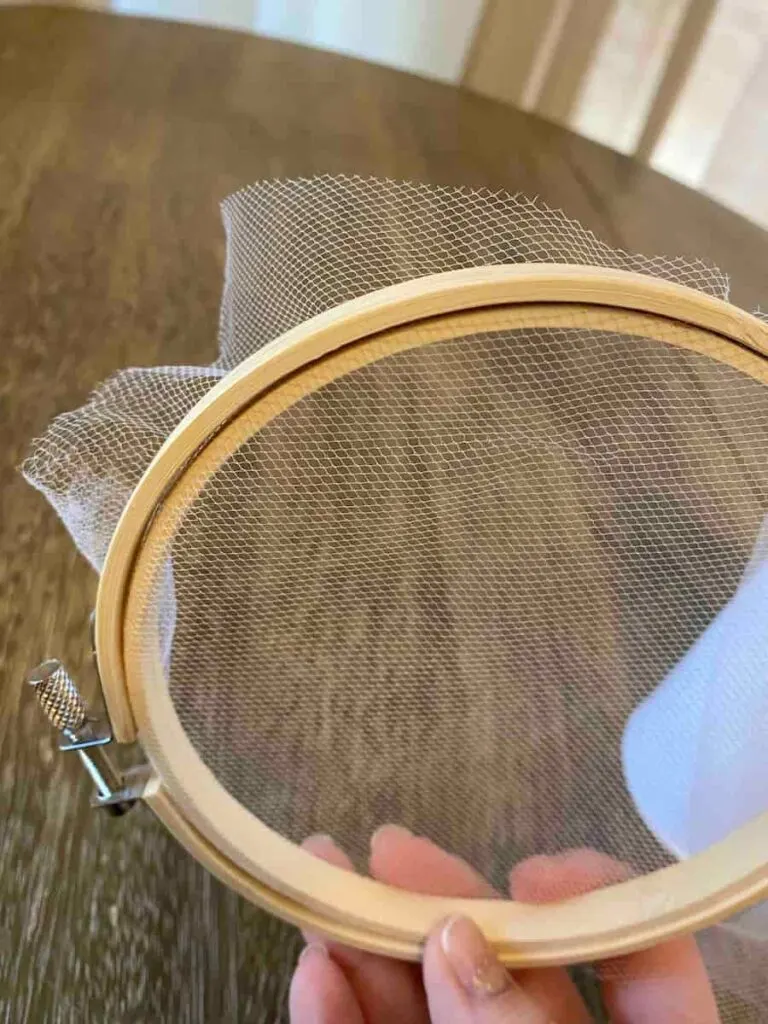
Take your embroidery hoop and loosen it using the screw at the top of the frame, loosening until you can pull the small inner wooden circle out of the larger one.
Take the smaller embroidery hoop and place your tulle fabric over it, making sure that the amount of fabric hanging off of the sides is even.
You can cut your tulle fabric off of its spool at this step, making sure to leave a little bit of extra around all of the edges of the smaller embroidery hoop.
Step 2:
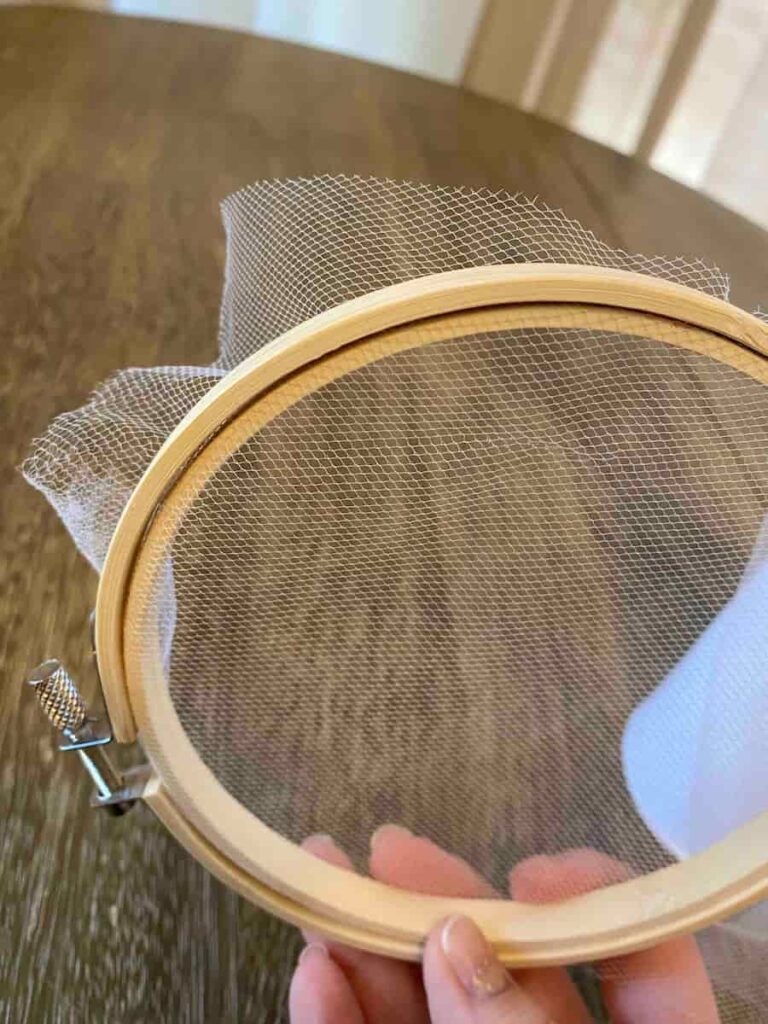
With the fabric placed on top of the smaller hoop, fit this hoop back into the larger hoop until it is back in its original position inside the larger hoop.
Tighten the screw again, stretching the fabric slightly as you tighten it in order to make sure you have a flat surface of fabric. Tighten the screw completely.
Go ahead and plug your hot glue gun in, as you’ll need it in the next step.
Step 3:
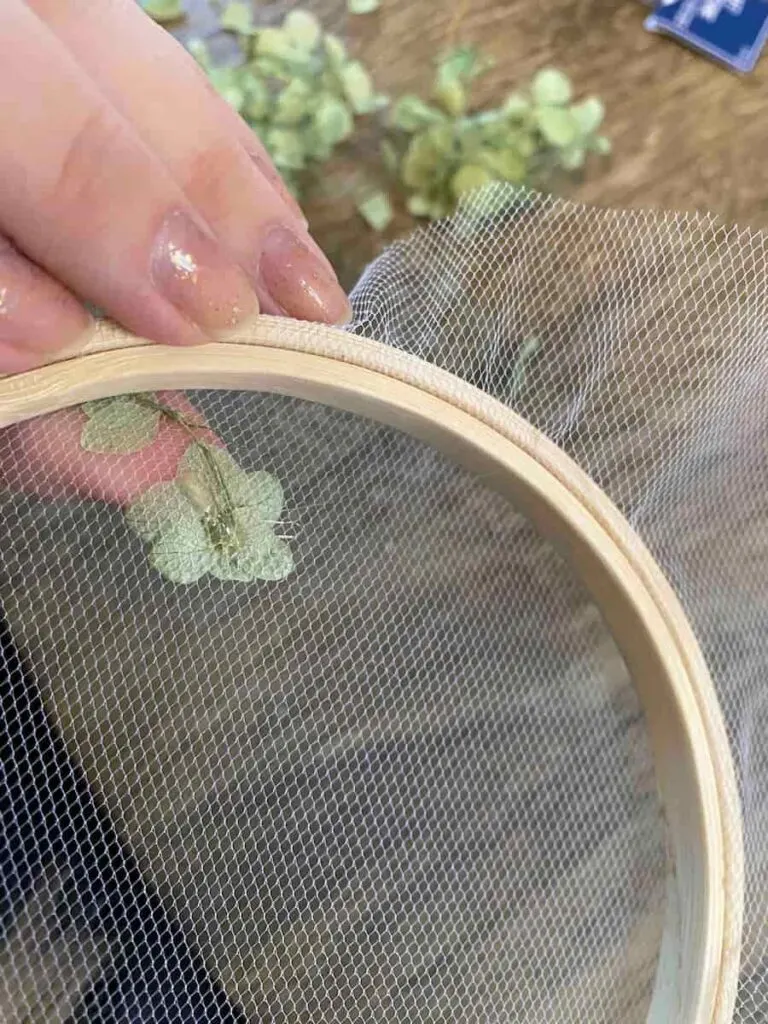
Make sure that the screw on the embroidery hoop is at the top and centered. Take your dried flowers and your hot glue gun.
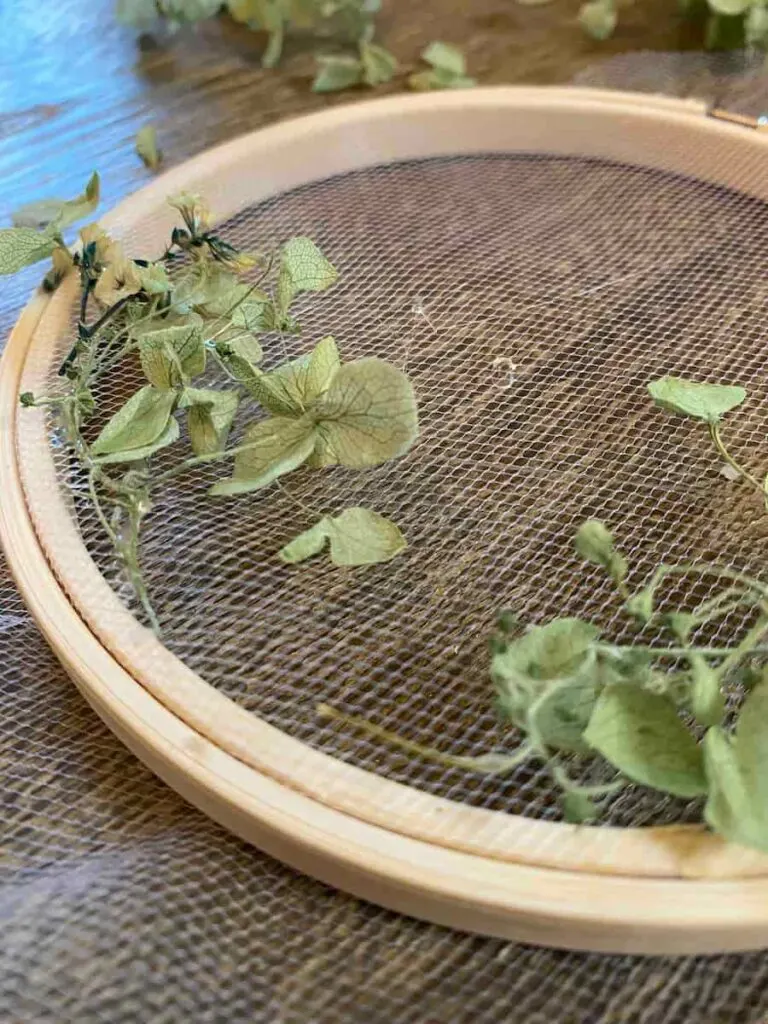
If your dried flowers have strong stems, you can weave the stems through the tulle before gluing. If not, simply place a small dot of hot glue on the back of each flower, applying it carefully to the tulle fabric (careful not to burn your fingers).

Step 4:
Cover the embroidery hoop to your liking, placing your flowers in whatever positions you like.

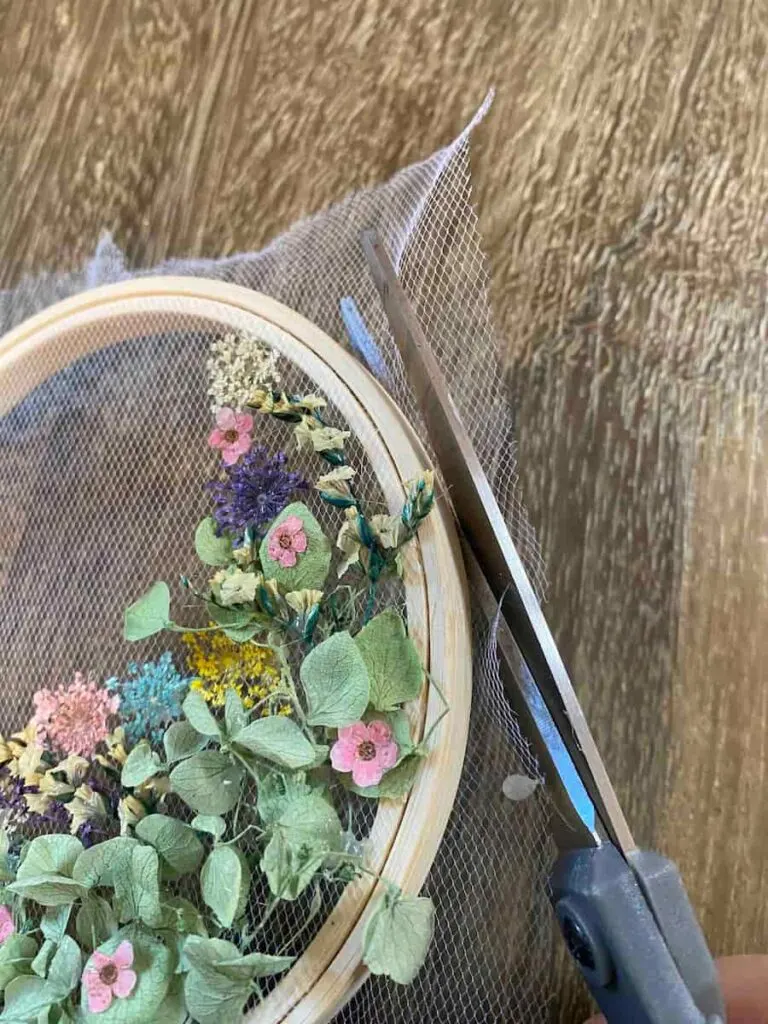
Step 5:
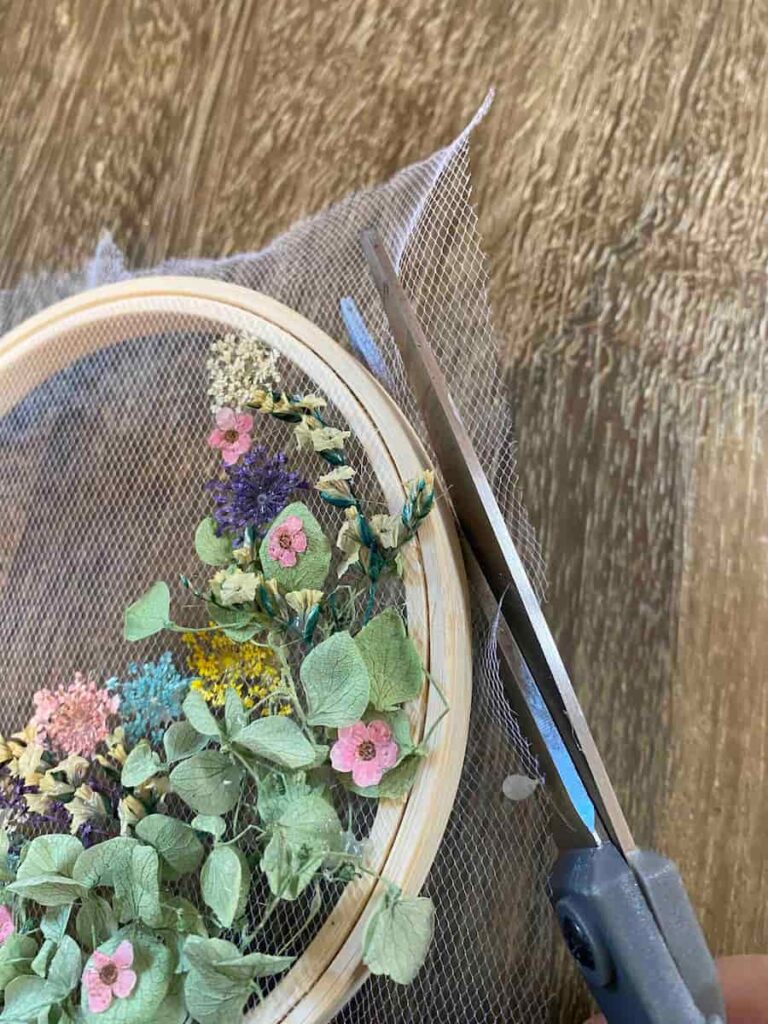
Take your scissors and cut off the excess fabric around the outer back edge of the hoop.
Step 6:
Your floral embroidery hoop is now ready to hang! Using a thumbtack is an easy way to hang this on any wall.
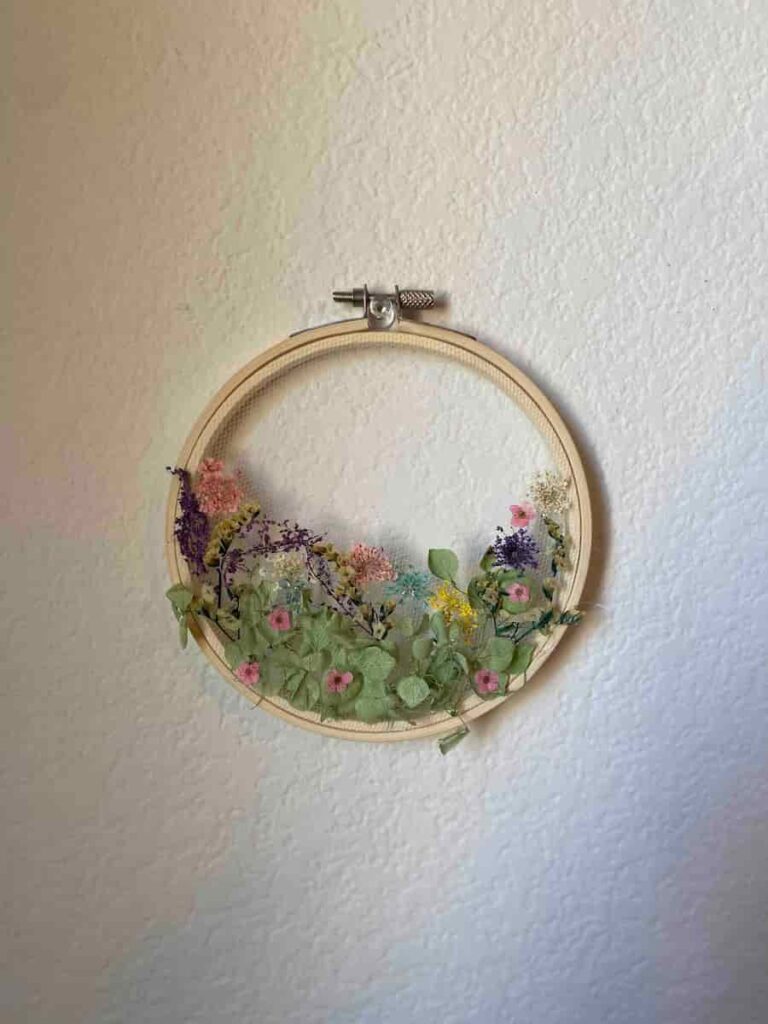

That’s it. Simple and beautiful!
Enjoy your beautiful blooming embroidery hoop!
Here are some other DIY craft projects you may be interested in:
- Wooden Beads Wall Art Hack (plus 23 bonus ideas)
- Farmhouse Inspired DIY Plant Holder [Repurposing Craft Project]
- DIY Terracotta Candlestick Holders (Step-By-Step Guide)
Make Your Own Beautiful Living Succulent Wreath Centerpiece! Complete video course by Jeannine Romero now available through Skillshare.