

- Free Video Tutorial – Gratitude Farmhouse Decor Craft - July 25, 2023
- DIY Dollar Tree Bird Feeder Craft - July 4, 2023
- Embroidery Hoop Organizational Wall Art - February 28, 2023
Have you seen old wooden decor baskets from the 1990’s? Do you have an old frame? Why not give them a new life?
Try repurposing them as a newer plant holder! This farmhouse-inspired DIY is a great way to add some style to your home, and it’s easy and affordable to do too. Just how I like it!
I seriously was thrilled with this project. I was walking in the thrift store and saw an old wooden 1990s country-themed basket. Truly, I have seen so many of these over the years, and they are indeed cute but so outdated.
I have passed these on thrift shelves, yard sales, rummage sales and the likes over the last 30 years but always walk by not interested.
Until I saw this one.
I stopped to remember the country style of the 90’s. My stepmom was all into that. She would have had a wooden basket just like this one. I paused, remembering. I said to myself, too bad that I think it is cute but I do not want it as it is.
I picked up the basket thinking wow, it is so well made. Then it hit me, why not get it and bring it to the year 2022 and give it a new life?!
It did not take much time or money to do this and that is my favorite way to craft. Upcycling or recycling something is a win for me when possible. Repurposing is so much fun and saves money.
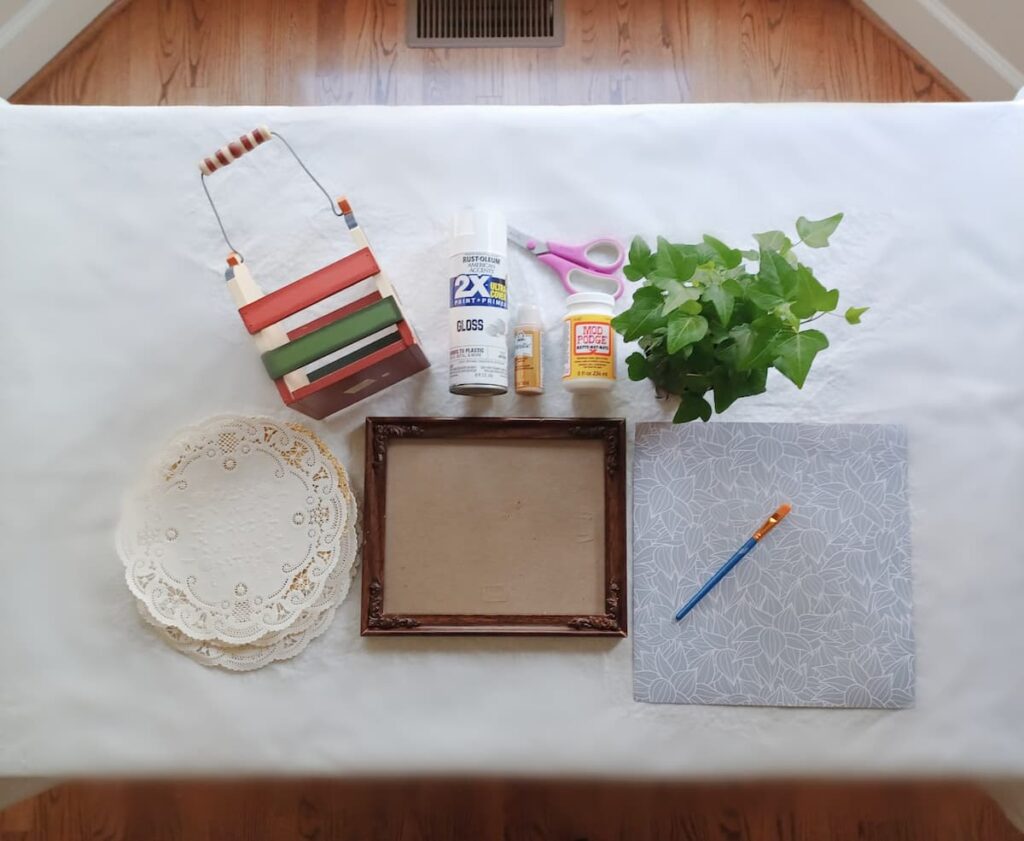
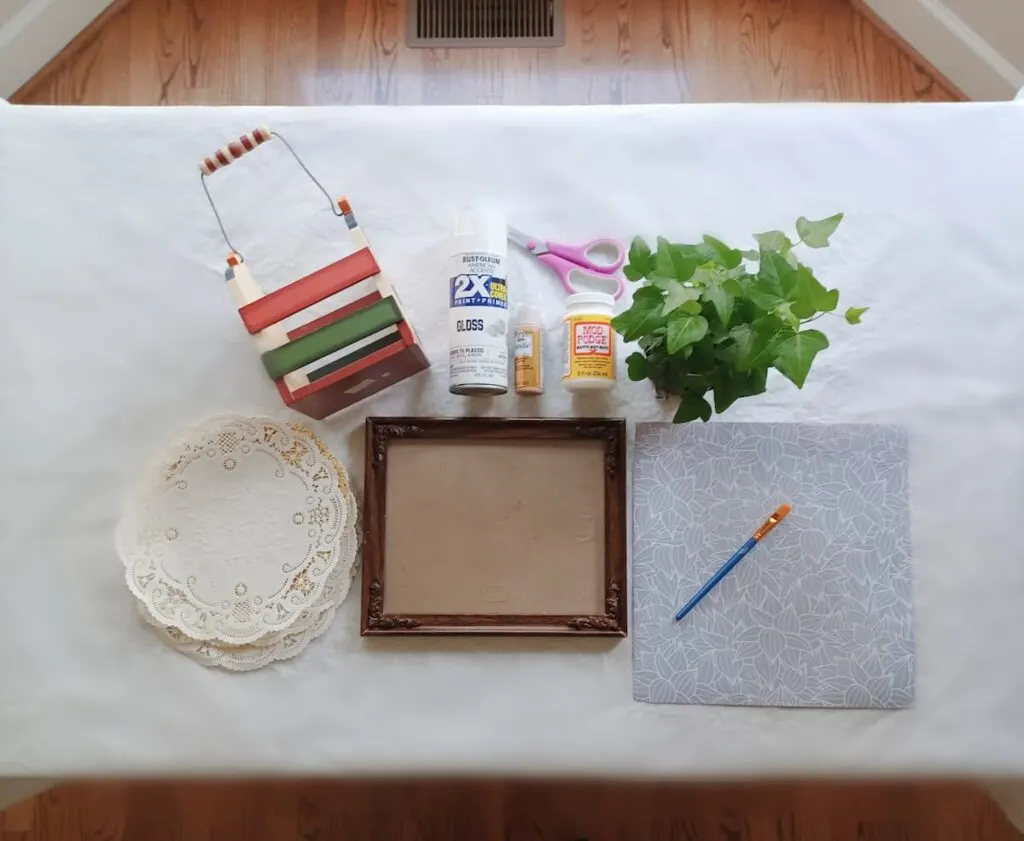
With this project I already had an old frame, left over paint, a house plant I wanted to dress up, a piece of extra scrapbooking paper, mod podge and some paper doilies, already on hand. All I had to do was buy the wooden basket which I ended up getting for only a dollar!
Another project where I used old smaller frames was in this DIY Farmhouse Style Vision Board. ←—link post here.
Supplies needed
- Wooden basket
- Mod Podge (link to Amazon)
- Doilies
- Scissors
- Spray paint
- Gold acrylic paint if you want accents
- One sheet of scrapping paper
- Old 8 x 10 frame
- A house plant to fit your holder
Step one
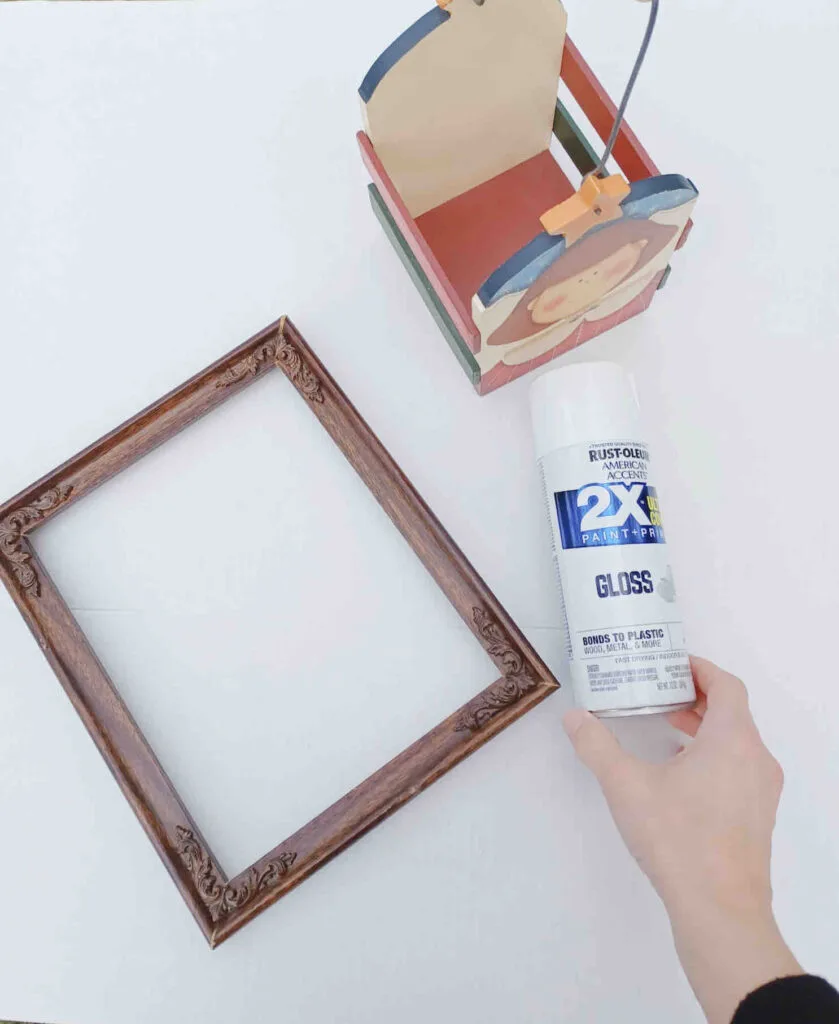
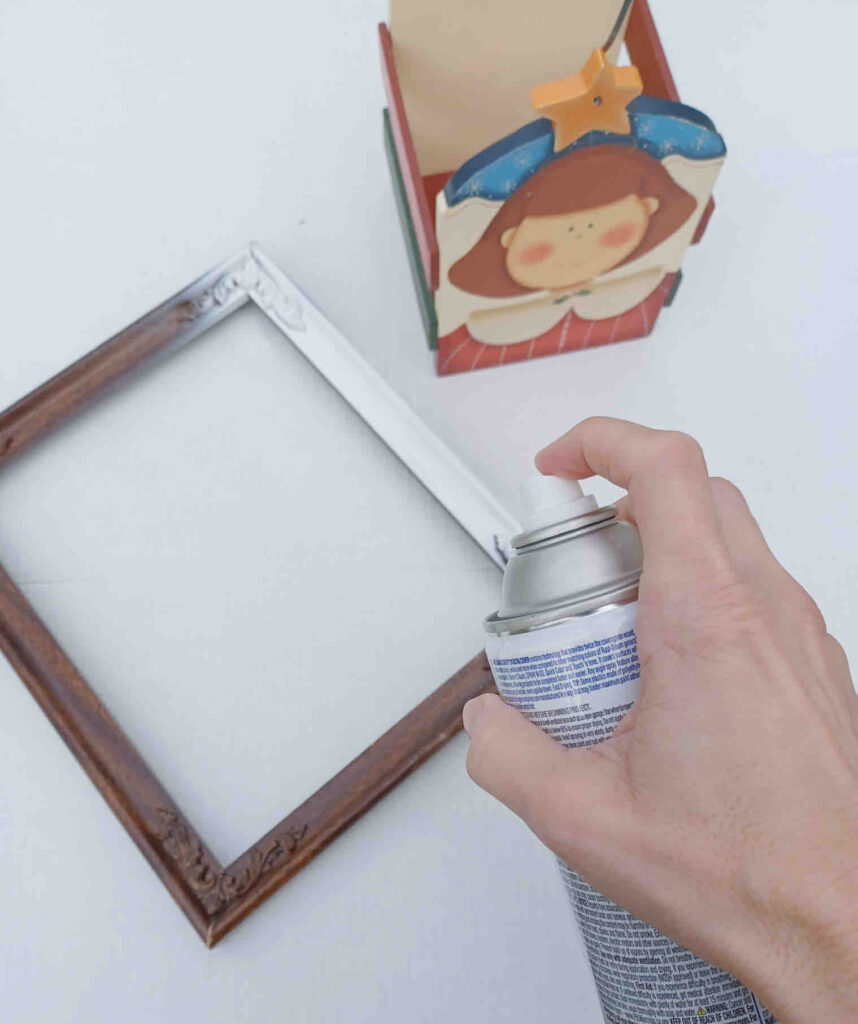
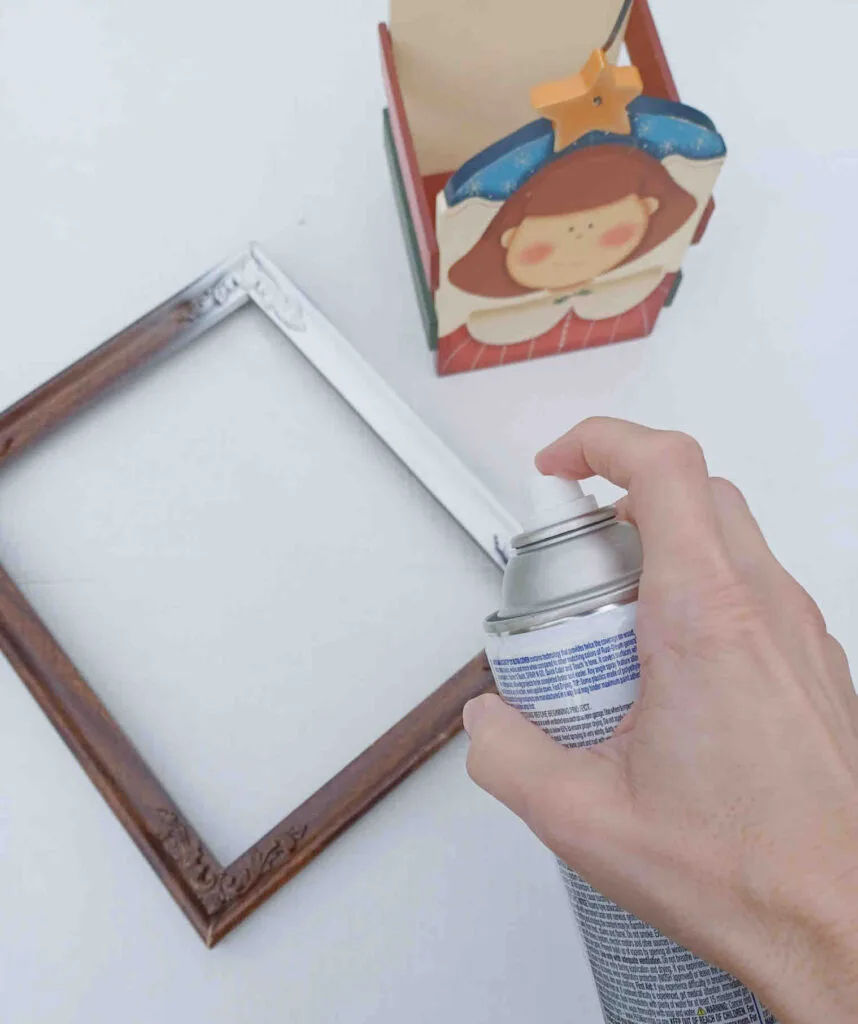
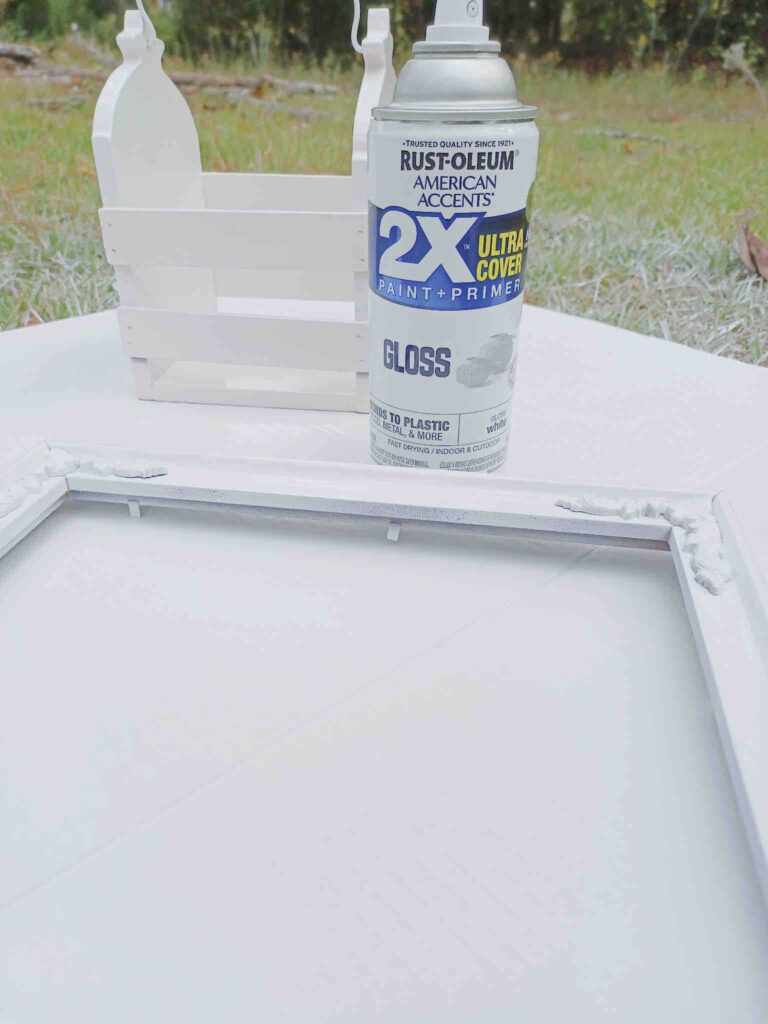
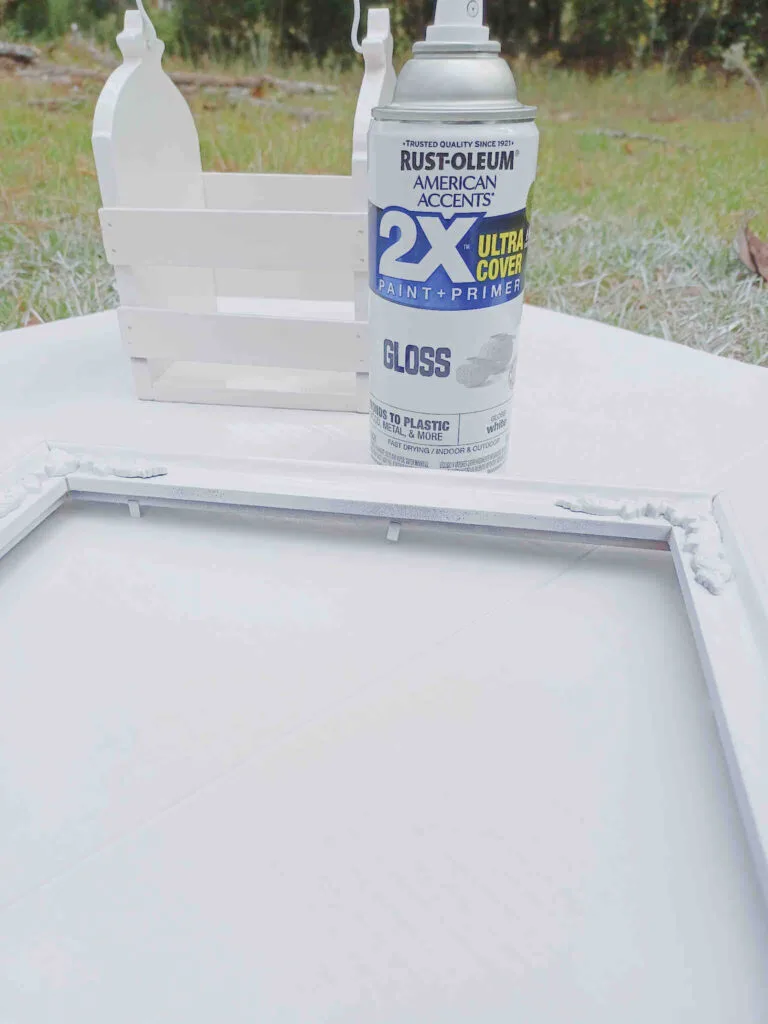
Spray paint.
We are going to spray paint the frame and the wooden basket.
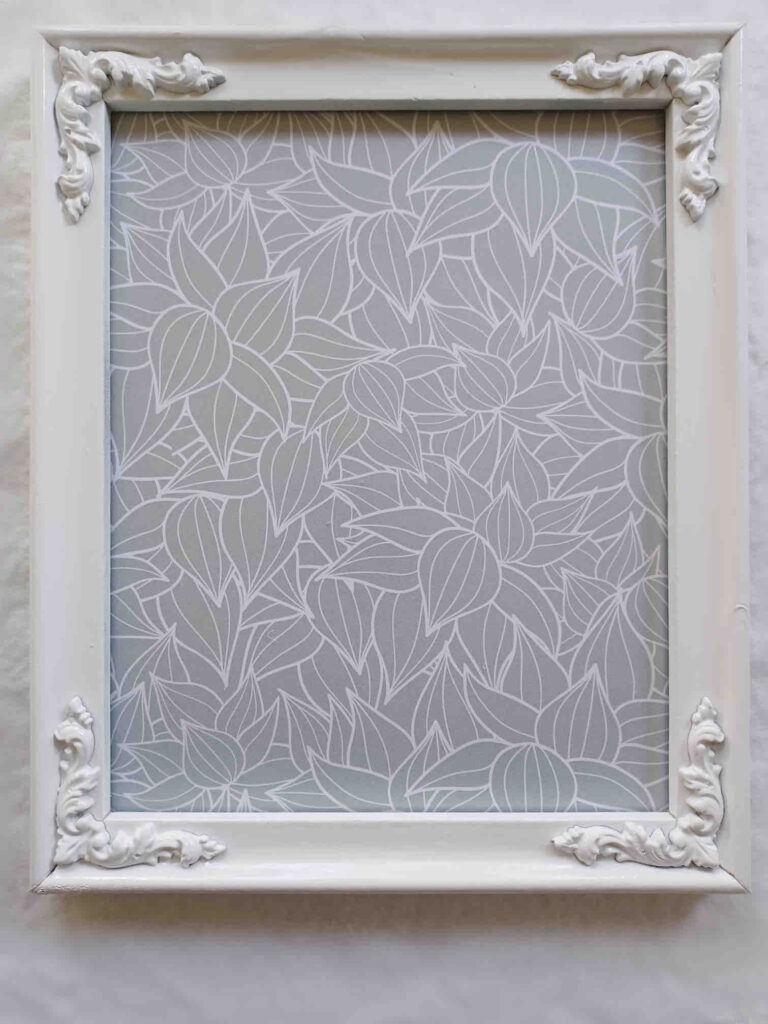
Take the glass and back off the frame. Now is also a great time to clean the glass if needed. Also a tip before spray painting, make sure you clean any dust and grime off the items and allow them to dry before painting.
I love this Rust-Oleum 2X Ultimate Cover Paint. It has the primer and paint in one. There is no need to sand your frame and basket. This paint is amazing and covers well without that.

Step two
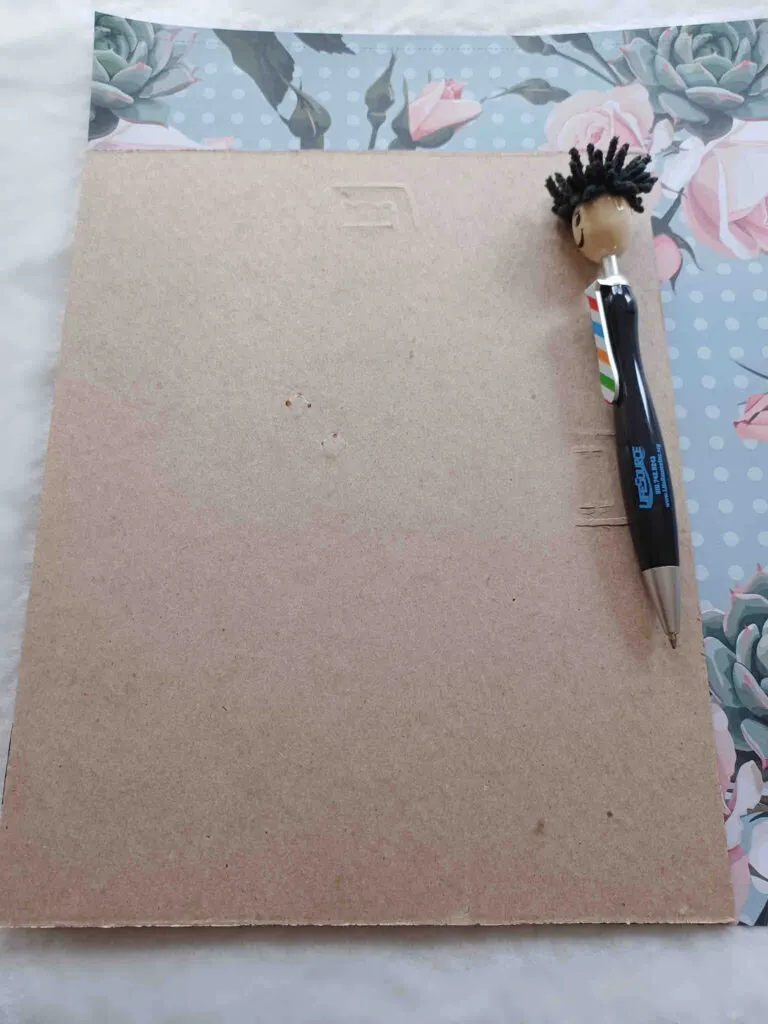
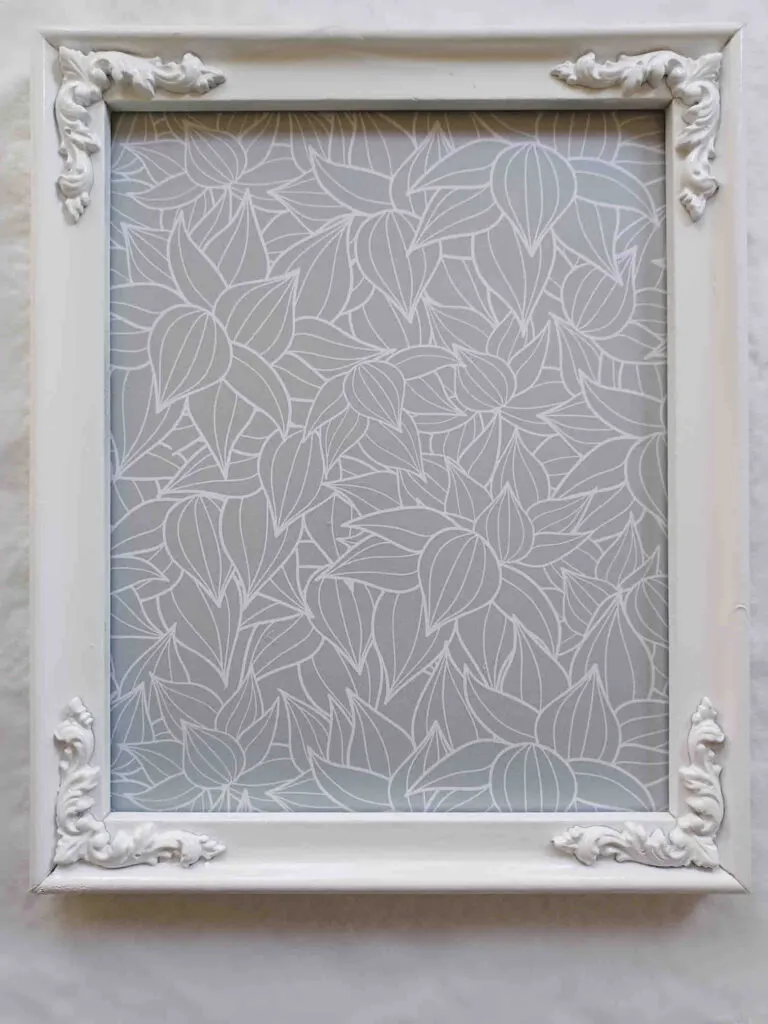
Trace and cut your paper for your frame tray.
While the paint is drying on your frame take this time to trace and cut your paper. It will give your frame tray a cute little accent backdrop. It can be any paper you wish. I had this piece of scrap booking paper left over. I liked the color of it next to the white and the little plant designs on it matched my plant holder theme.

Step three
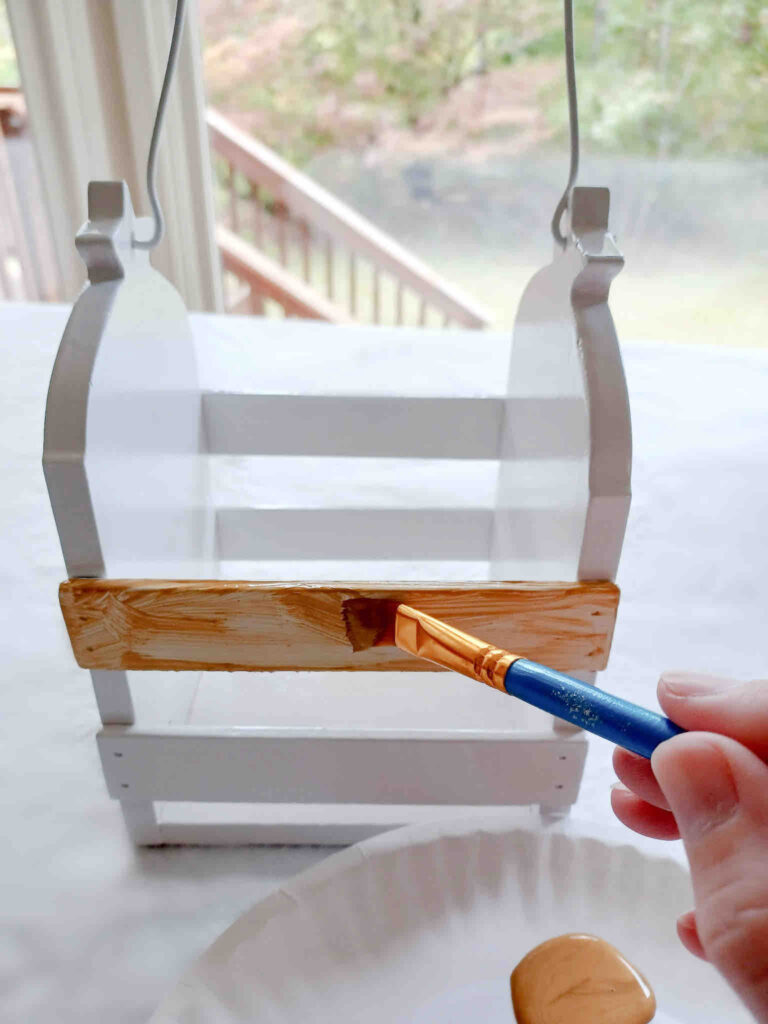
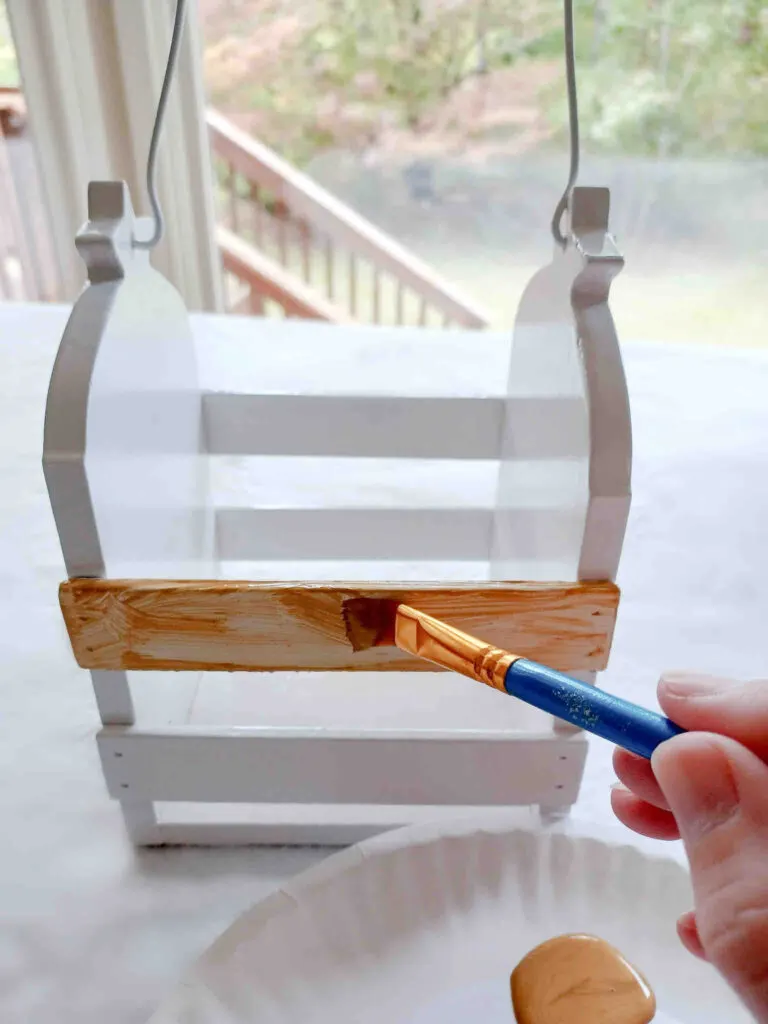
Paint your accents.
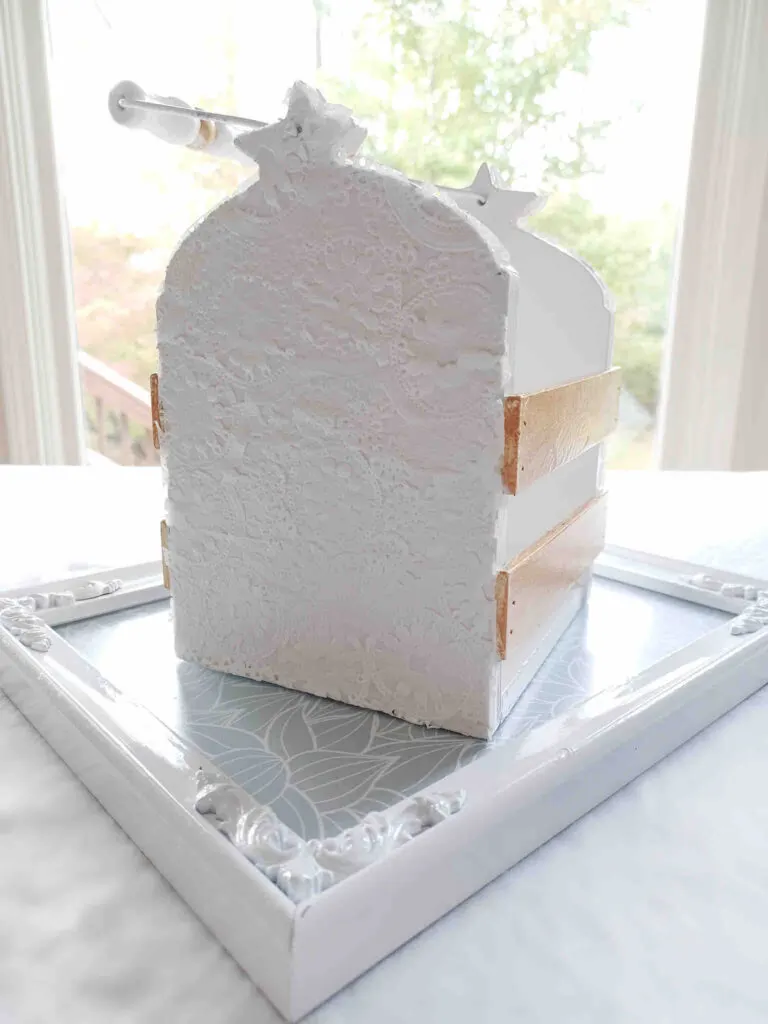
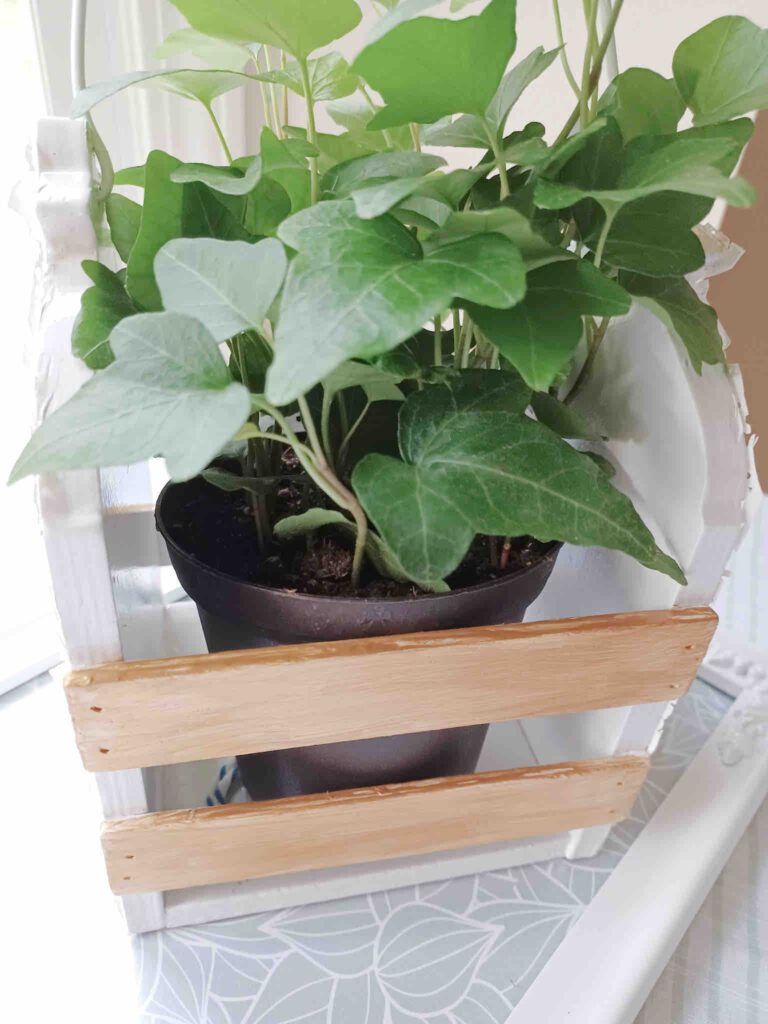
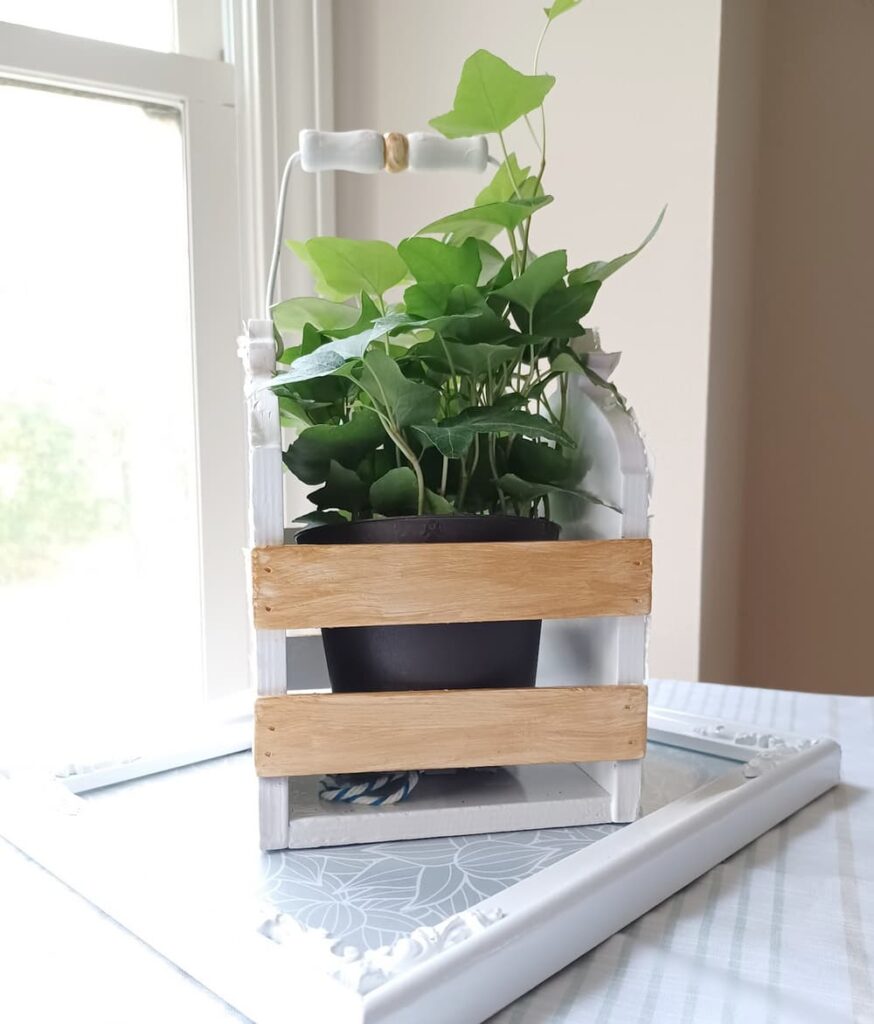
I wanted to paint the little short boards on the front sides of the basket in a gold metallic paint. It gave it a rustic wooden look. I also painted a tiny little accent part of the handle to give it a little pop of cuteness.
I personally did not want to paint it perfectly because I wanted it to look a little rustic. This craft project is so forgiving.
Step four
This step is optional. Decorate with doilies.
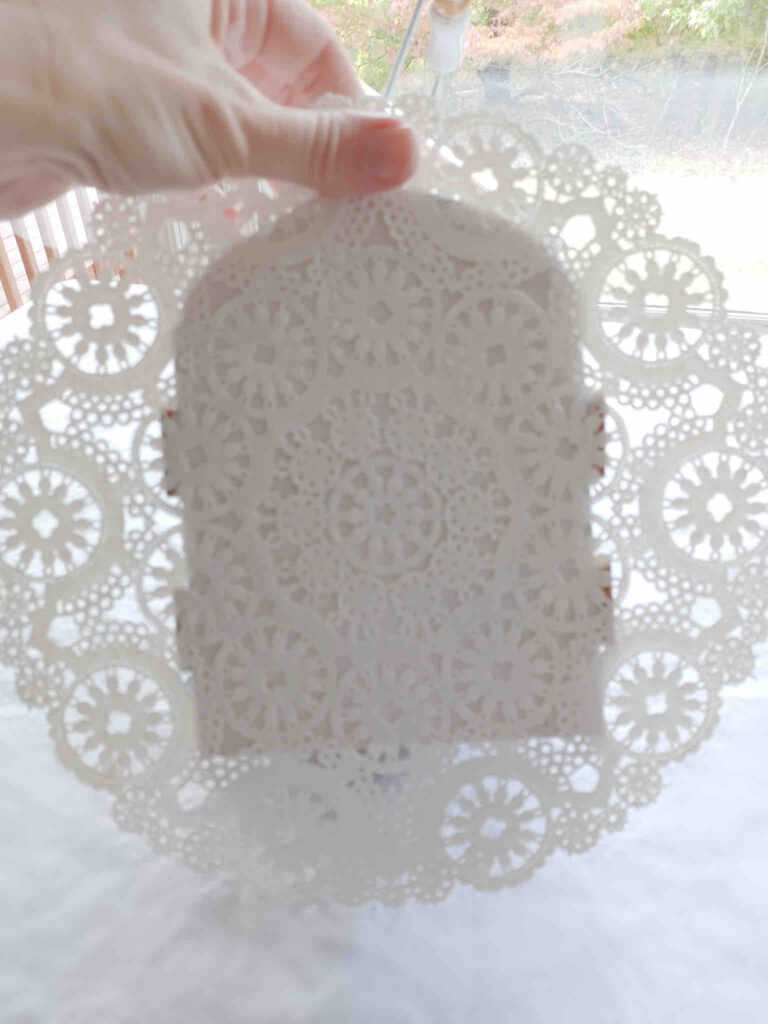
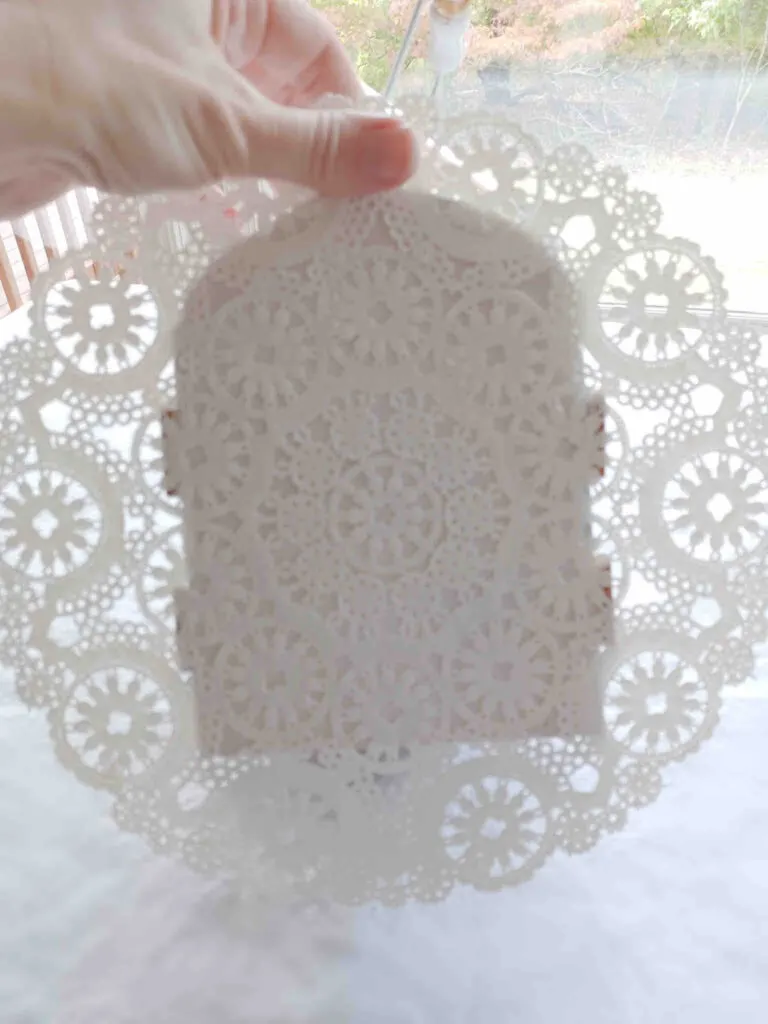
I like the look of them and wanted a way to use some I already had. So if you want to try this, take your dollie and place it on the side and play with it until it is sitting the way you would like.
Then take your scissors and trim the edges of the doilie around your basket. Or you can just leave the wooden basket as is and it would still look great.
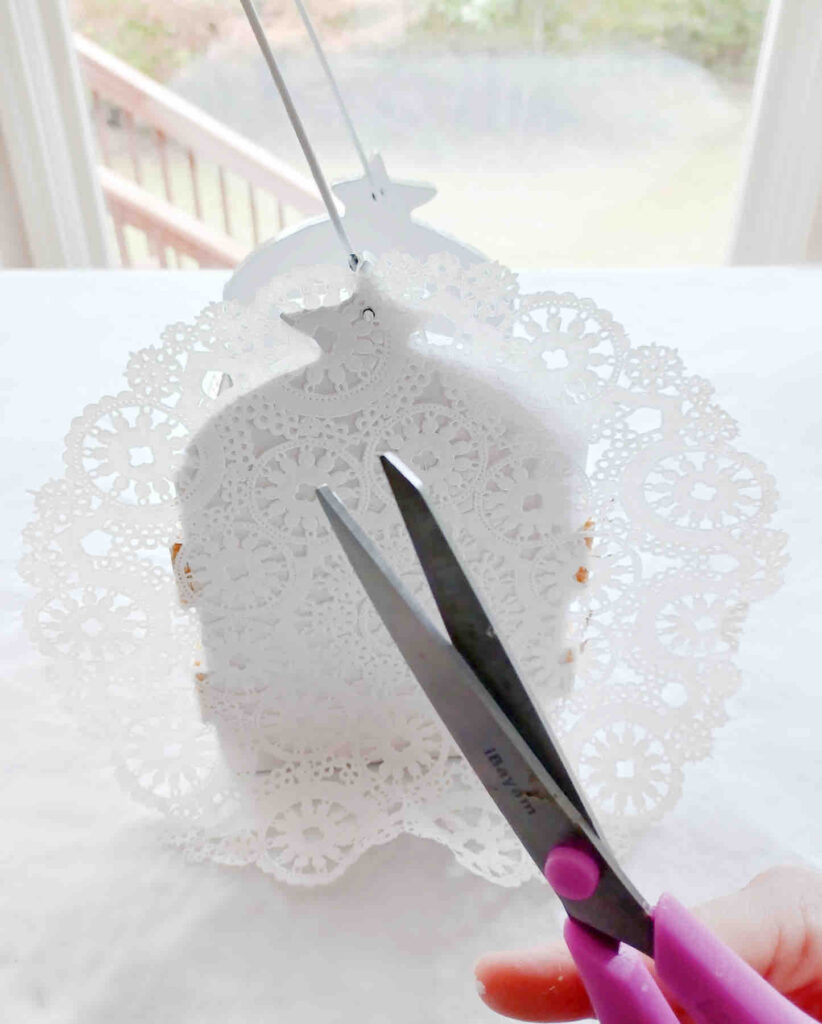

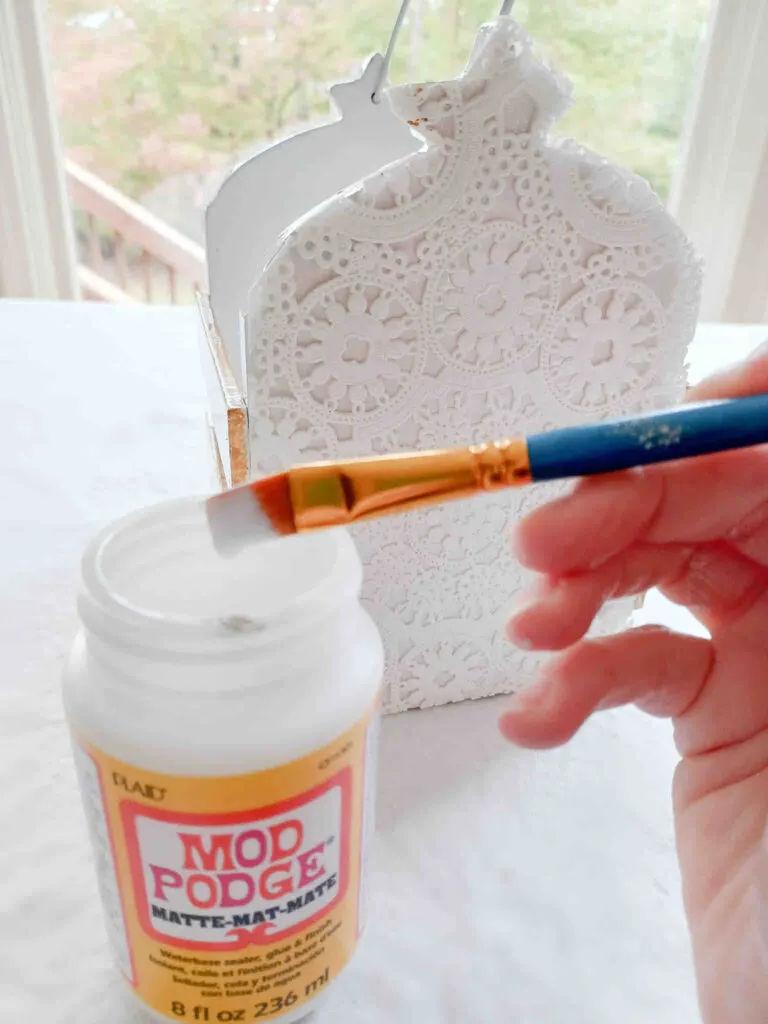
Once you have placed the dollies and trimmed on both sides of the basket, we are going to mod podge them down with a paintbrush. You do not need much. I got the matte-mat-mate Mod Podge.
If you have never used mod podge, it is a water-based sealer, glue and finish all in one. If you want, you could paint some on the bottom of your wooden basket too to seal it just to be sure.
However, when I water my plant, I will keep it out of the basket until it is dry after watering each time.
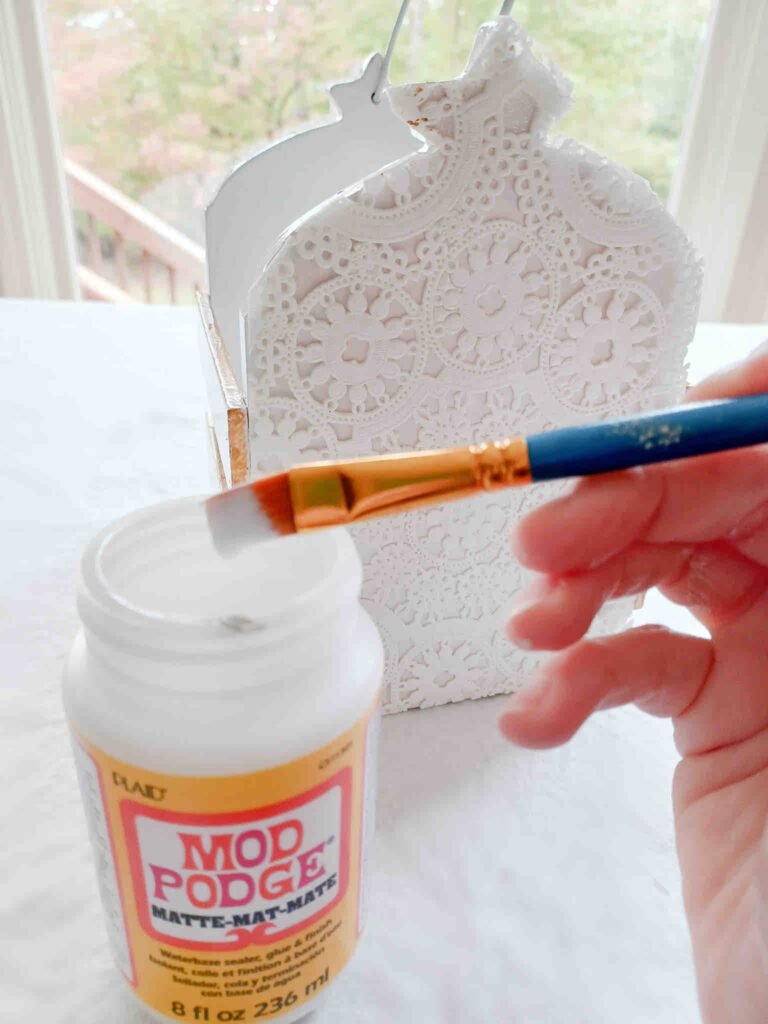
Do not be afraid of the look of the wet doilies as they look a little soggy. But, rest assured it will dry out just fine. Here is what it looks like just after mod podging before it dried.

Step five
Assemble.
Place your basket if you have not already on your newly made tray. Or that can be optional, you do not have to have a tray. I plan on using mine to place little things around it.
For example
- At times I will use it as a centerpiece on my breakfast table placing the salt and pepper on the tray around the plant.
- You could place a favorite rock.
- You could actually place tiny succulent plants around it in tiny pots.
- Have a note of encouragement or affirmations on the tray leaning on it.
- A cute small notepad and pen for quick retrieval.
- Maybe place your vitamin bottle to help you remember to take them.
- Use the plant holder tray as an elegant way to hold some small jewelry on your bedside or counter.
If you chose to use the tray underneath I am sure you can think of many ways to use it to suit your needs. I will be moving this around the house from time to time to use in different ways over time.
Also this is the time you can place your plant in your newly refreshed basket. You do not have to wait for the mod podge to dry unless you want to.


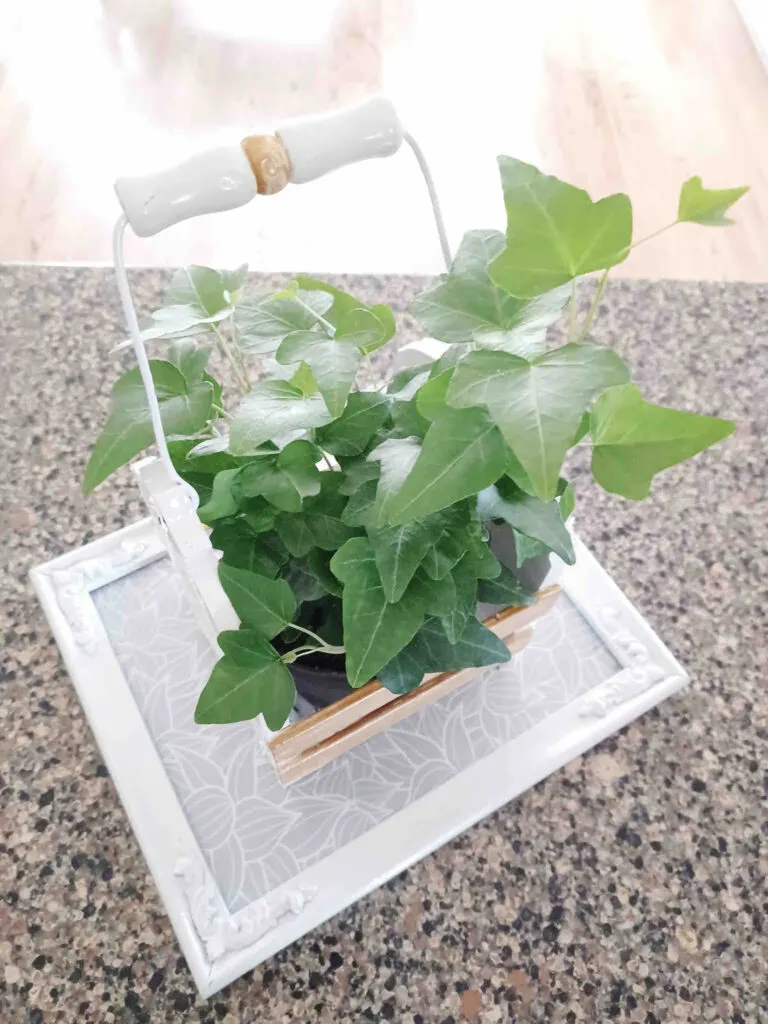


I love how clean this farmhouse-inspired upcycle project looks. I also really love how it did not take long to do but was so satisfying.
Want to take a look at another great holder project idea we have? Try our DIY Terracotta Candle Stick Holders tutorial!

Make Your Own Beautiful Living Succulent Wreath Centerpiece! Complete video course by Jeannine Romero now available through Skillshare.