

She enjoys all aspects of home DIY- from simple crafts to complete home remodels.
- Clay Moon Phase Wall Hanging - July 4, 2023
- What To Do When a Toddler Won’t Keep Their Blanket On - June 10, 2023
- How Do Child Locks Work in Cars? (And When To Use Them!) - June 10, 2023
Springtime is all about florals, sunny skies, and bright colors. We wanted to bring a few little pops of color to the inside of our home, and what better way to do that than something whimsical?
We found these little felt pom poms on Amazon and knew we had to do something adorable with them. Follow along to learn how to make a DIY pom pom tree that is so cute, you’ll want to leave it up all year long!
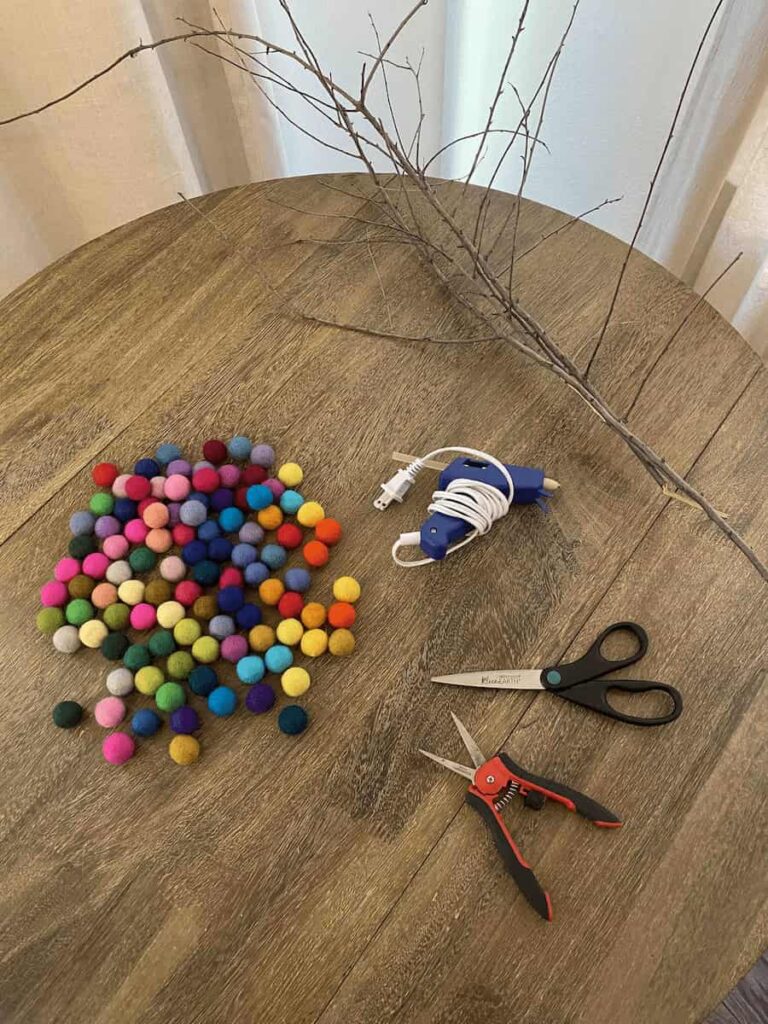
Supplies Needed
- Felt pom poms (link to Amazon)
- Scissors/garden clippers
- Twigs/branches
- A hot glue gun

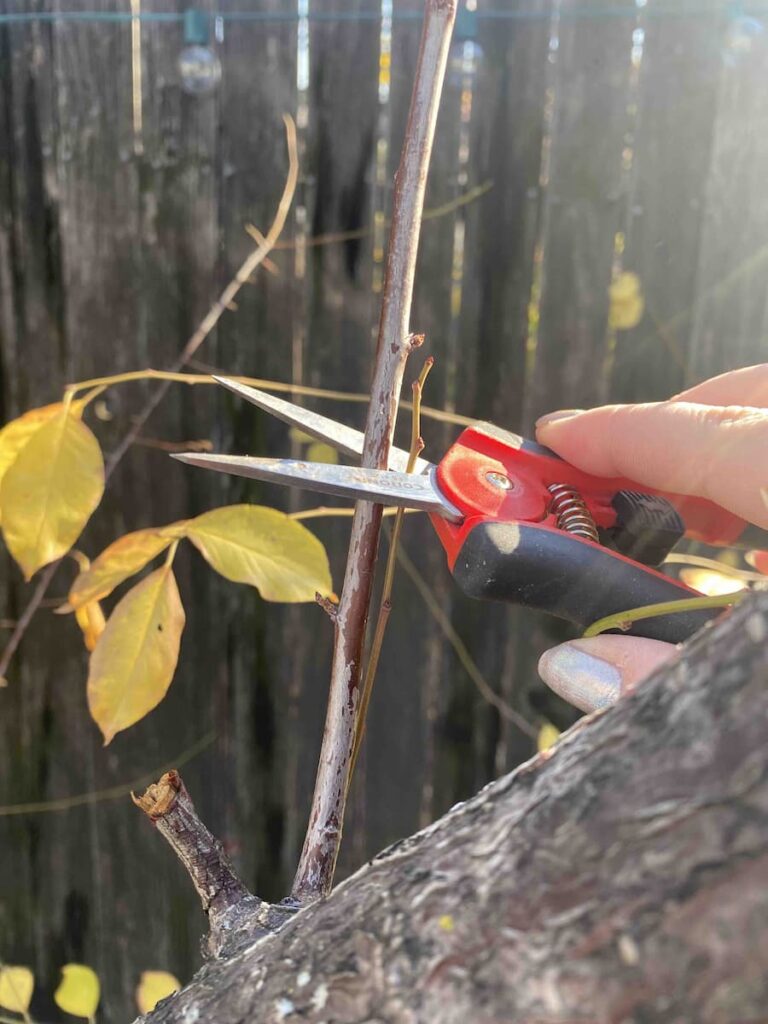
Step 1
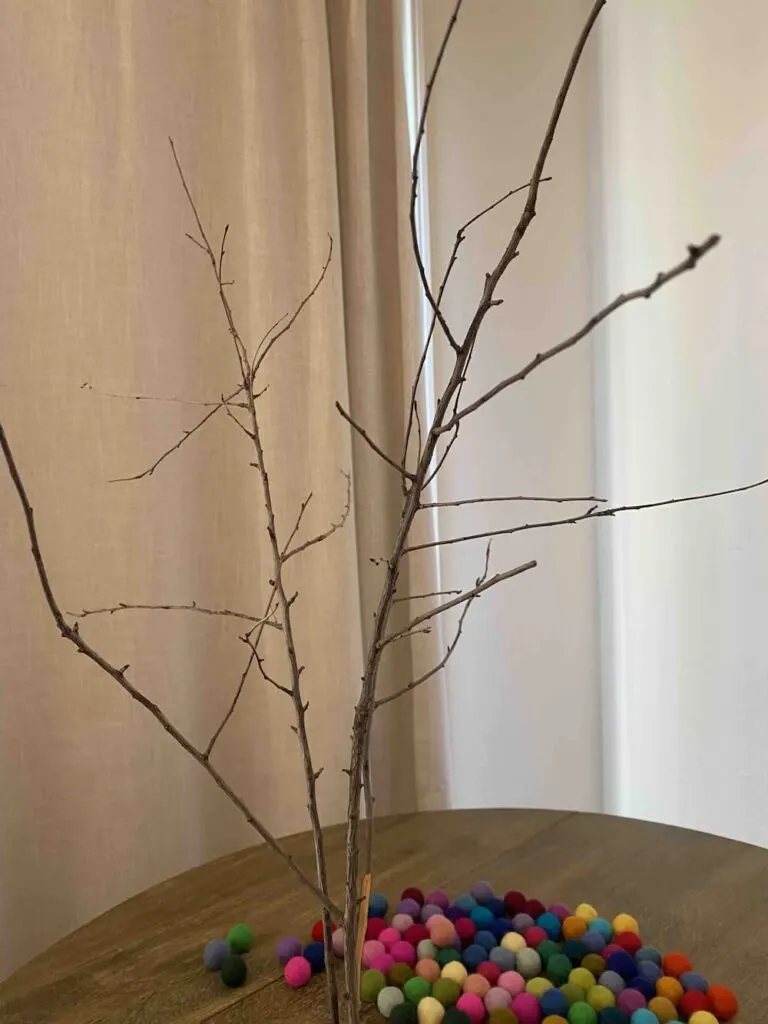
Using your scissors or garden clippers, clip a branch from a bush or tree (you can also use branches that have already fallen if that’s easier).
Look for branches that have lots of offshoots/smaller branches on the sides of them. Make sure to take any leaves that are on the branch and pull them off.

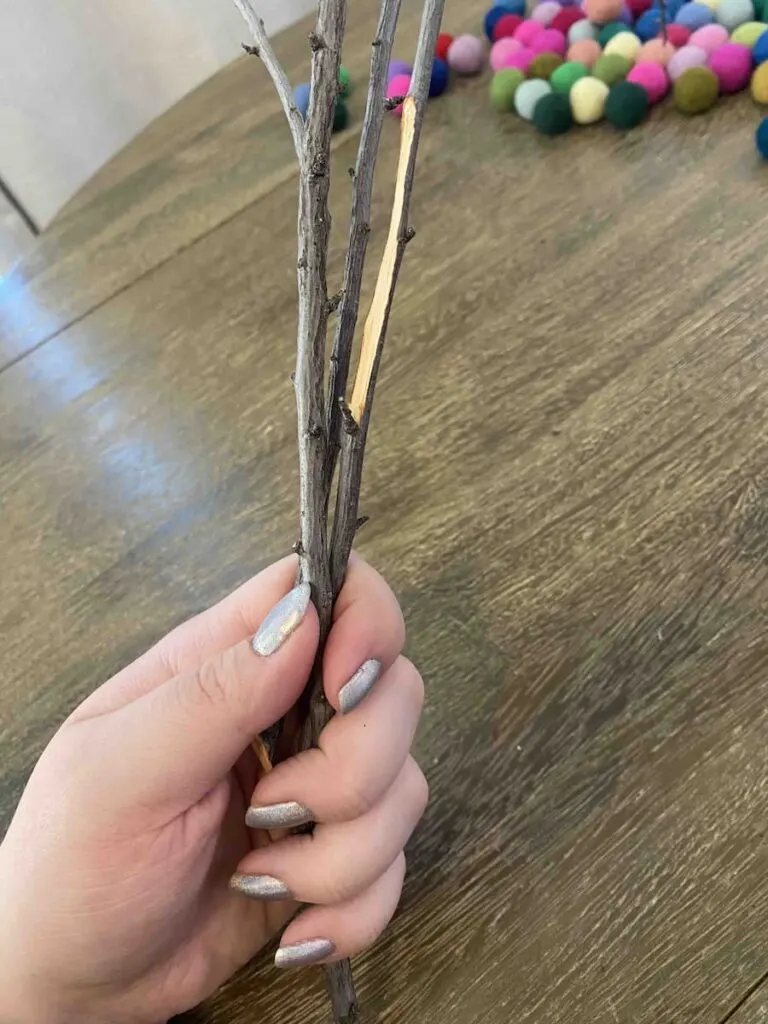
Step 2
Take your scissors or clippers and cut any branches that are shooting off from the bottom part of the branches. This is so that, if you want to place these in a vase, they will fit.

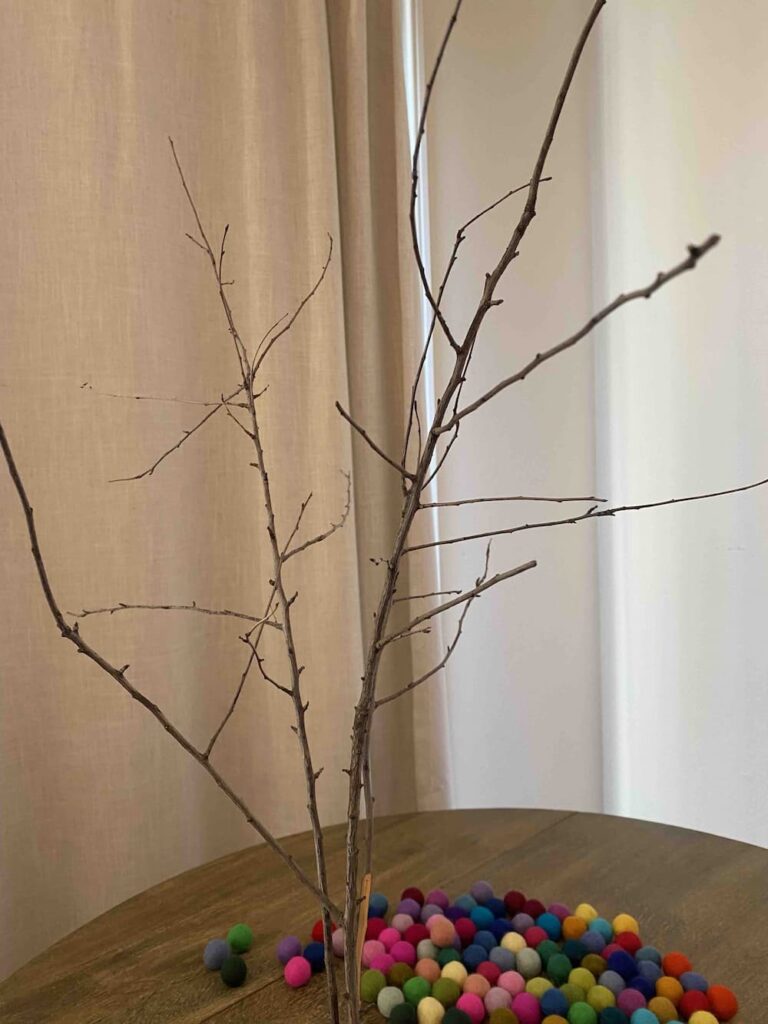
Step 3
Plug in your hot glue gun. While you wait for it to heat up, you may want to consider clipping any branches that are too long.
You can also begin to arrange your twigs how you’d like them to stand, whether putting them in a vase, hanging them, or simply laying them across a table.
If you are using a vase, it’s helpful to arrange the twigs how you want them and then leave them in the vase, as it will be easier to glue the felt pom pom onto the twigs that way.
Step 4
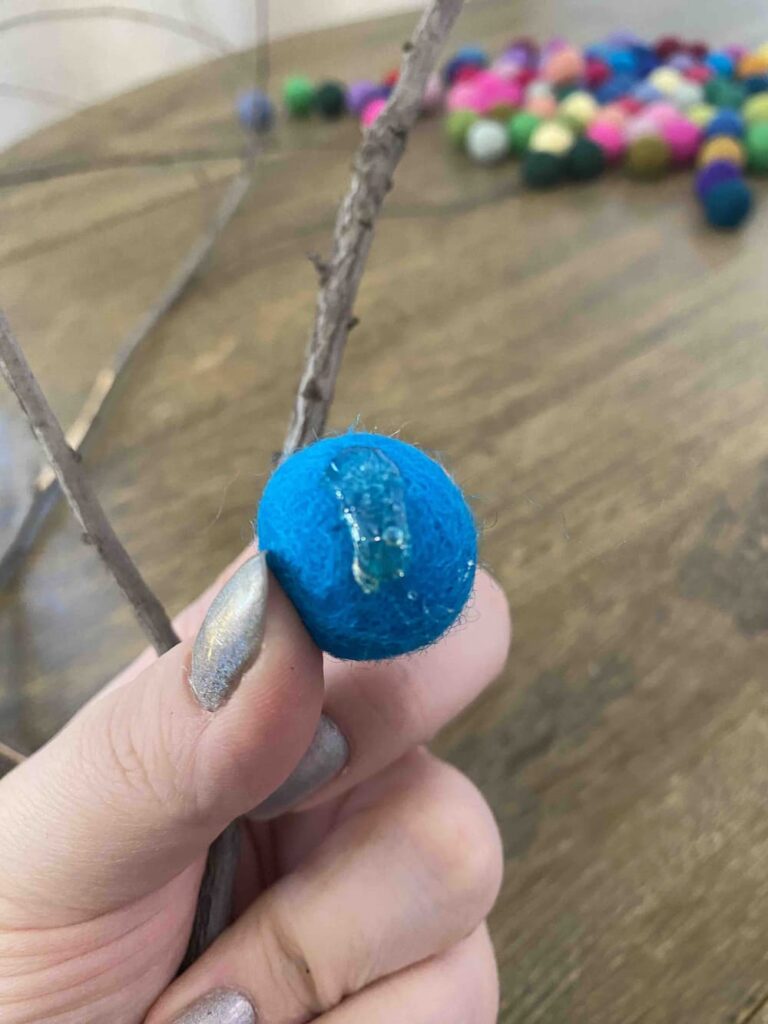
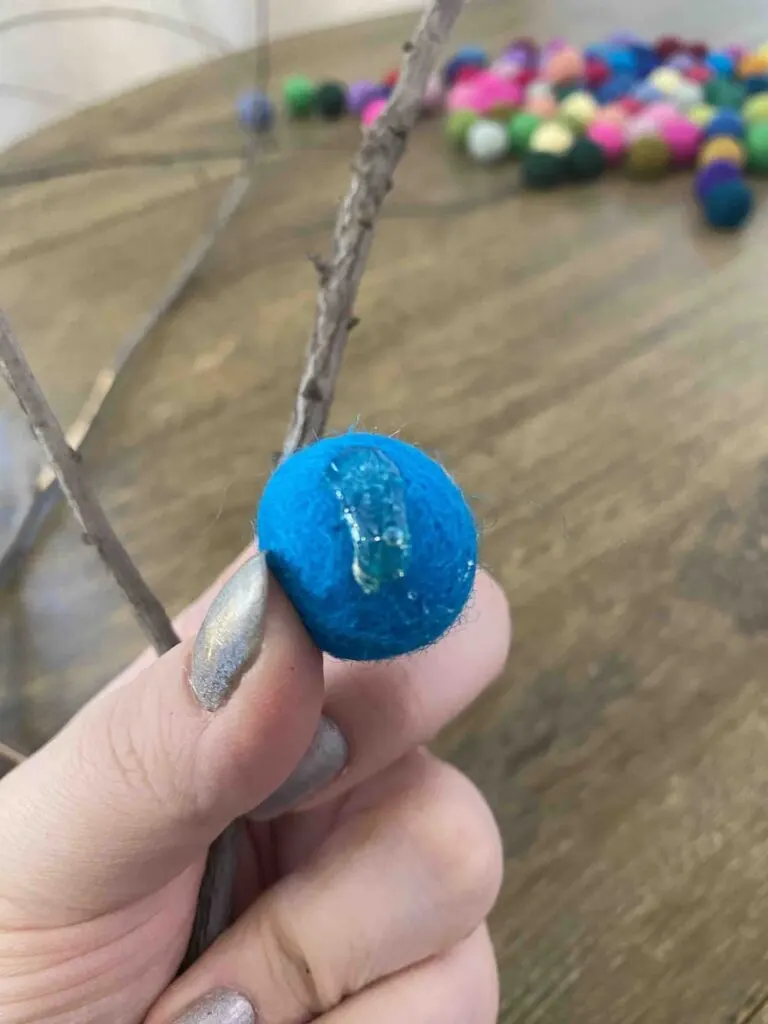
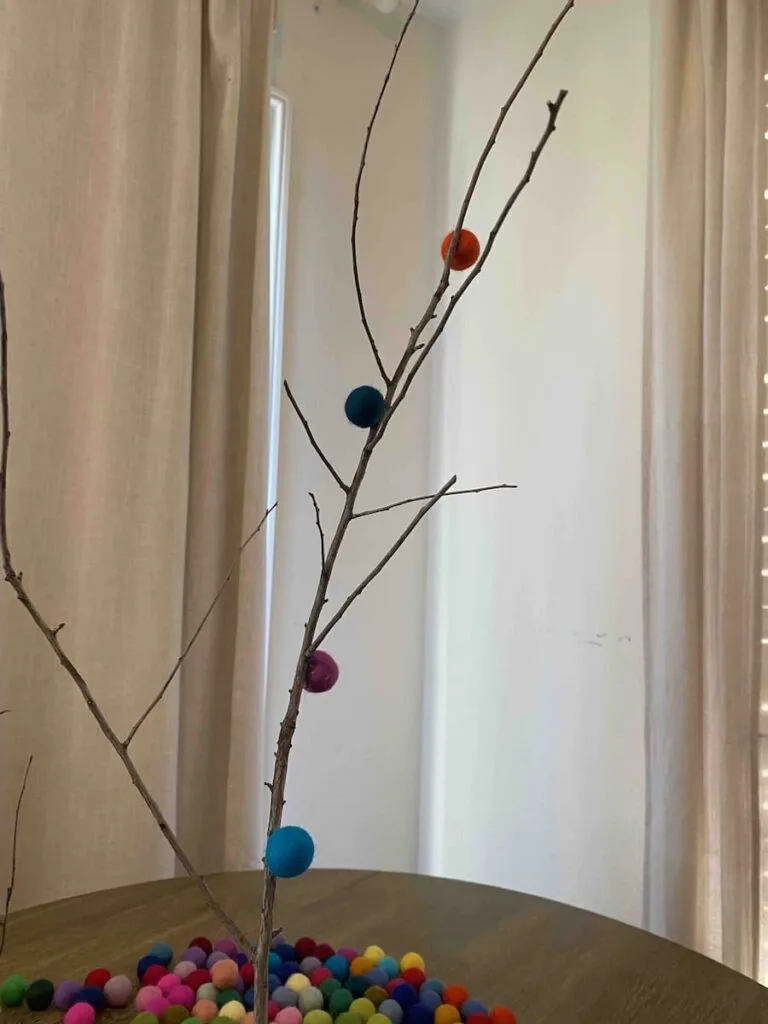
Take your hot glue gun and a pom pom. Apply hot glue to one part of the pom pom. Now, you’ll want to wait until the hot glue has mostly cooled before applying it to your branch.
This is so that you don’t have to hold the pom pom to the twig as it dries. Wait until the hot glue is no longer hot, but slightly warm and sticky, then apply the pom pom to the branch.
Step 5
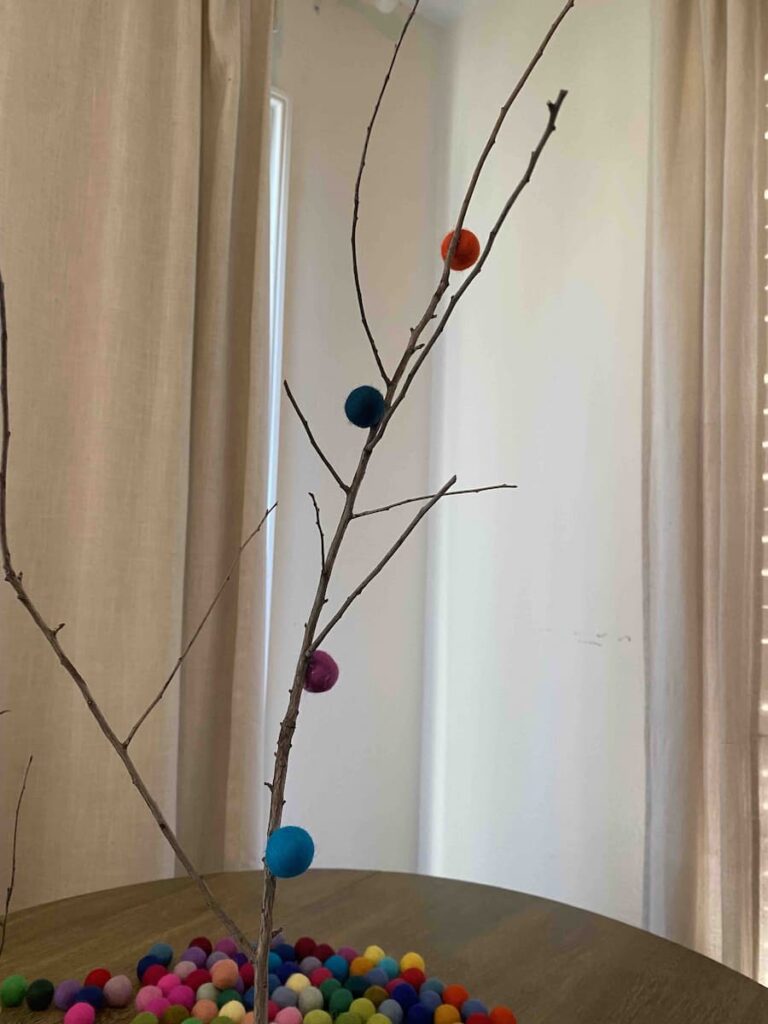
Consider how you want these pom poms to be spaced.
You may prefer them to be evenly dispersed on the branches, or you may find that you like a more whimsical, sporadic look where the spaces between the pom poms are uneven.
We did a little bit of both, but mostly left the spaces between pom poms uneven to give it a more freehanded look.
Step 6
Repeat this process until your branches are covered to your liking with pom poms! Enjoy your whimsical, spring-colored felt pom pom tree. We hope it brings you as much joy as it brought us!
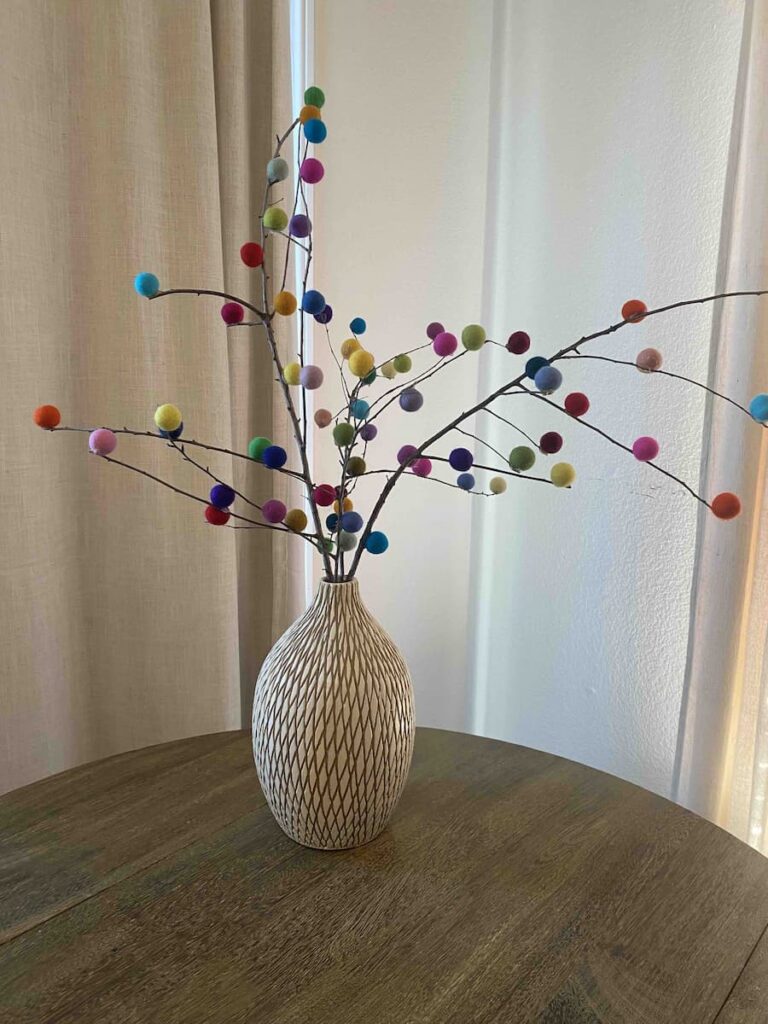

Note: This is a super-simple and enjoyable project that relies more on your own creativity than budget. What ideas do you have for making this pom pom tree uniquely yours?
Here’s more DIY craft projects you may be interested in:
- Farmhouse Inspired DIY Plant Holder [Repurposing Craft Project]
- DIY Terracotta Candlestick Holders (Step-By-Step Guide)
- How to Make a Burlap Wreath – 3 Easy Styles!
Make Your Own Beautiful Living Succulent Wreath Centerpiece! Complete video course by Jeannine Romero now available through Skillshare.