

- Free Video Tutorial – Gratitude Farmhouse Decor Craft - July 25, 2023
- DIY Dollar Tree Bird Feeder Craft - July 4, 2023
- Embroidery Hoop Organizational Wall Art - February 28, 2023
Something that we all have in the house is toilet paper tubes.
They can pile up quickly. Most of us throw them away.
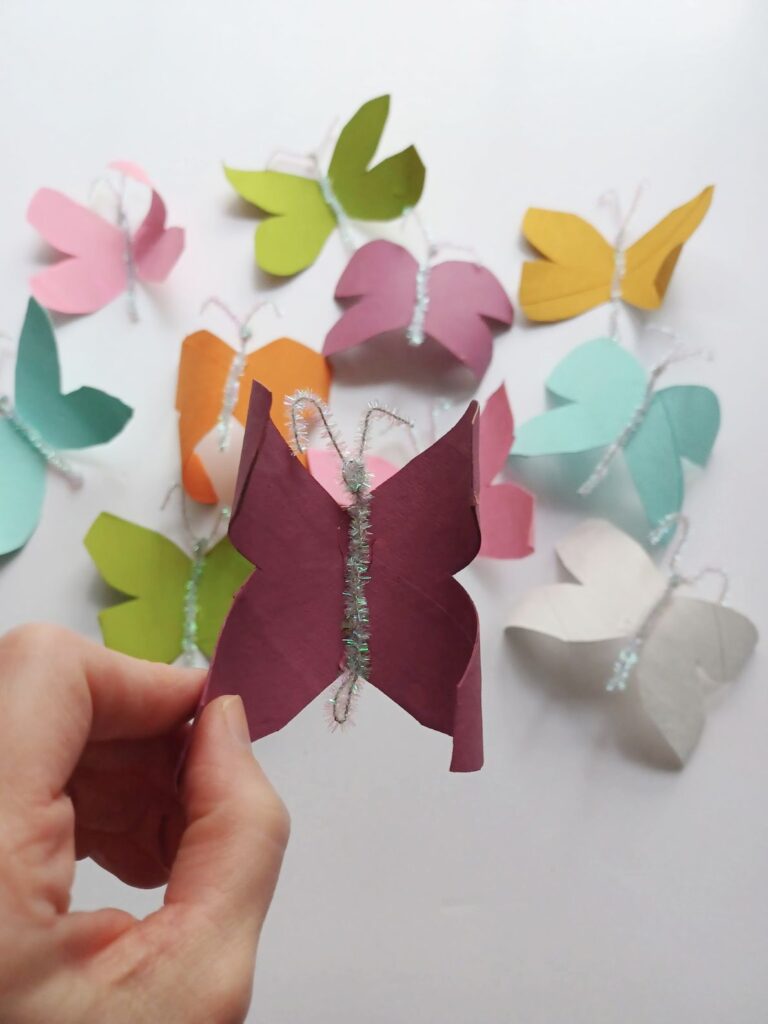
But, hidden in these tiny cardboard tubes are many amazing craft possibilities with a little bit of imagination. In this tutorial, we will learn how to make these adorable butterflies.
This craft is for adults but also kids of any age with adult assistance. This craft is on the easy level but can bring so much joy to make.
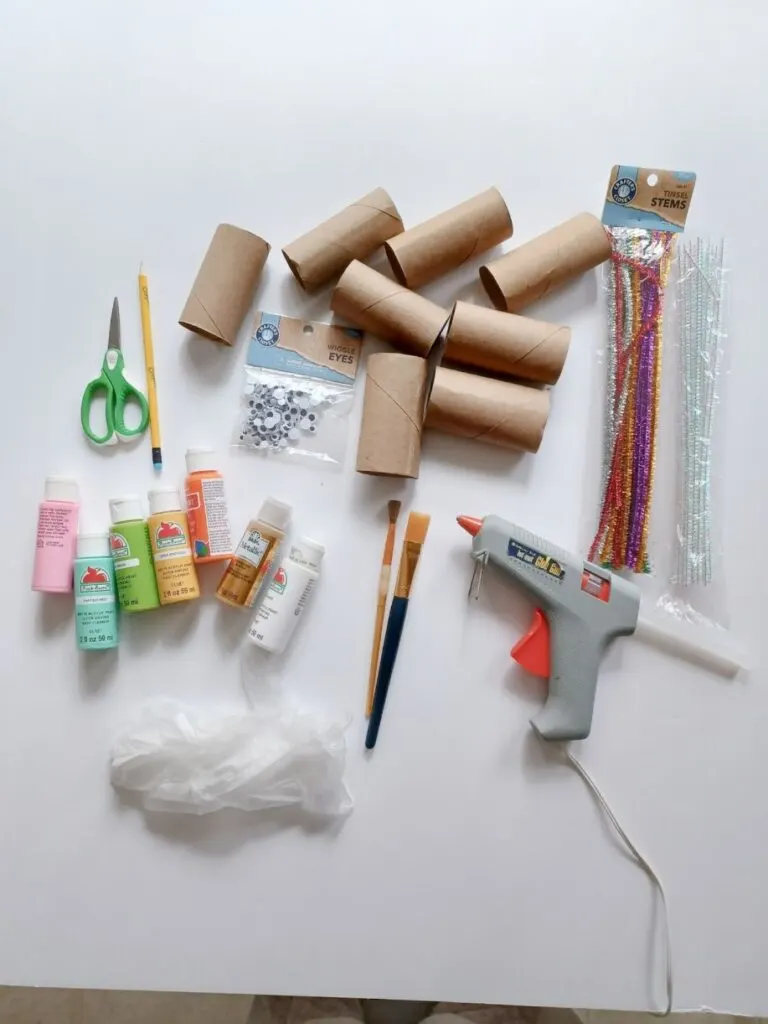
Supplies Needed:
- Toilet paper tubes
- Paint supplies
- Scissors
- Pencil
- Pipe cleaners
- Hot glue gun
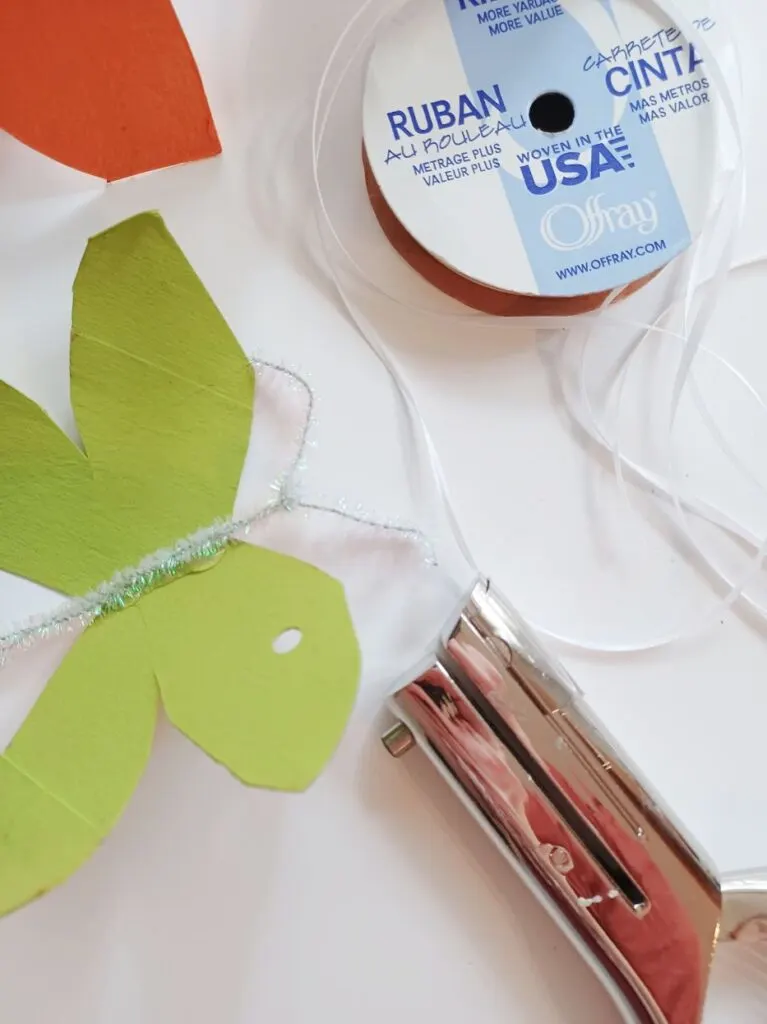
For bonus garland idea (optional)
- Whole punchers
- Ribbon or string

Step One:
Take your tube and flatten it mostly drawing the design as in the sample picture here.


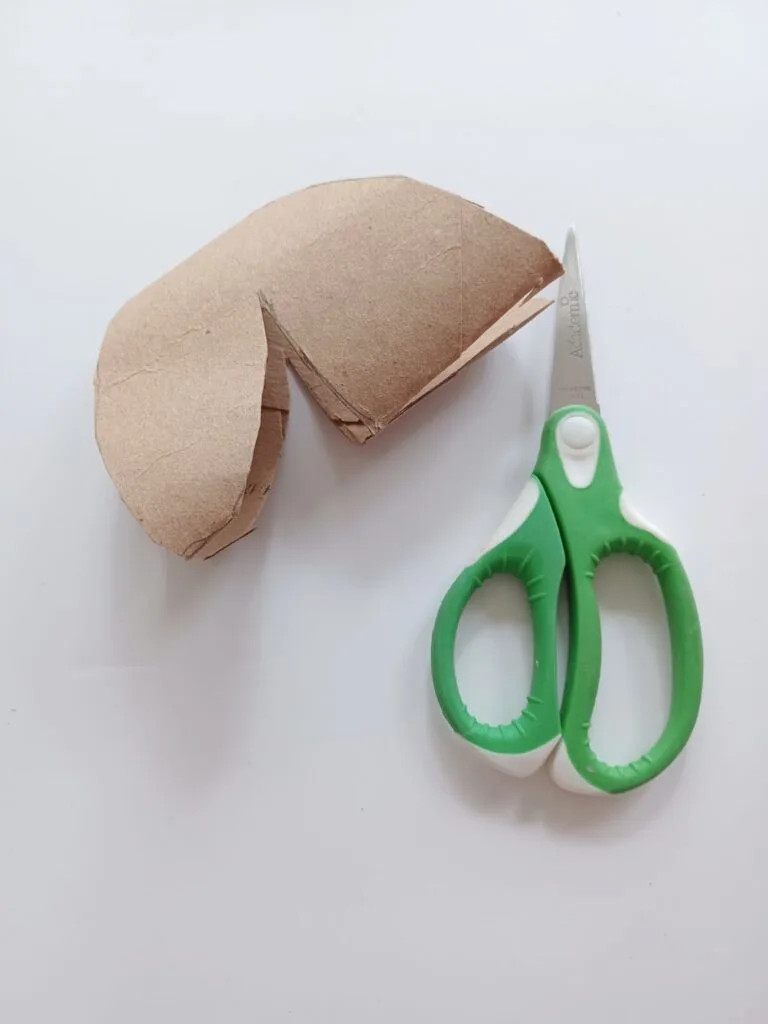
Step Two:
Cut out the butterfly.
Make sure to not cut the center part edge of the tube.
Cut the wings open at the joining once done cutting the main core of the body out.

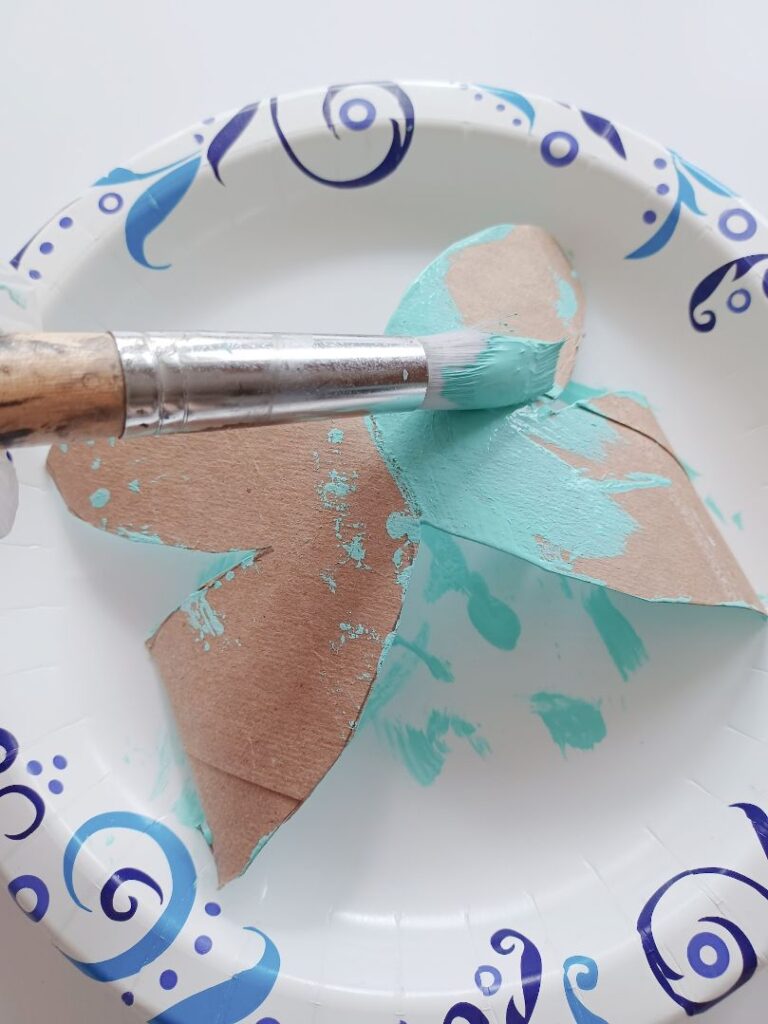
Step Three:
Paint your butterflies.
Kids love this part!
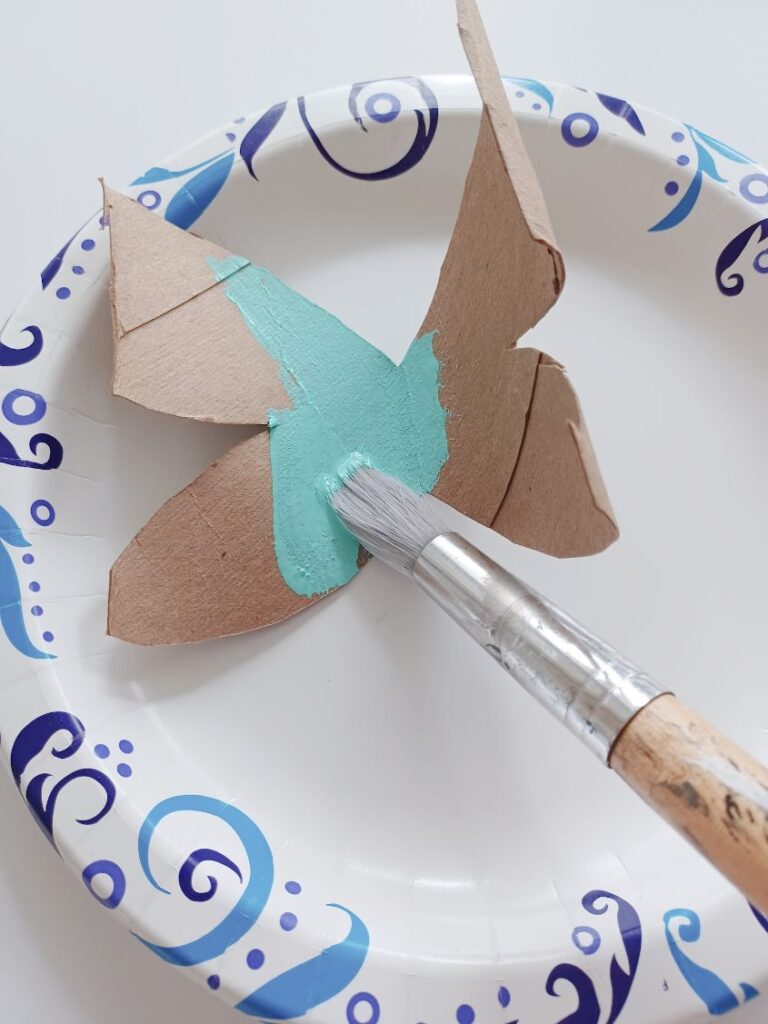
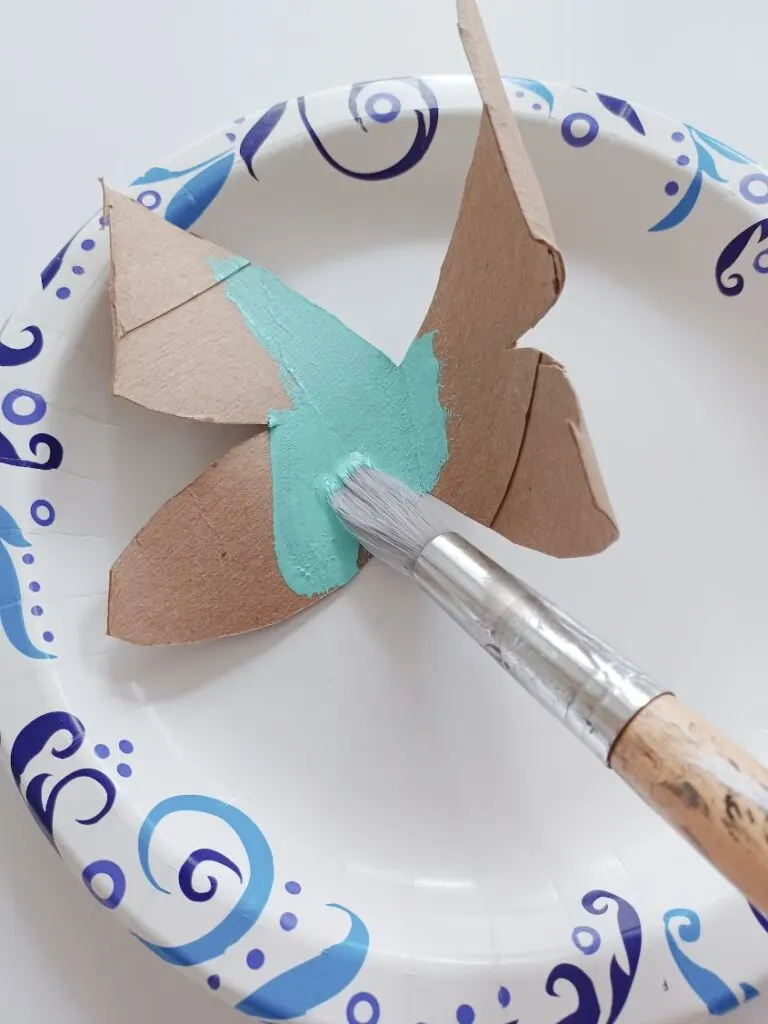
Be sure if kids are making these to have them flip the butterfly over and do both sides. The butterflies dry nice and firm.
I made mine in plain colors but have the kids get creative and make dots or other designs on the wings if they want. You could even use glitter.

Step Four:
Make and glue your body.
You can take your pipe cleaners and shape them however you would like your body to look. Do not forget your butterfly’s antennas.

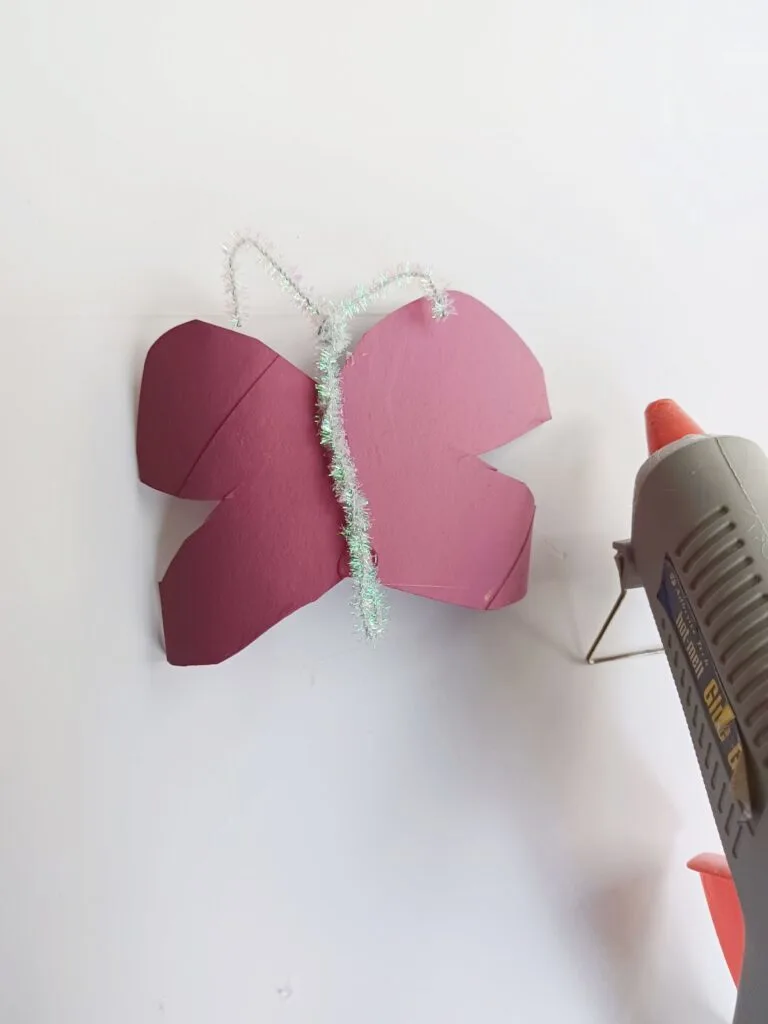
I glued some of my bodies on the outside of the wings and some on the inside to give each butterfly a different effect.
I wanted it to look like they are opening and closing their wings in my classroom garland.

These are so cute and can be made just for fun. OR, here are some ideas if you would like to make them for a purpose.
- Gift toppers
- Kids preschool
- Kids room wall decor
- Spring/ Summer mantel decor
- Wreath decor
- Gifts for seniors
- Teachers classroom garland
- Birthday parties
- Baby showers


I personally used these for my ESL classroom to brighten my students’ day!
To make this garland all you need is a hole puncher and some string or ribbon. Make sure when you punch the hole you do it well into the wing so it does not rip easily.

Here are some more fun and simple crafts that you and the kids may enjoy:
- Make A Fun And Easy “Bee Toss” Game For Your Kids!
- How to Tie Dye with Sharpies (Quick And Simple Craft Project)
Make Your Own Beautiful Living Succulent Wreath Centerpiece! Complete video course by Jeannine Romero now available through Skillshare.