

She enjoys all aspects of home DIY- from simple crafts to complete home remodels.
- Clay Moon Phase Wall Hanging - July 4, 2023
- What To Do When a Toddler Won’t Keep Their Blanket On - June 10, 2023
- How Do Child Locks Work in Cars? (And When To Use Them!) - June 10, 2023
Here is an easy to make Mossy Mushroom Wreath! It’s a fun and inexpensive way to bring a feeling of a magical forest into your home.
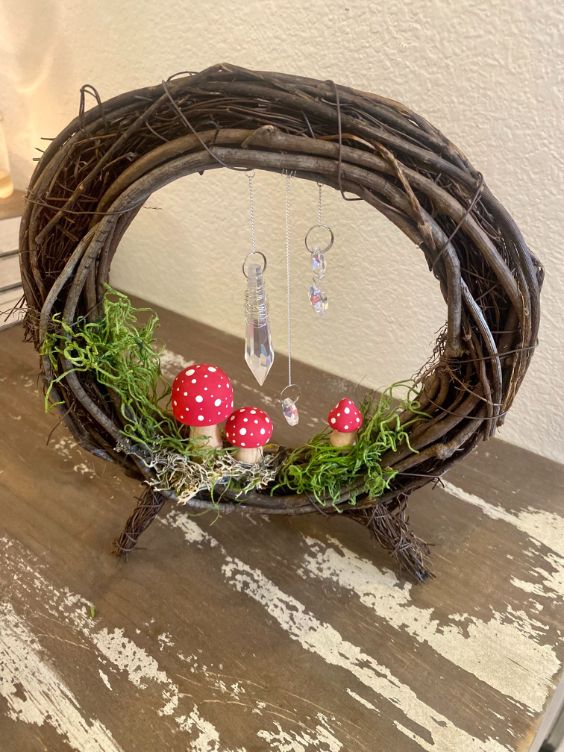

Read on to discover how to make this adorable wreath for yourself.
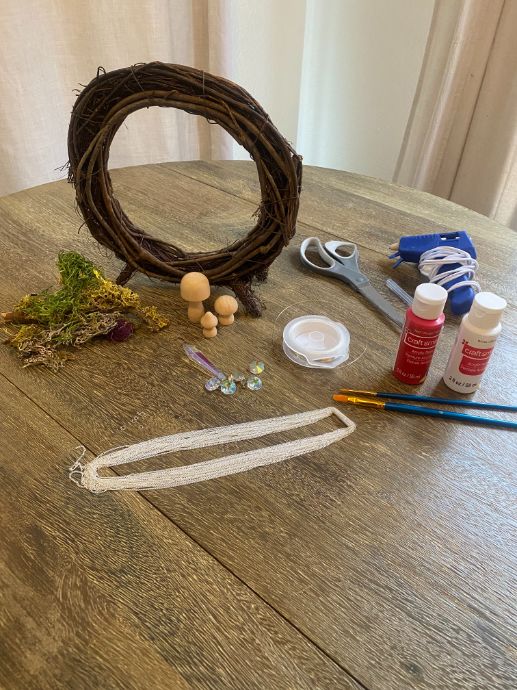
Supplies Needed:
(Links are to Amazon)
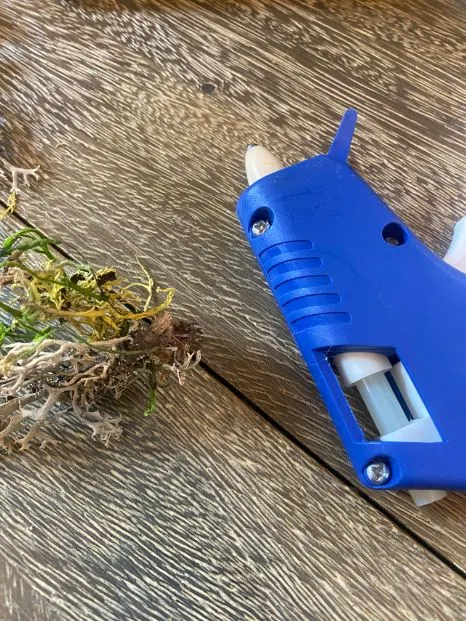
- A hot glue gun
- Moss (fake or dried real moss)
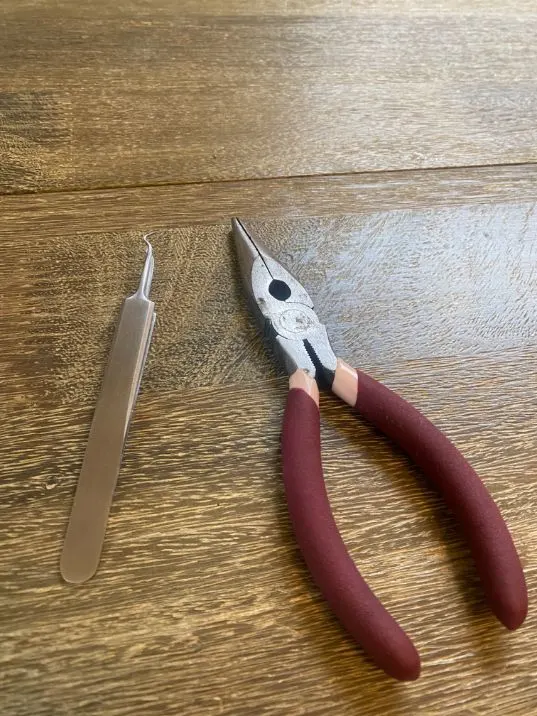
- Pliers
- Tweezers
- Wooden mushrooms
- Red and white acrylic paints
- Chain with jump rings
- Craft wire
- A twig wreath (we bought a 10 inch standing wreath on clearance at Michael’s, but they have twig wreaths on Amazon as well!)
- Scissors
- Crystals (these, the chain, and the wire were all leftovers from our suncatcher project!)
- Paintbrushes
- Paper shopping bag (optional)


Step One:
Take your wooden mushrooms, paintbrushes, and your red and white paints.
We laid out a paper shopping bag to keep from getting paint on the table, but you can also simply paint on a surface that you don’t mind getting paint on.
I decided that I liked the look of the stems unpainted, as the wood color was a nice contrast to the red. This made it easier to paint the mushrooms, because I could simply hold them by their stems while I painted the tops.
Take your paintbrush and red paint and paint one coat of red onto the tops of your mushrooms, then set them aside to dry for five minutes.
After 5 minutes have passed, paint a second coat of red and let them dry again.


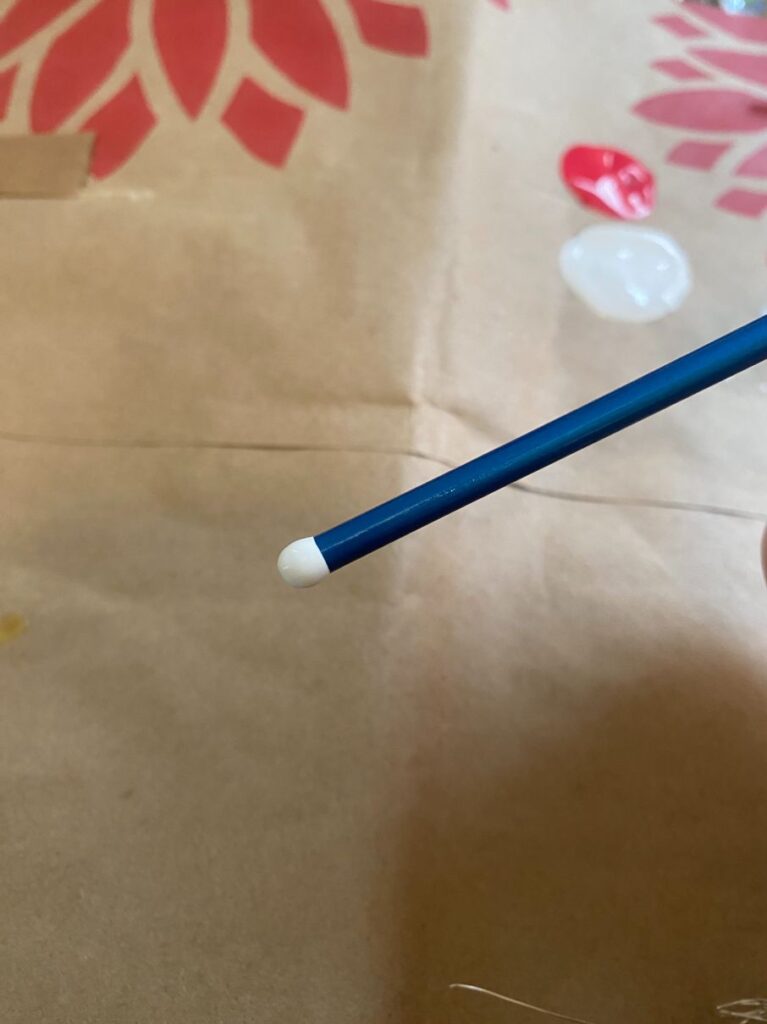
Step Two:
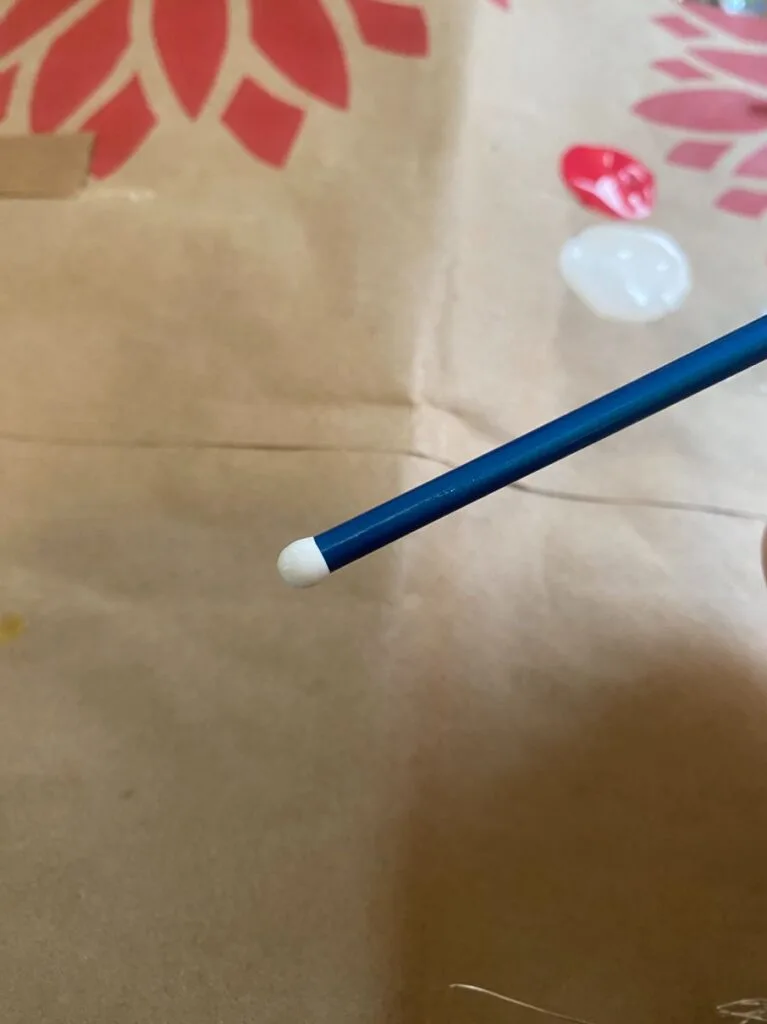
Once the red paint has dried, take the end of one of your paintbrushes and dip it in your white paint. This will be used to create large white dots on your mushroom tops.
You can use the tip of a smaller brush to make small white dots.
Set these aside to dry.


Step Three:
Take your largest crystal (we picked one that was a longer shape, but this is entirely up to your preference) and wrap wire around it, threading some of the wire through the hole at the top of the crystal. This is to give your largest crystal a more rustic, charmed look, and is completely optional.
Then, take your scissors and cut a piece of chain that is long enough to hang your crystal where you’d like it. Attach one end of this chain to the larger ring that is already attached to your crystal.
Taking your tweezers, open a jump ring and place it on the other end of the chain. From here, you can either find wire on the twig wreath itself to attach this jump ring to, or you can use craft wire to attach the jump ring to a twig on the wreath.


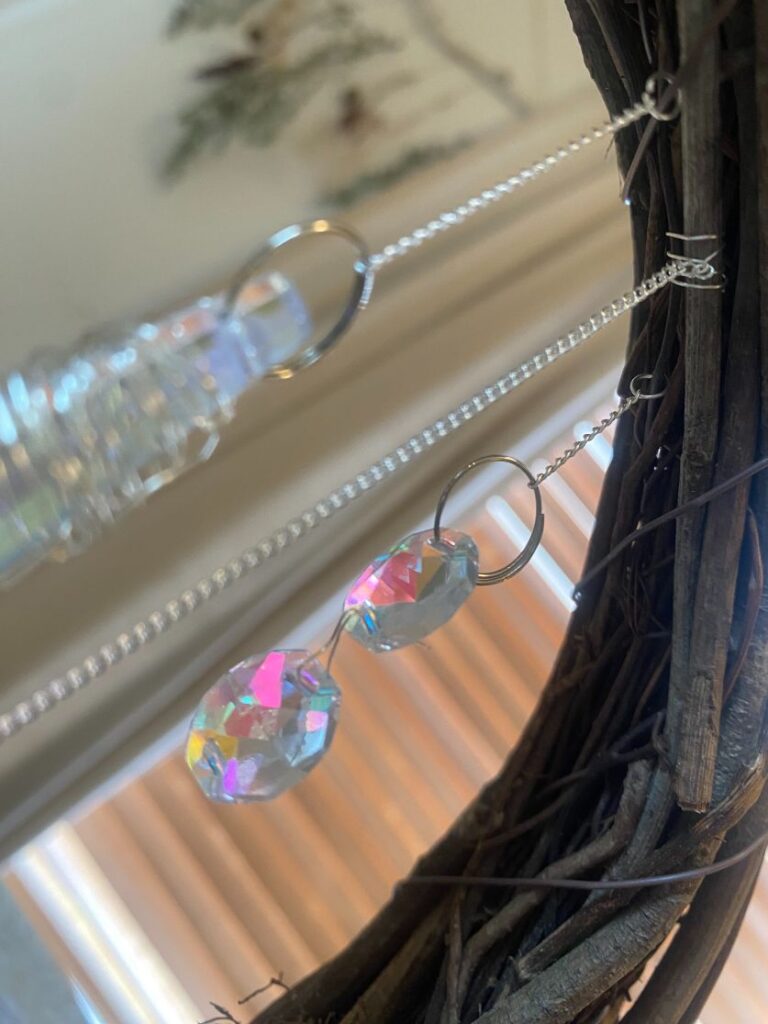
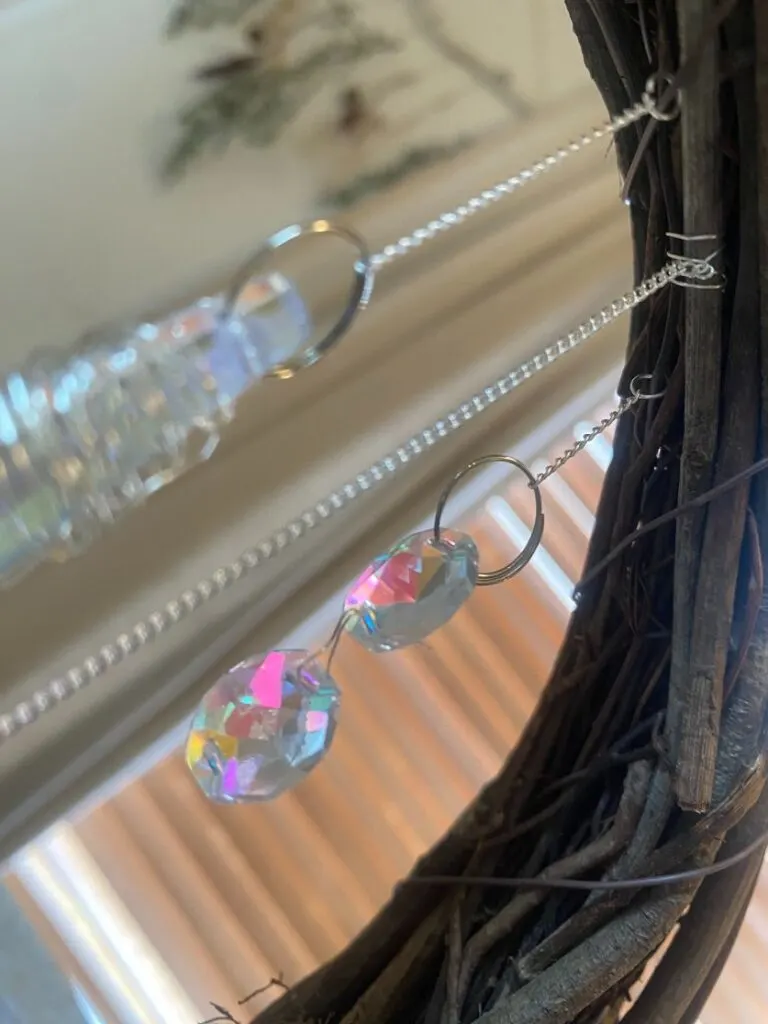
We used both methods for different strands of crystals! Repeat this process with however many crystals you’d like to be hanging from the top of your wreath.
Step Four:
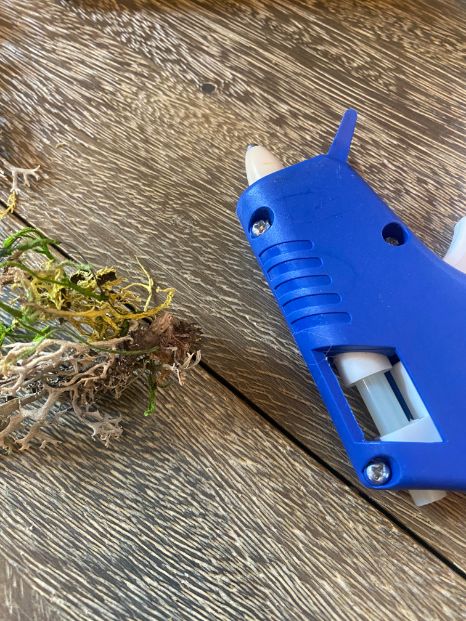
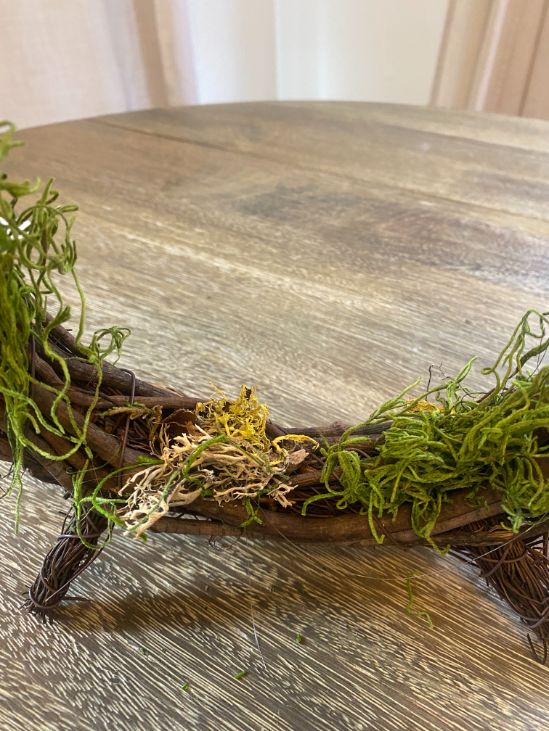
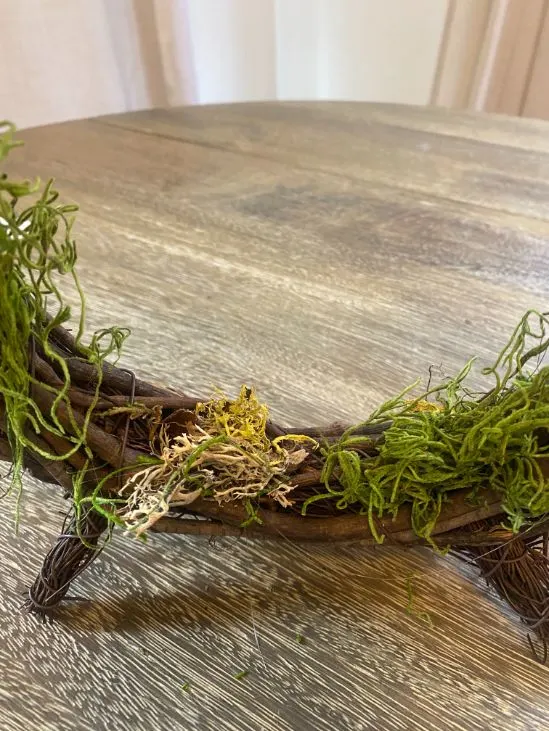
Take your moss and hot glue gun. Glue the moss wherever you’d like it to be, leaving little spots for your mushrooms to be glued down.
I decided to only glue moss towards the bottom of my wreath to make it look more like it was the forest floor on the bottom, but you can also glue moss around the entirety of your wreath!
It really looks good either way.
Step Five:
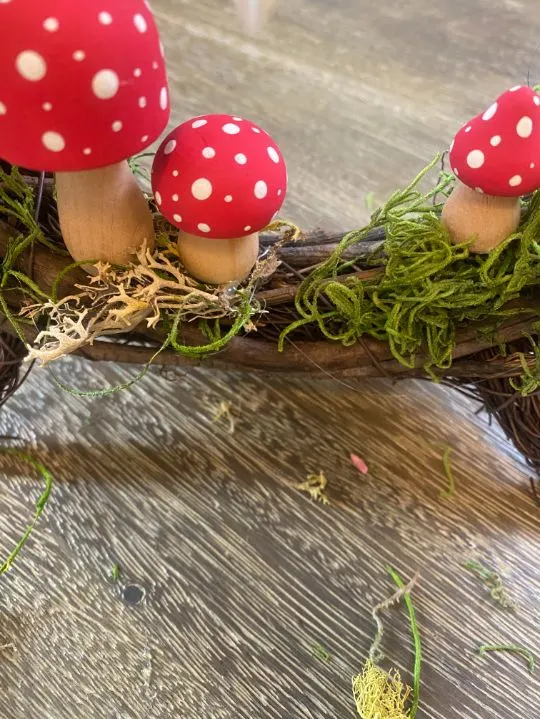
Take your now dry mushrooms and hot glue them onto your wreath in whatever positions you’d like them to be.
You can take a bit of moss and glue it around the base of your mushrooms once they’ve been glued down to make them look like they’re growing from the moss and to cover up the base.

Step Six:
Enjoy your adorable mossy mushroom wreath! This can accent any space, and depending on the wreath you chose, can be hung or be free-standing.
I hope this cottage-core-inspired wreath brings you as much joy as it brings me!
Here are some other DIY projects you may enjoy:
- DIY Spring Mushrooms Craft Project
- DIY Fairy Garden Nightlight Craft Project
- DIY Teacup Candles (Simple Step-By-Step Guide With Pictures)
Make Your Own Beautiful Living Succulent Wreath Centerpiece! Complete video course by Jeannine Romero now available through Skillshare.