

- Free Video Tutorial – Gratitude Farmhouse Decor Craft - July 25, 2023
- DIY Dollar Tree Bird Feeder Craft - July 4, 2023
- Embroidery Hoop Organizational Wall Art - February 28, 2023
Can you believe it? It is that time of year again! Time for Christmas holiday decor. One of the things a lot of people (including me) like to do during the holidays is decorate.
Or you may not want to spend a lot of time on it.
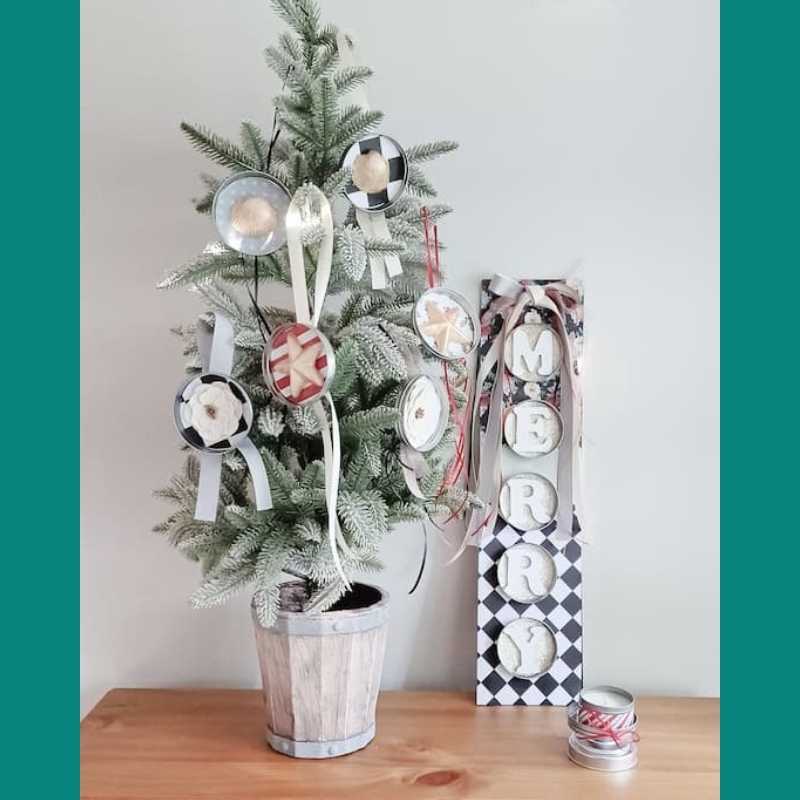
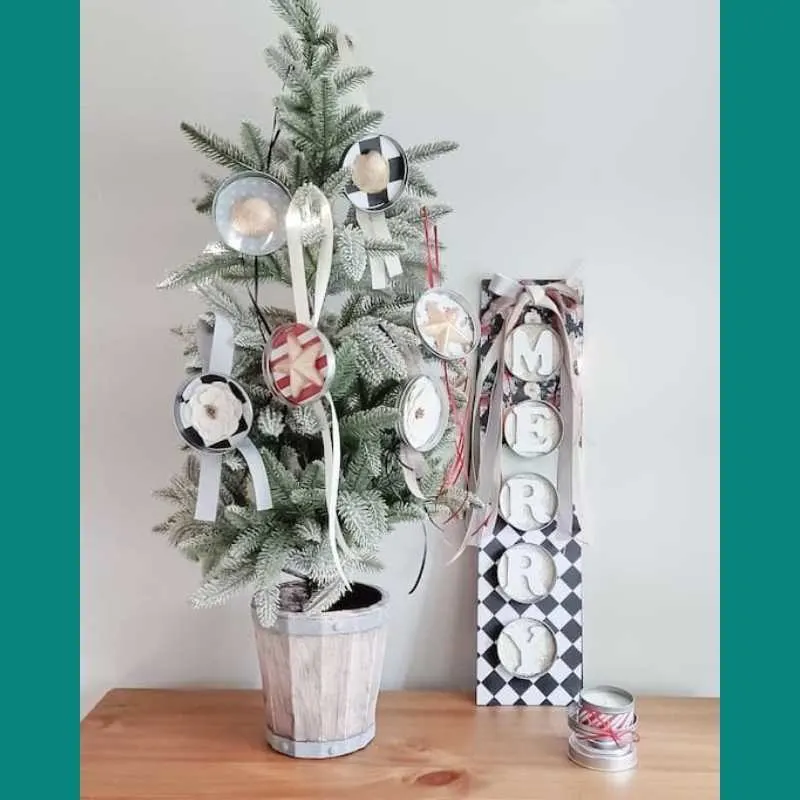
Either way, I have got you covered in this post! Here are three easy leftover jar lid Christmas crafts you can make for decorating or for giving as a gift. I love crafting that is not complicated and can be enjoyed instantly.
So if you saw our 30 Minute Fall Candy Bar Centerpiece, it involved lots of Dollar Tree Candy jars. I had mentioned saving the lids in that project. Well, this is the craft idea we will use those lids for.
If you did not do that project and did not save the lids yet, do not worry. You can use any stored-up jar lids from food items you saved or you can buy them. You could make just one of these ideas or you could make all three. I really liked all three.
I did my craft theme inspired by the Mackenzie – Childs style of decor. I love their decor style, but I created mine for a steal and so can you. You can do any theme or style you wish!
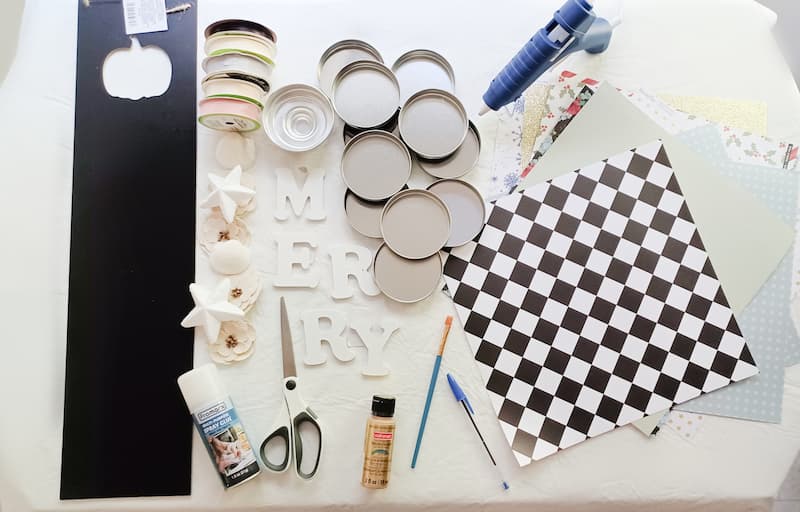
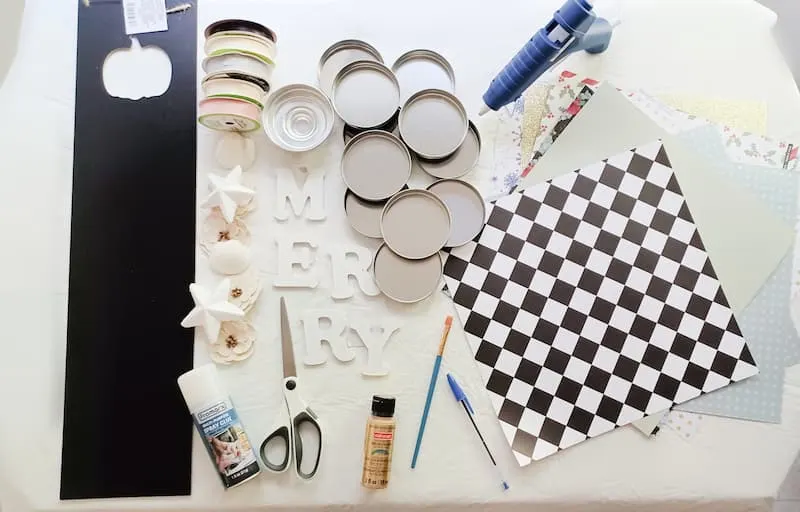
Supplies you will need
- Jar lids
- Crafters Choice craft board found at Dollar Tree (if making before Christmas, any season’s board will work because you will not see the shape at the top
- Wooden letters found at Michaels Craft Store
- Different mix of ribbons
- Promarx spray glue which you can find at Dollar Tree
- Small trinkets or embellishments (you could raid your crafting stash like I did or use small memorial items from the years memories like the sea shells I used)
- Paint and paint brush if any of your embellishments need painting
- Hot glue gun
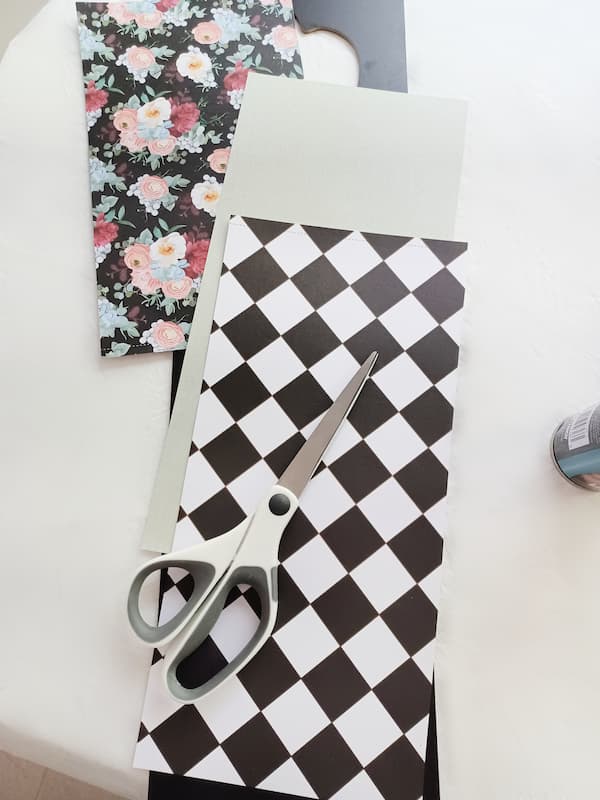
- Pretty paper or card stock in holiday patterns and colors you desire
- Ink pen
- Scissors
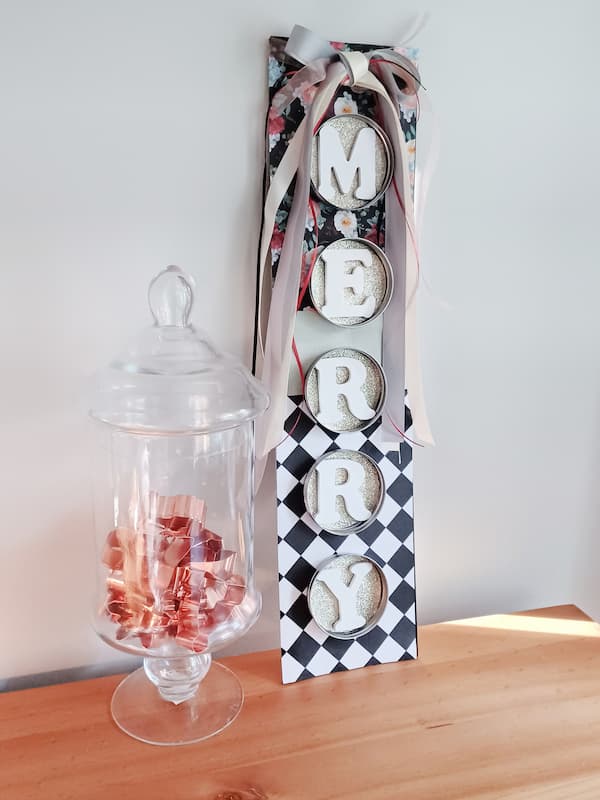
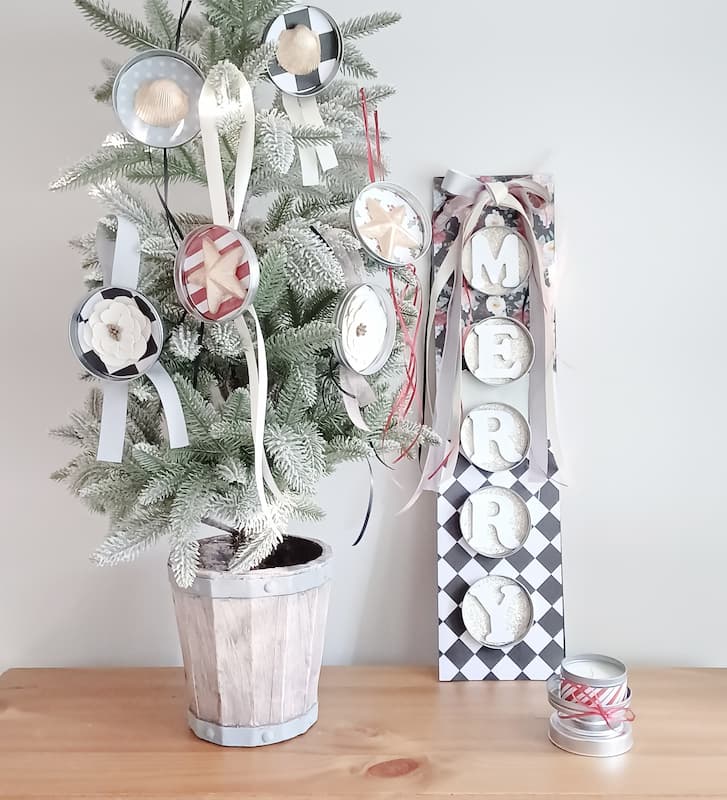
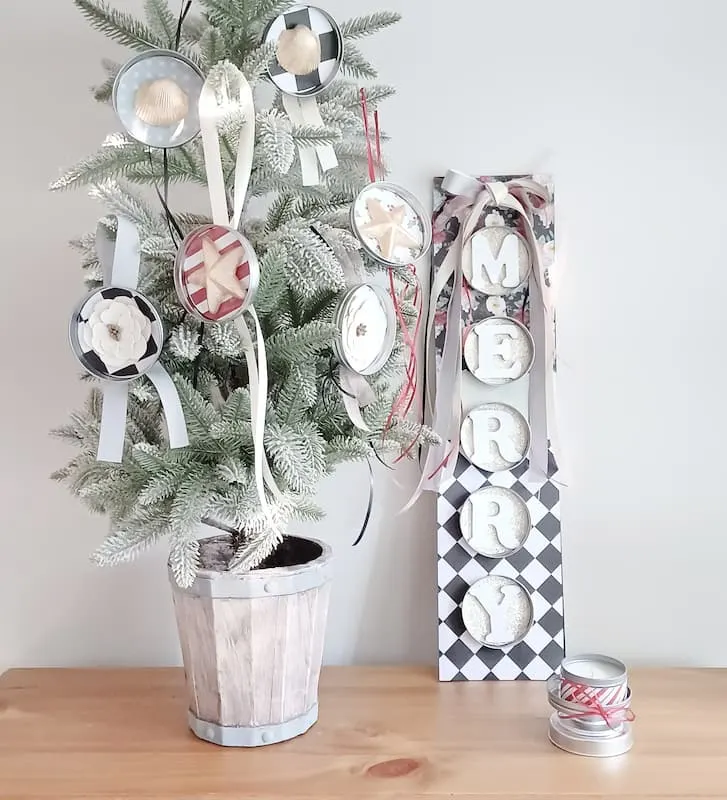
Project #1 – Jar Lid Word Sign
Our first jar lid craft is a word sign!
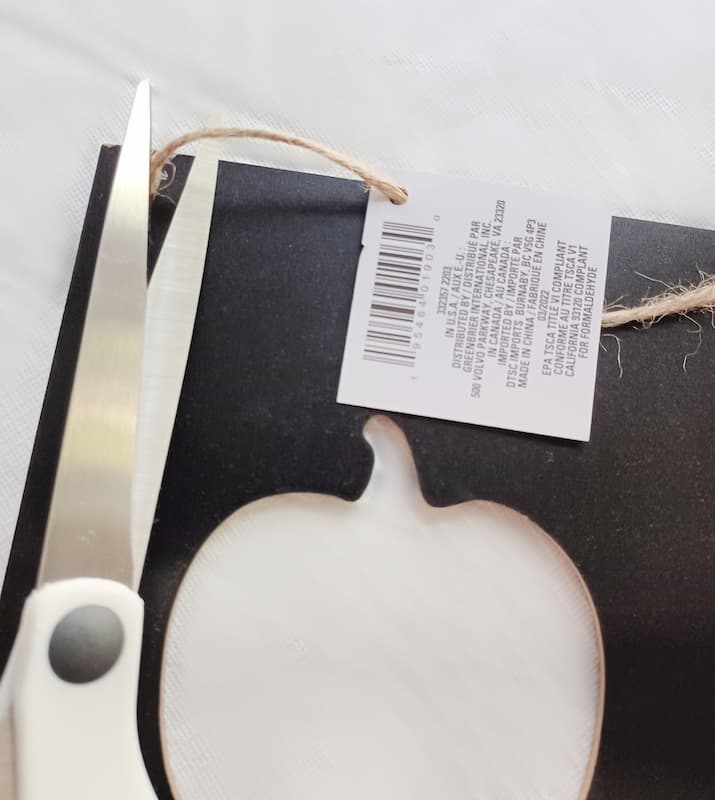
I bought my seasonal craft board during the pre-Halloween season. It does not matter if you are doing a craft for Christmas yet. The board has a fall theme but we will be covering it and you will not see it.
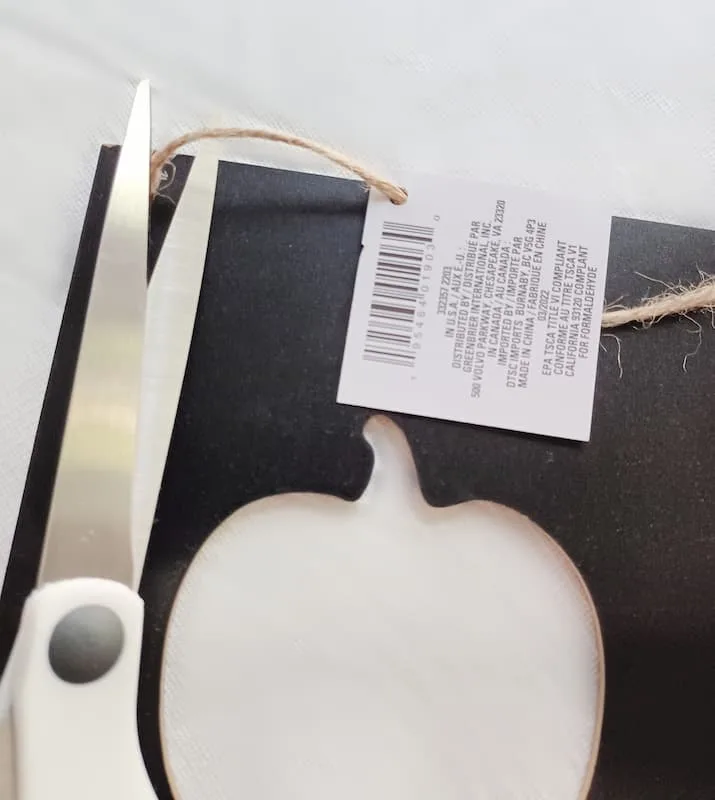
Go ahead and remove the hanger and tag from your crafting decor board.
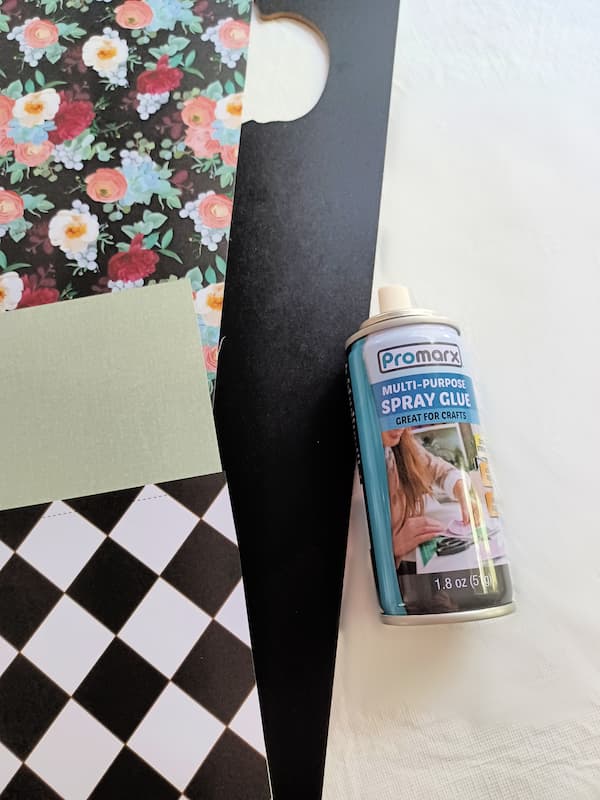
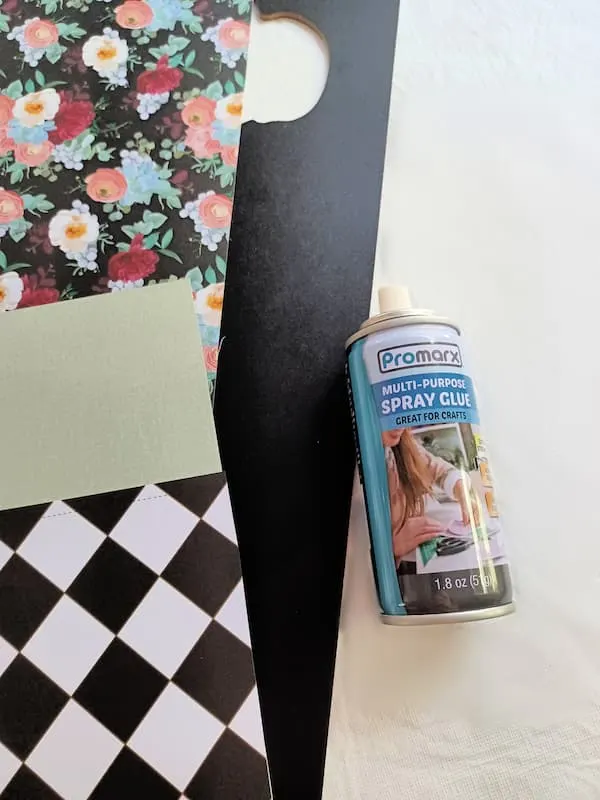
Now pick out the papers you would like to cover the board. Grab your spray glue and scissors. Trim your paper or papers to cover the board.
Spray the board with the spray glue coating it well. Place your papers as you wish on the board.
I did three different papers to give me the style I wanted. This provided some great contrast.

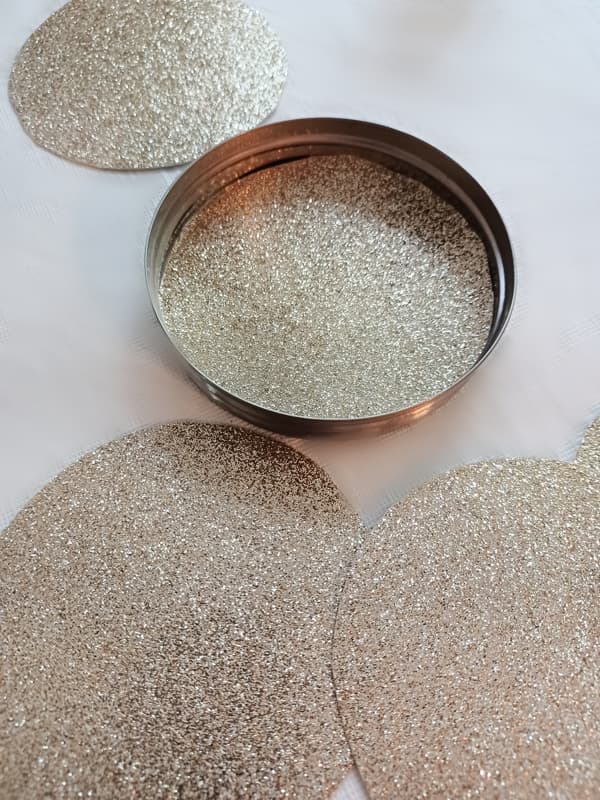
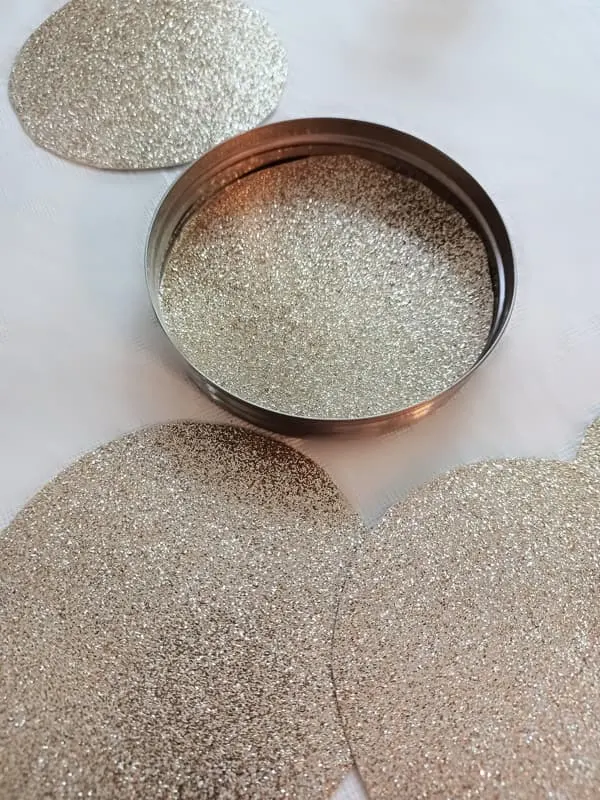
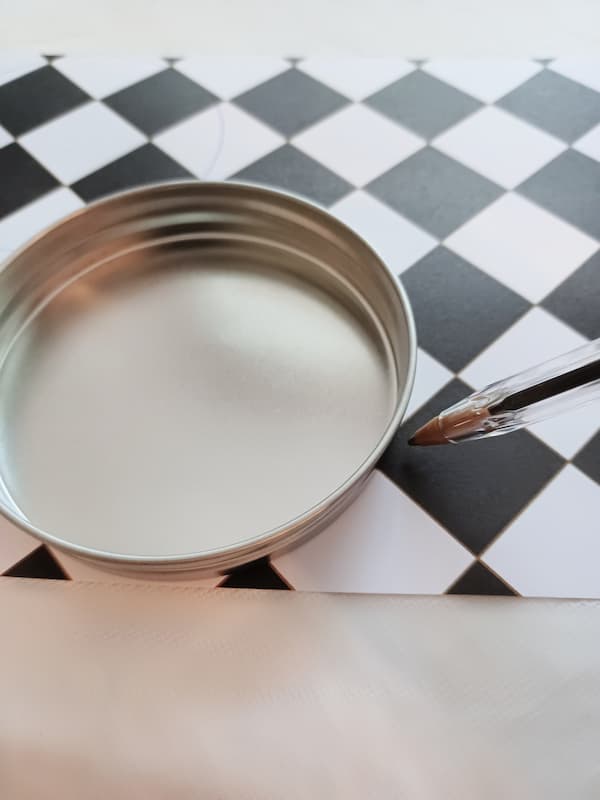
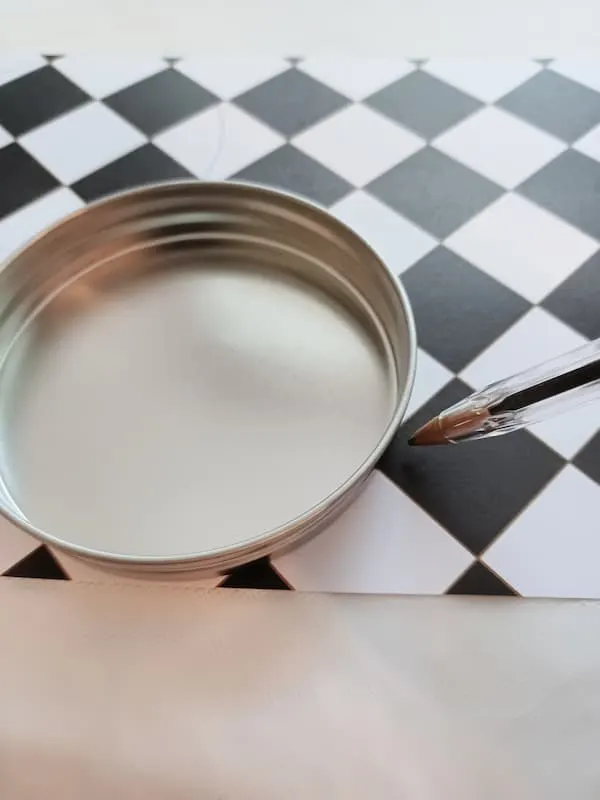
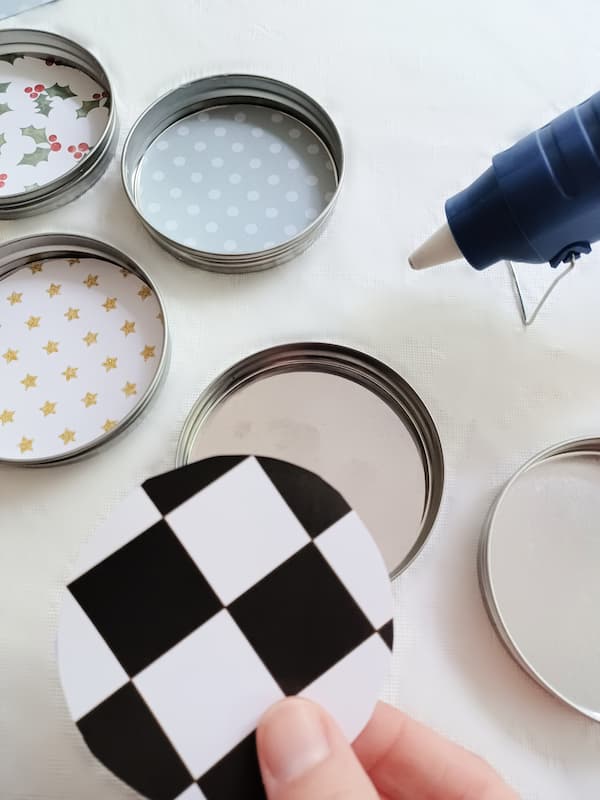
Next take your lids and the paper you would like to line them. Use the bottom of the lid to trace it on your paper and proceed to cut them out.
We will be gluing the lids to the board with the letters MERRY in them. Or you could do any word you would like.
So make sure your paper will look good with the letters you have. I chose gold card stock for my liners.
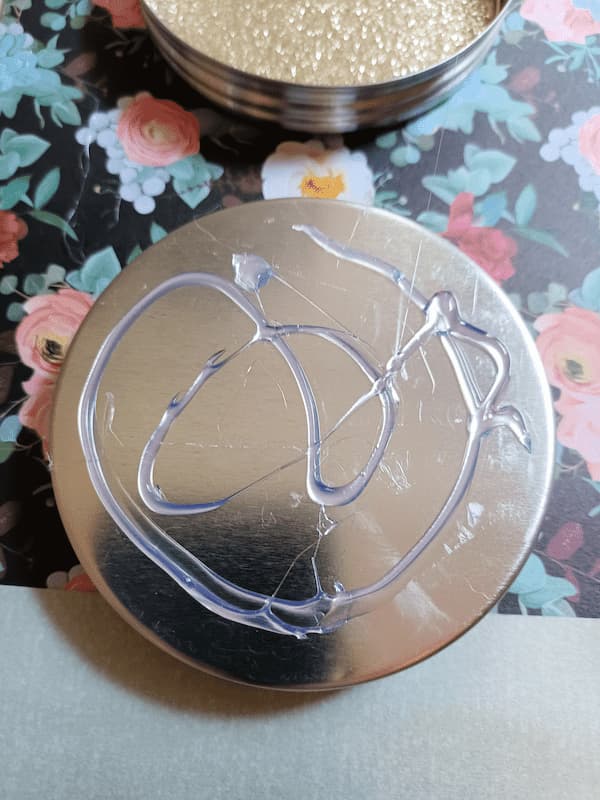
Get that glue gun ready. It is time to glue your lids to the board. I glued them in a straight line down the board, being careful how I spaced them for the word MERRY.

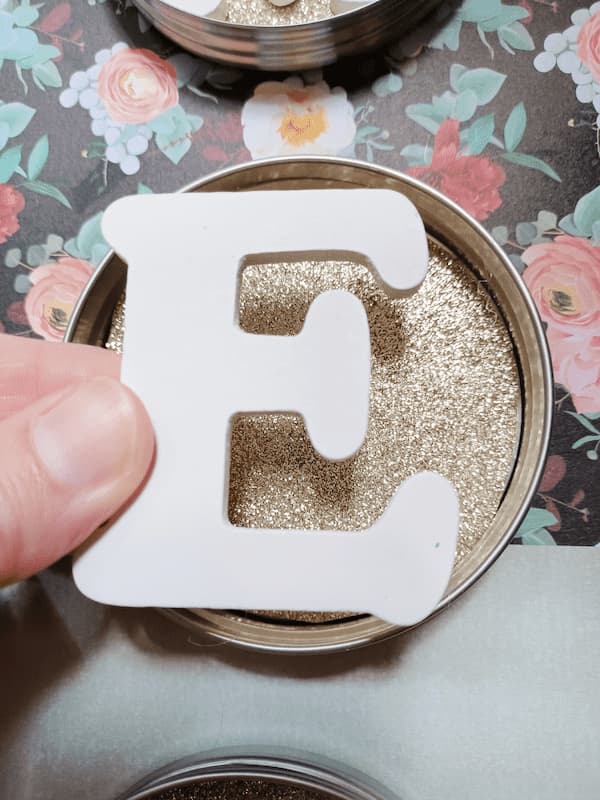
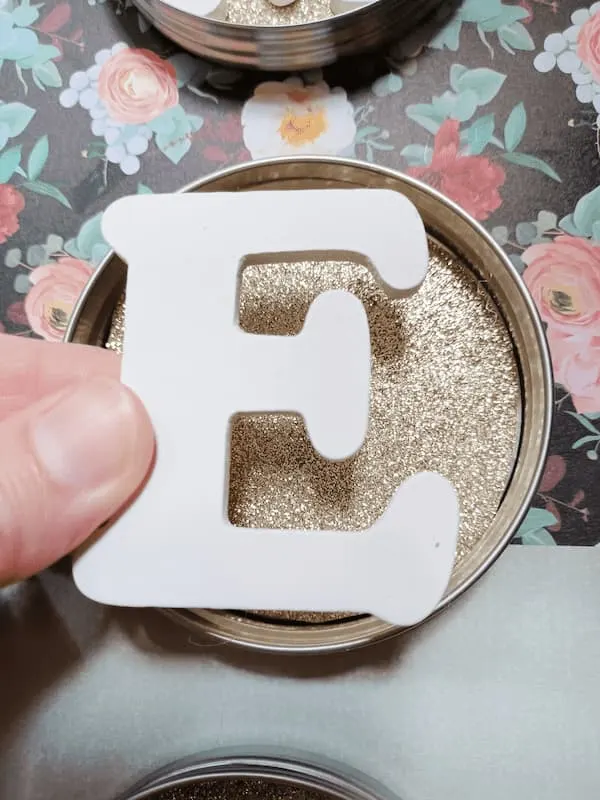
Glue your letters into the lids. I chose white wooden letters to place in front of gold card stock paper. I think it added more pop to the sign, making it a little more magical.
Take your choice of ribbon or ribbons for the bow topper. If you choose to use multiple ribbons, make sure to run them together at the same length.
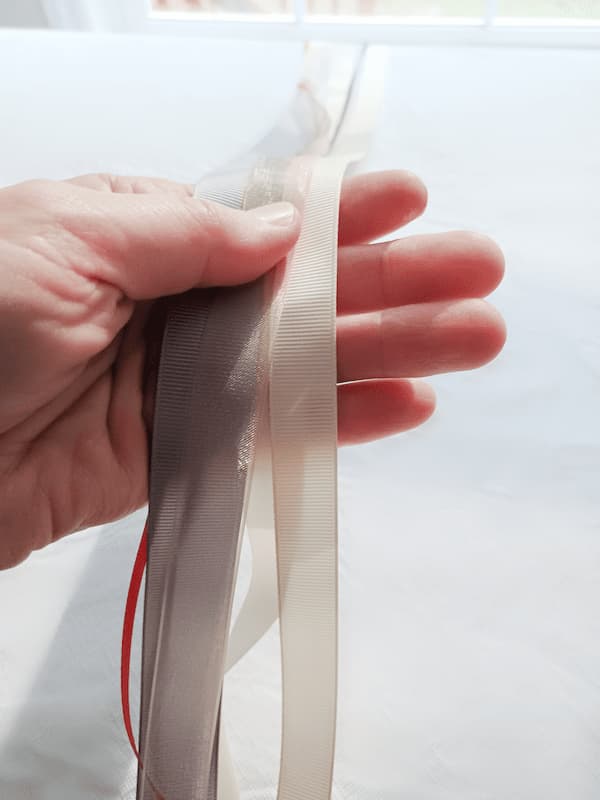
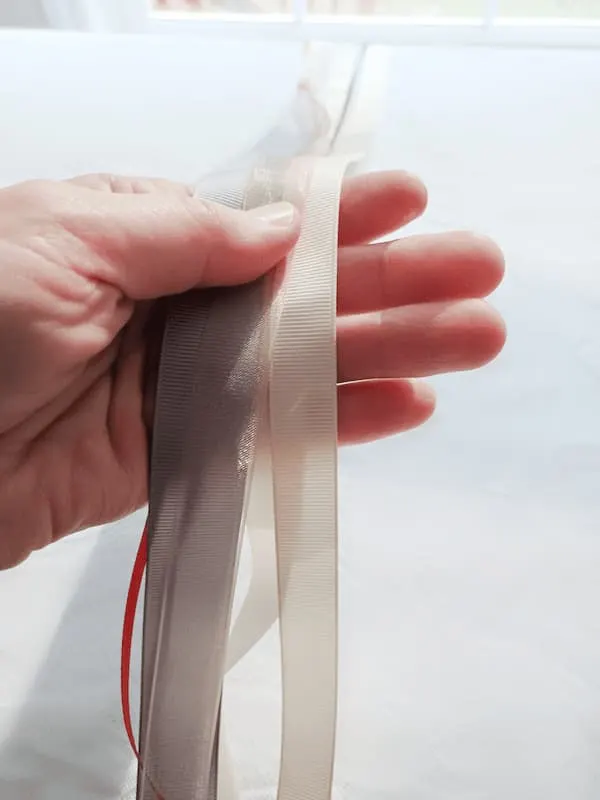
Make your simple bow and glue to the top of the craft. I left my ribbon long to add more whimsy.
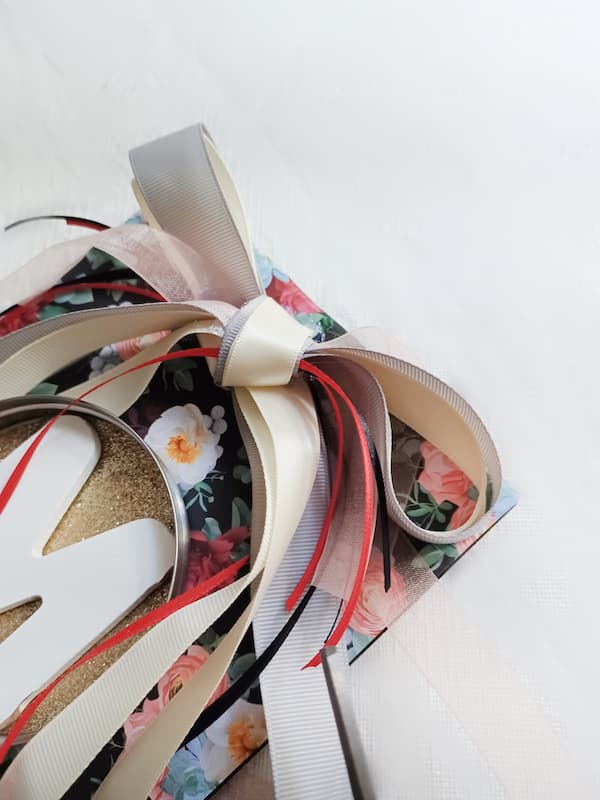

Take a look at what you have made! This decor looks high-end for a fraction of the high-end prices! You could make these to give as gifts for the holidays, and they will think you spent so much money.
There is nothing that can compare to heartfelt and handmade gifts!

Project #2 – Jar Lid Shadow Box Ornaments
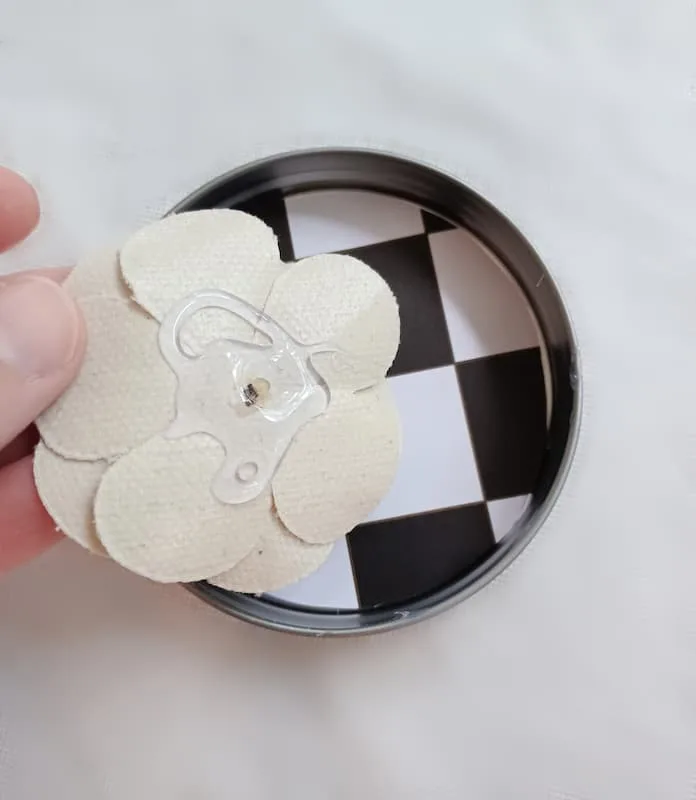
Let’s get started on the second jar lid craft as we make shadow box ornaments. Simply take your paper you would like to place as the backer in the lid and trace the circles.
Keep in mind what items will go in it and the contrast you want. Cut out carefully to fit.
Glue your papers.

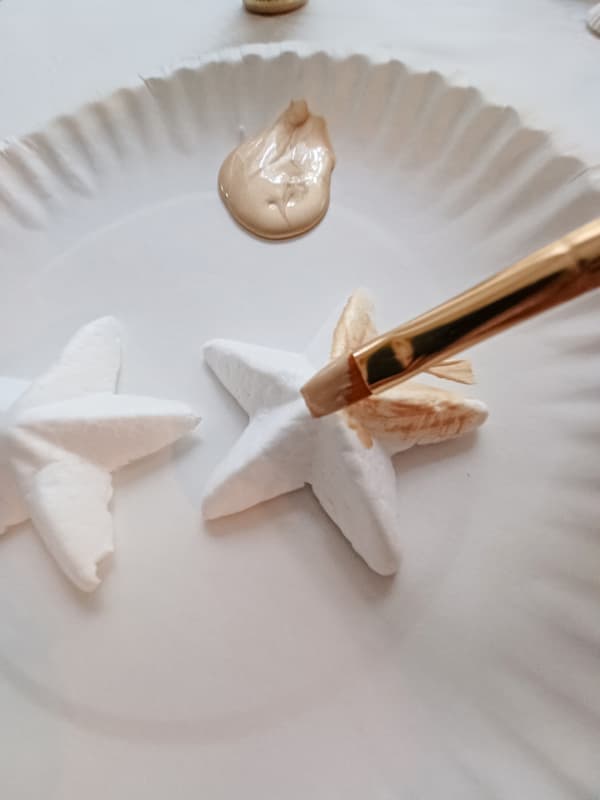
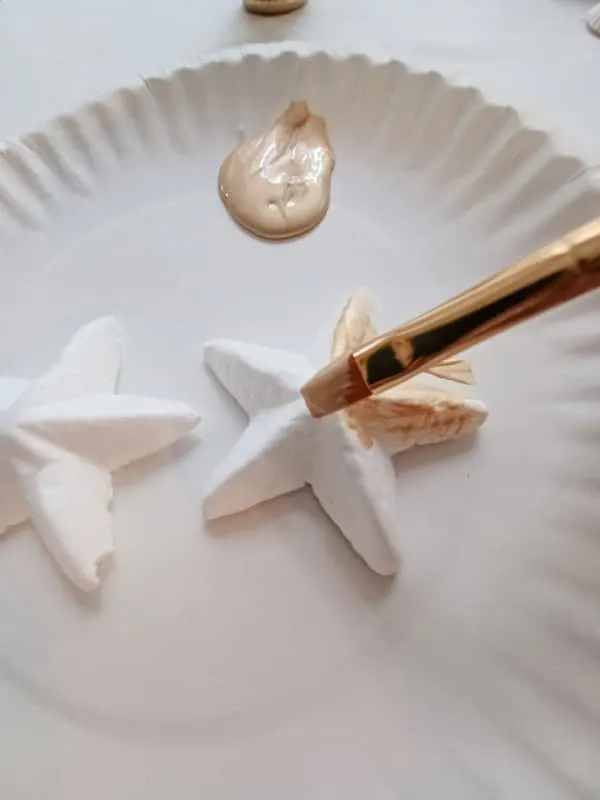
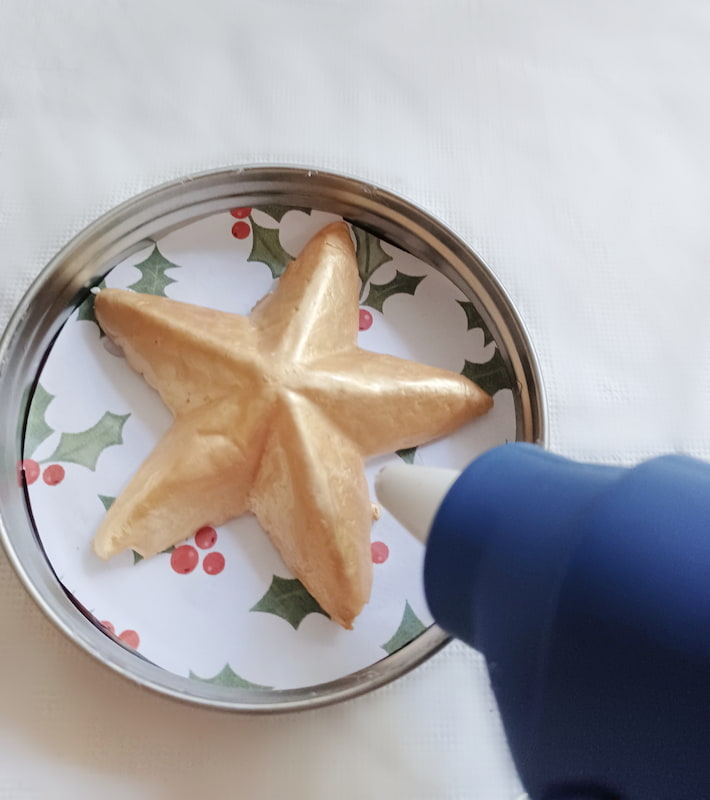
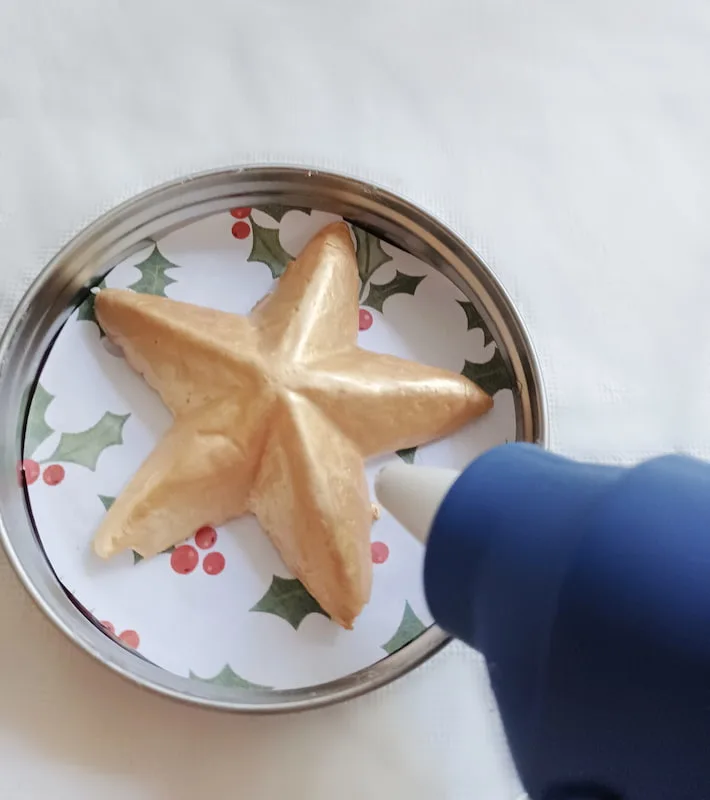
If you have any embellishments or trinkets that you would like to paint, this is a good time to get that part done. I had leftover craft stars and sea shells that I wanted to paint gold to continue my style theme. You could turn your ornaments into miniature shadow boxes.
These ornaments can make great mementos and gifts to give.
For example, let’s say you finally made it to that concert you and a loved one had always wanted to go to. Did you save the ticket? Place it in your ornament to give to your friend!
Did someone buy their first home? Put a key in!
There are so many great ideas to make these special to the receiver.
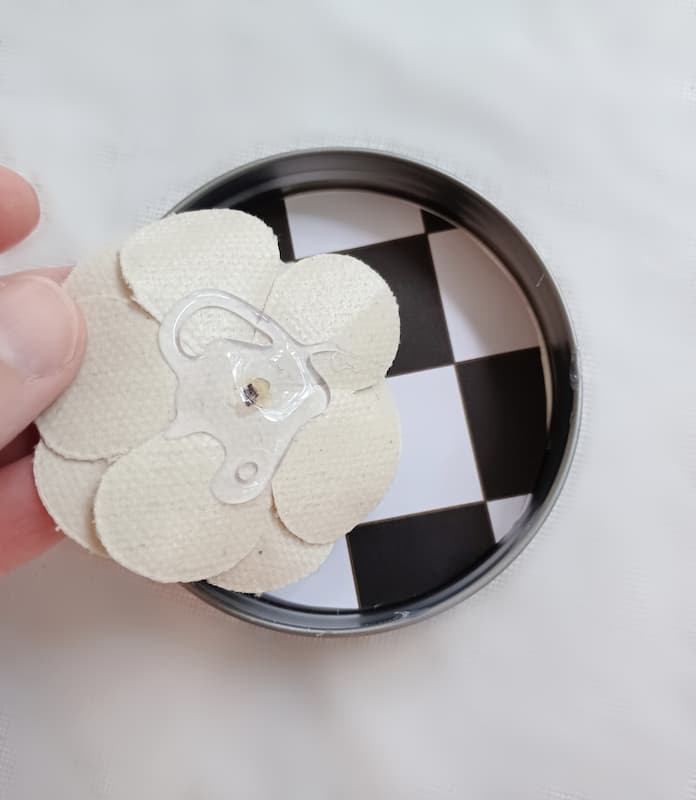
I loved these flower embellishments I had leftover in my craft box. They worked perfectly. Be sure to press each item you have for a moment as you glue it into your lid to make it secure.
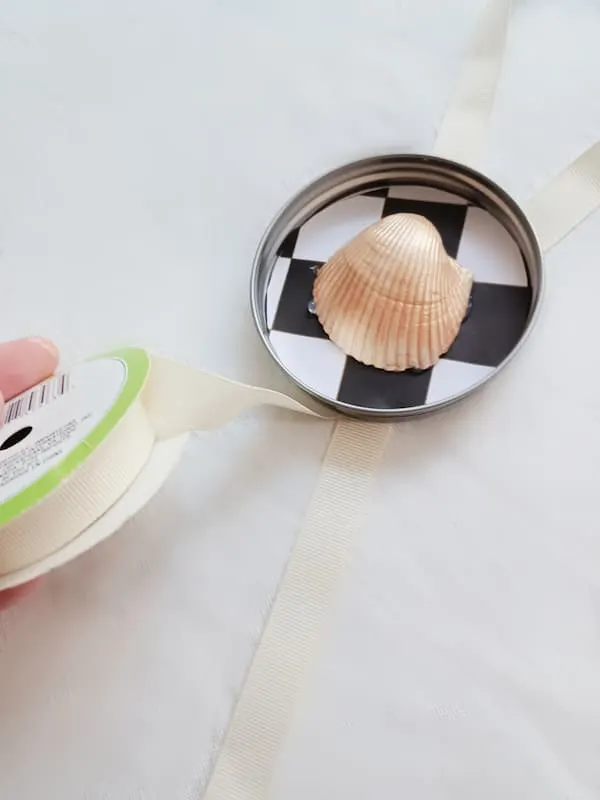
Choose the ribbon you would like to make the hangers with. I chose different colors to mix and match with each ornament.
You could do this or choose one color you want for all. Take the ribbon and simply make a loop and then glue the ribbon down crisscrossed on the back.
This is simple yet looks so classy. No Christmas tree hook is required.

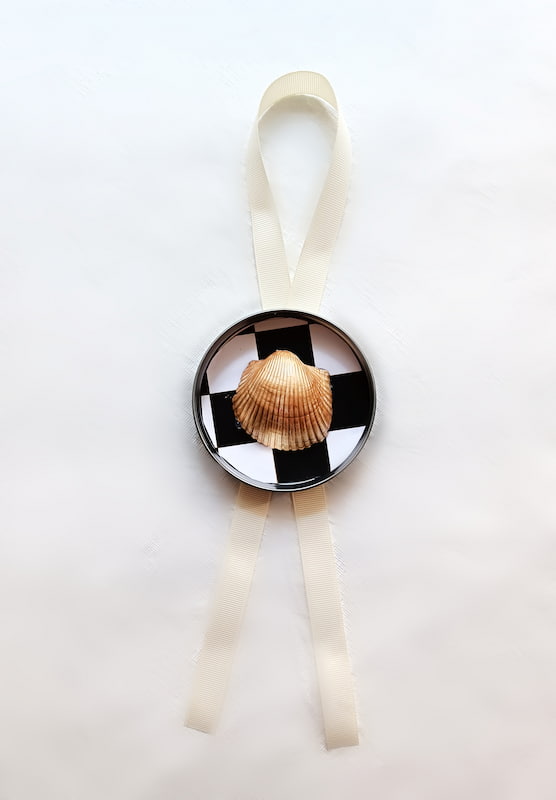
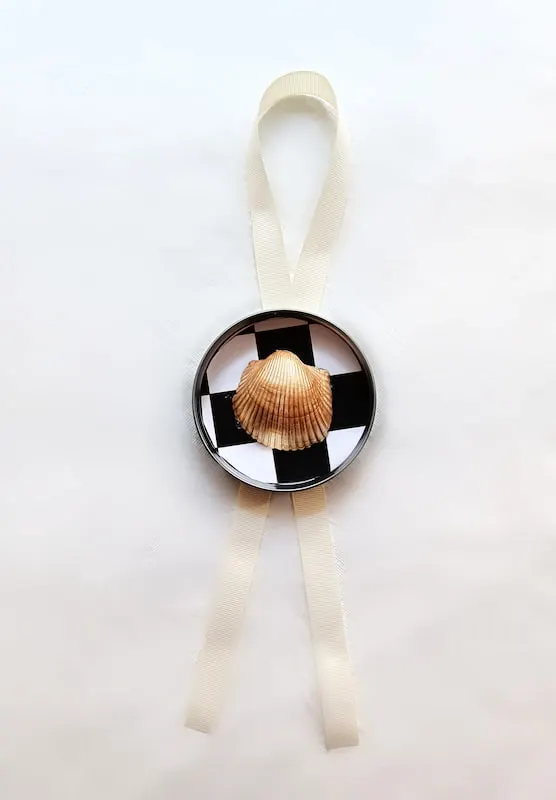
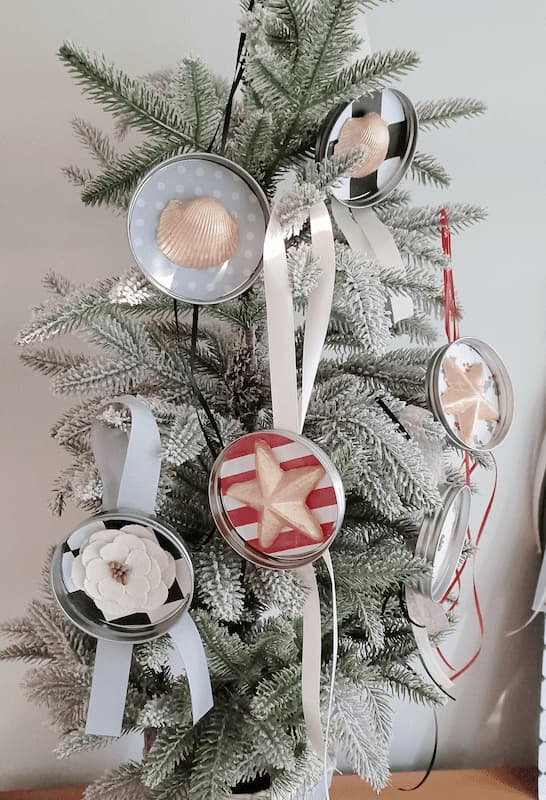
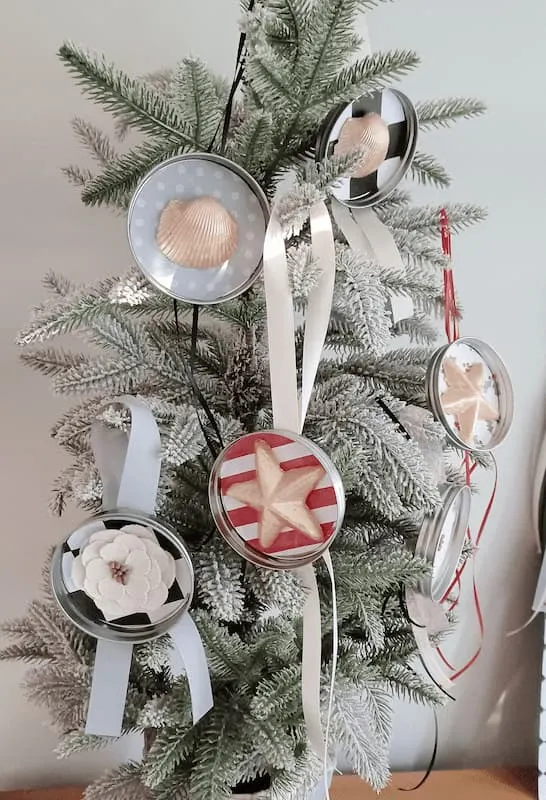
These are so cute! I love these little jar lid shadow box ornaments. These will make the Christmas holiday a little more extra special. Kids could make these as well.
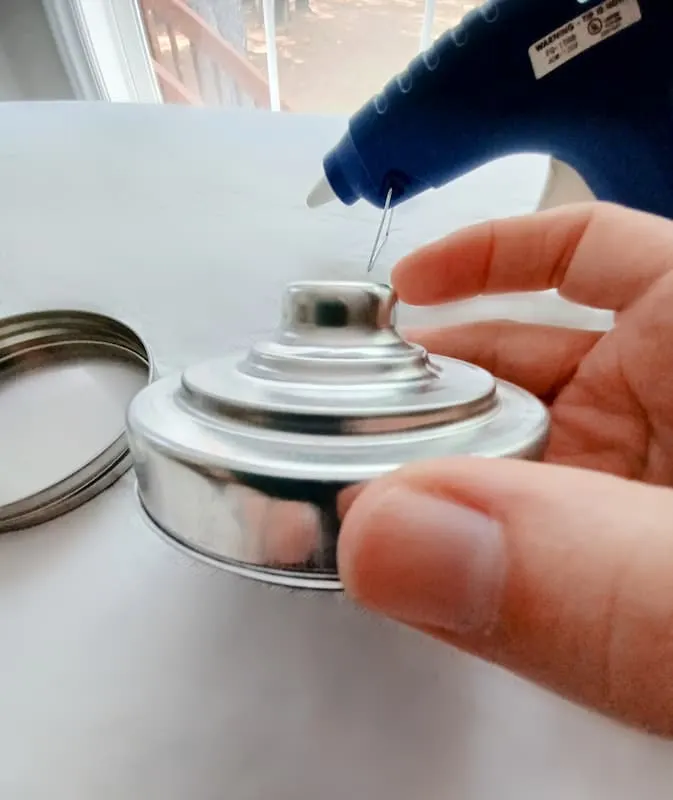
Project #3 – Jar Lid Candle Holder
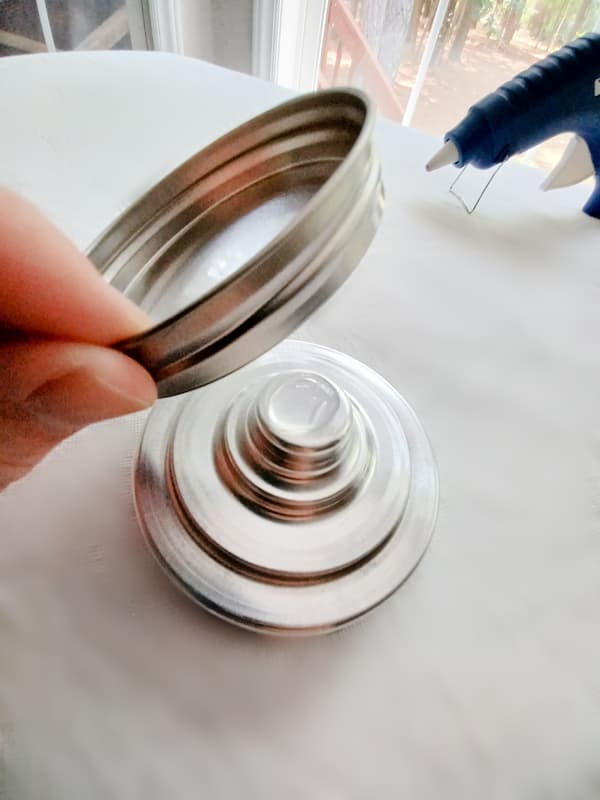
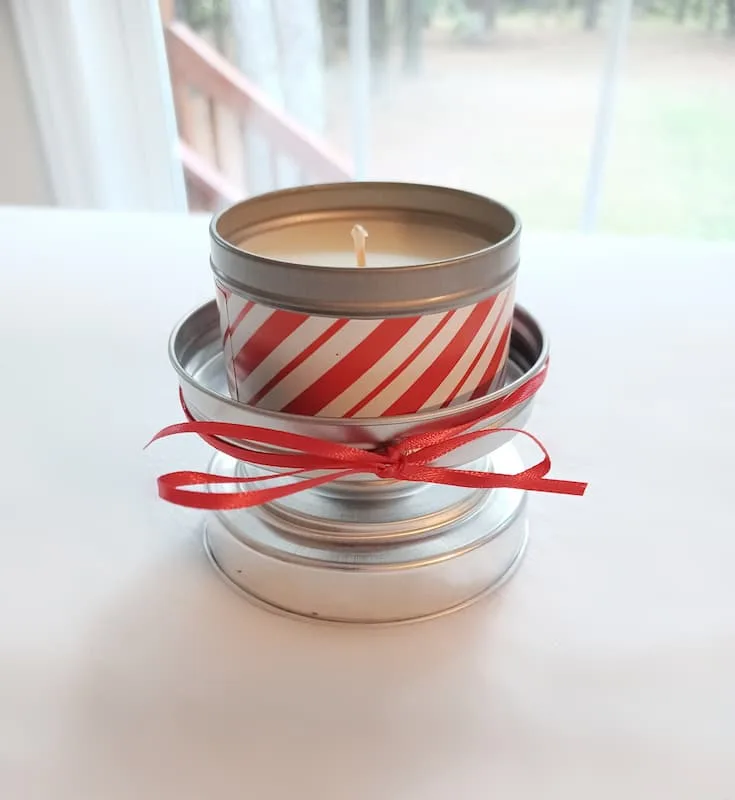
The third Christmas craft made out of leftover lids is a cute candle holder. If you followed the 30 Minute Fall Candy Bar Centerpiece post, you will see we should have an oddball lid with a tab on it. We will be gluing the top side of a candy jar lid to the top of the lid with the handle knob.


Add ribbon if you wish. This creates a fast adorable candle stand. Yet again, another item to decorate with or give away to make someone’s day!

Enjoy your magazine-quality decor and be proud of yourself! May your holidays be MERRY and BRIGHT!
Recommended Reading:
- Colorful DIY Christmas Decorations – Merry & Bright!
- Easy DIY Christmas Wreath – with boxwood and holly
- Glittery Christmas Tree Cones DIY
Make Your Own Beautiful Living Succulent Wreath Centerpiece! Complete video course by Jeannine Romero now available through Skillshare.