


- Free Video Tutorial – Gratitude Farmhouse Decor Craft - July 25, 2023
- DIY Dollar Tree Bird Feeder Craft - July 4, 2023
- Embroidery Hoop Organizational Wall Art - February 28, 2023
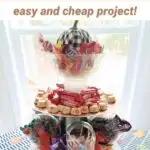
Here’s a fast and easy craft idea for your next gathering. And it only takes about 30 minutes or less to make!
Fall is such a fantastic time of year. With every new season comes a fresh perspective. A new look at the world around us through a different lens. Fall brings cooler breezes, spectacular fall colors, pumpkin patches, fall festivals, parties, and gatherings.
Lots of new memories to be made. And one of the things many of us love to do with new seasons is spruce up the home. I genuinely find it so much fun and look forward to it, as it promotes happiness and abundance in my home.
It doesn’t take much to fluff the nest and facilitate a happy seasonal home. You can get inspiration for any season with 8 Little Splurges to Feel Happy And Abundant at Home.
With that inspirational post, you could translate the ideas into fall-themed items!
So let me tell you about this fast, easy project for those Halloween parties, Thanksgiving dinners, Christmas, Easter, Valentines, football gatherings, tea parties, weddings, dances, or any event!
This is an instant gratification craft, which means it will not take long to do but gives you that good feeling of accomplishment. Crafting is fun and a great way to relax, but who has time anymore to take weeks or days to make something?
Do not worry. This project can be done quickly and easily.
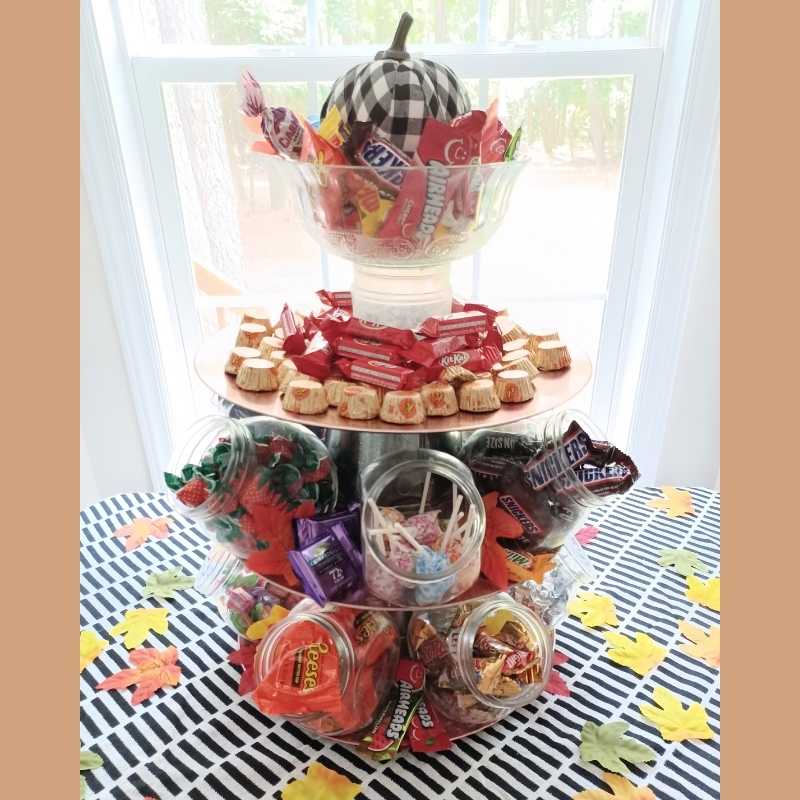
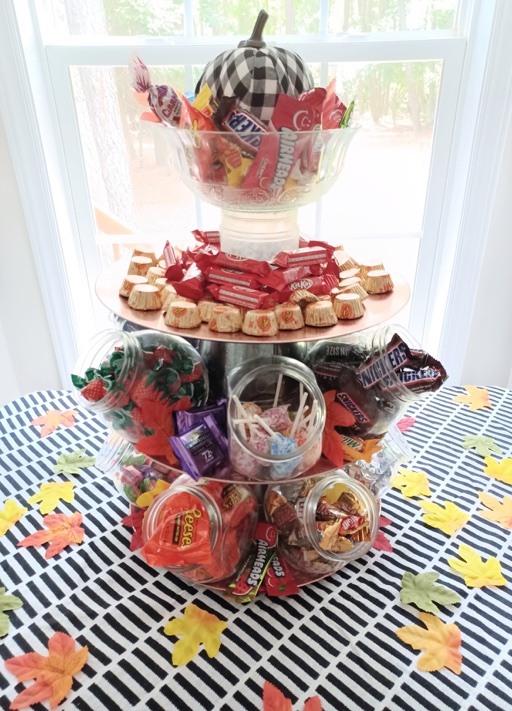
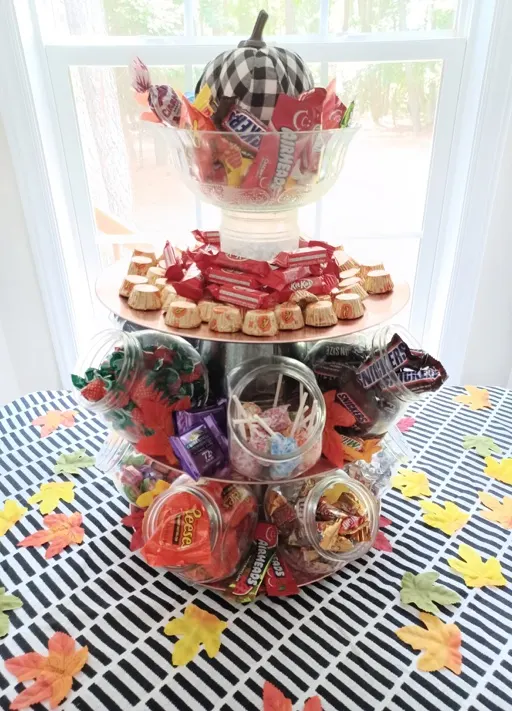
How to Make A Candybar Centerpiece
All the components can be found at Dollar Tree, or you can find them at the Dollar Tree website.


Supplies you will need
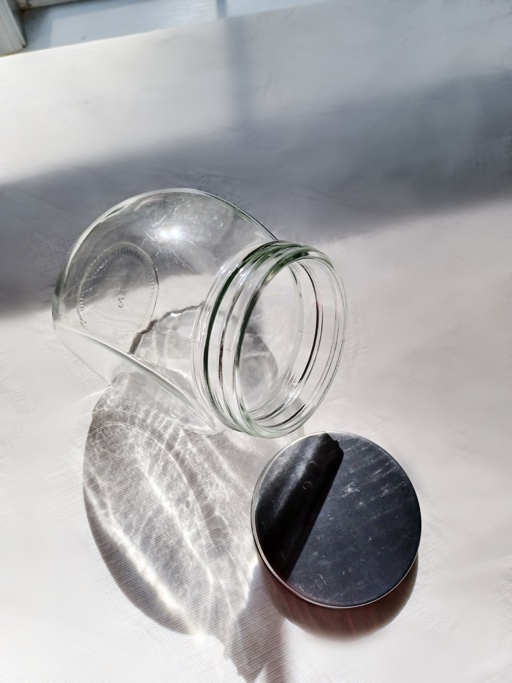
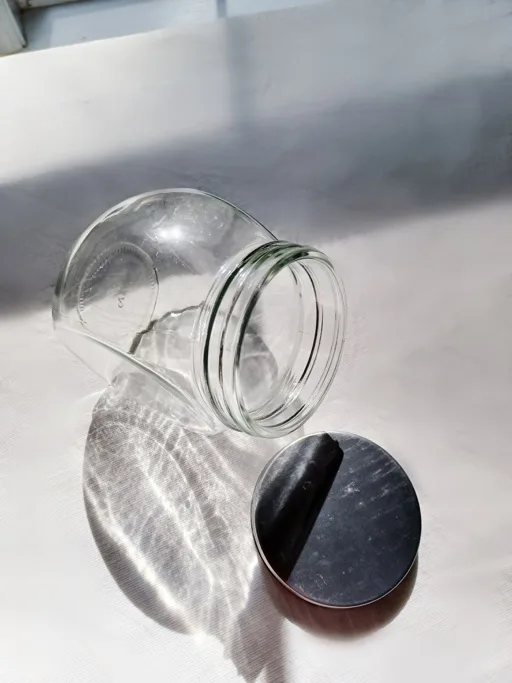
- 12 -13 small candy jars (glass or plastic)
- 3 table chargers in the colors you want ( I really liked these rose gold ones)
- 2 small metal decor buckets
- 1 small regular jar
- 1 pretty bowl
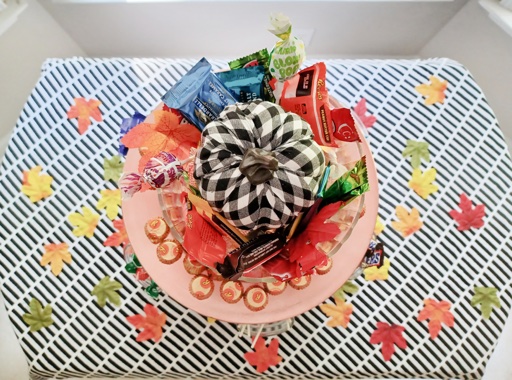
- 1 pumpkin or another decor topper
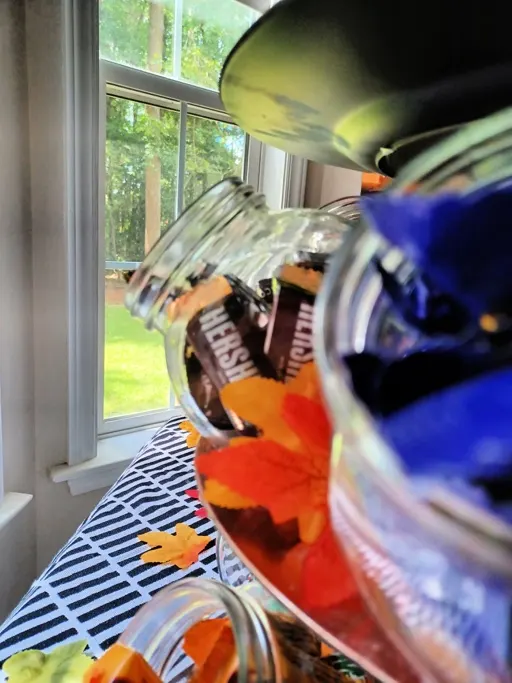
- 1 bag of fake leaves
- 1 hot glue gun
- 1 Gorilla glue or e 6000 glue ( the Gorilla doesn’t smell as severely) not found at Dollar Tree, but they do offer super glue
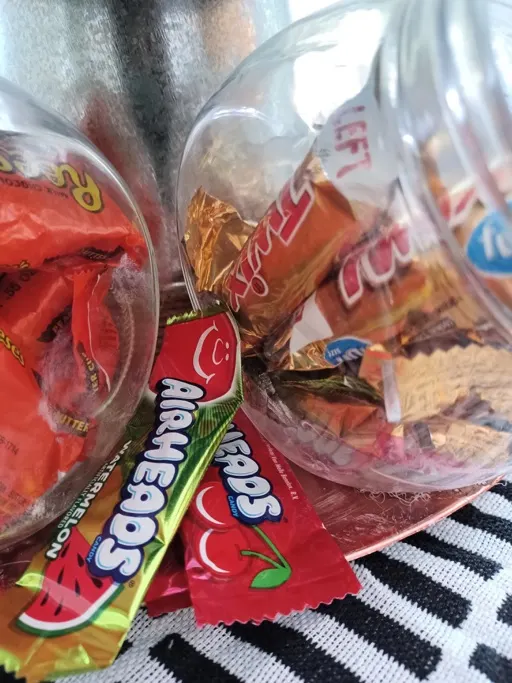
- As many bags of candy as you want, which you can also find at Dollar Tree but just in smaller bags
I suggest using the super glue to finalize the hold when putting this together. But use a high temp hot glue gun to temporarily tack things in place in some of the contact areas until the super glue sets.
Start with your first charger and a metal bucket and super glue them together.

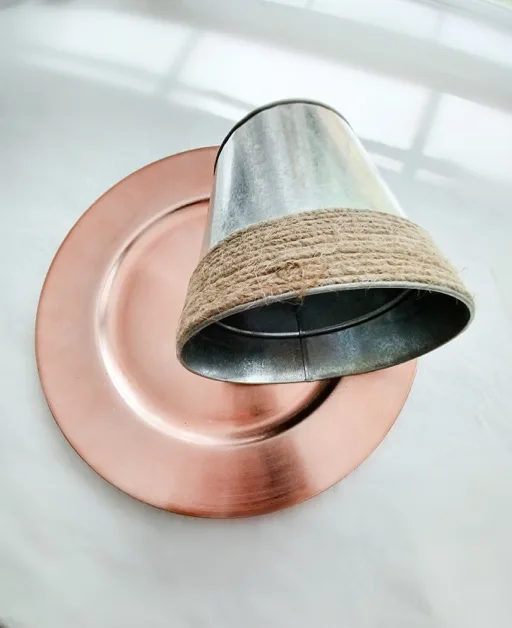
Remember, in some points of contact, leave the area to put hot glue to keep it tacked down until it is permanently set in place.

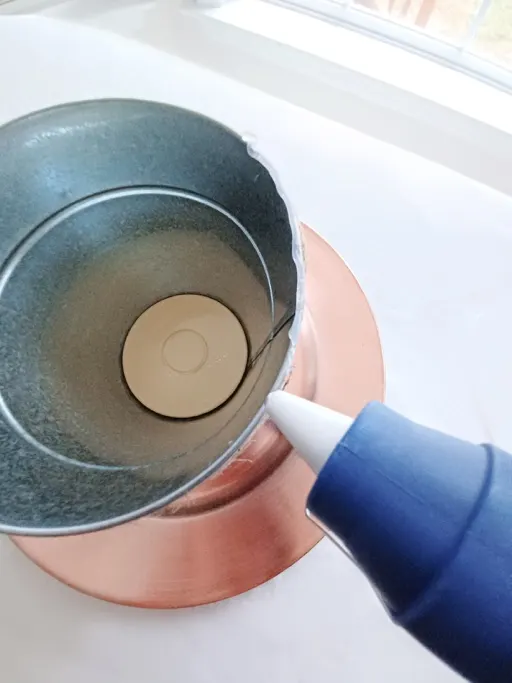
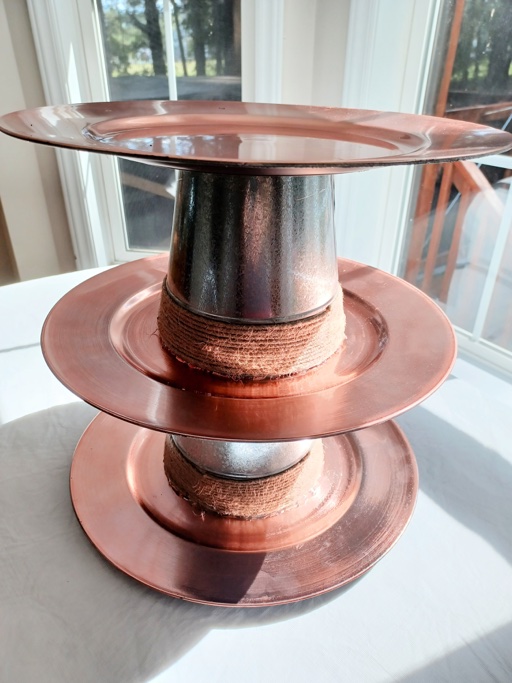
Repeat this process until all two buckets and all three chargers are used.
Be sure to press firmly and hold a minute each time you attach a new component.
This is what it should look like:

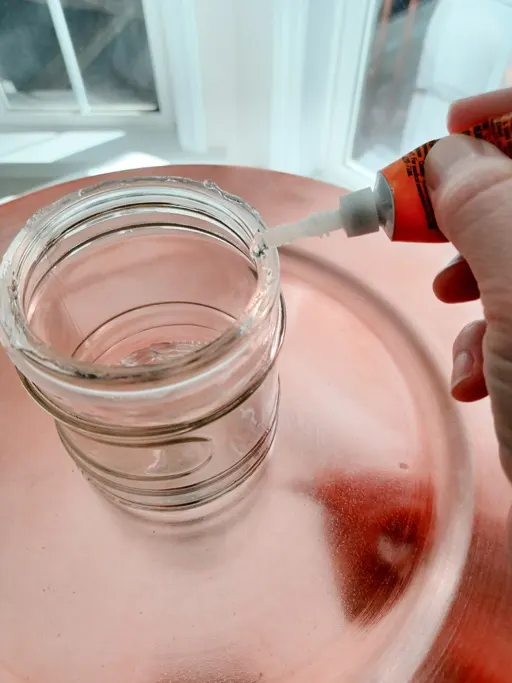
Now, take your regular jar and glue it bottom down to the charger. So top up. Before the following process, if there is a decorative item that fits in the jar that you would like to add before the bowl is glued down, now is the time to add that. For example, a small pinecone.
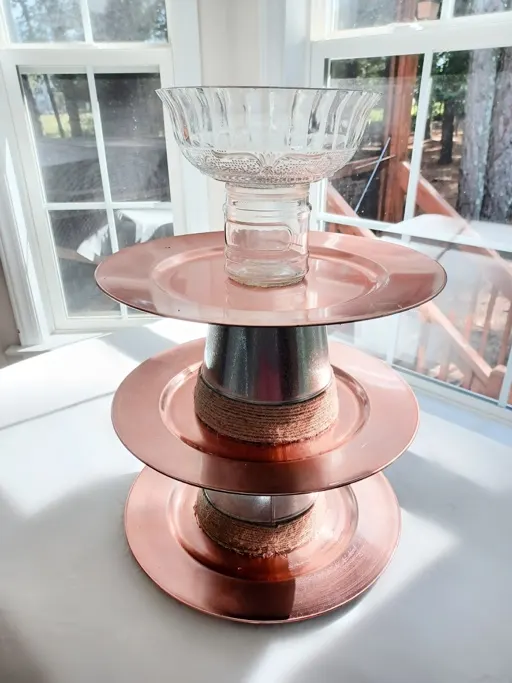
After gluing your jar down next, glue the decorative bowl to the top of the jar.


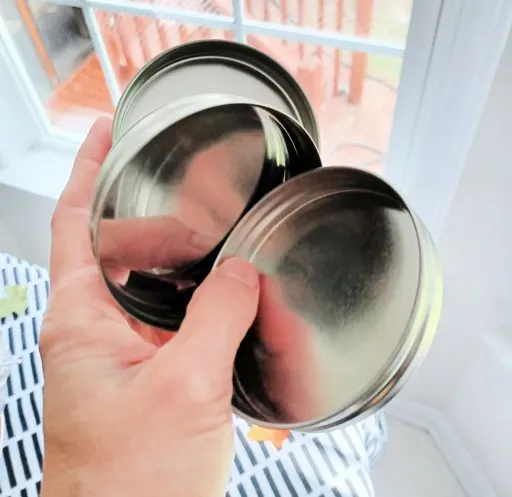
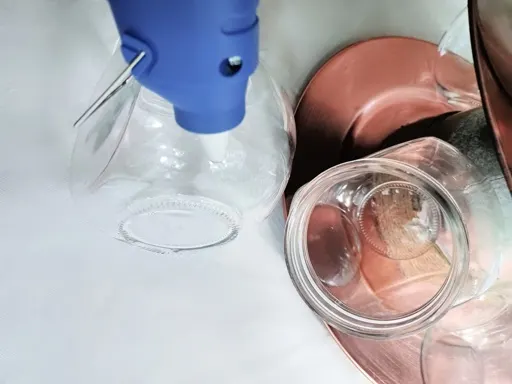
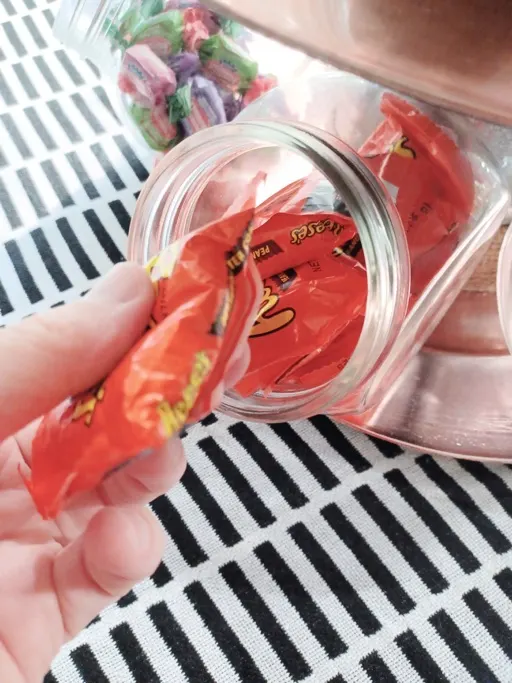
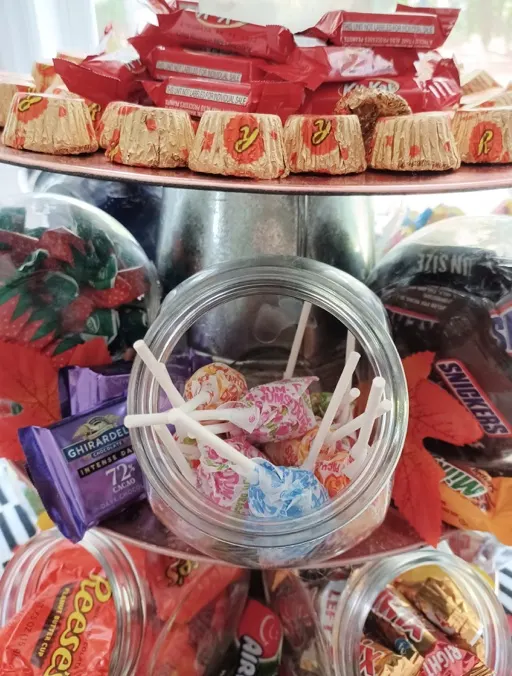
Moving on, take the lids and the stickers off the candy jars. Set them aside for later.
Take two or three of them to stack and glue together and place inside the bowl to be the place holder for your decor topper.
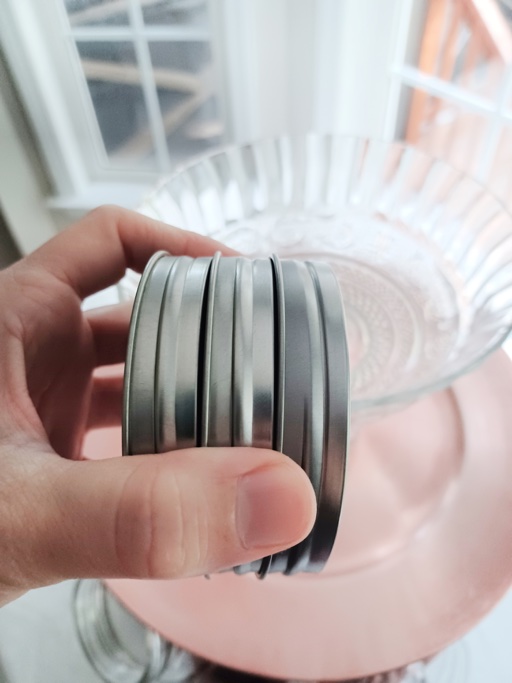

Save the rest of the lids for a future holiday project we have coming up for you!

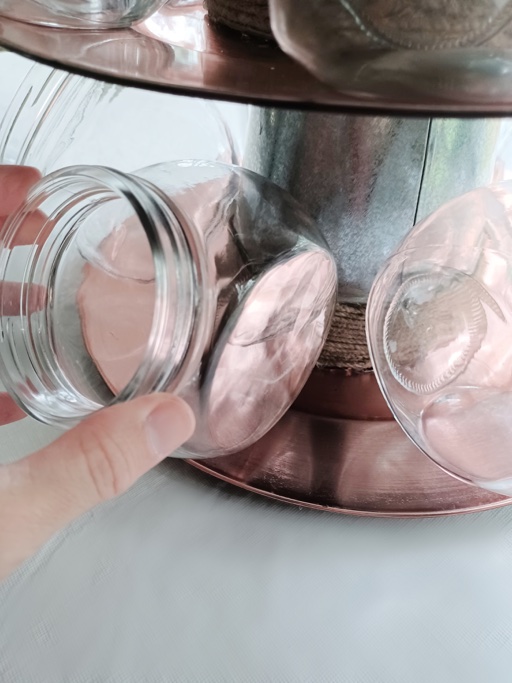
Take the candy jars and play with them, putting them in the place where you want them before gluing. This will keep it much simpler in the creative process if you want to move things around for a better look.
Now put super glue on the bottom belly of the candy jar’s circle edge, which is the contact point to the plate.

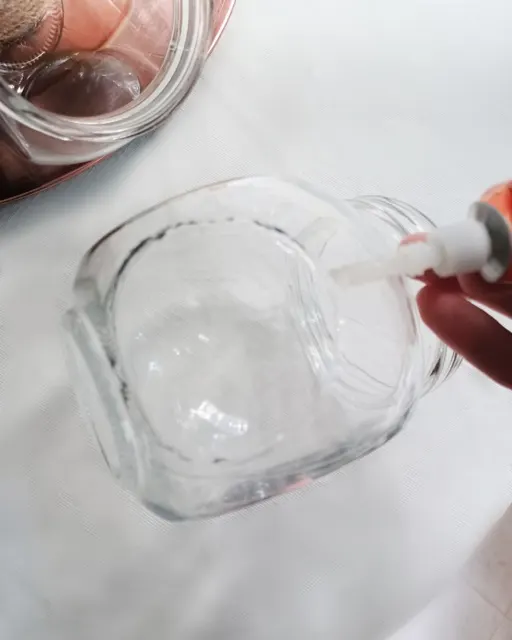
Put some hot glue on the jar’s back side, where it will make contact with the metal bucket to tack it in place until the super glue dries.


Time to glue the pumpkin or chosen topper to those lids you placed in the bowl on top.


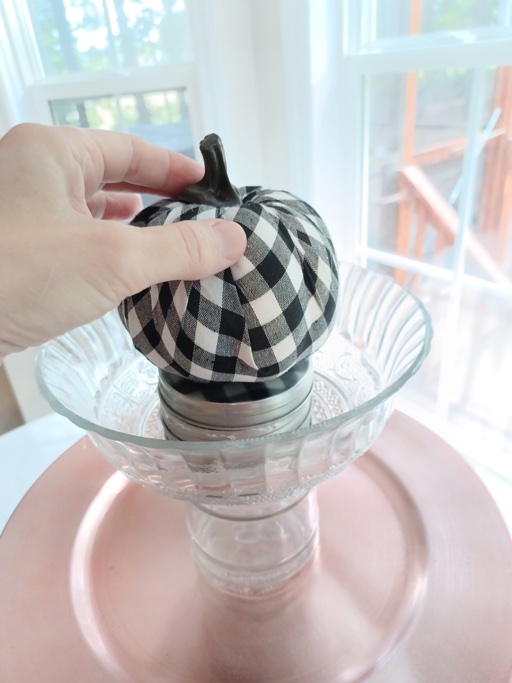
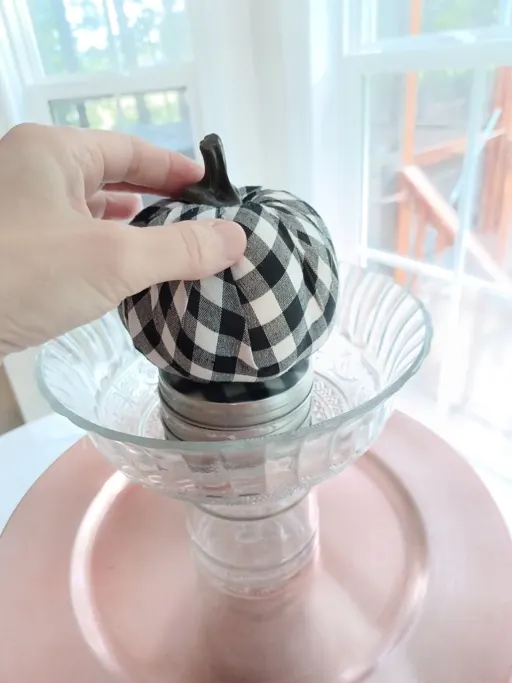
Note: We have a great tutorial on making cloth pumpkins like this using old shirts!
Lastly, place the candy and leaves decor how you would like throughout the candy bar.


This is so much fun placing everything!


You can take some of the leaves and scatter them around your centerpiece.

Enjoy your fall candy bar creation at your next party, or simply use it in your home for some fall time fun! This idea could be used for so many other events and themes as well and can serve you for many other memories to come!
Recommended Reading:
- Make A Fall Wreath With An Old Frame!
- How to Make a Fall Rainbow Wreath – Easy!
- Gorgeous Wreaths for Fall – 20+ Easy DIYs
Make Your Own Beautiful Living Succulent Wreath Centerpiece! Complete video course by Jeannine Romero now available through Skillshare.