

- Free Video Tutorial – Gratitude Farmhouse Decor Craft - July 25, 2023
- DIY Dollar Tree Bird Feeder Craft - July 4, 2023
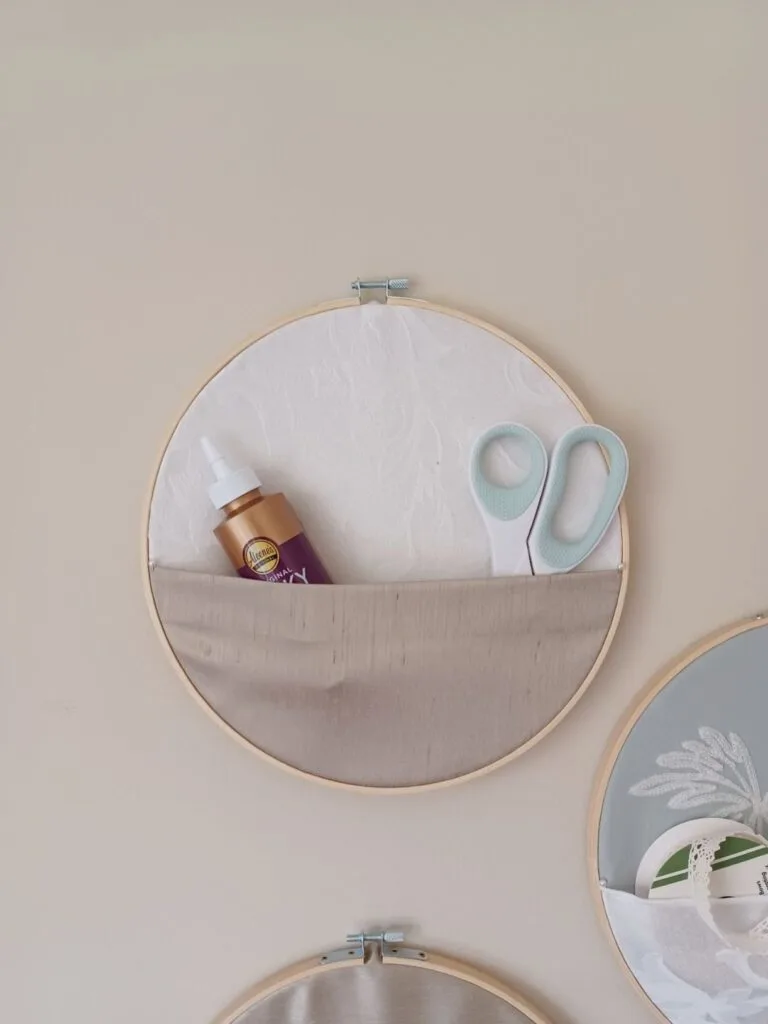
- Embroidery Hoop Organizational Wall Art - February 28, 2023
I love functional decor.
Functional decor is intentional decor that serves a purpose other than decorating.
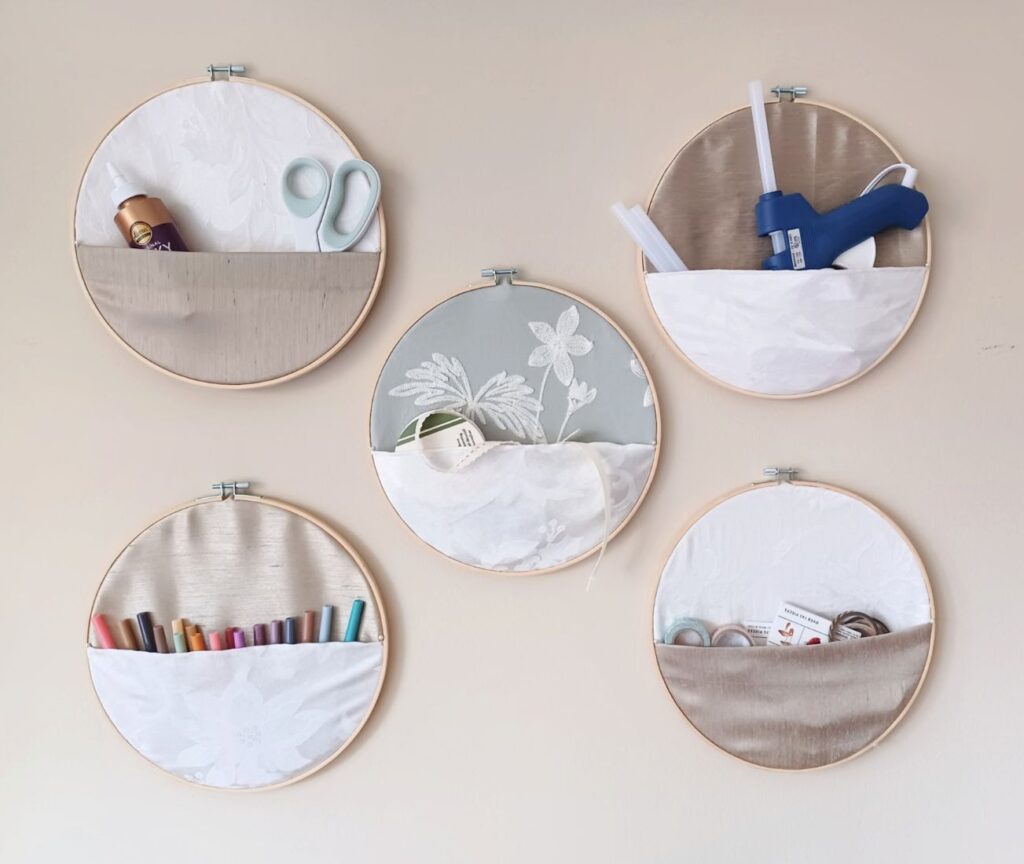
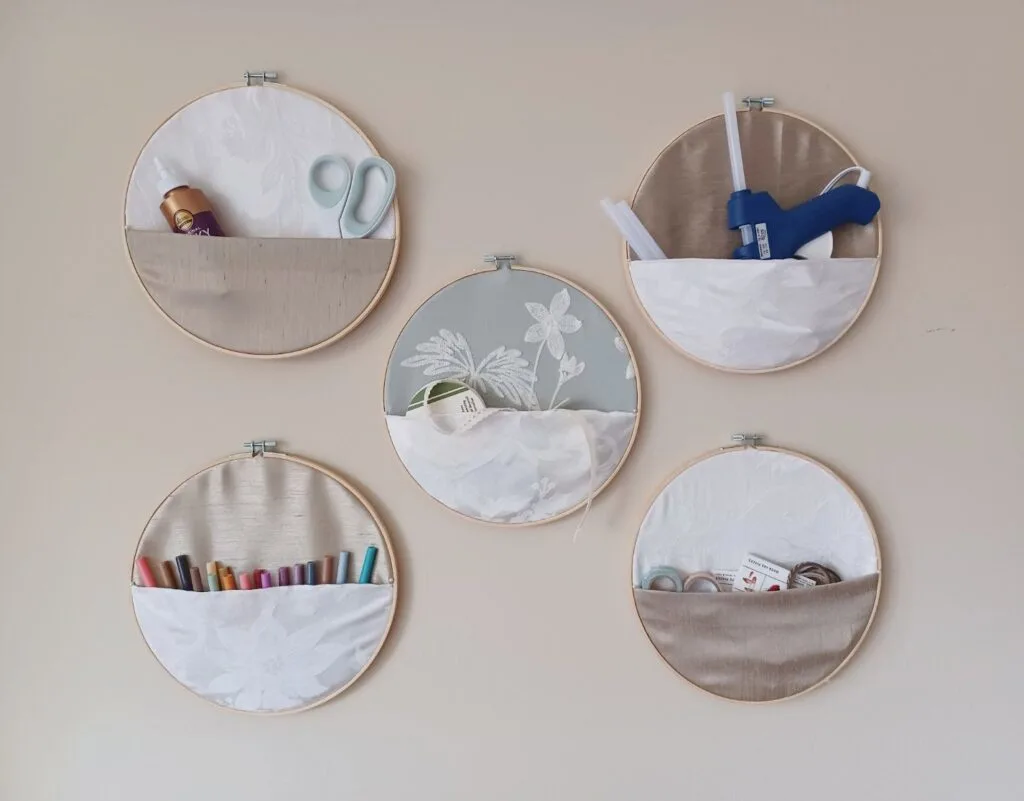
With this embroidery hoop organizational decor idea you will get simple beauty yet a place to stash your items in a clever way.
This project is an inexpensive, easy no-sew project.
With this project I was able to incorporate old linens that I wanted to repurpose rather than throw away. This is a great upcycle project.
If you do not have any old pretty linens you could go hunting for some at a thrift store. You could also buy new fabrics with a pattern that suits your style at your local fabric store.
This project is so easy and forgiving. Really any fabrics you use would look great. You could even use old clothes and or tablecloths.
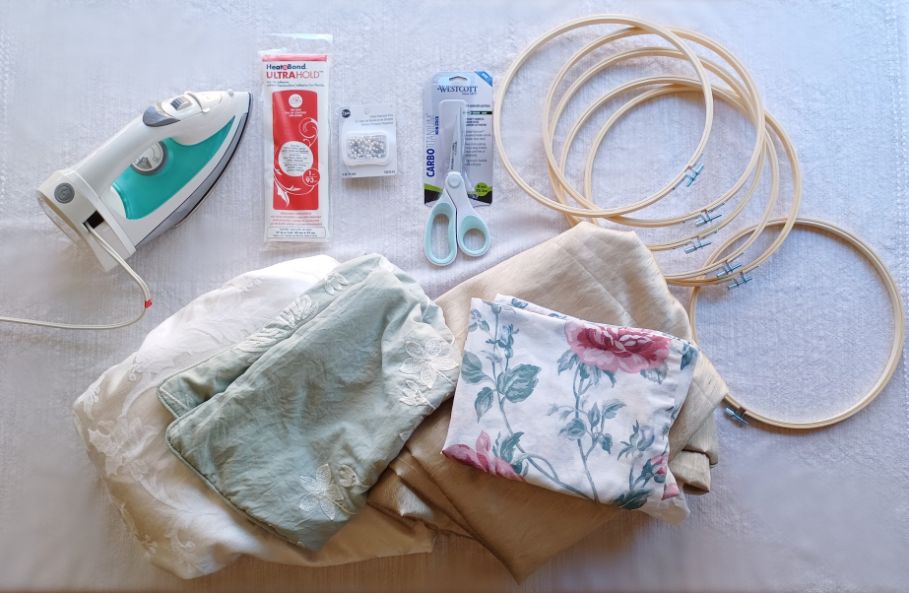
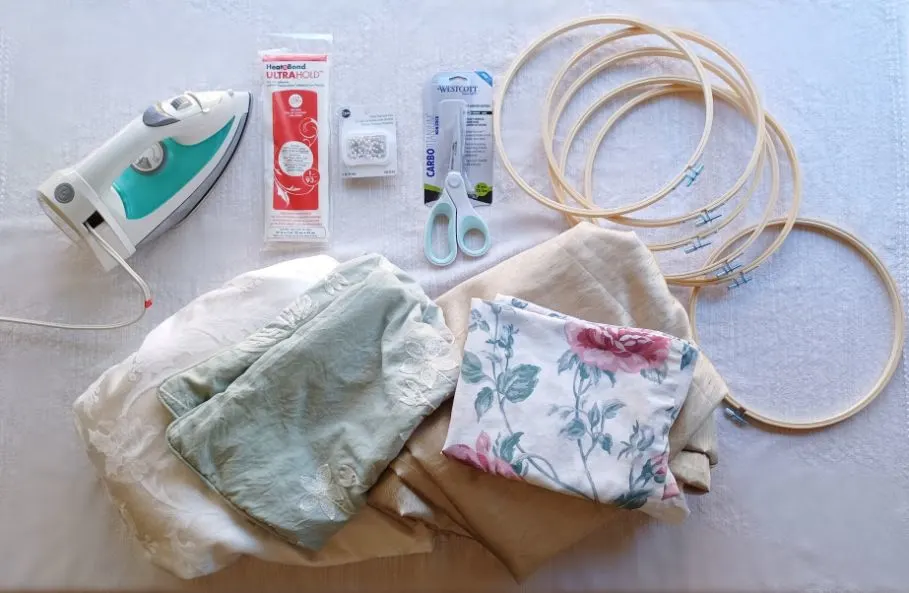
Supplies Needed
(links are to Amazon)
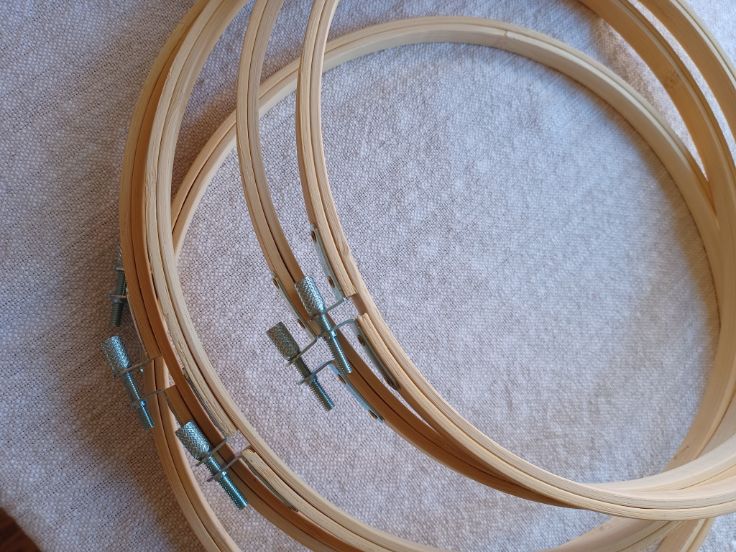
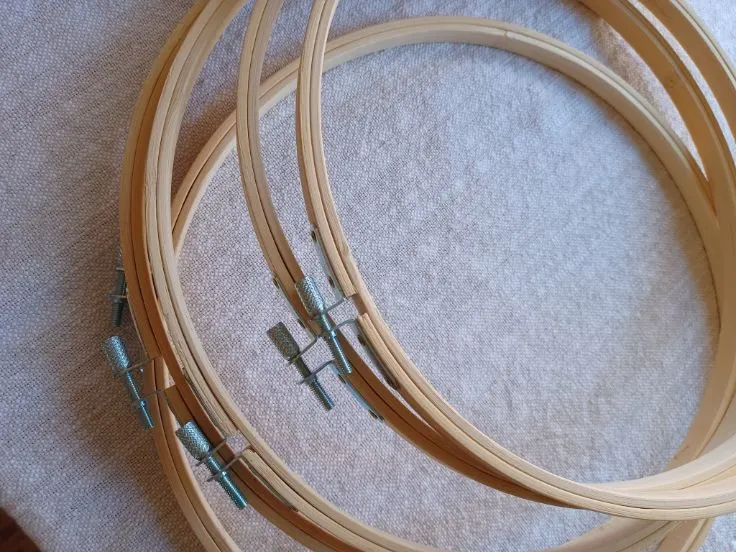
- 10-inch embroidery hoops
- Scissors
- Fabrics (old linens, clothes, tablecloths, curtains, or new fabrics)
- Iron
- HeatNBond UltraHold Iron-On Adhesive (optional, I ended up not using it)
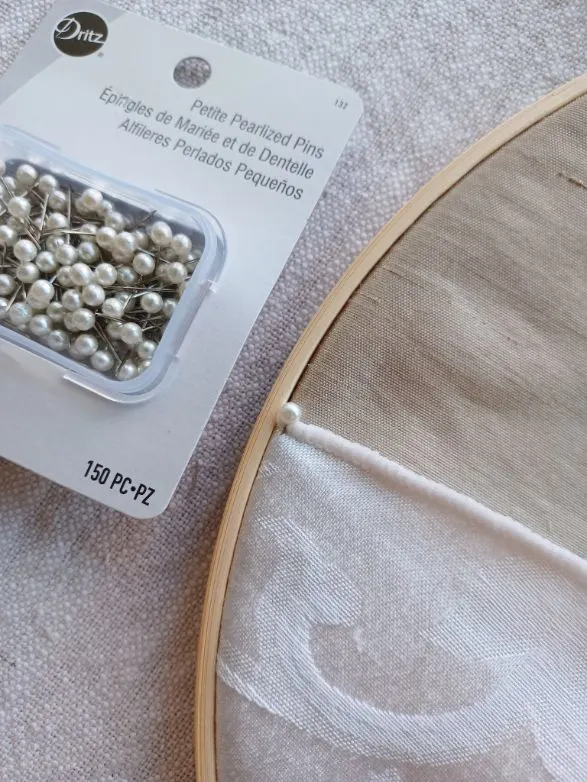
- Dritiz Petite Pearlized Straight Pins
Before you start decide how many hoop organizers you want to make. I had six 10 inch hoops that came in my package but I chose to only use five for this project.
Amazon was a great place to find mine. I will save the sixth hoop for another project on another day.
Make a plan ahead of time of how many you want for the purpose you intend for them. If you have old hoops or you purchase through the link I shared with you it is up to you how many of these you make.
From just one to a wall full, all would look great.
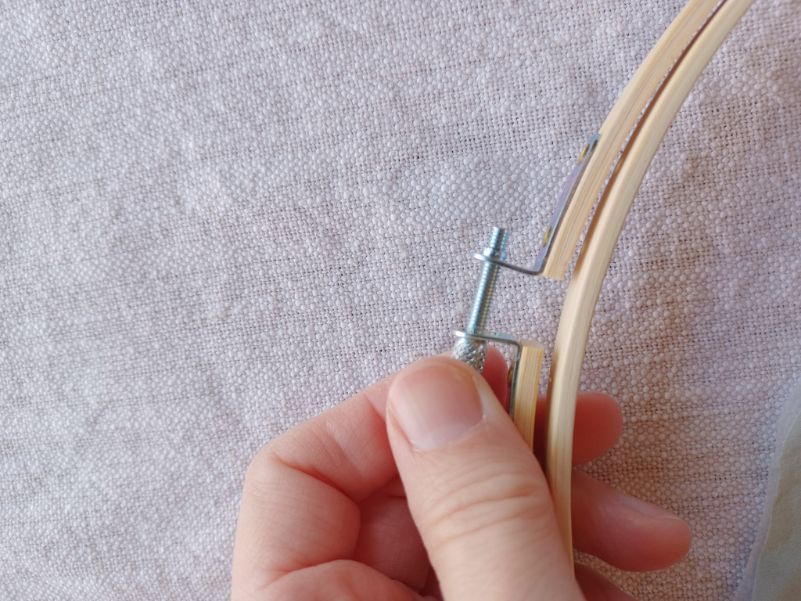
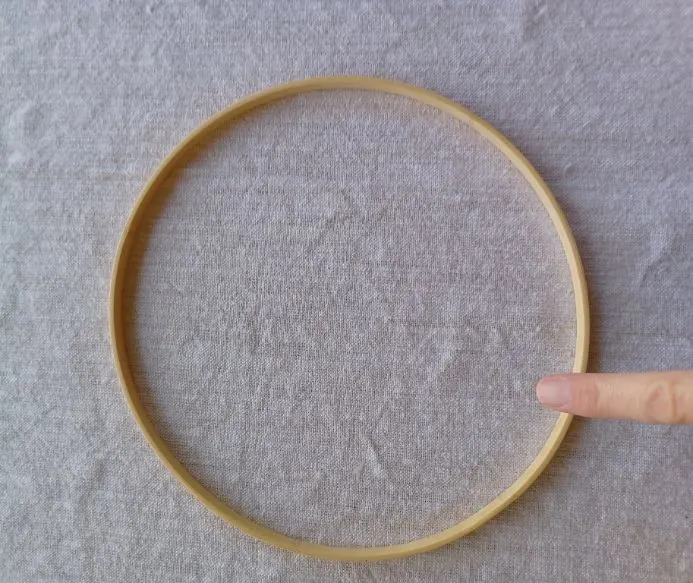
If you have never used an embroidery hoop before, one hoop is nestled inside another to make one unit. The screw at top tightens or loosens the tension.
When you place fabric between the two and reattach them, tightening back the tension of course, it will hold your fabric in place tightly.
For my hoops I chose to leave them the natural wood.
I think natural wood is beautiful. However, if you like painted wood that is great too, just make sure you do that step first.
Potential uses for these organizational hoop decor
- Craft room
- Kitchen
- Little girls room
- Teens room
- Little boys room
- Home office
- Make for your work commute office
- Mud room
- Home command center
- Bathroom
- Large walk in closet
- Pantry (to hold gravy, taco packets and such)
- Kids club house
- Homeschool or homework room
- Make as a house warming or holiday gift
- Grandma’s retirement home room
- Make one, tuck a card in and give to someone who needs encouragement
So many uses! But also you can make these without pockets just to use fabric as wall decor if you do not want to make them for storage. I will show you both below.
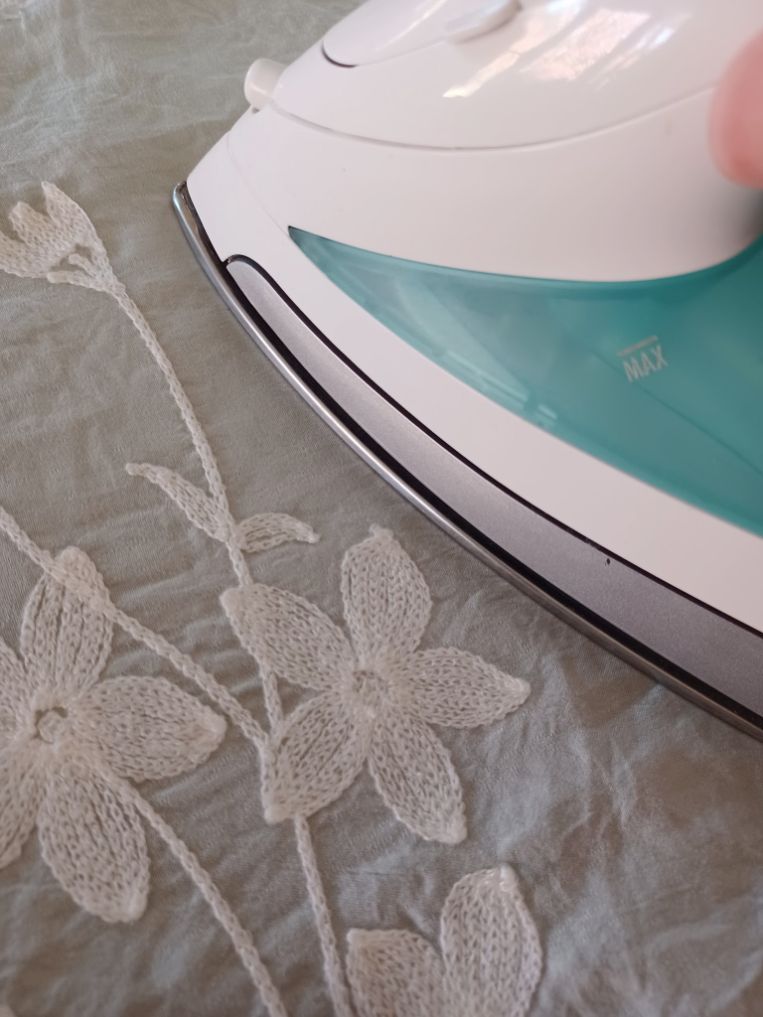
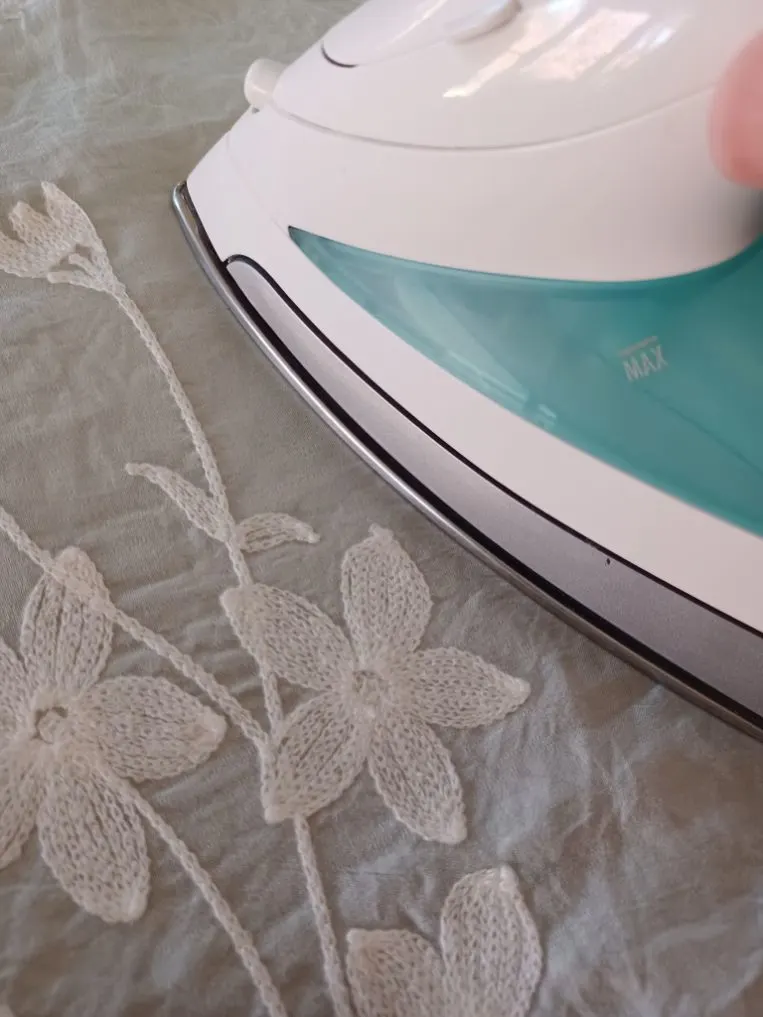
Step One
Iron your fabric if it needs it.
Step Two
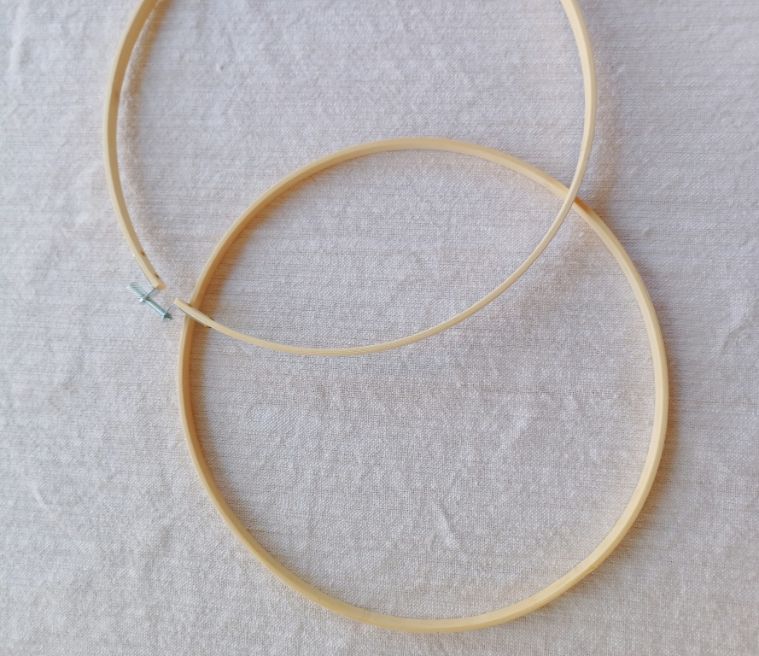
Take your hoops apart.


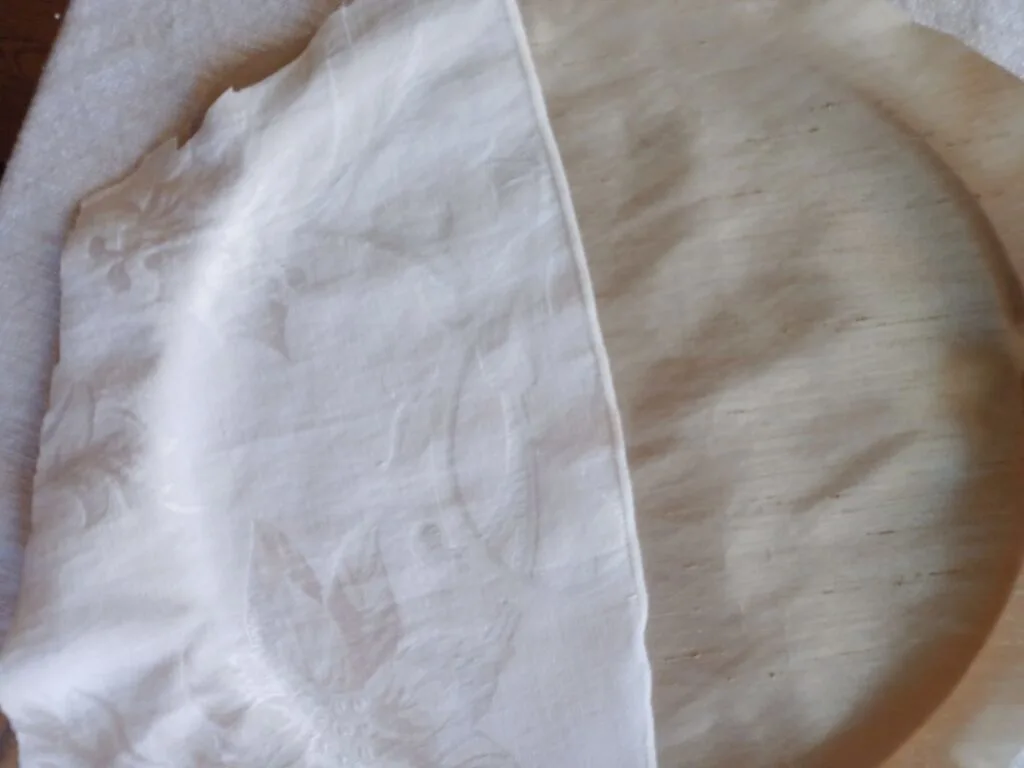
Step Three
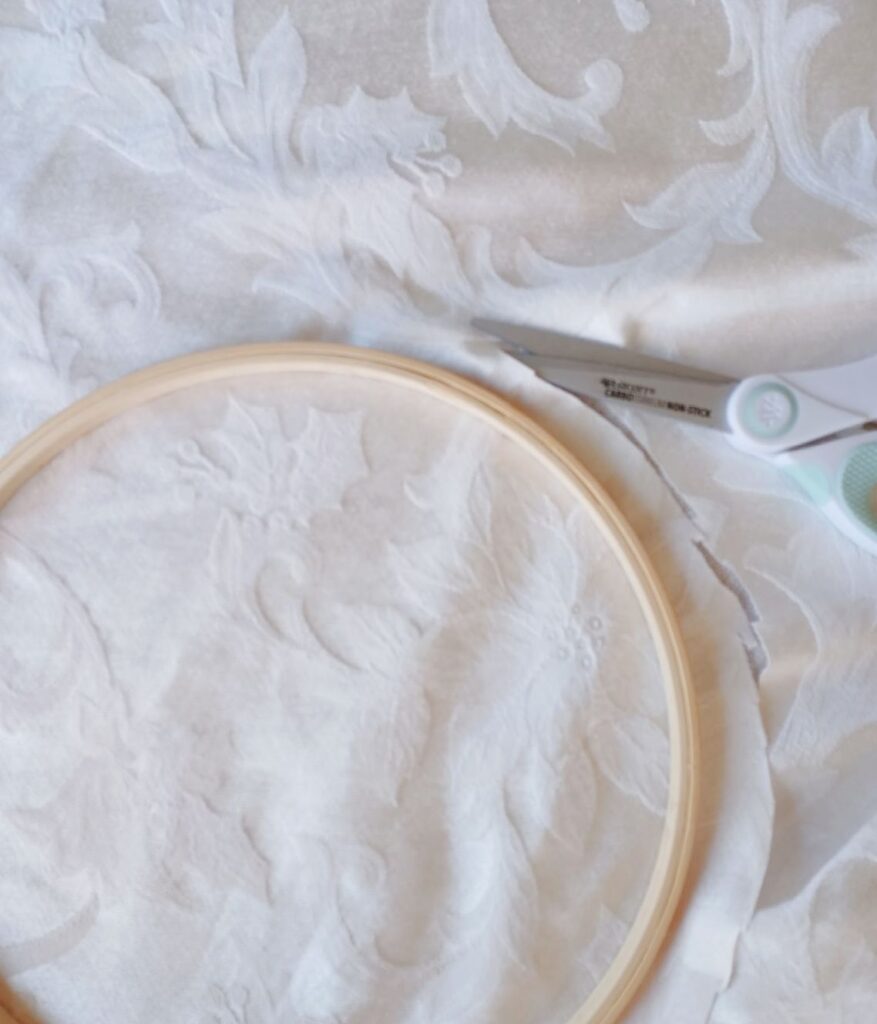
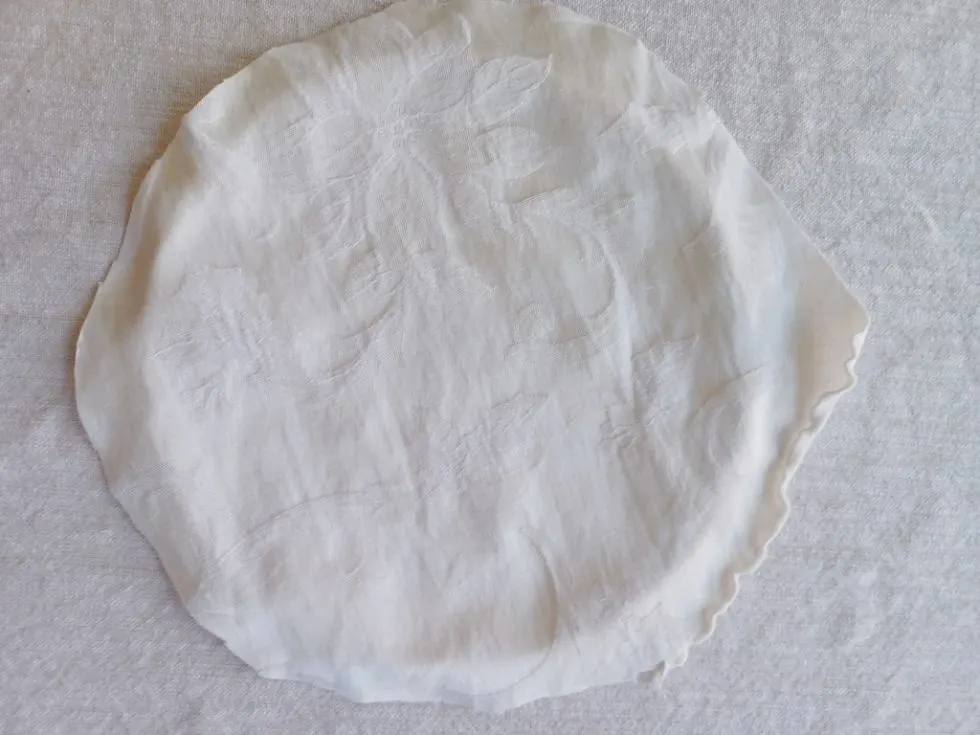
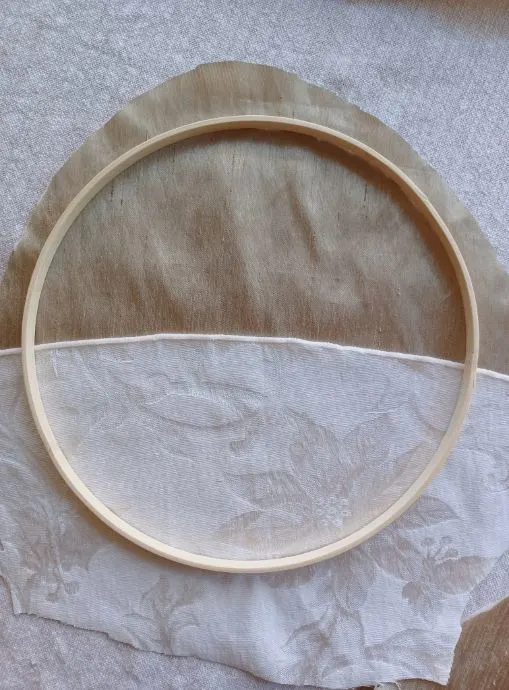
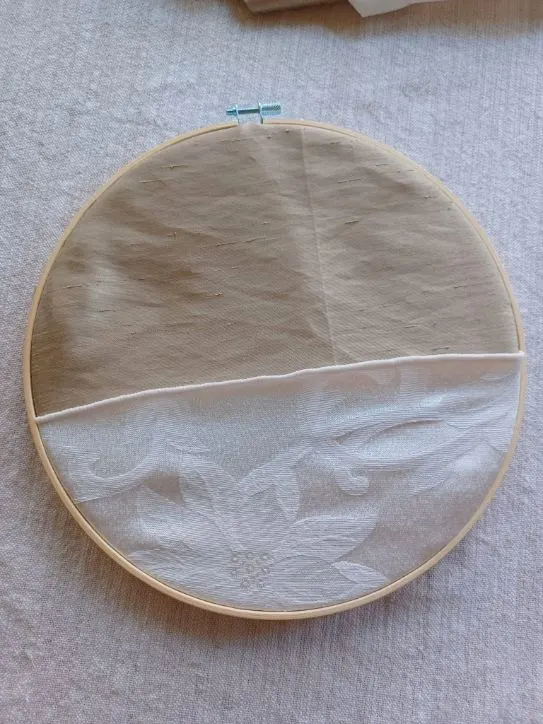
Place your hoop over your fabric and no need to trace but cut a wide circle around it like you see in the picture.
Also, take this time (if you’d like to make pockets for storage use) to place fabric across a little less than half of the circle on top of your main fabric. I chose contrasting fabrics for all of mine.
I will at first mainly show you how it would look alone without a pocket so you can see how pretty it is plain too for simple decor. Then will move on to show more pictures of them with pockets.
Also, take this time to iron some adhesive if you want it (not necessary, they hold fine but in the event that you want to use it or fabric glue for extra reassurance).

Step Four
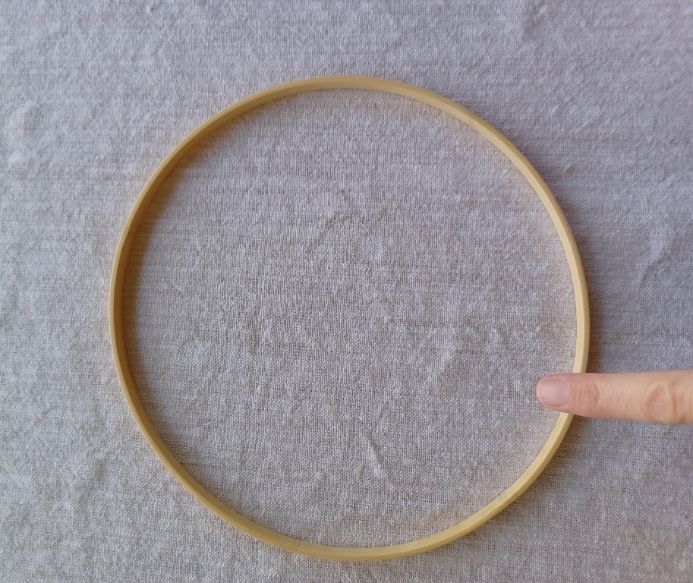
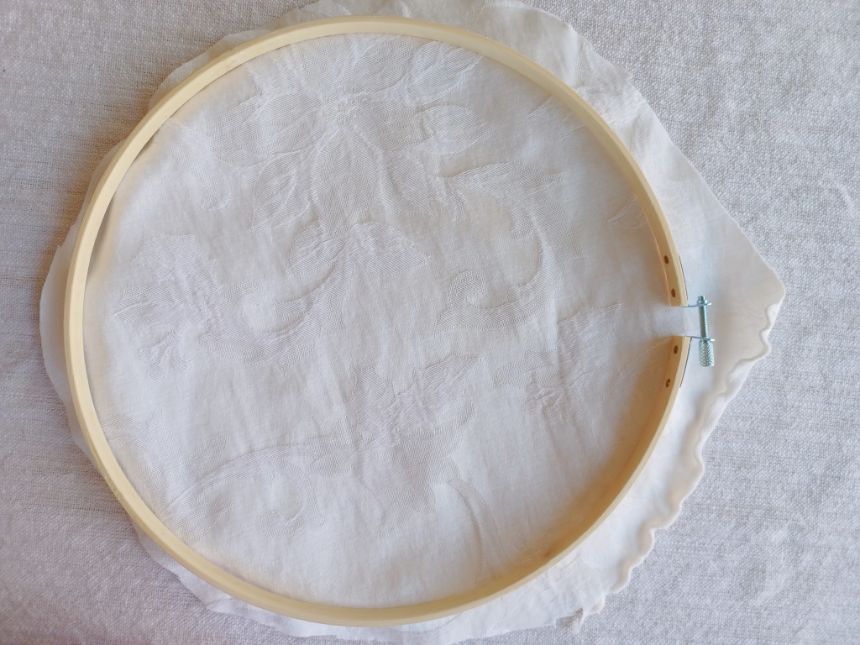
First place your inner hoop on your surface.
Step Five
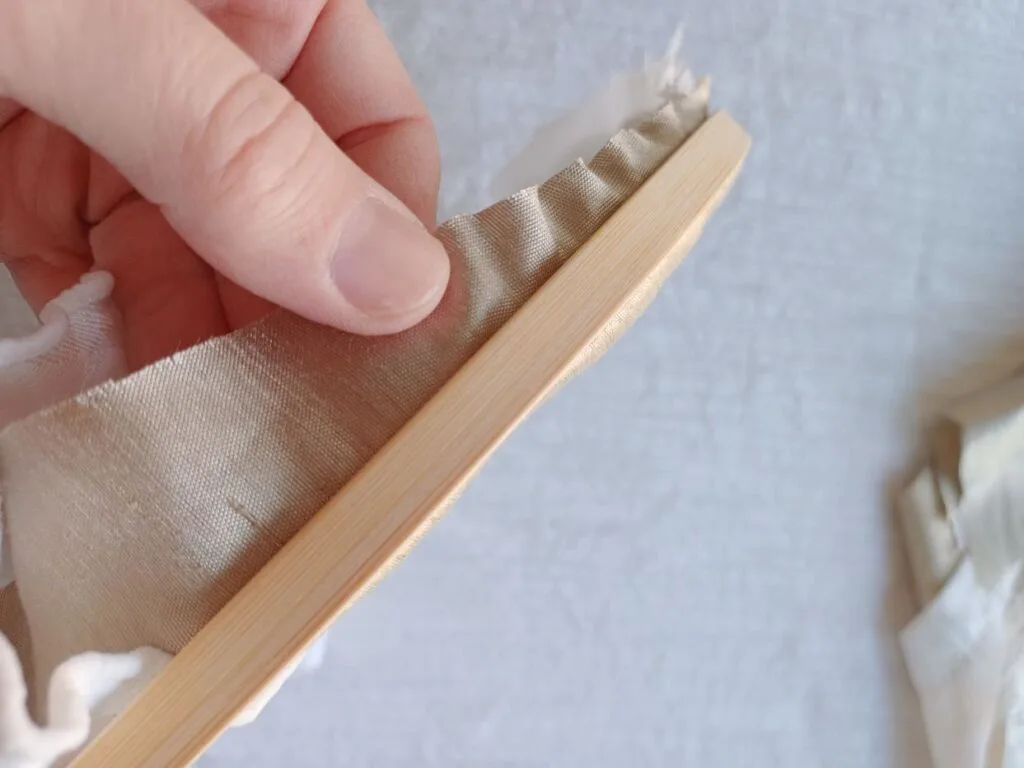
Drape your fabric over your hoop.

Step Six
Place the outer loop over that and press down.
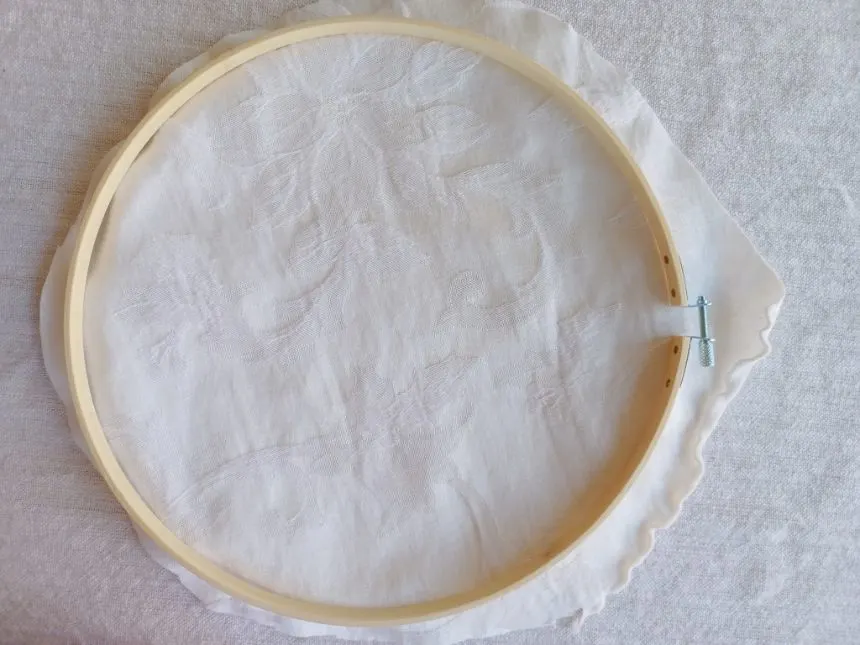
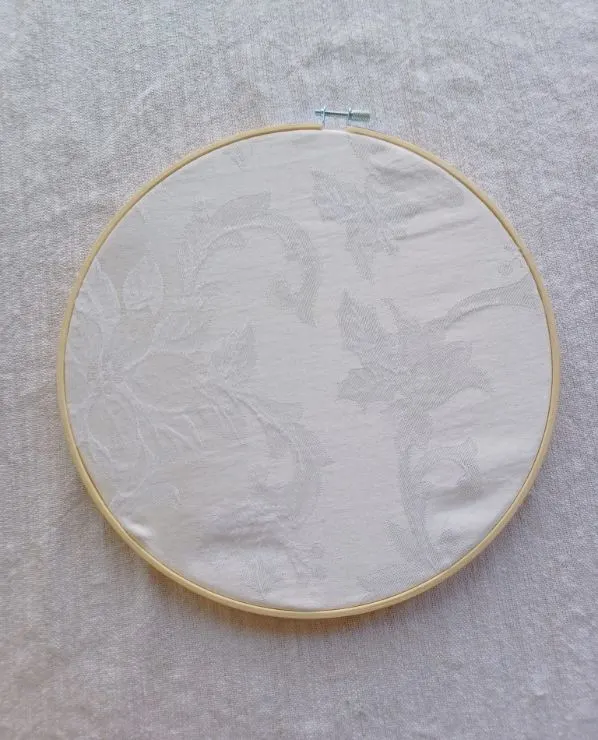
Step Seven
Tighten your hoop by turning the screw.


Step Eight
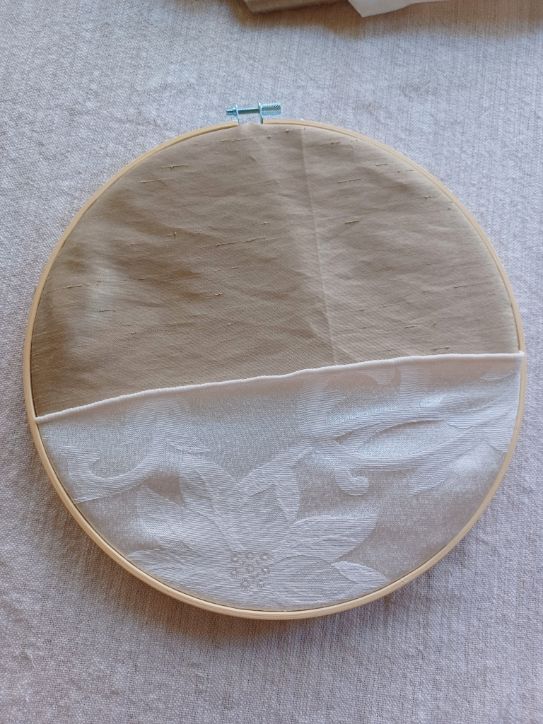
Pull your fabric, post reattaching the hoop tight to make sure it is flat and firm.
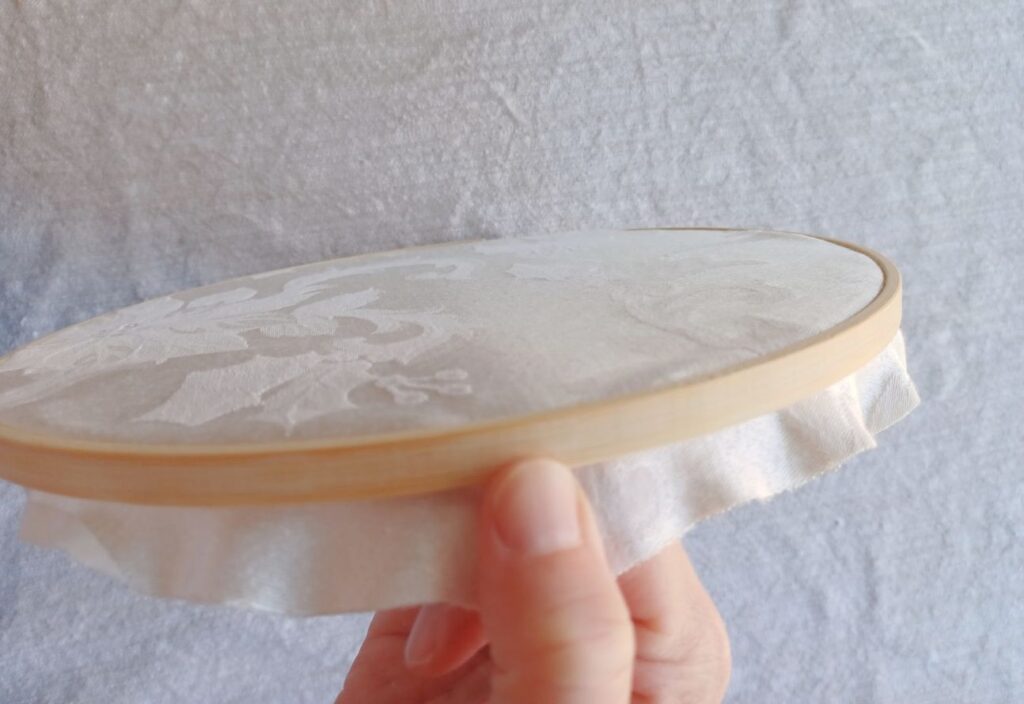
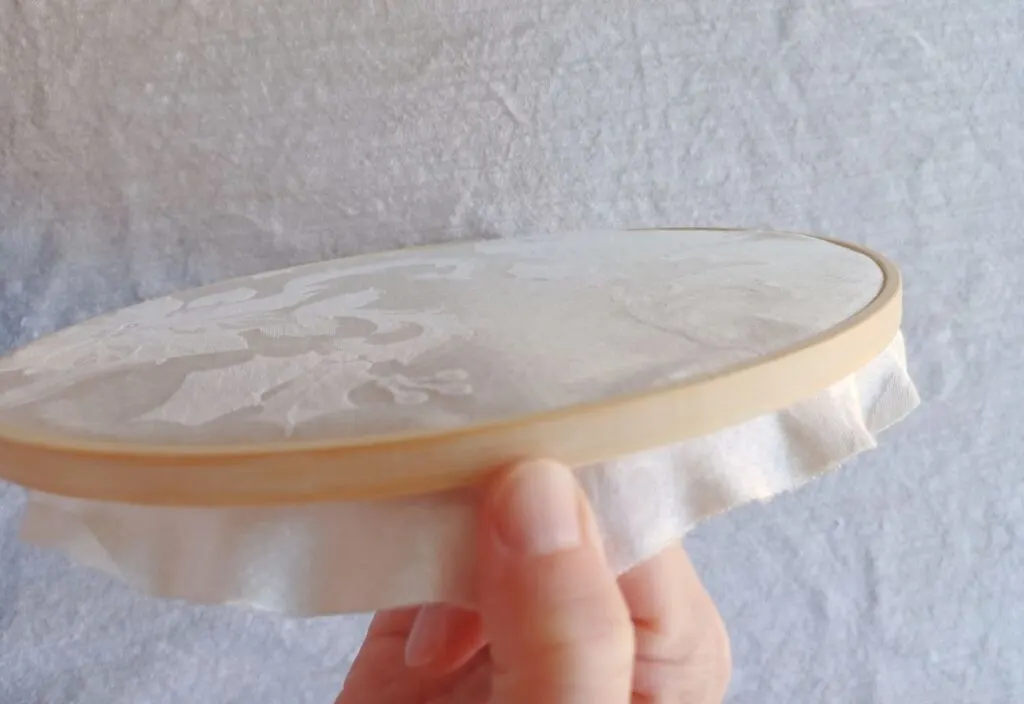
This is what it would look like plain and simple for wall decor.

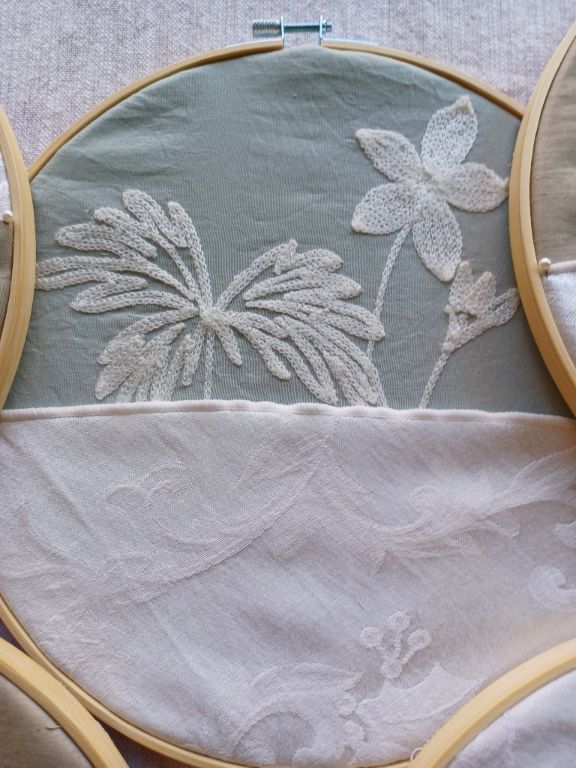
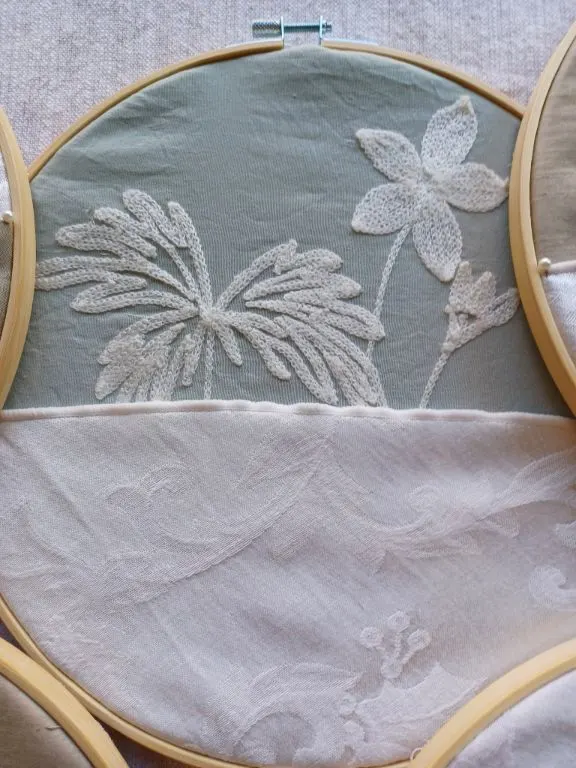
Now let’s see what it looks like with the pockets. You would follow all the same steps above so far except when you drape your fabric over your inner hoop you also include your pocket piece.


Remember to tighten your screw and pull your fabric tight.


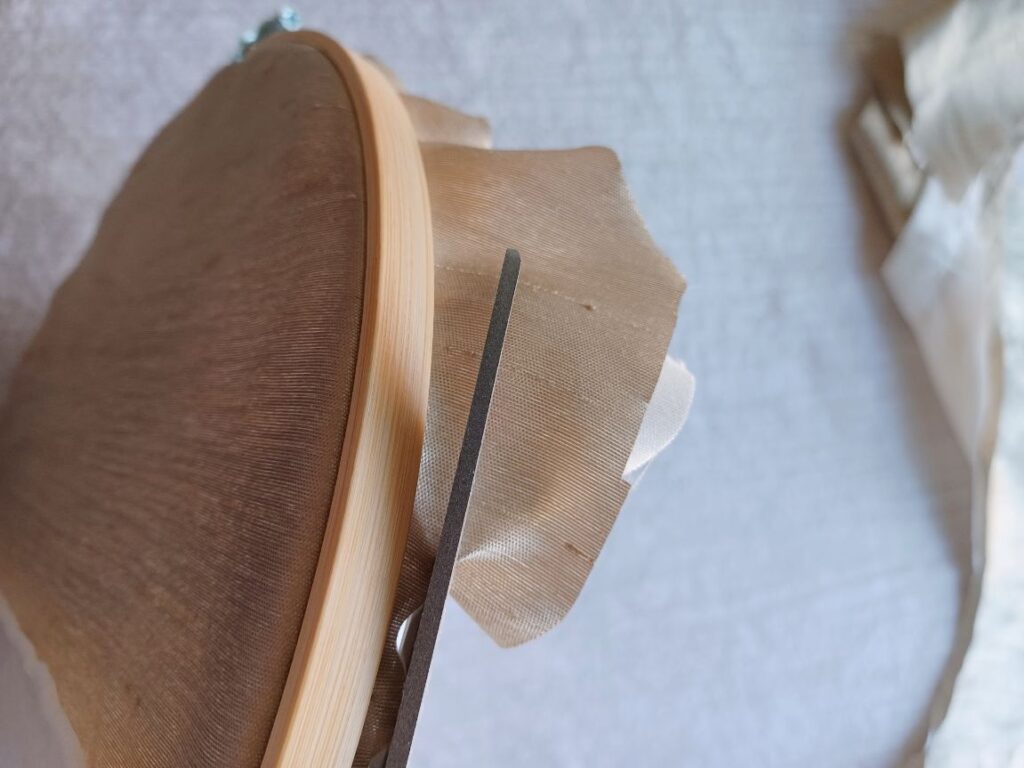
Step Nine
Cut and trim the extra fabric around the hoop to the length you want. I leave just a little (it can barely be seen on the back side), just enough to tug it tight again if I ever need to.
But with the tension tight typically you will not have to.

I love the pockets! These are so cute.
Step Ten (optional)
I had some cute little petite pearl push pins to the corners of each pocket simply as decoration.
Also If you want to have a separation of one large pocket and turn it into two smaller ones just place son pins in the middle of the pocket to create some division. No sewing is required.

Just keep repeating this process for each hoop.
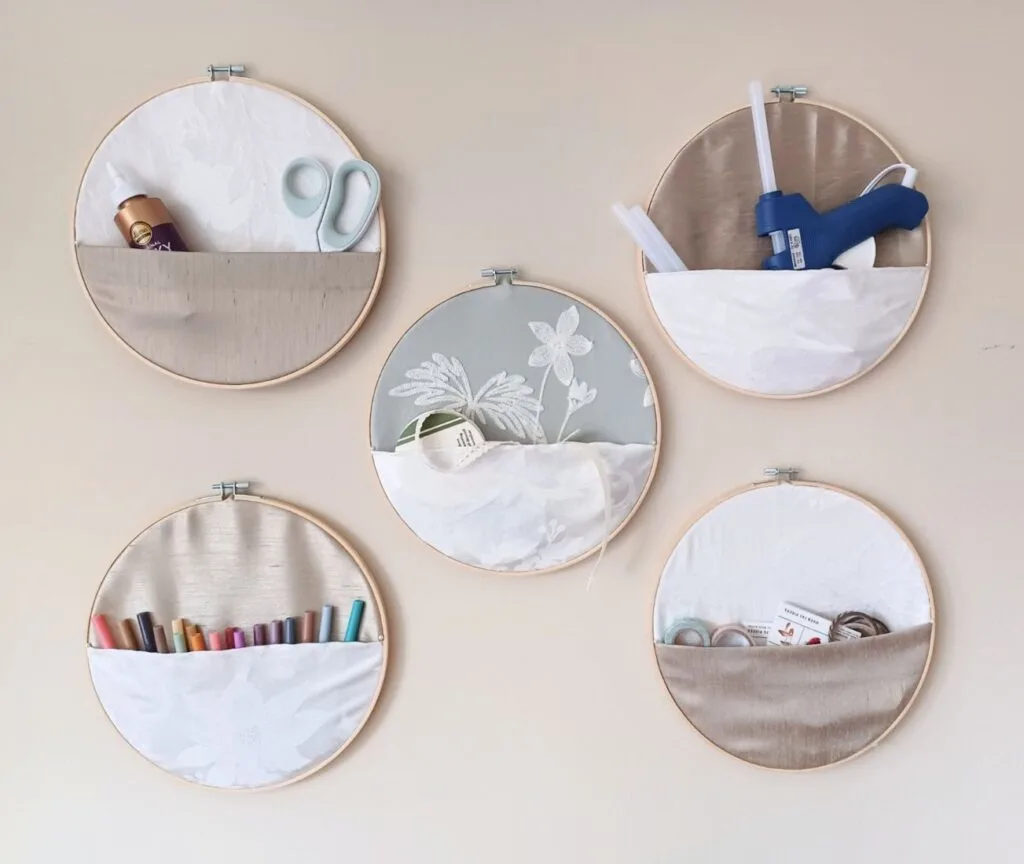
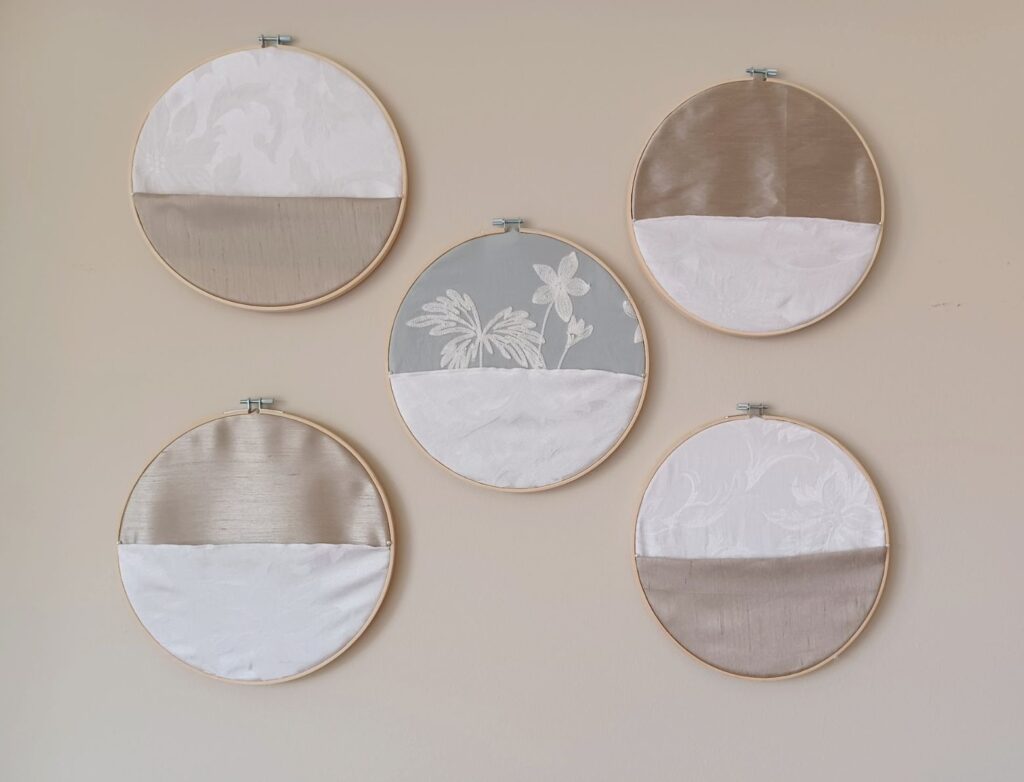
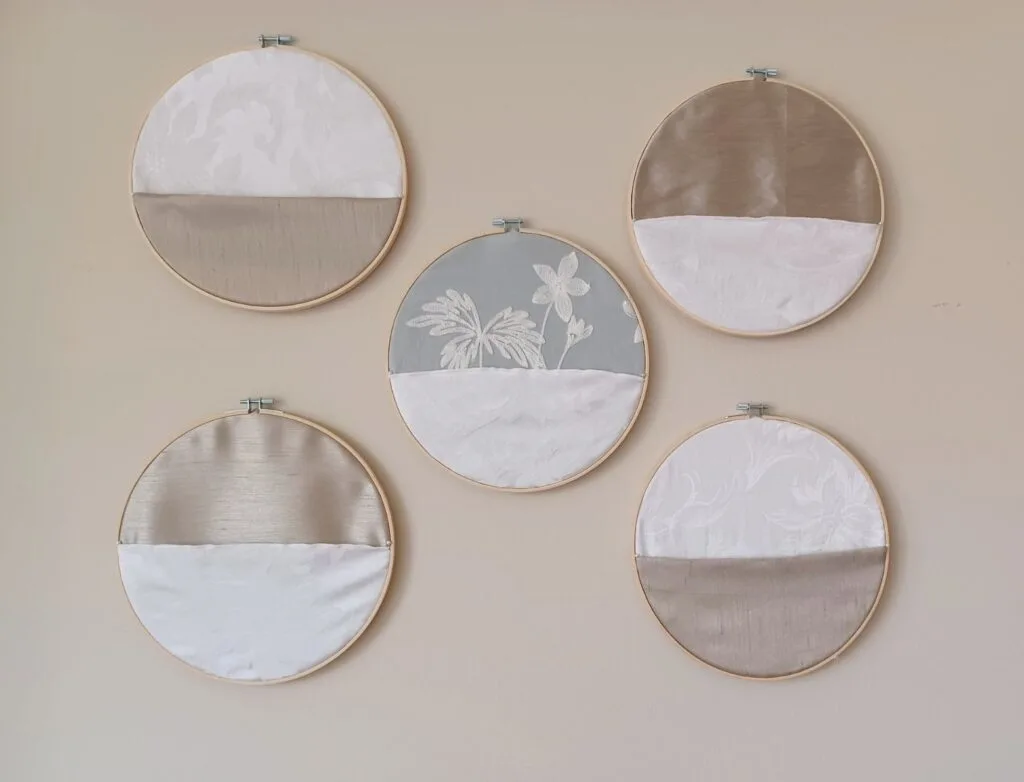
I took my fabrics that looked well together and mixed and matched in a fun way. I wanted contrast. These turned out well and each piece in the set compliments each other.


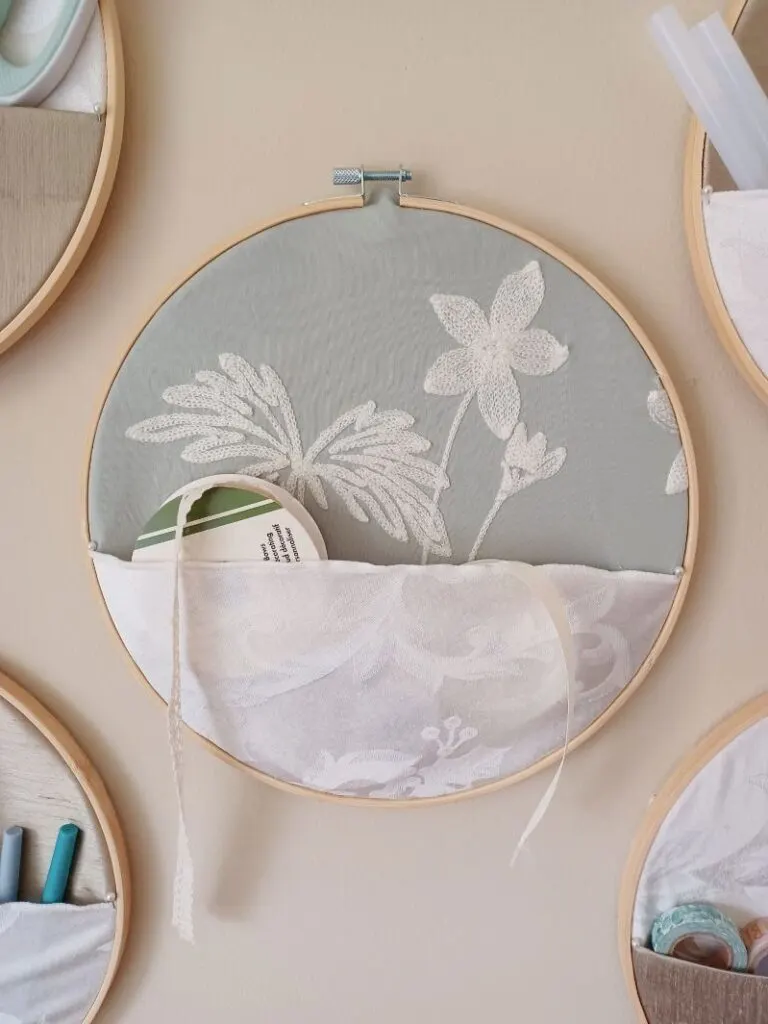
So for four of my hoops, I had solid colors but I made a fifth one with the embroidery design from an old pillow case to mix it up. I wanted it to be the center hoop in my collection.
It gave a pop of extra pretty to the set in a simple way. There really is so much you can do with how you want your hoops to look.
You could have them mix and match, solid colors, patterns, both, painted, not painted, all the same or some different.
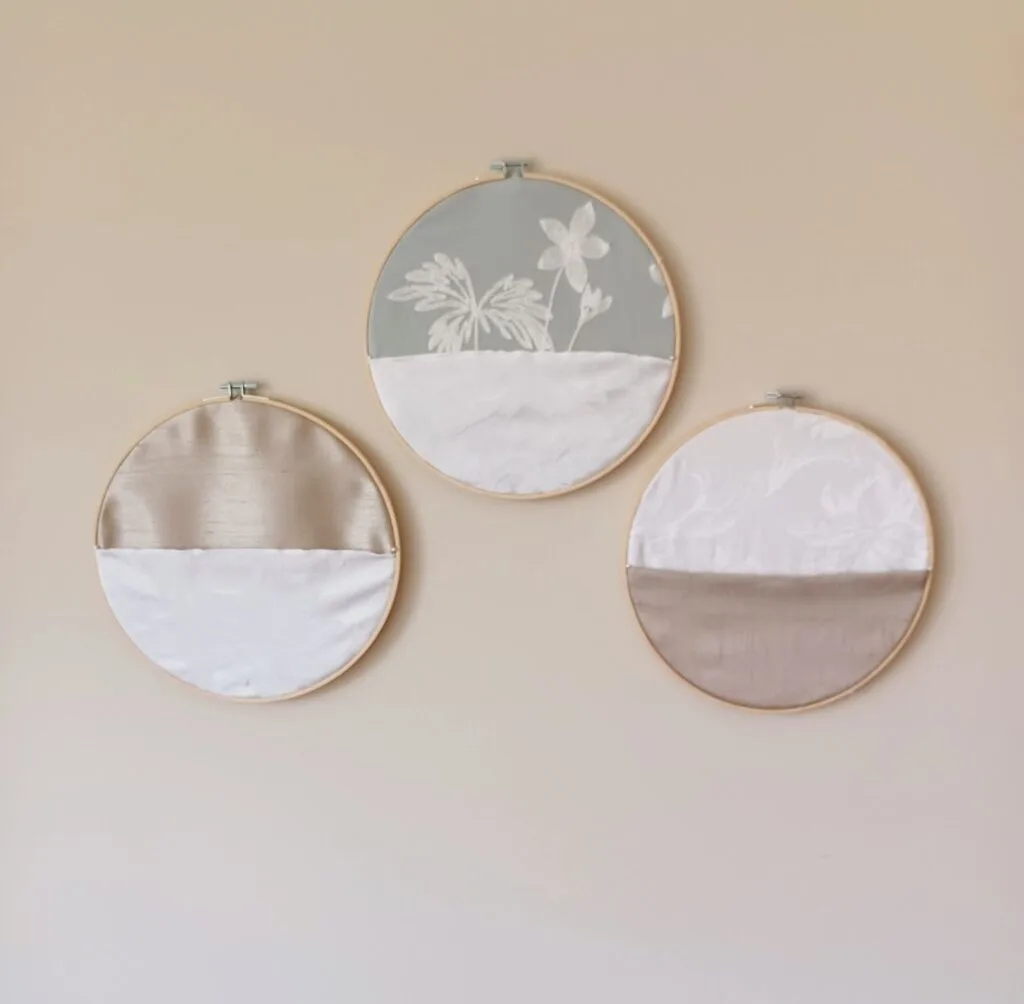
I wanted to see what just three of them look like together. It was cute but I decided on using the whole set of five on the wall.

Step Eleven
Hang your hoops.
To hang mine I used a simple traditional round ridged push pin (the type with a ledge) . I put them at an angle.
When you place the wood hoop on it, it holds nicely. Put your items you want to organize into your pockets. I used mine for some crafting supplies.
You could use these for anything small. They would even be great for mail sorting, coupons, lists and more!
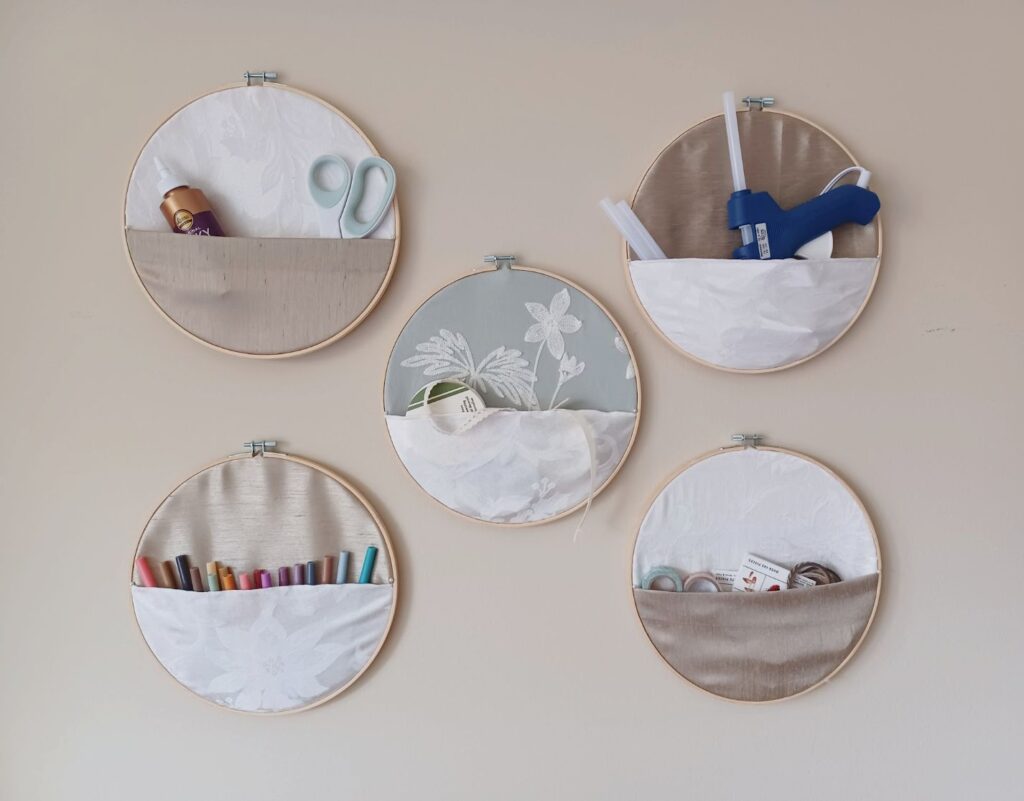
I love how small light weight things fit great in them.

I finally have a place to store some of my washi tape and journaling stickers for easy retrieval.
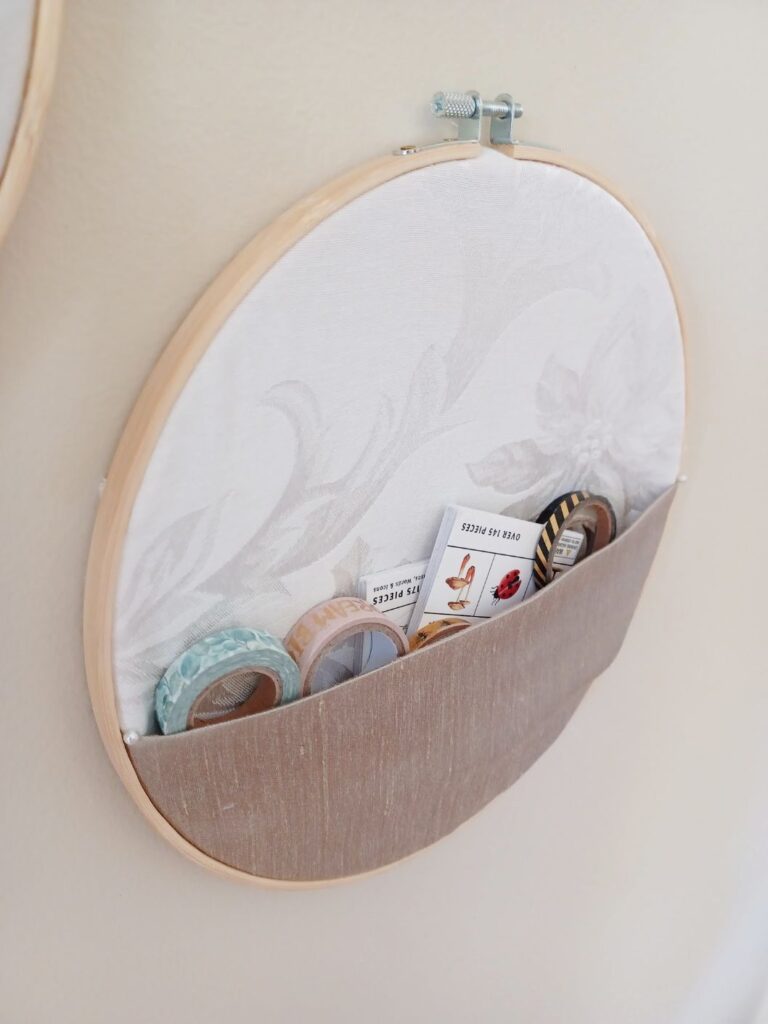
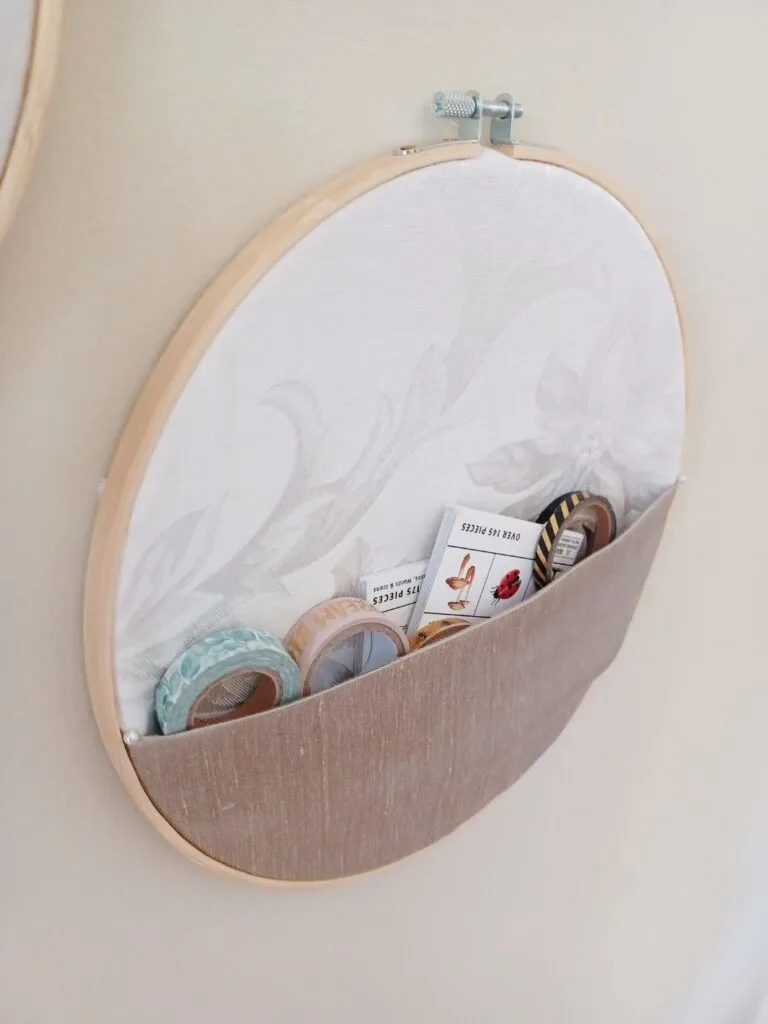
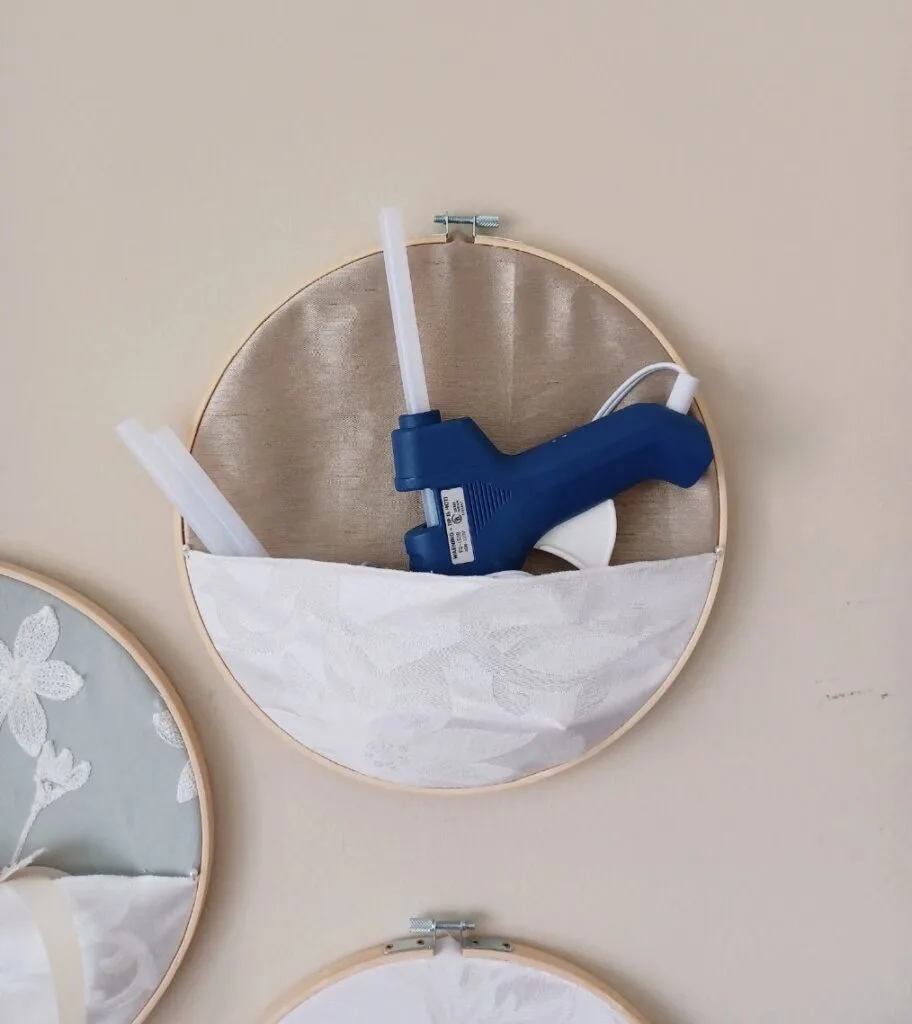
These are sturdy enough to store even something as heavy as a glue gun. Just of course use logic in the weight of what you put in them.

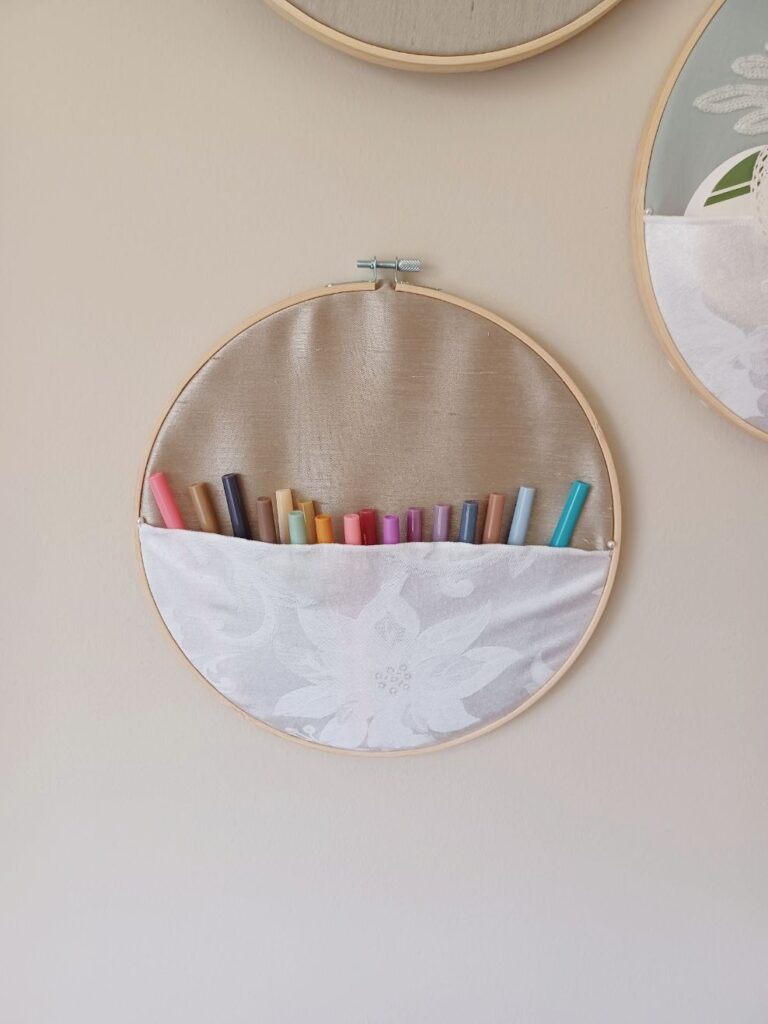
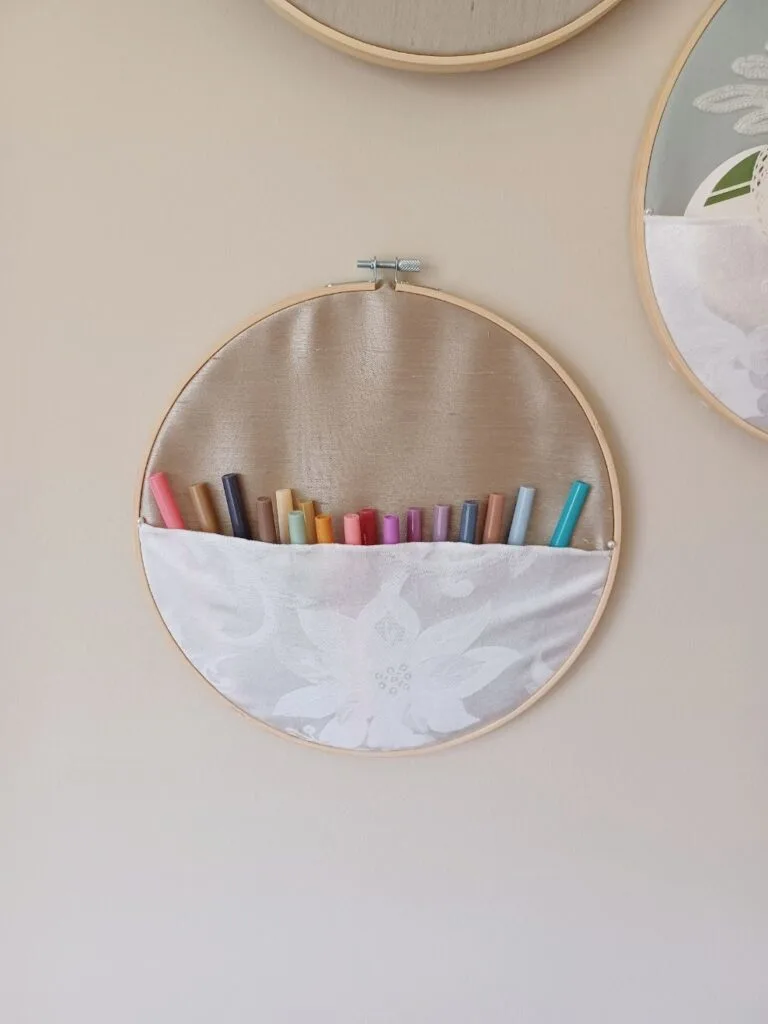
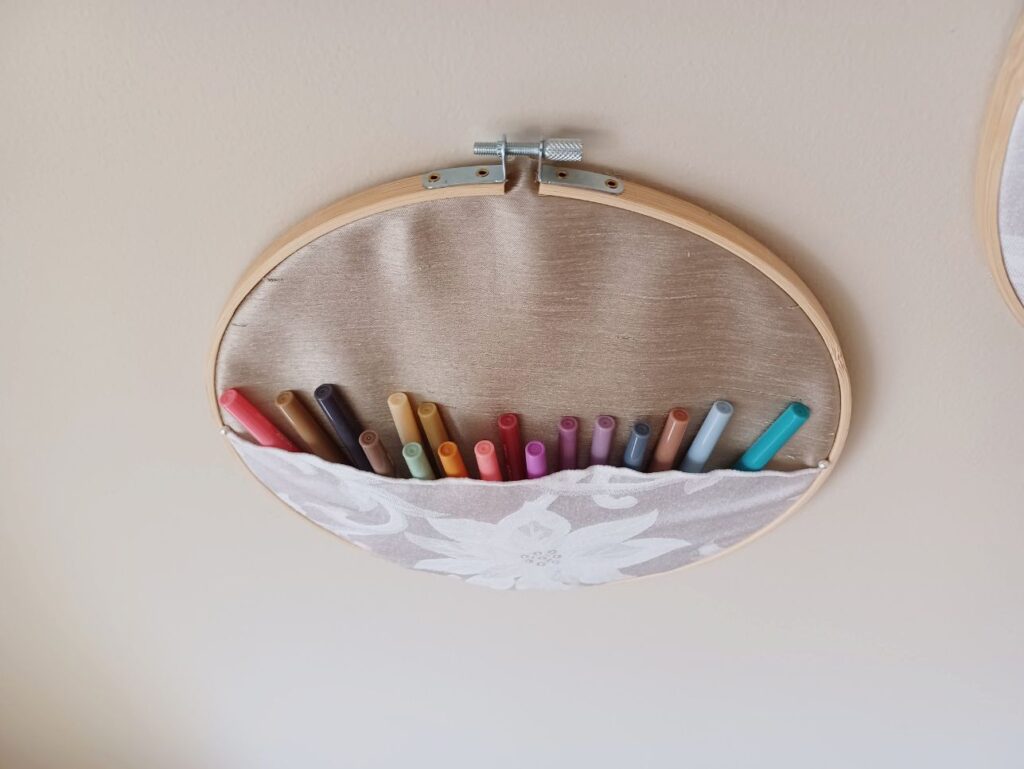
My favorite is the colorful storage display of my markers!


These organizational decor hoops are going to be a great addition to my office/ craft room. I am considering making more in different colors for another wall for different items.
If you make this project I hope it was peaceful and enjoyable for you to do along with me. Enjoy your organizational hoops!
Here are some more fun and creative DIY crafts you may enjoy:
- Easy DIY No Sew Apron Idea (Upcycled Dinner Napkins)
- Make A Momento Frame Using Items From Your Past!
- DIY Pressed Flower Globe – Step By Step Tutorial
Make Your Own Beautiful Living Succulent Wreath Centerpiece! Complete video course by Jeannine Romero now available through Skillshare.