

- Free Video Tutorial – Gratitude Farmhouse Decor Craft - July 25, 2023
- DIY Dollar Tree Bird Feeder Craft - July 4, 2023
- Embroidery Hoop Organizational Wall Art - February 28, 2023
If you’re looking for a way to organize, track and achieve your goals, the Goals Bullet Journal Planner System is for you!
Our DIY monthly goals planner system is a great way to stay on track with your goals if you struggle with the motivation and completion follow through. The system provides a monthly overview along with a doable daily action steps section.
In this tutorial, we will provide you with free printables to recreate this 12-month goals planner.

The importance of having goals cannot be overstated. Having a goal gives you something to strive for, and achieving it feels even better, giving you a great sense of accomplishment.
Whether you are a stay-at-home mom or a 9-5 working mom, we all have goals we know we would like to get done, but some people (like me) need a simple structure to make it happen. That is why I designed this, and I hope it will help you too!
By taking small, manageable steps toward your goal, you increase the likelihood of achieving it (source). Additionally, breaking down your goal into daily action steps can help you to better understand what you need to do to achieve it.
After I show you how to make the project book, I will explain how this simple system works in more detail.
(Supplies listed below with links are available on Amazon).
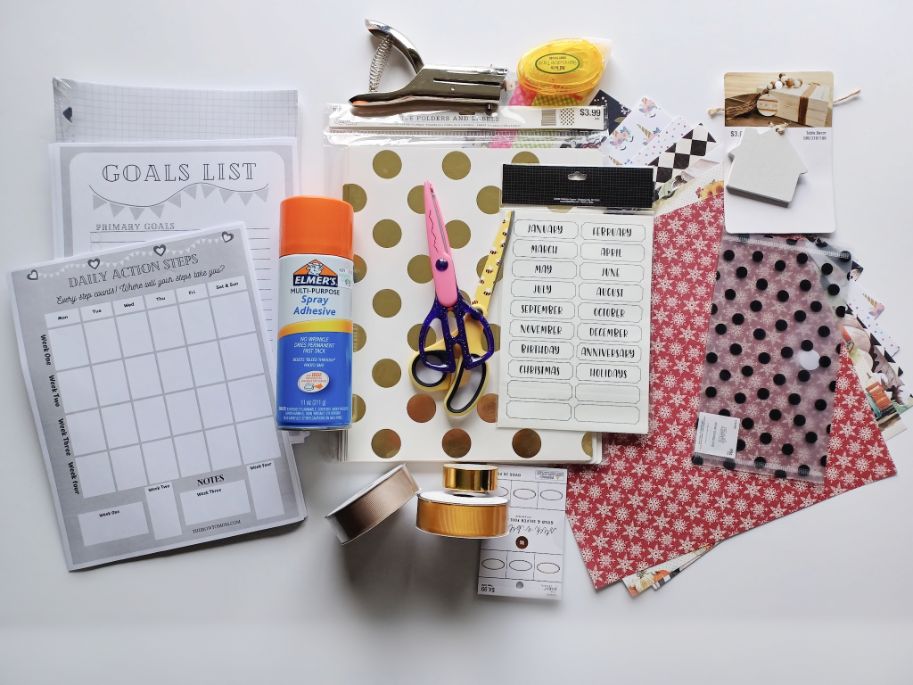
Supplies Needed
- Elmer’s spray adhesive
- Glue tape roller
- Heavy duty single hole puncher
- Scissors
- Decorative edger scissors (optional)
- Washi tape (optional)
- Stickers such as month labels or any decorative you may want
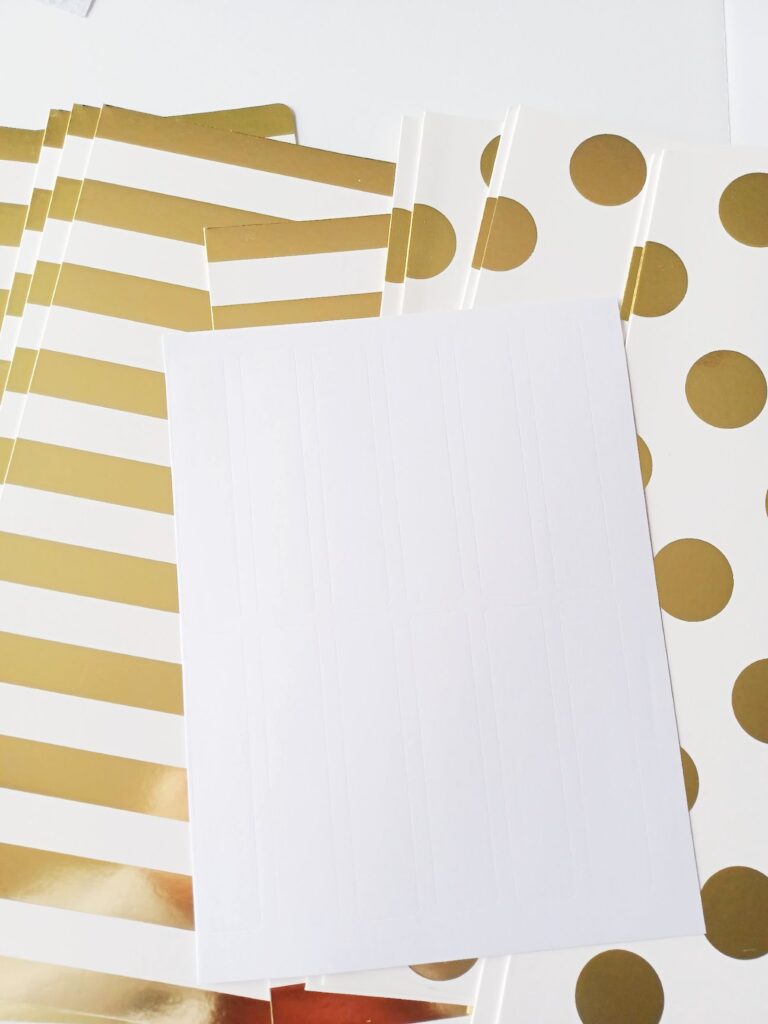
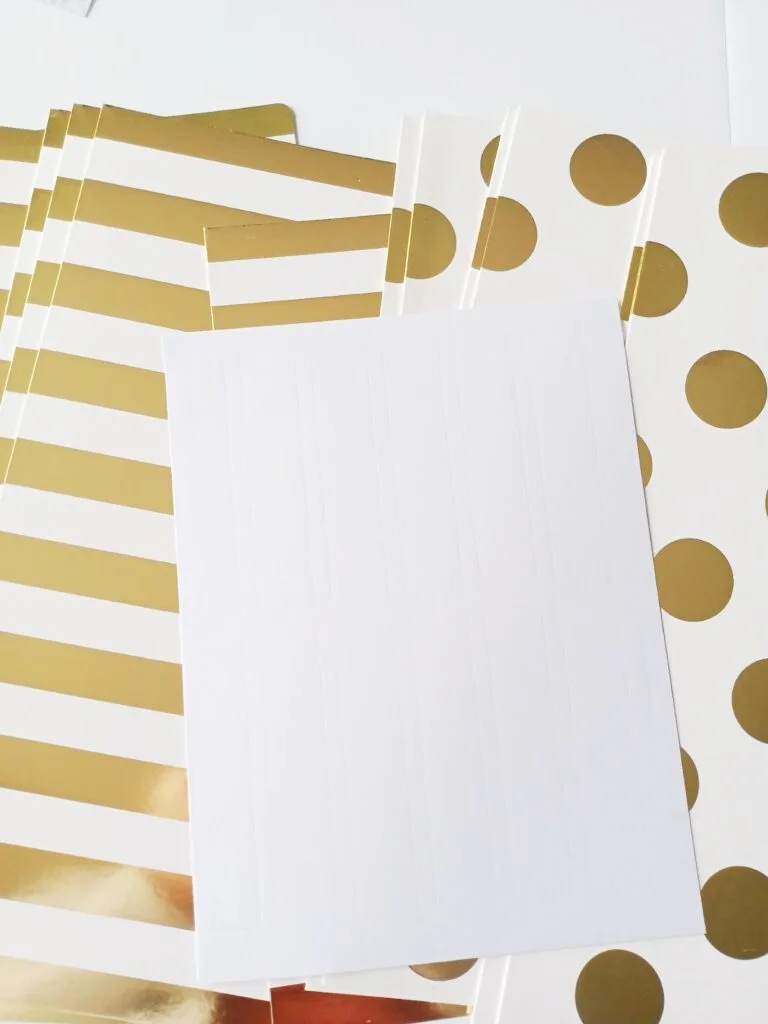
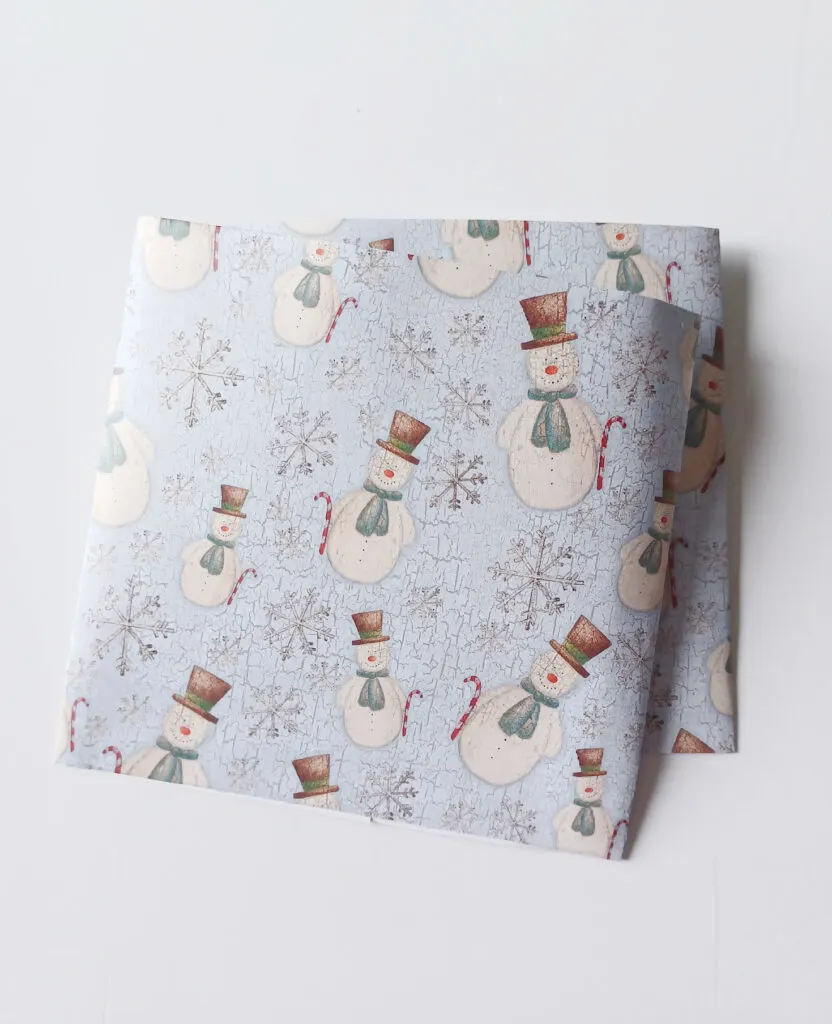
- 12 sheets of scrapbooking paper themed for each month of the year
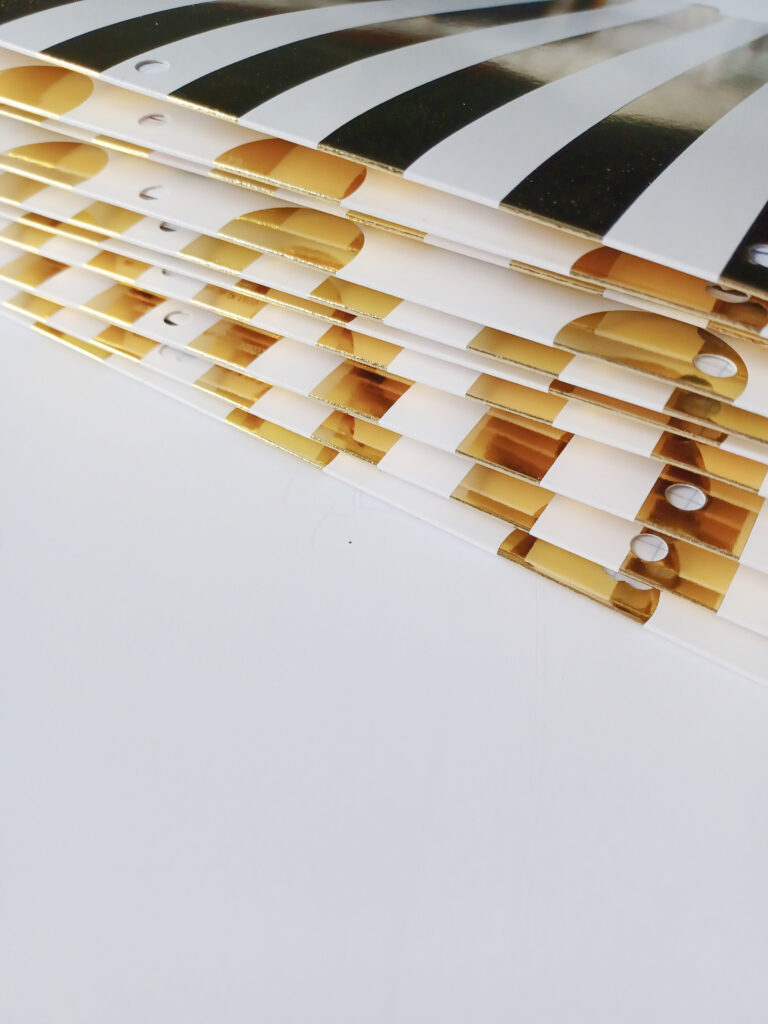
- 12 decorative quality file folders
- Any additional pockets you wish to add (optional)
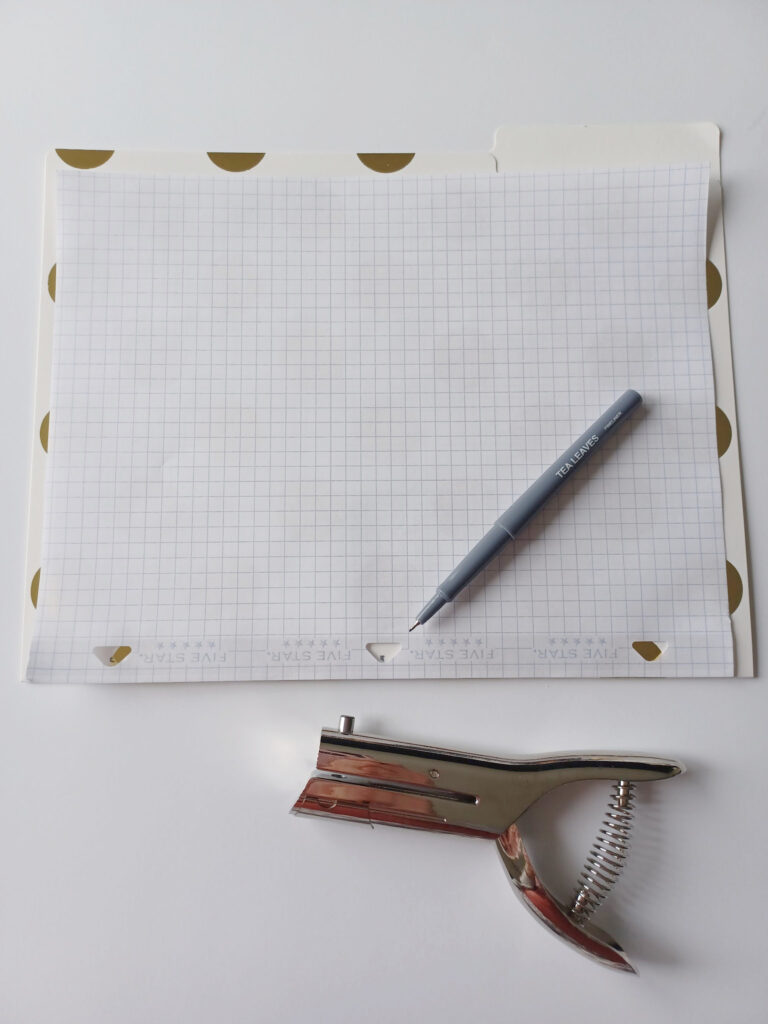
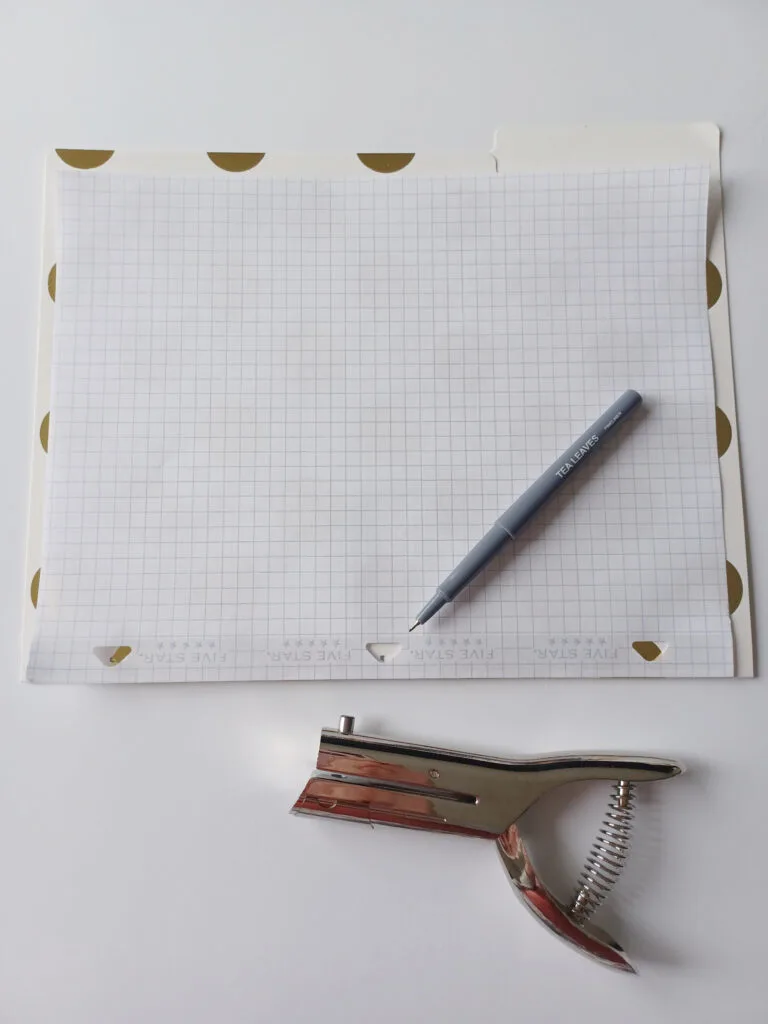
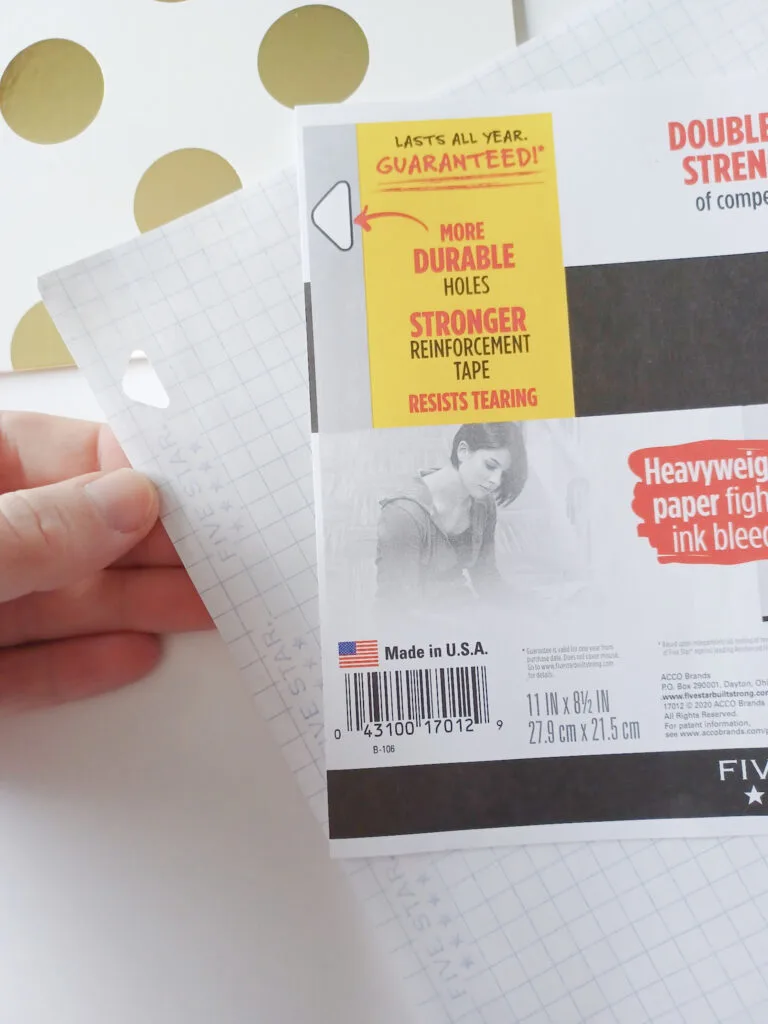
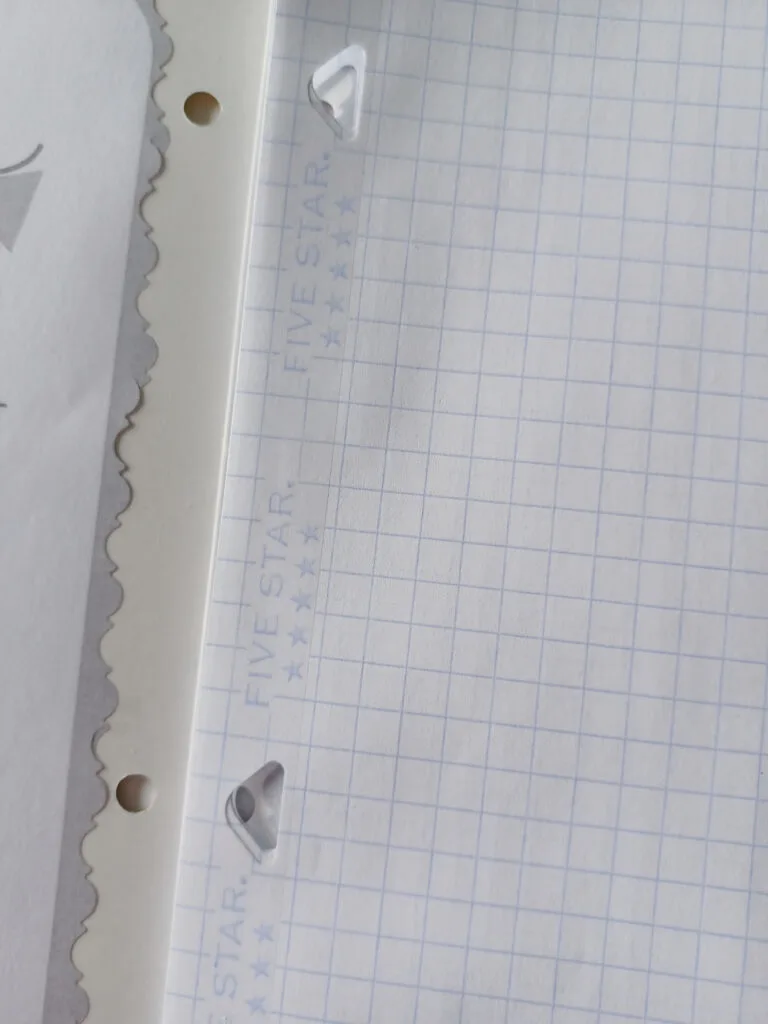
- Five-star heavyweight reinforced holes graph paper (optional)
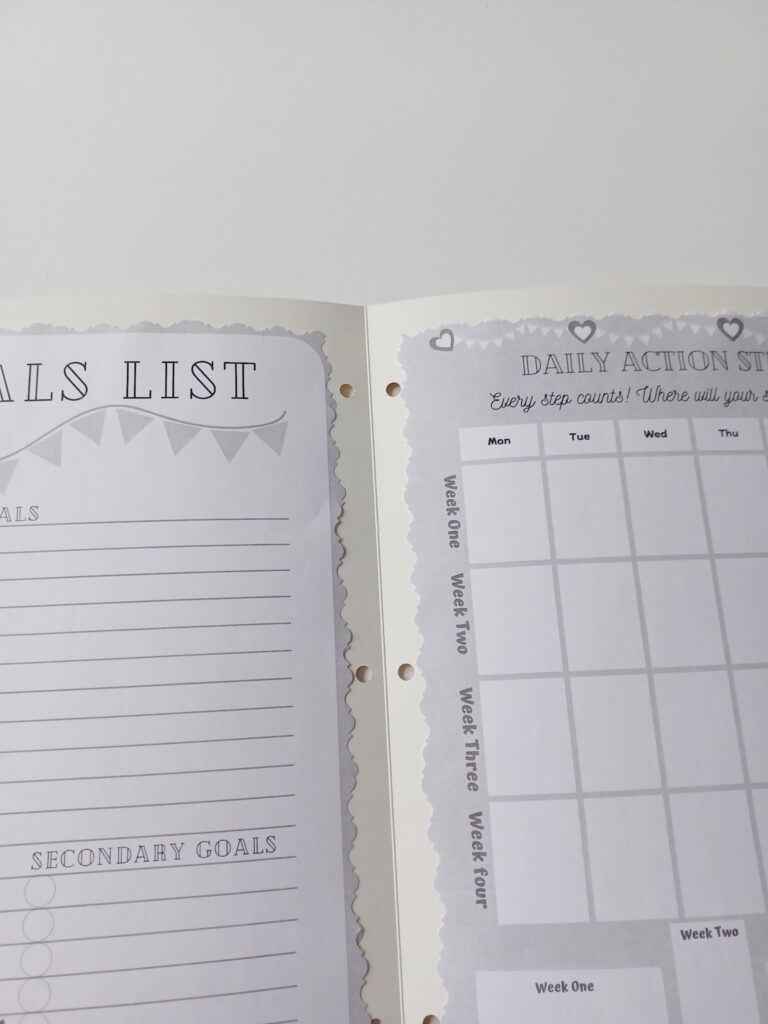
- Our free Goals List & Daily Action Steps printables
- Any embellishments or hanging tags like my wooden house for example (optional)
Step one: Print the printables
Open your folders package. Print your sheets for each folder. Each folder will contain each month’s goals list and daily action steps.
So you will need 12 goal list printables and, at the very least, 12 daily action steps sheets. You can add as many daily action steps sheets if you need more than the one we will be attaching.


Step two: Trim the edges of your printables with decorative edger scissors.
Play with the sheets of paper and your folder and see what and how you want to trim them to fit the folders.
You can trim with regular scissors or decorative ones. I chose the decorative.
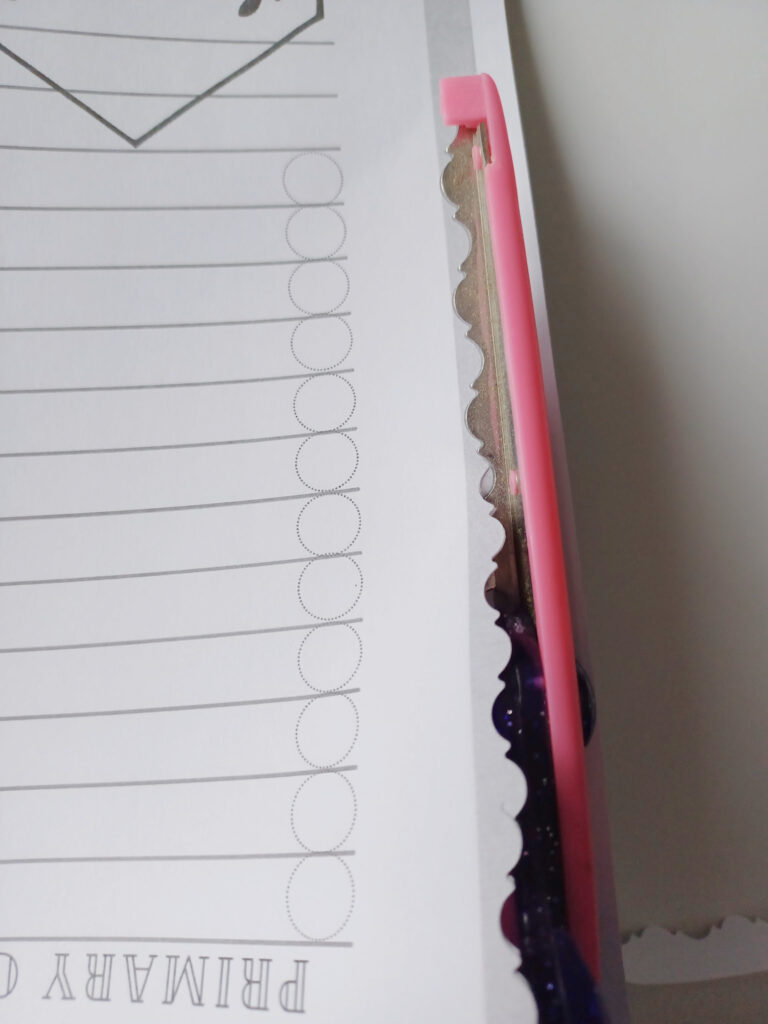
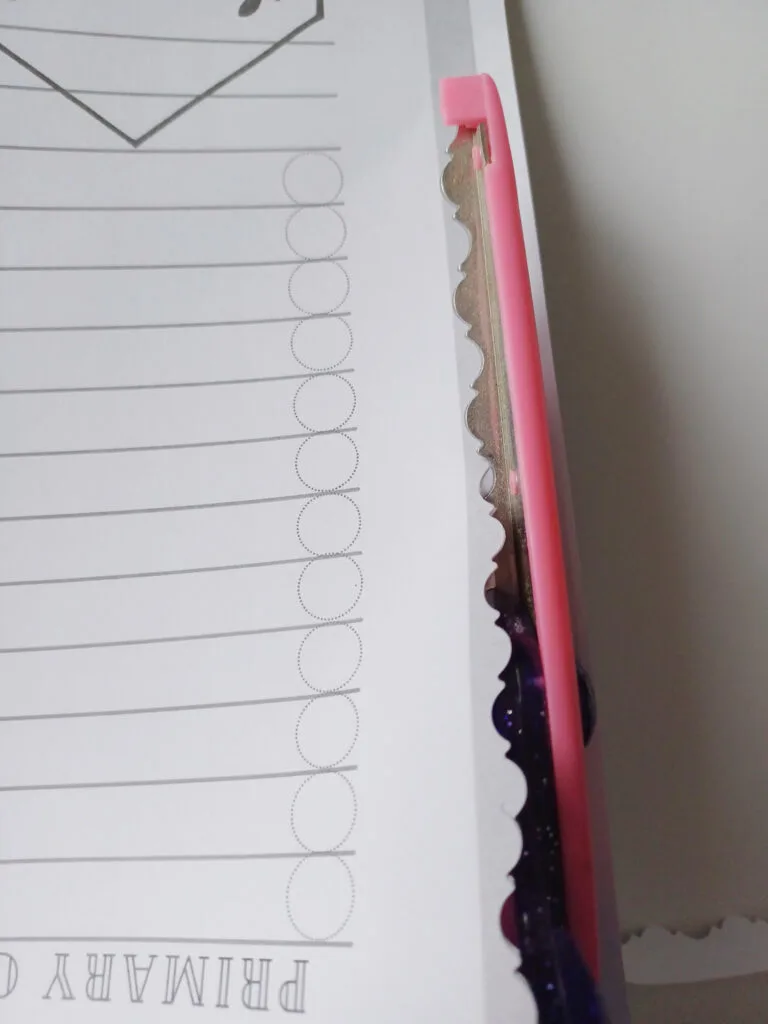


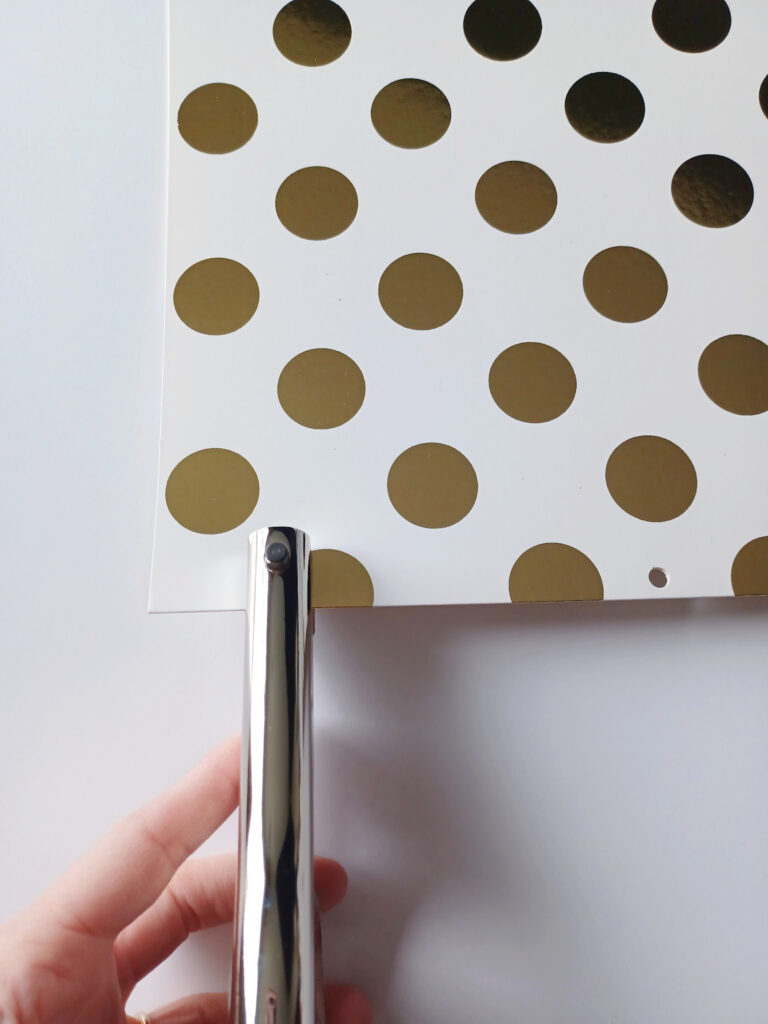
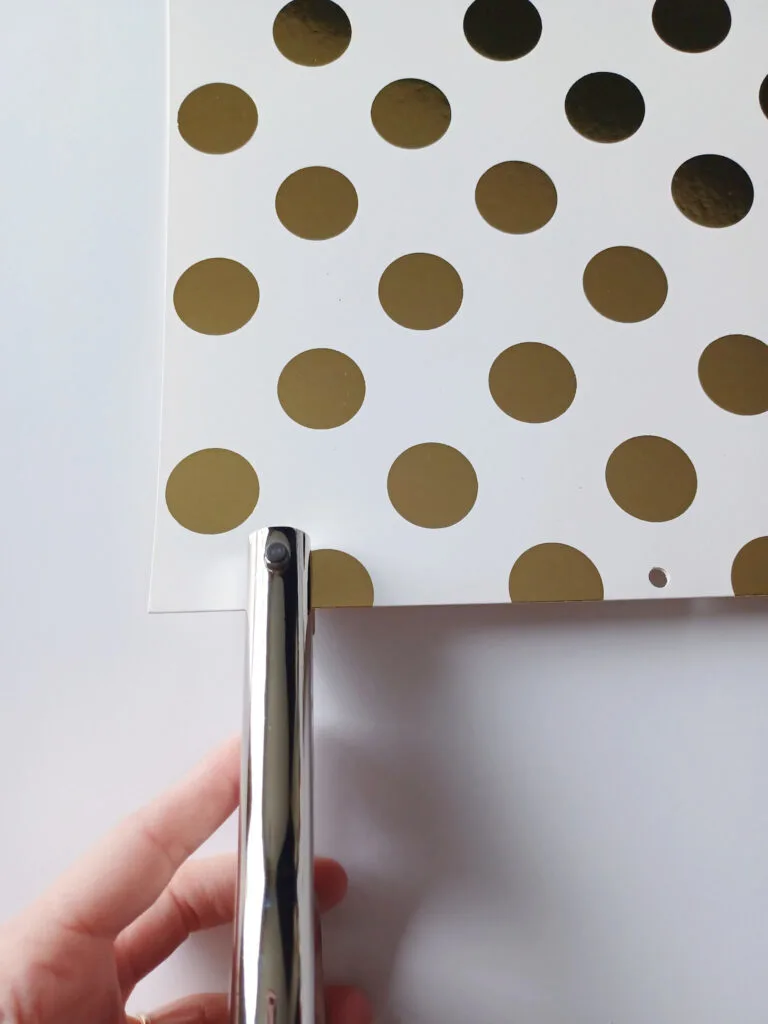
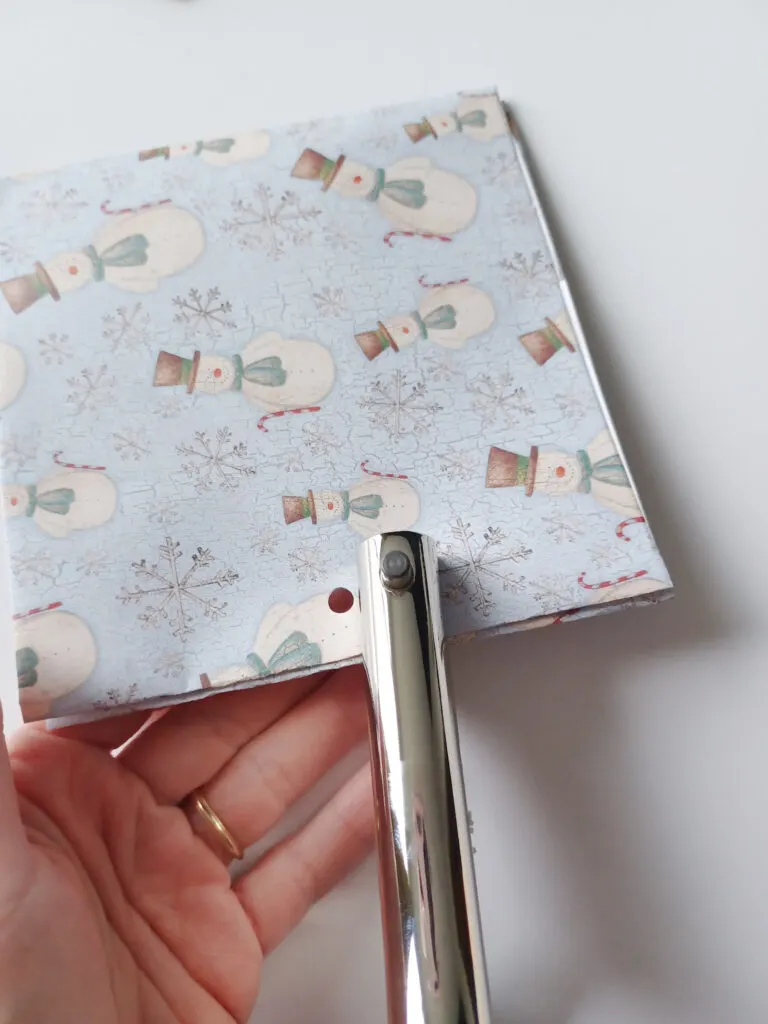
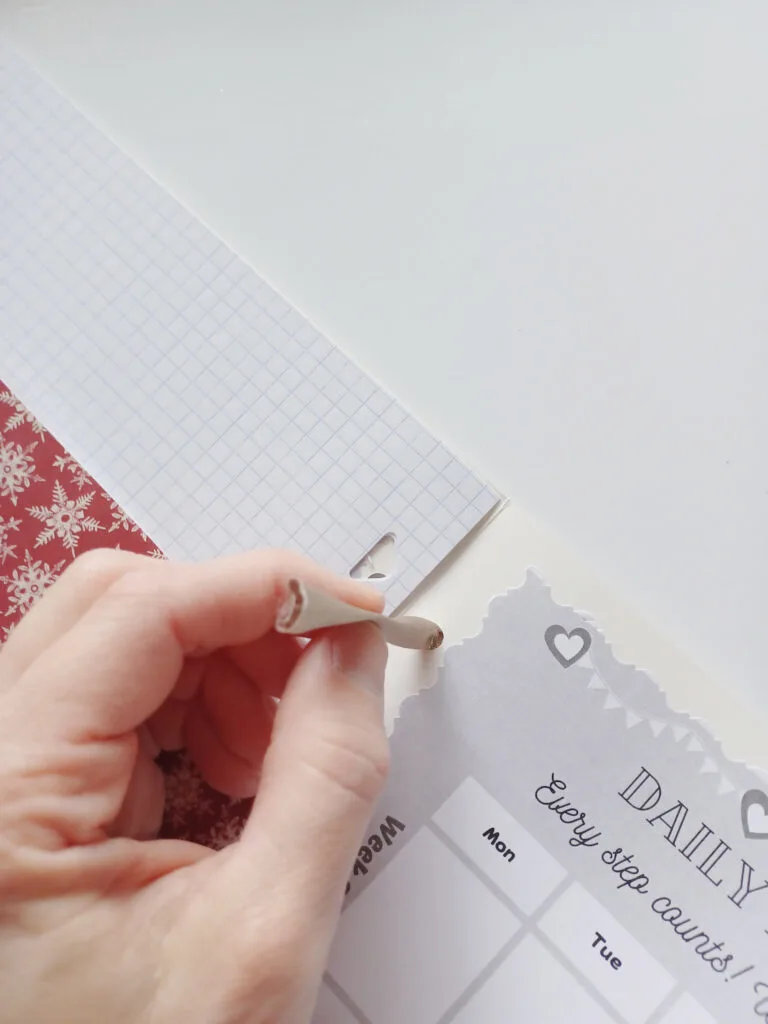
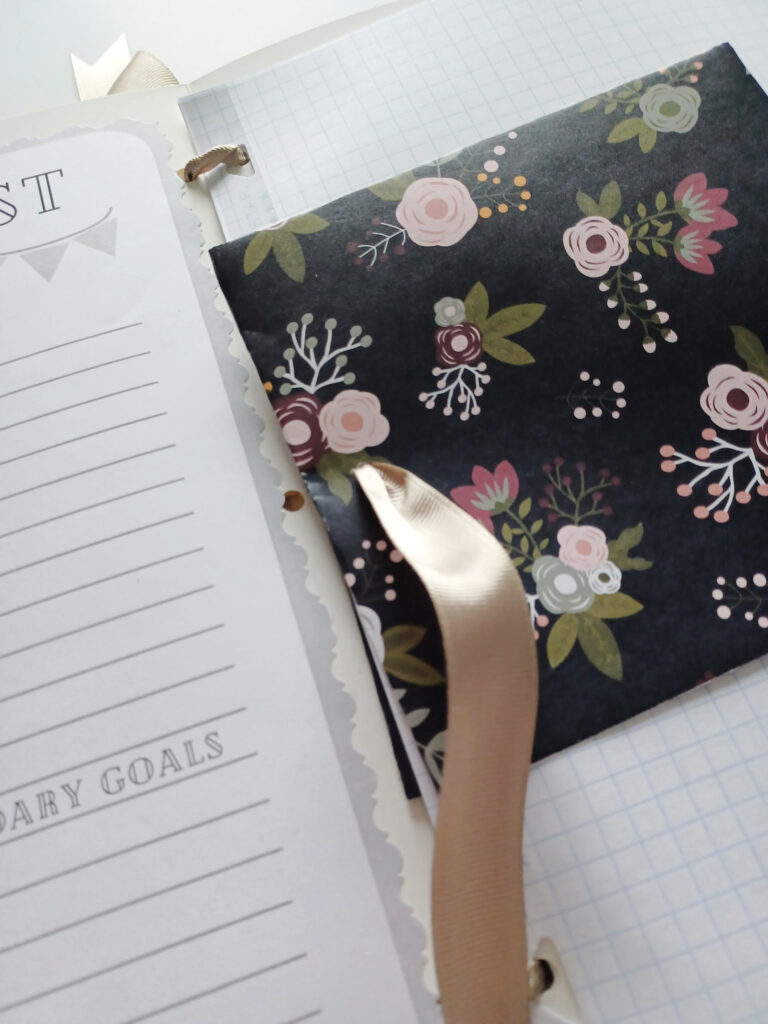
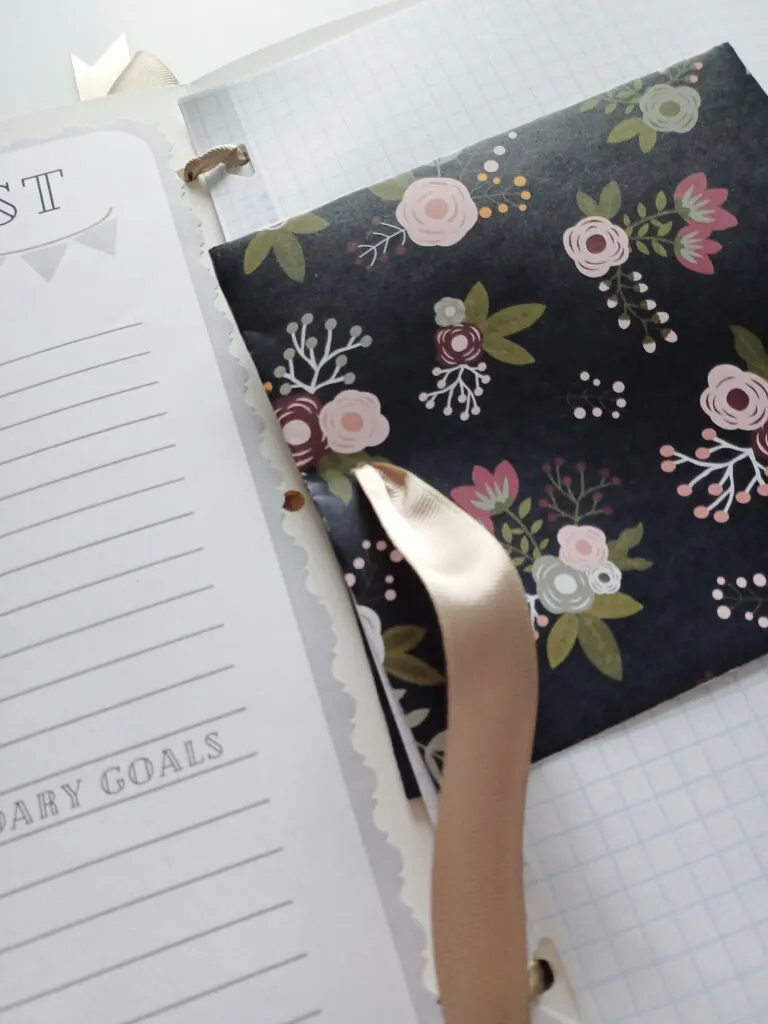
Step three: Punch holes in your folders.
I took a piece of the graph paper and layed on a folder, marking with a pen in the place I wanted each whole.
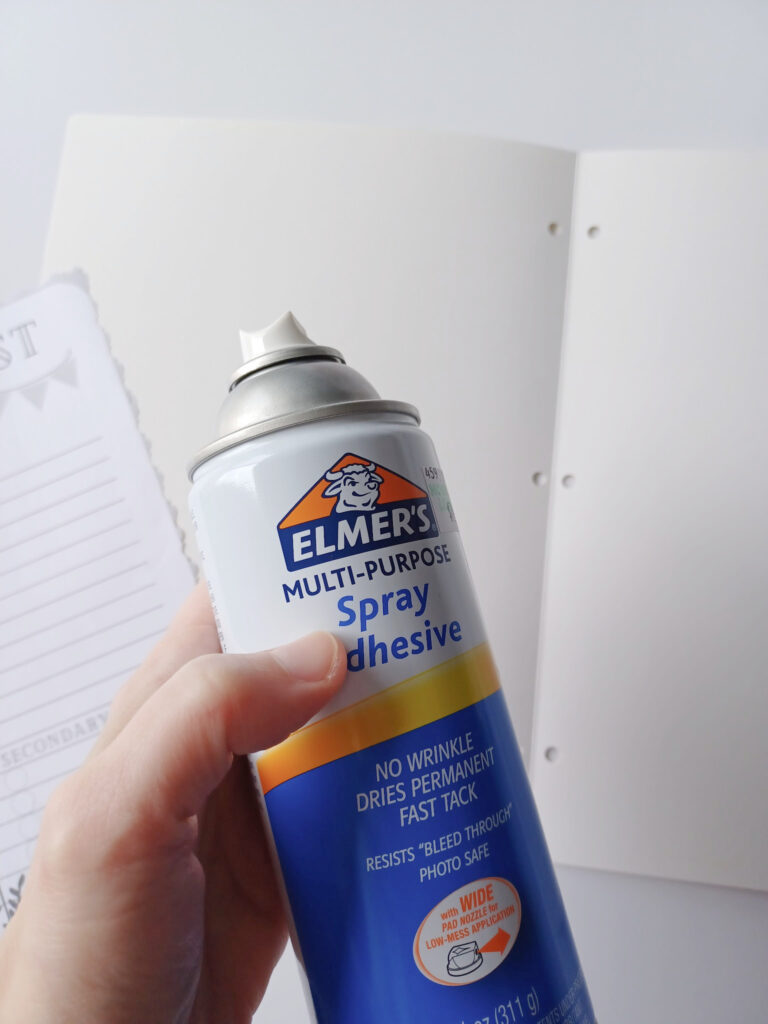
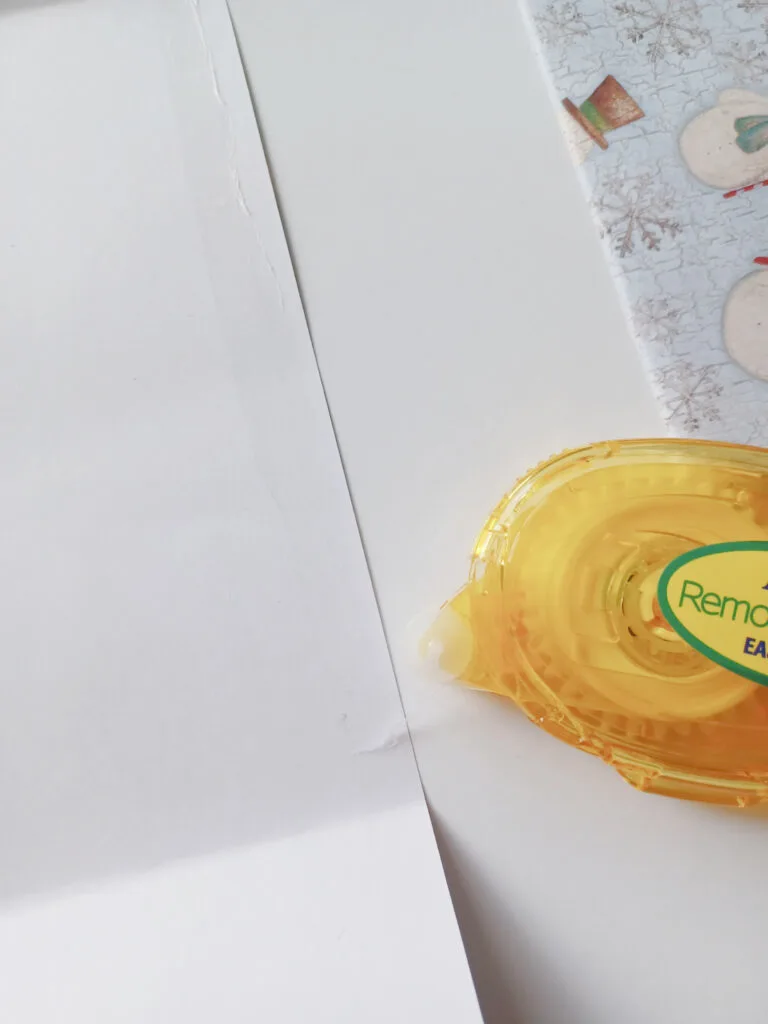
Step four: Spray-adhesive your sheets into place inside each folder.
Spray gently so too much does not come out at once in globs.
Place your goals list sheet on the left side of each opened folder. Place your daily action steps on the right-hand side of the folder.

Once the pages are dry you can add additional paper for writing notes if needed or the system can stand alone. I chose to have paper for notes.
I want to point out how amazing Five Star’s reinforced edges graph paper is. It works great in this ribbon binded planner without ripping when in use.

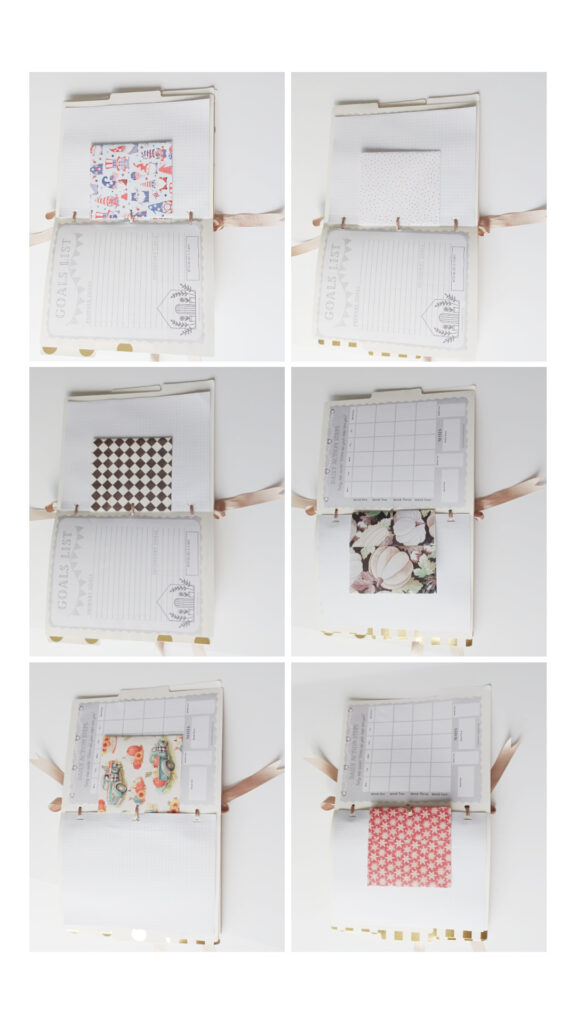
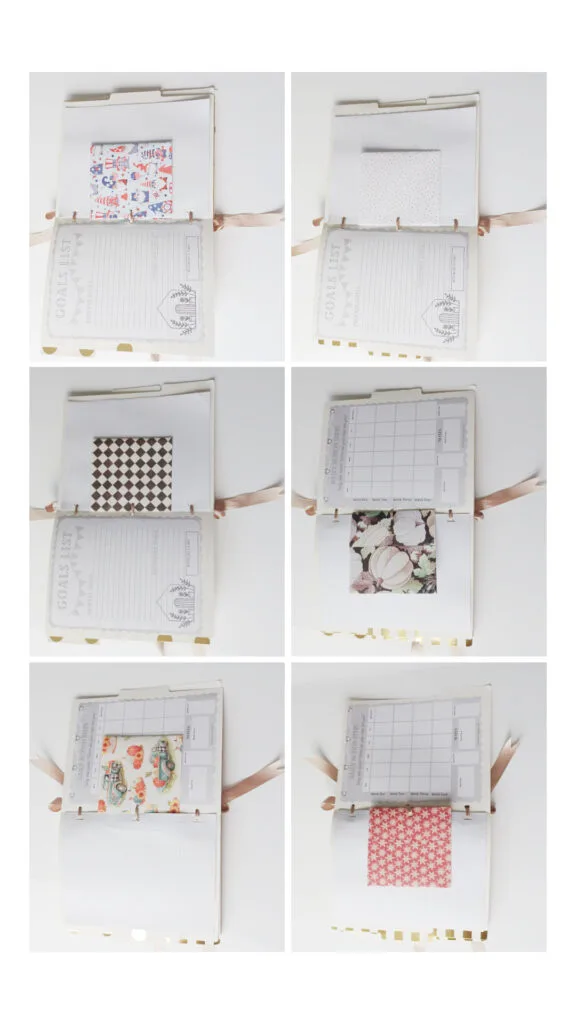
Step Five: Make your pockets for each month.
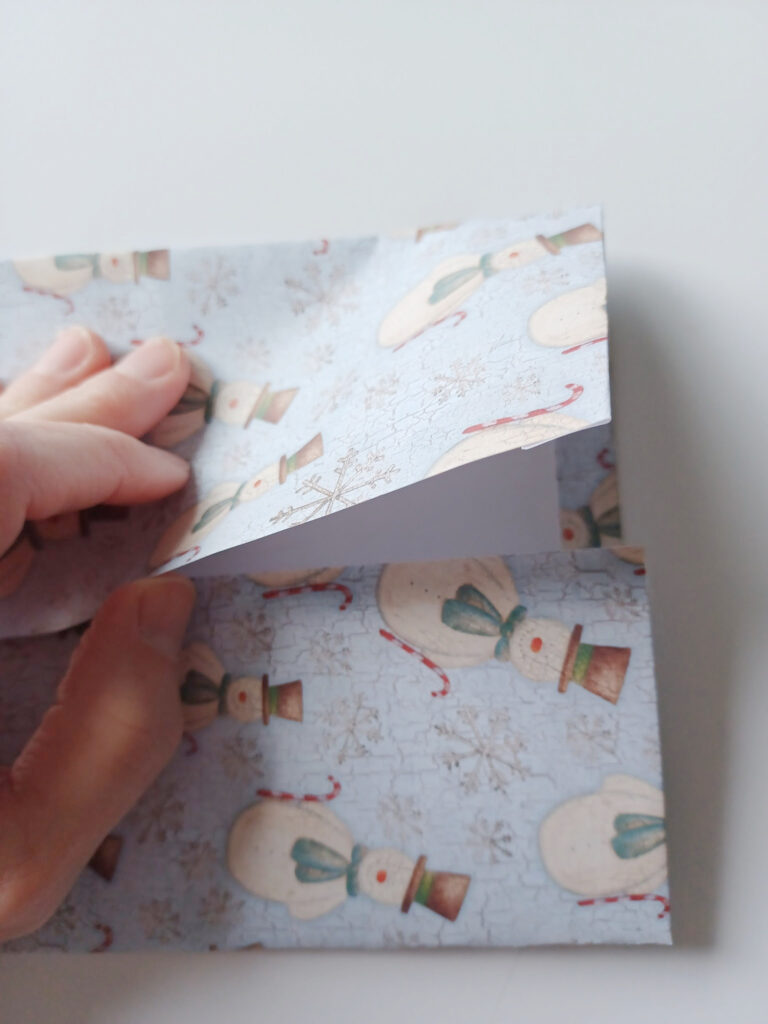
Cut your scrapbooking pages in half, cut then do a tri-fold. One sheet will give you two simple pockets for each month.
With the tri-fold, just take each edge and fold towards the center and make sure to make it the width you would like for your pockets.
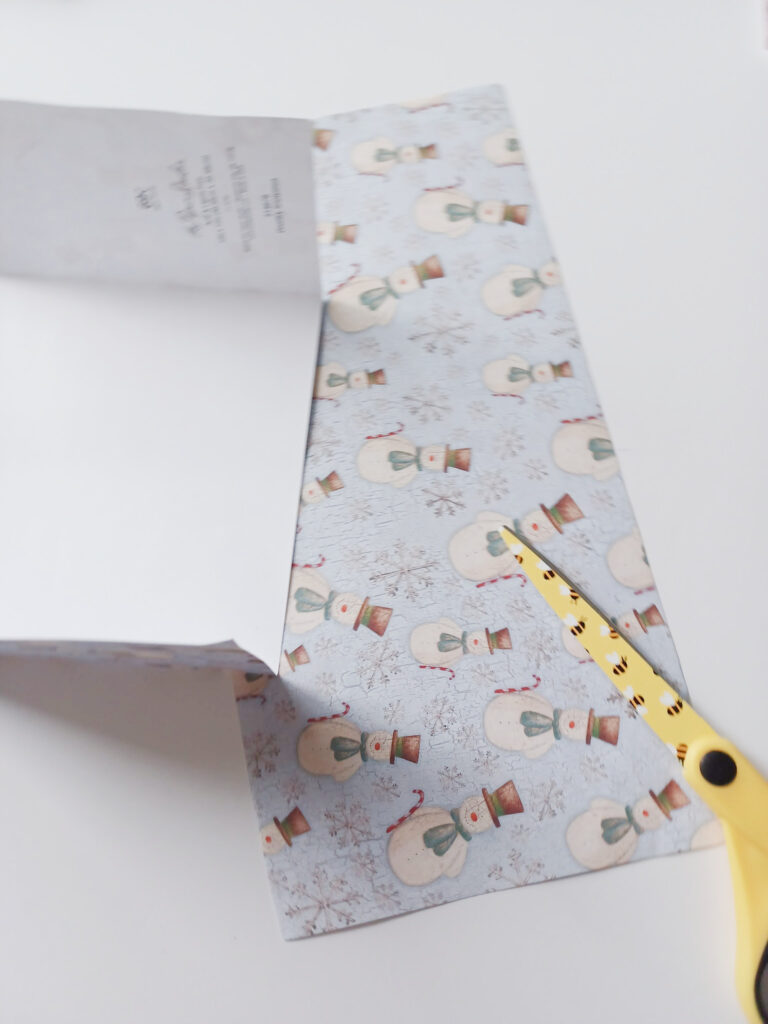
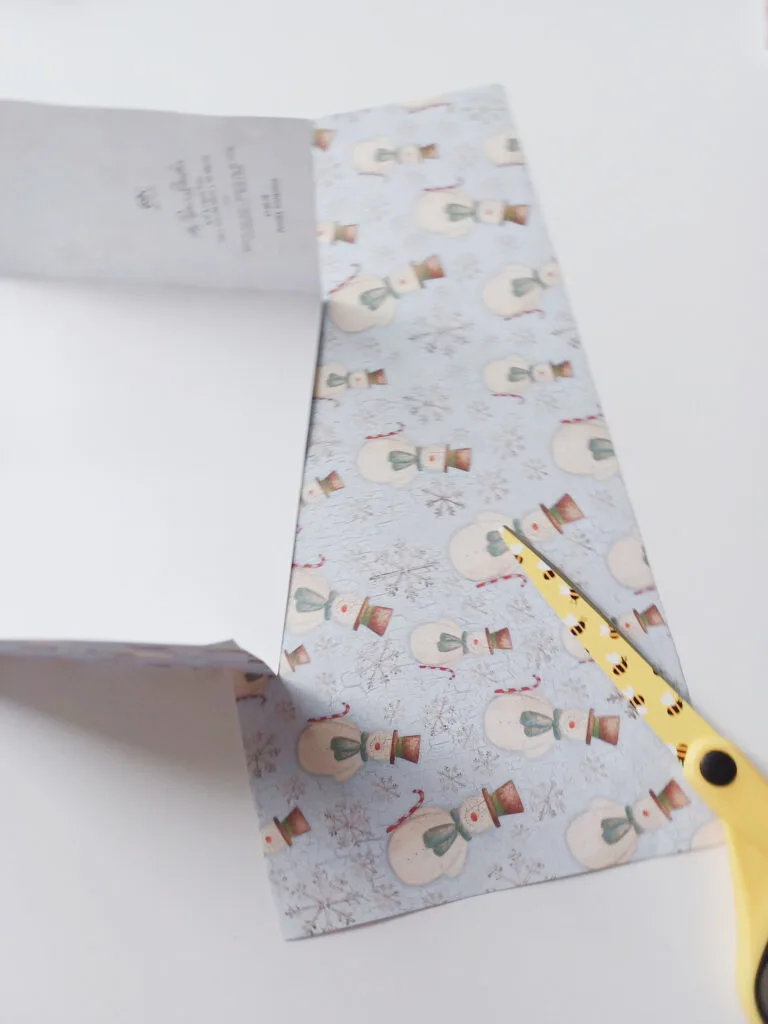
If you would like a cleaner pocket opening edge, fold one long side of your paper.
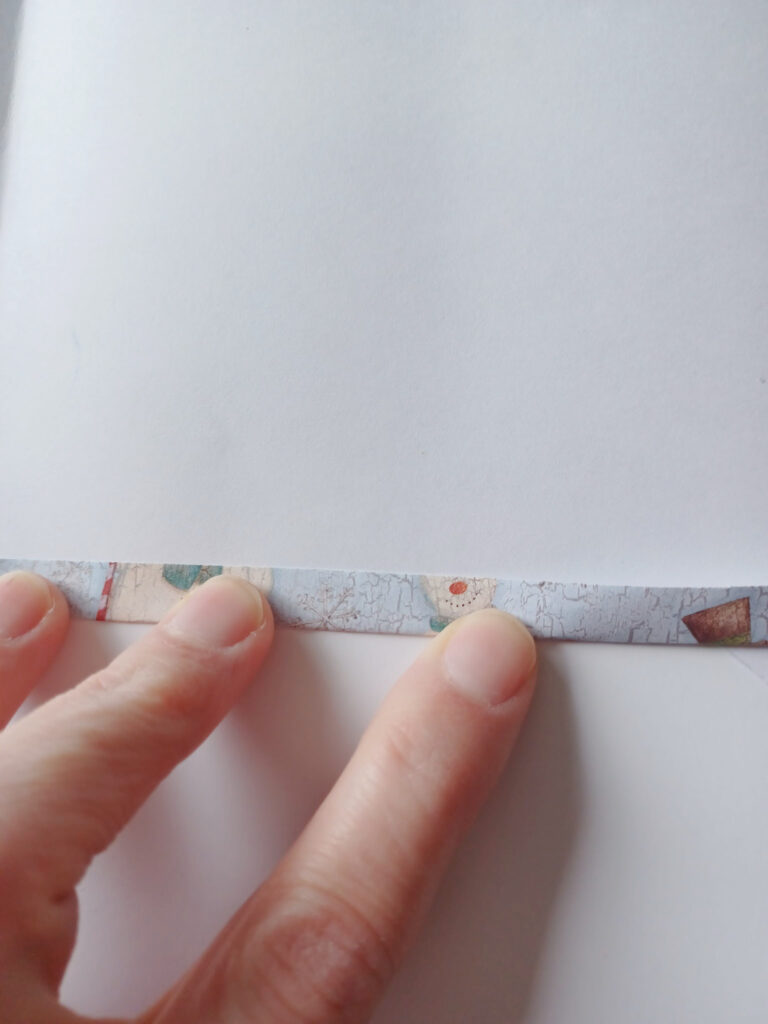
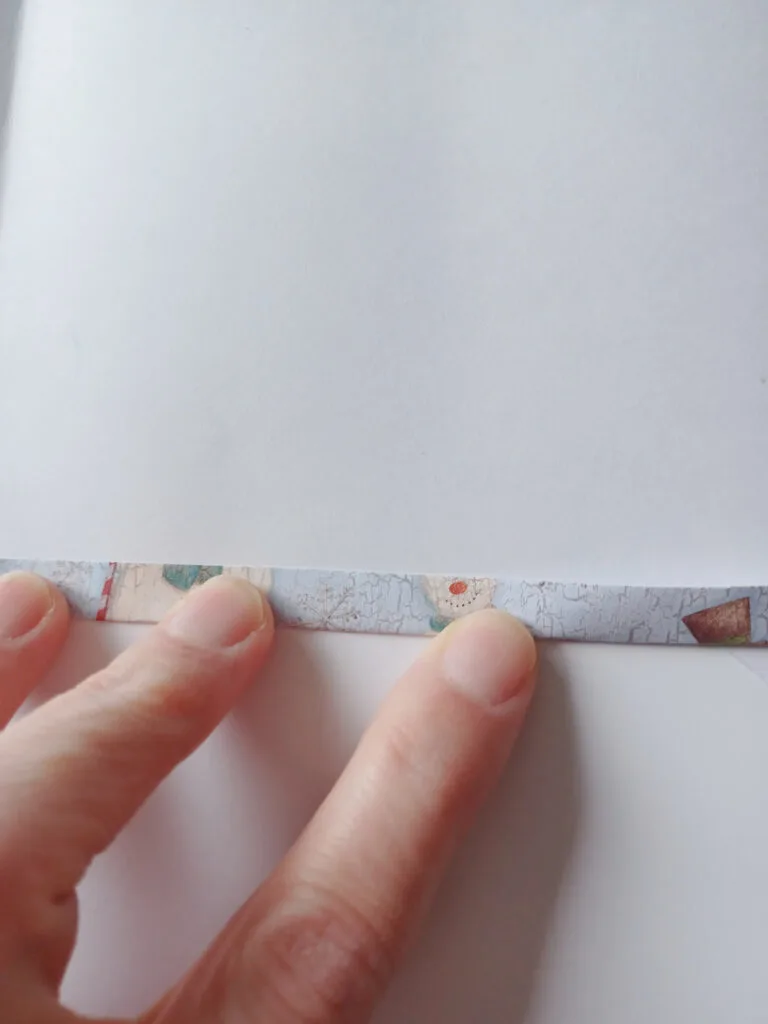

Now take your glue tape roll and seal every joining edge. Just make sure to leave your opening for the pocket.


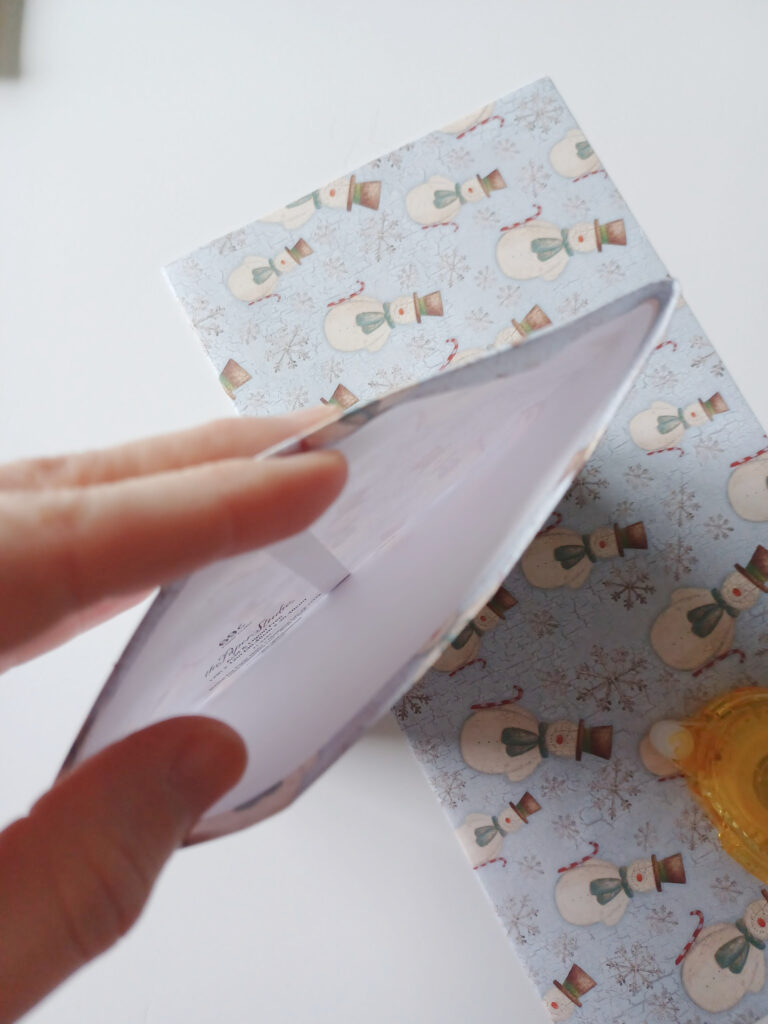

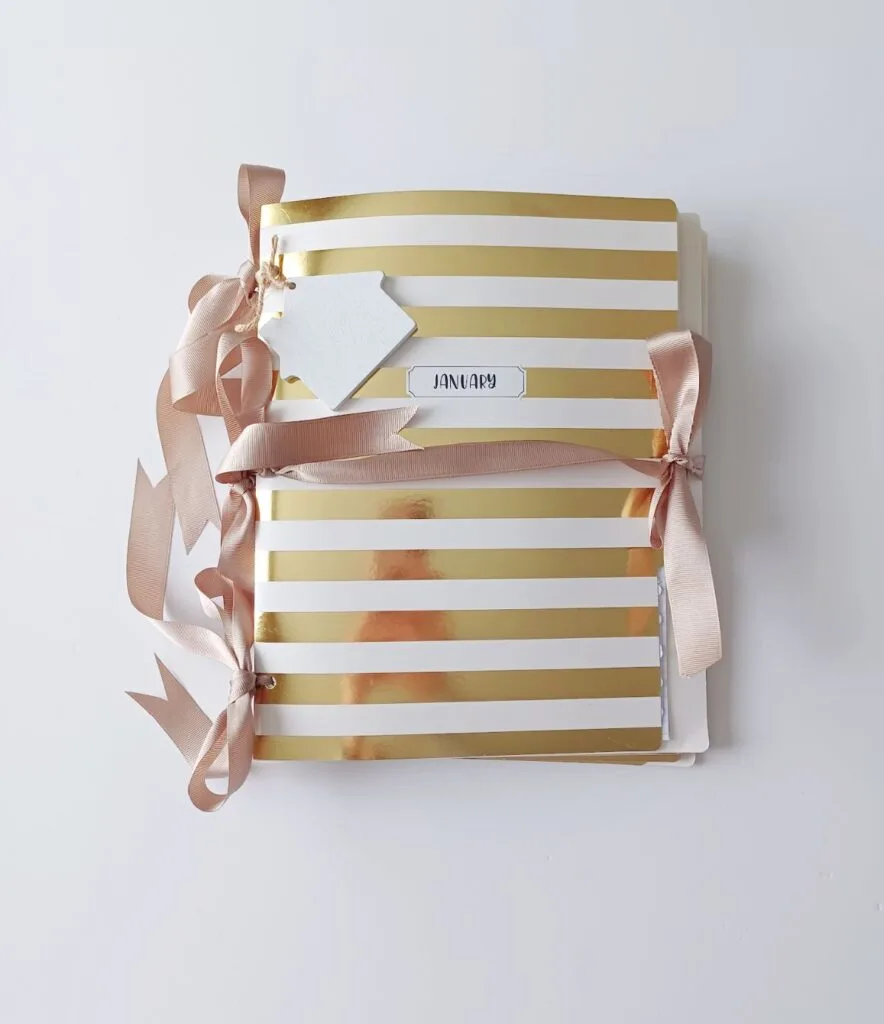
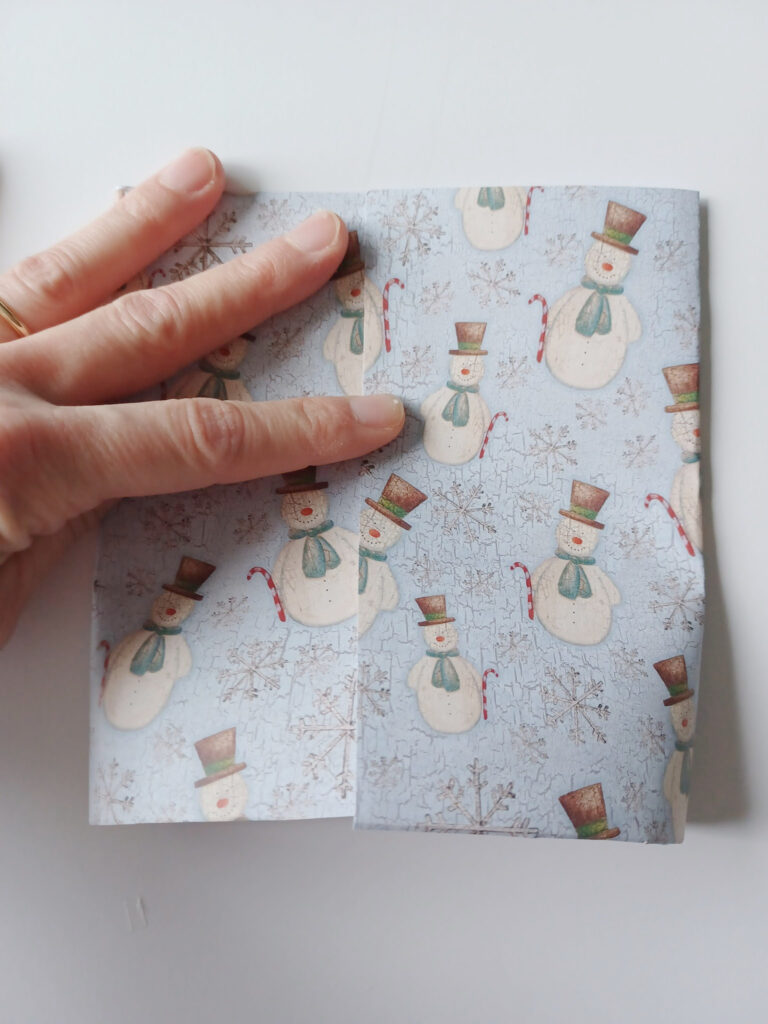
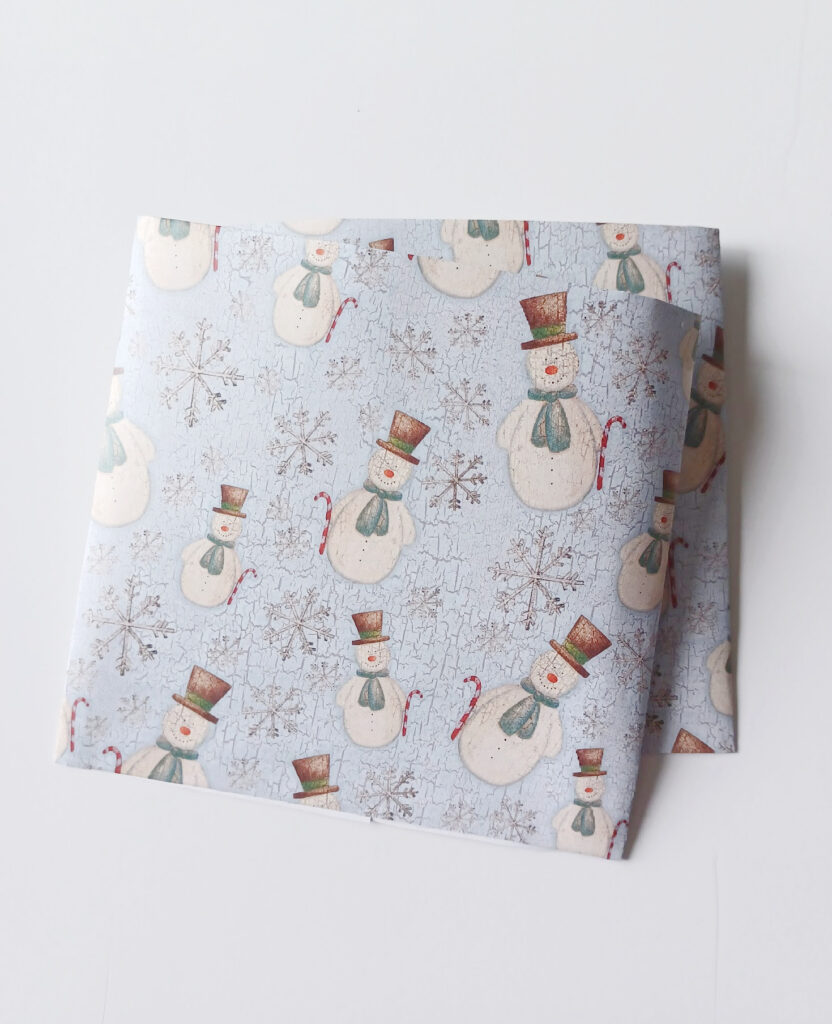
These pockets are so cute. I started with January first and did pockets for each month.
Punch a hole in each pocket.

Step six: Add your graph paper (optional) to each folder and any other sheets you may want.

Step seven: Sticker and arrange your folders.
Add your monthly labels to the outside of the appropriate folders.
My folder packet had stripes and dots designs, so I arranged mine before stickering into a different design every other month.


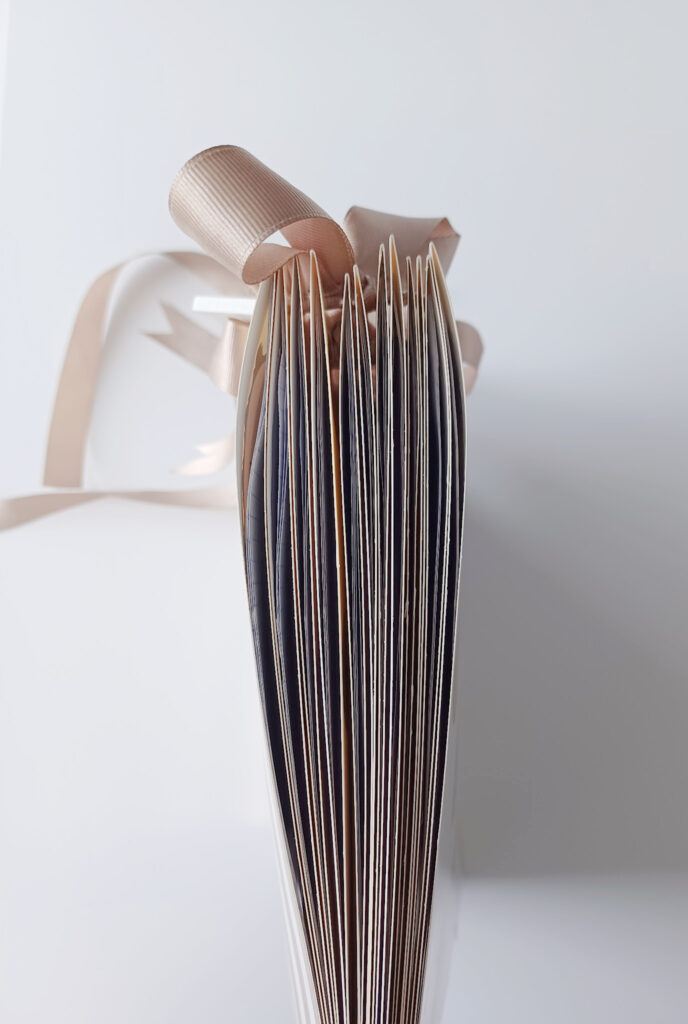
Step eight: Assemble your book.
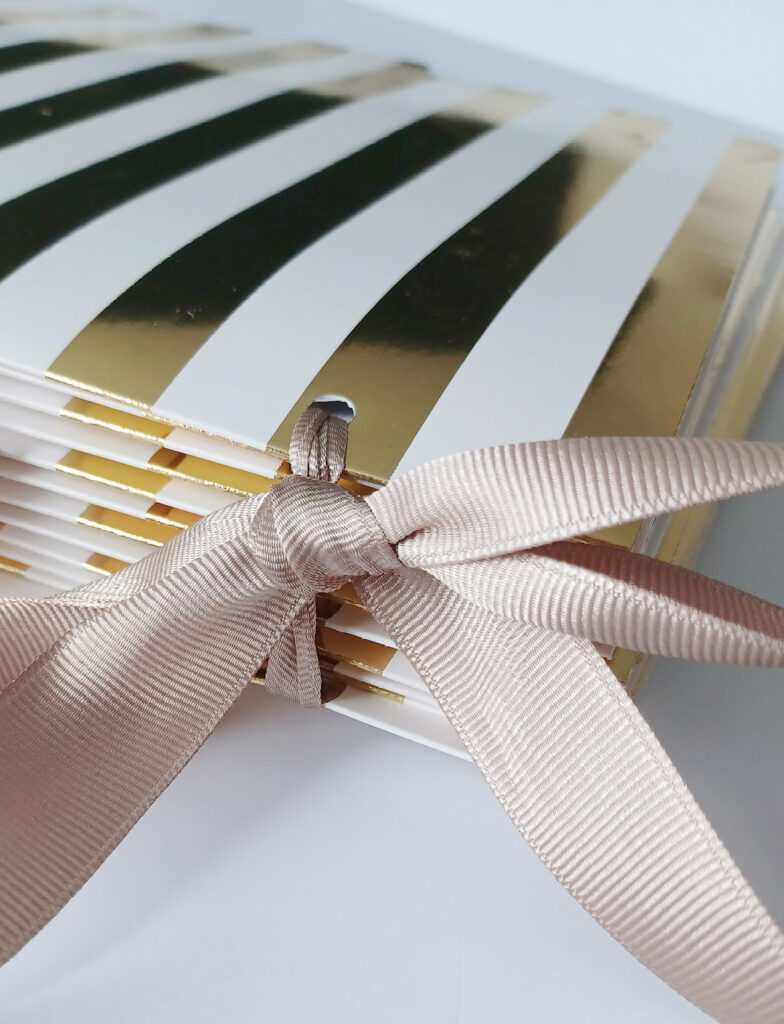
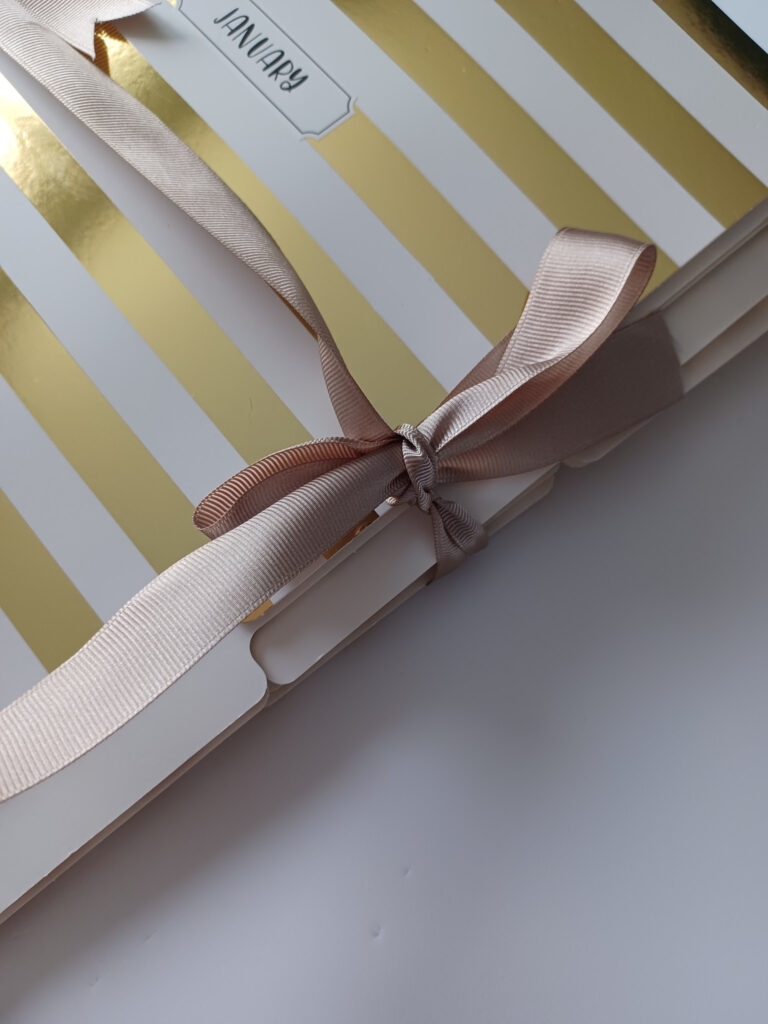
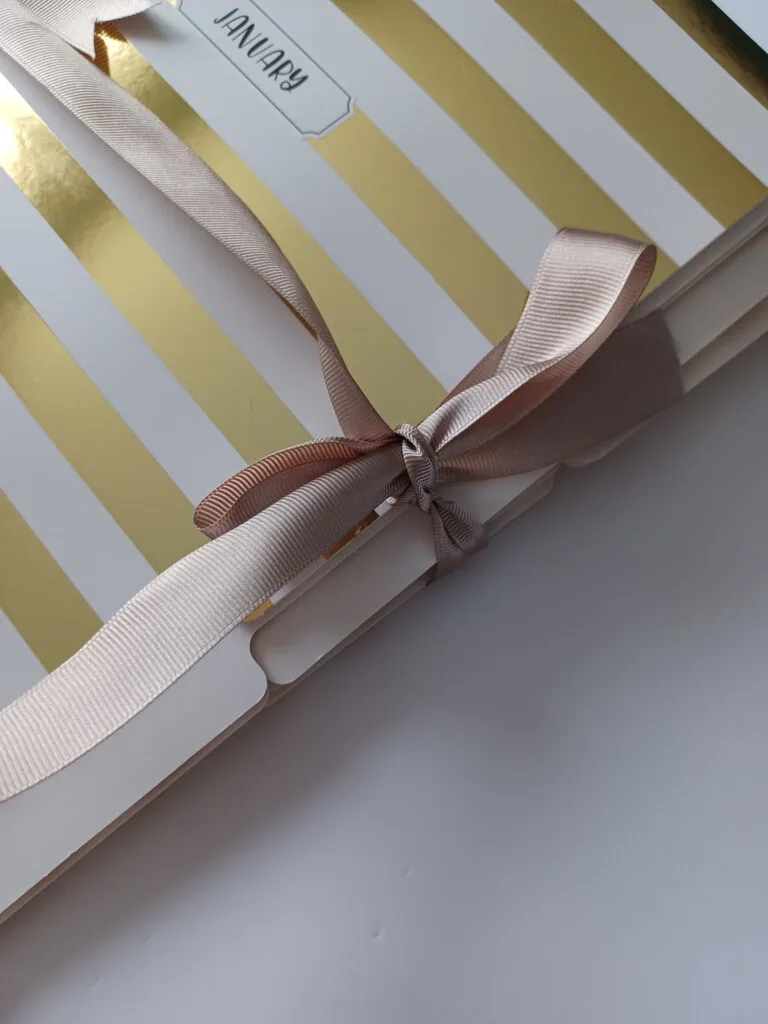
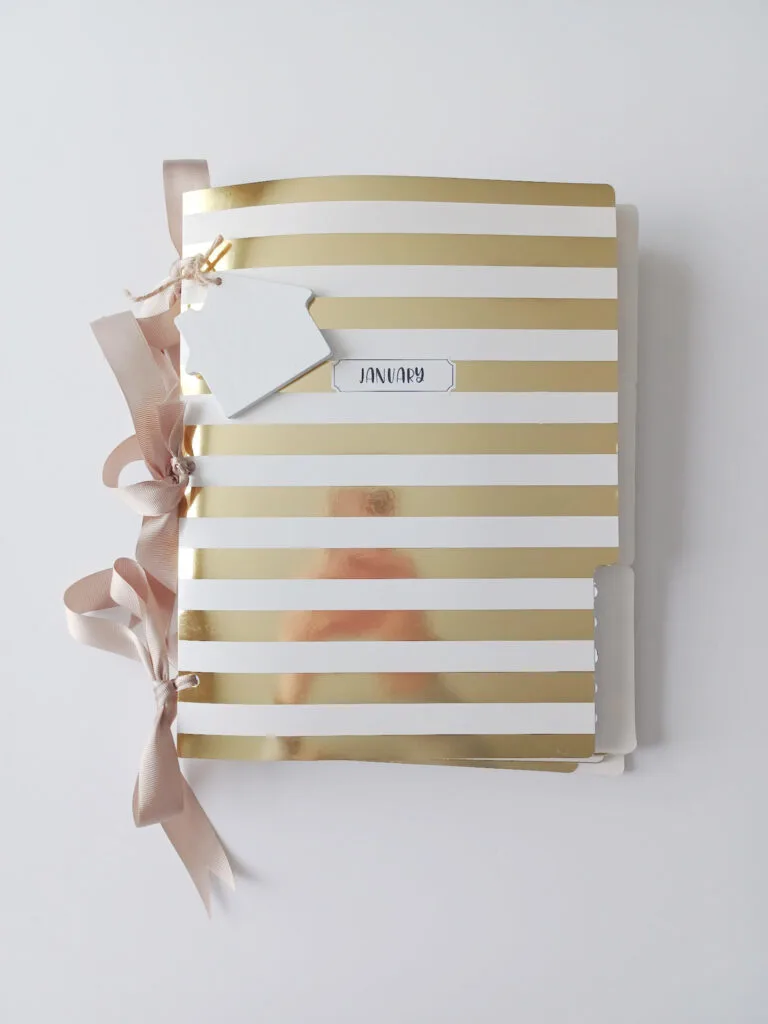
In this step, we will weave your ribbon binding. I chose to use a wide cloth ribbon. I wanted it to be strong and sturdy.
I wanted big fluffy bows for my binding.
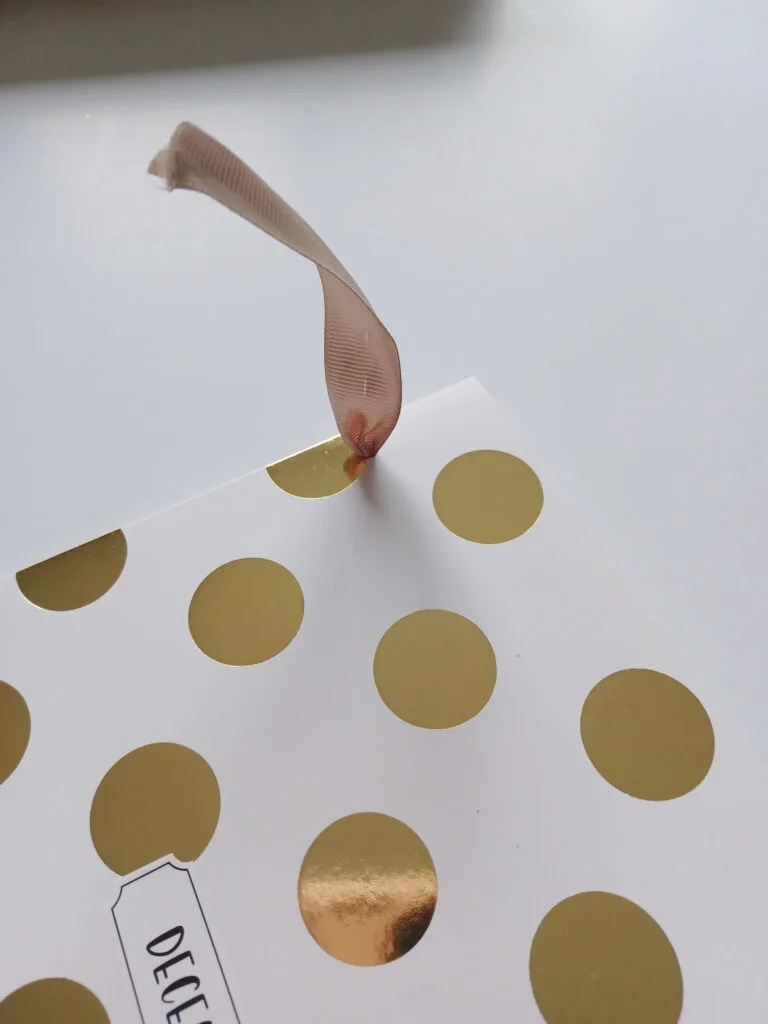
So start with the very bottom folder (December) on what would be your backside and feed the ribbon through the whole. I started with weaving only the top hole.

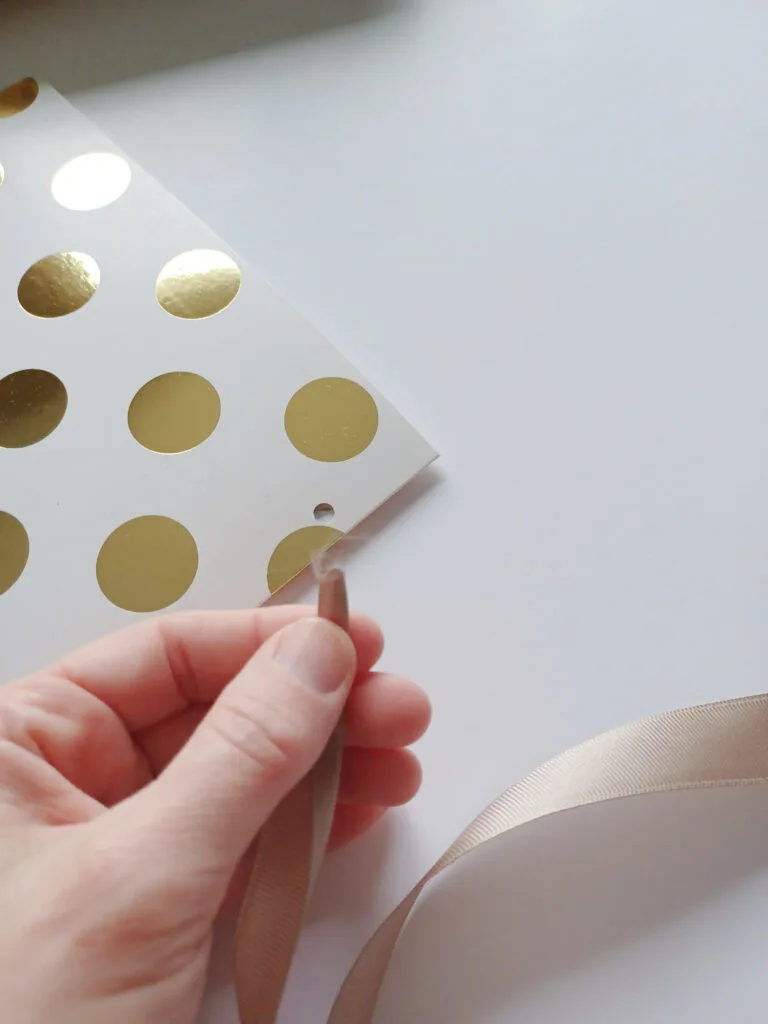

Then pull through your paper hole.
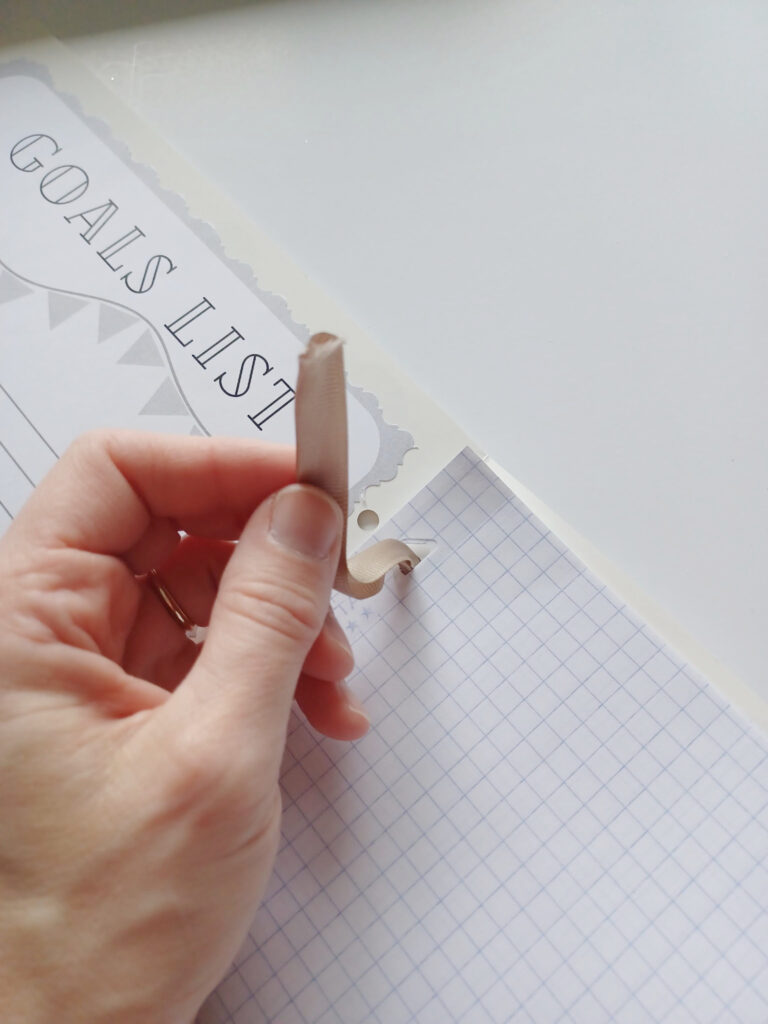

Pull through the inside hole of your top side. Pull all that you want through and add in your next month’s folder, which would be November. We are working backward towards the first month of the year in this repeated pattern.
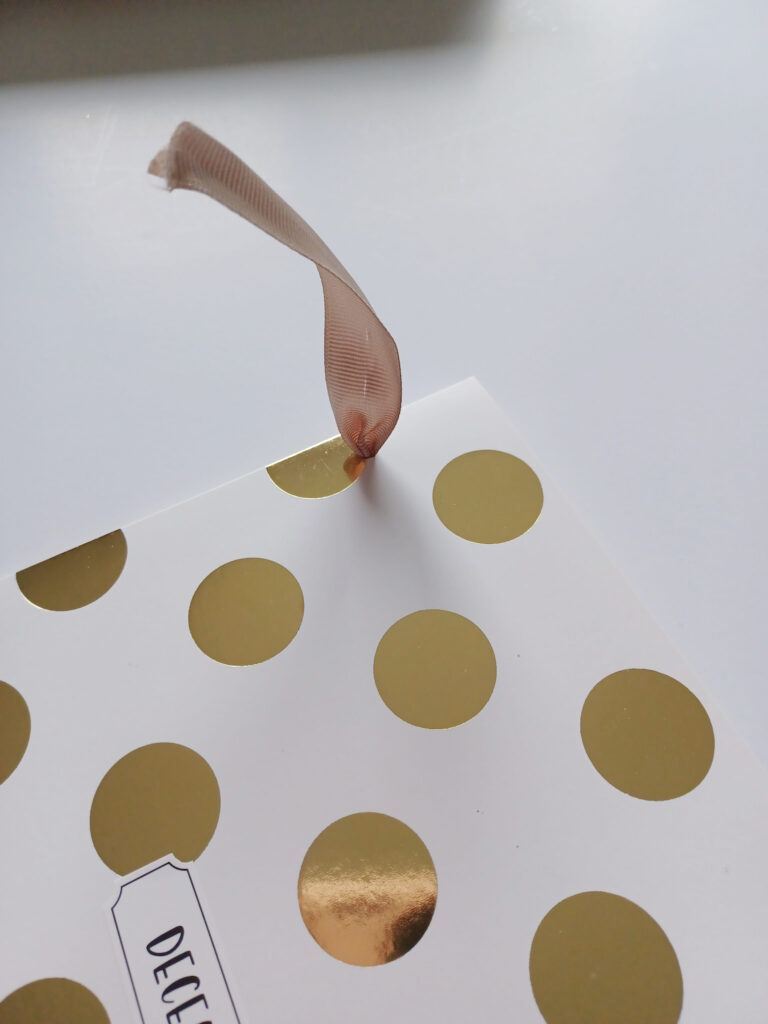

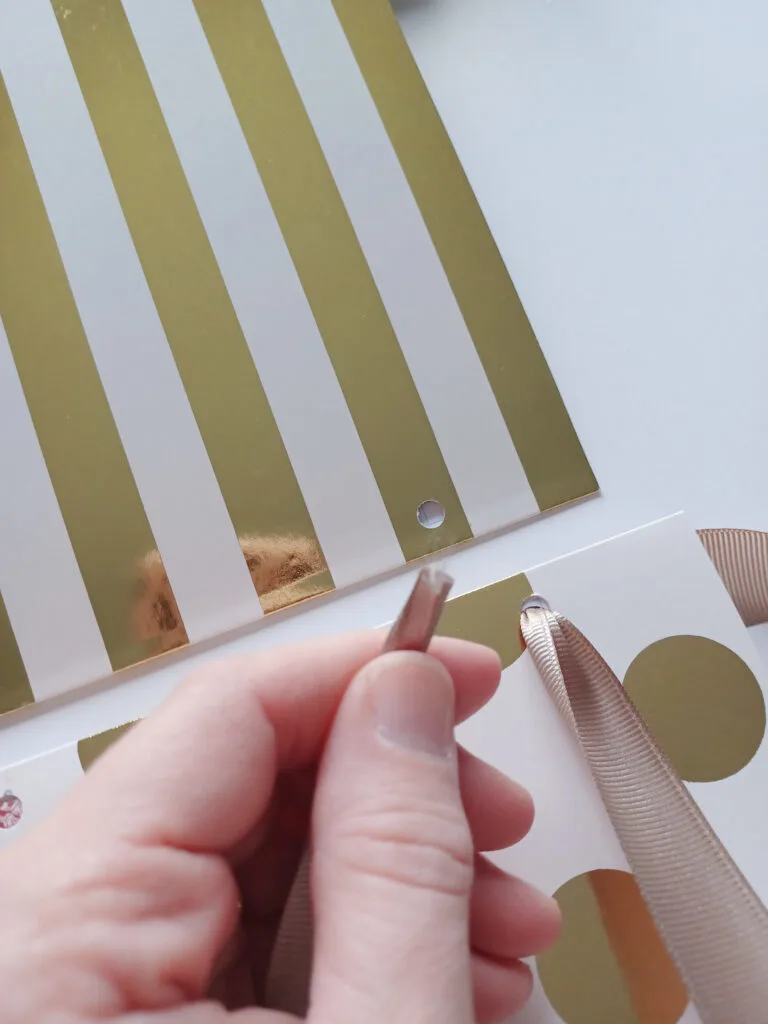
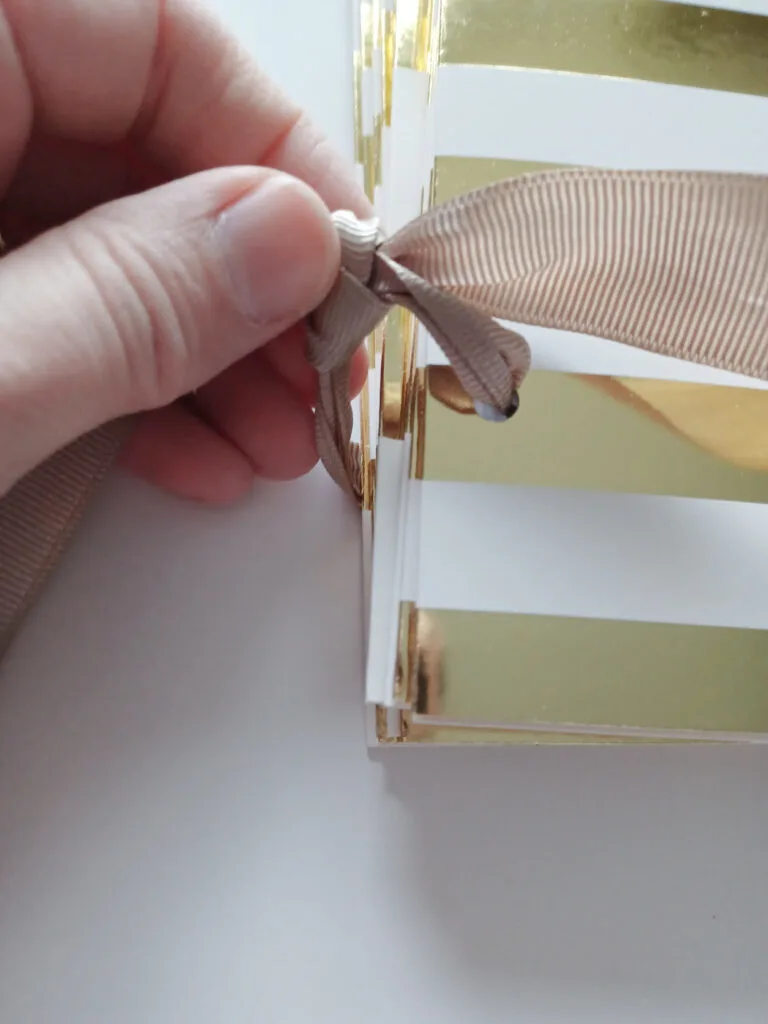
Once you get to January (that one should be on top of the pile by now) it is time to tie our first bow. Make sure you pull it like I am showing in the picture to have room to open the books.
Do not make it tight but do not make it too lose. Once you have it right, tie a knot and then make your bow.


In the middle hole of each book, add in your pockets for each month.
I added one at the back side of the paper and the front side of each folder month.
Continue through the book with the ribbon in all 3 holes the same until the book is complete.

Step nine: Add any additional decorations.
I want to use my goals planner for home projects so I found a cute little wooden house tag to hang from my book.

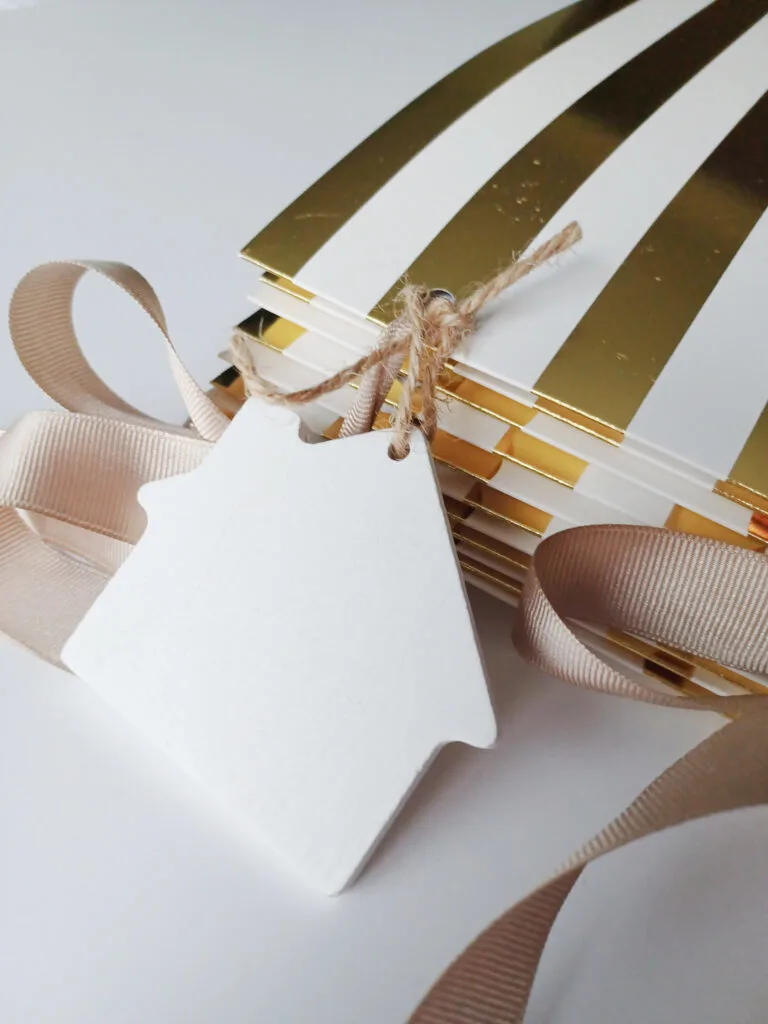
Step ten: Make a closure tie wrap. (optional)
I tied on the middle holes bow and back side middle holes a ribbon to use as a closure wrap.
Here are my examples of the different months of the year!


How to use this system
Goals list
- Each month make your list of goals you would like to work towards. There will be a general list section towards the top and a secondary goals list towards the bottom.
- Highlight in your main goals list one or two main that must be completed or you know you will struggle with. The secondary is for goals you would like to obtain if the extra time allows but is not as time-sensitive as the main goals.
- Choose a motivational quote for the month you are in and add it to the bottom motivational quote box and let that be your theme quote for the month.
- Each goal completed in the month’s bullet list check the circle next to it or add a little reward sticker!
- If needed carry over any uncompleted goals to the next month or any on going. For example if you use it as a workout tracker.
Daily action steps
- Write for each day of the week a small action step or steps for your main highlighted goals. Breaking it up in smaller steps helps to pace yourself. I would suggest only doing it once a week at the beginning of each week. That way if you need to adjust action steps towards your goal you can before each week.
- At the end of each week find your week’s notes box at the bottom and record notes or write your percentage of the daily action steps you actually completed.
Paper and pockets
- Use the paper for bullet lists or daily action steps for extra goals other than your main ones you must target, notes etc.
- Use the pockets to hold any small things for each month like additional stickers, coupons, event invites, tickets or magazine pages of inspiration folded and tucked in.
I am excited about this Goals Bullet Journal Planner System and hope it will help you, too if you are struggling to get your main goals completed.
This book at the end of the year will give you a good whole-year overview of your completion rates and tracking of your goals.
Enjoy and here’s to your goal success!

Here are some other creative DIY craft projects that you may enjoy:
- DIY Farmhouse Chalkboard Craft (5-Step Project)
- Love Pops DIY Upcycle Craft Project (Fun and Simple!)
- Modern Farmhouse Faux Wall Garden – Upcycle Craft Project
Make Your Own Beautiful Living Succulent Wreath Centerpiece! Complete video course by Jeannine Romero now available through Skillshare.