

- Free Video Tutorial – Gratitude Farmhouse Decor Craft - July 25, 2023
- DIY Dollar Tree Bird Feeder Craft - July 4, 2023
- Embroidery Hoop Organizational Wall Art - February 28, 2023
I was thinking one day I want a home sign that is also a small mini shelf. I have been looking for quite a while and have not been successful in finding one.
So I decided to set a budget to create one under 20 dollars. As I walked the local Dollar Tree (which is becoming one of the best places to buy crafting supplies inexpensively).
I was able to do better than 20 dollars and create one for only 12 dollars!


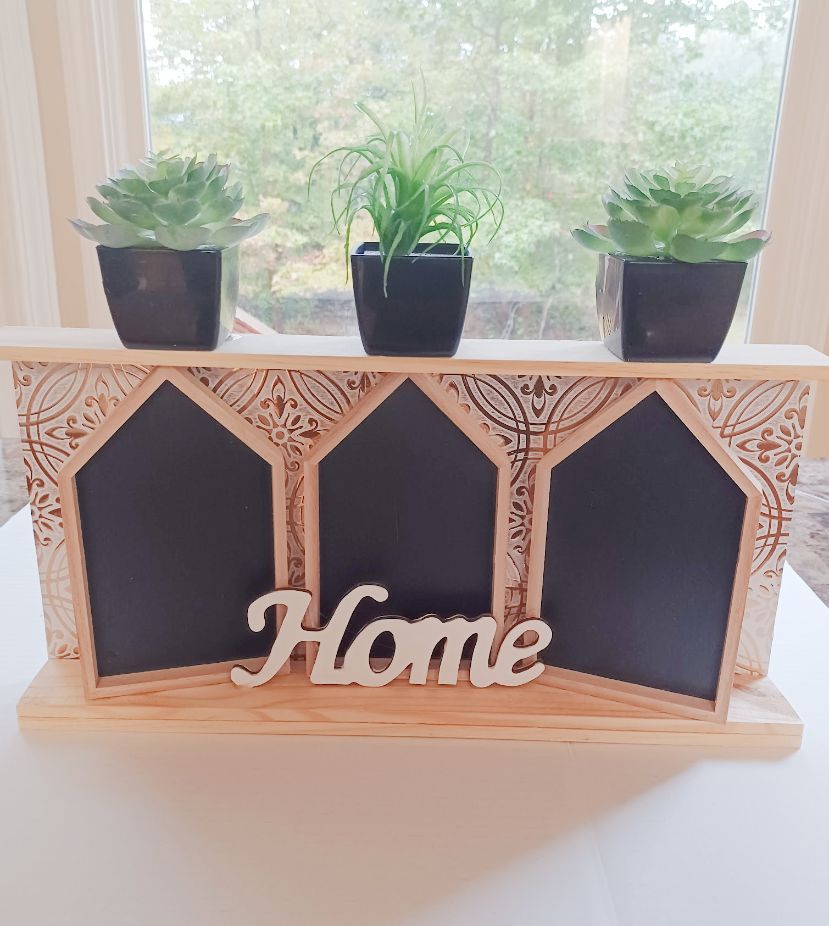
Here is a fantastically easy and inexpensive DIY farmhouse chalkboard mini shelf sign idea. This only takes 35 minutes and under 12 dollars to create.
With no nails, saws, or hammers. This evergreen decor could be a simple decor staple in your home for year round use.
It can be a multi-seasonal piece too. I will show you how!
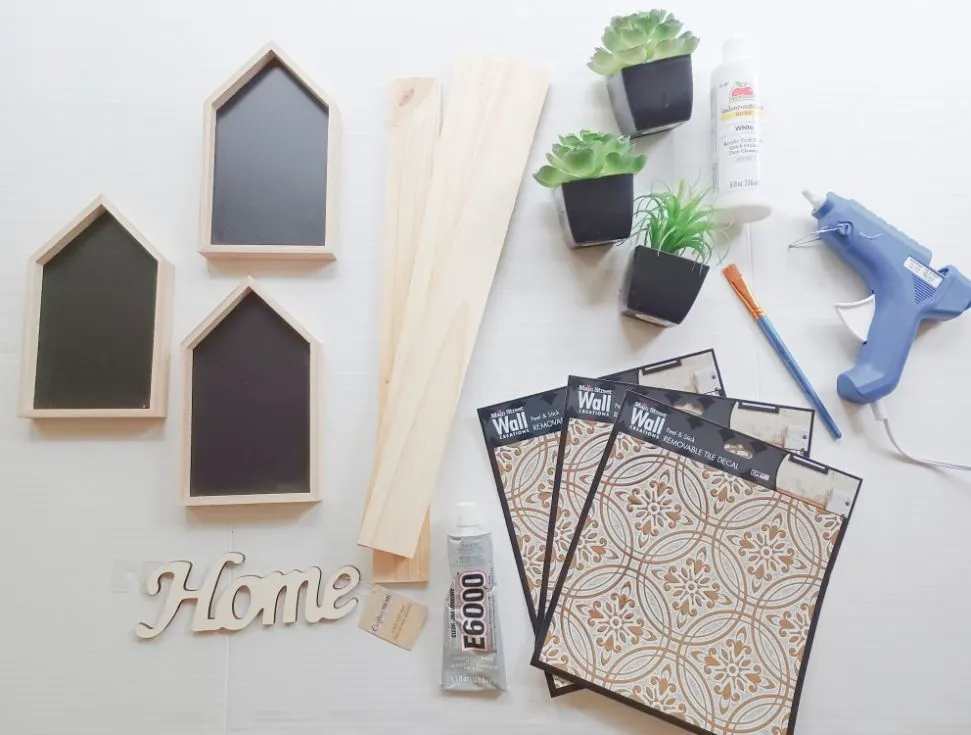
Supplies Needed
- 3 wood planks from the Dollar Tree
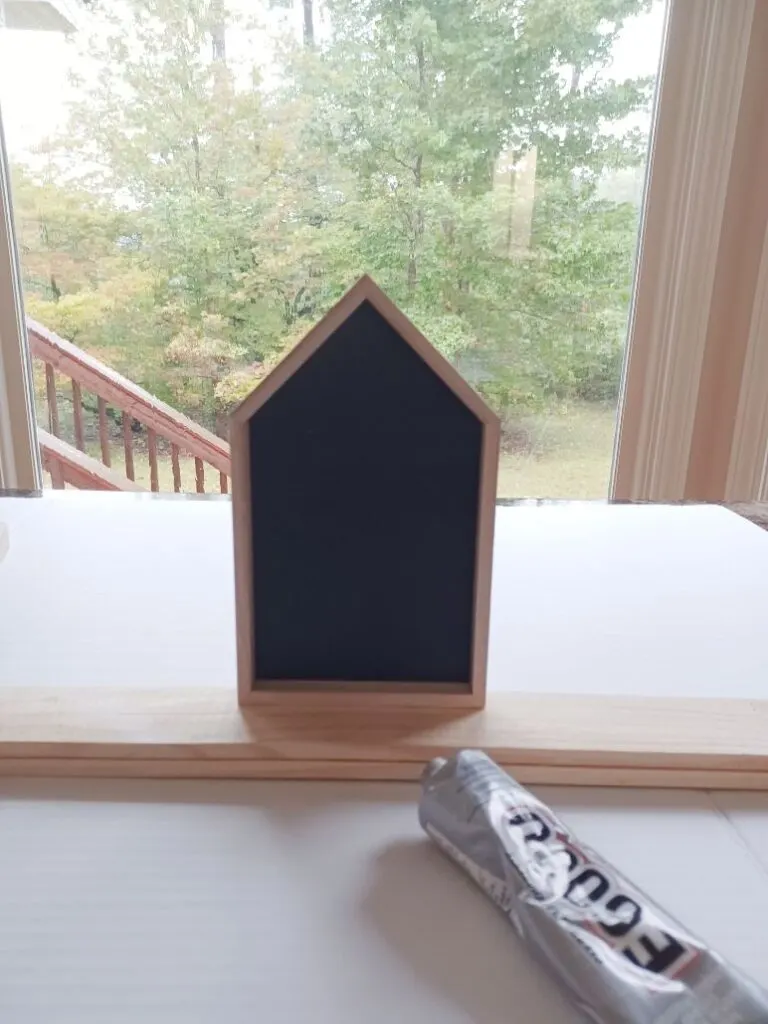
- 3 house shaped chalk boards
- E6000 glue (link to Amazon)
- 3 Main Street Wall Decals Peel & Stick Removeable Tiles (link to Dollar Tree)
- 1 wooden home word sign or any word sign you want
- White paint or any color you wish and paint brush
- Glue gun (optional)
- School project presentation card board which is also found at the Dollar Tree

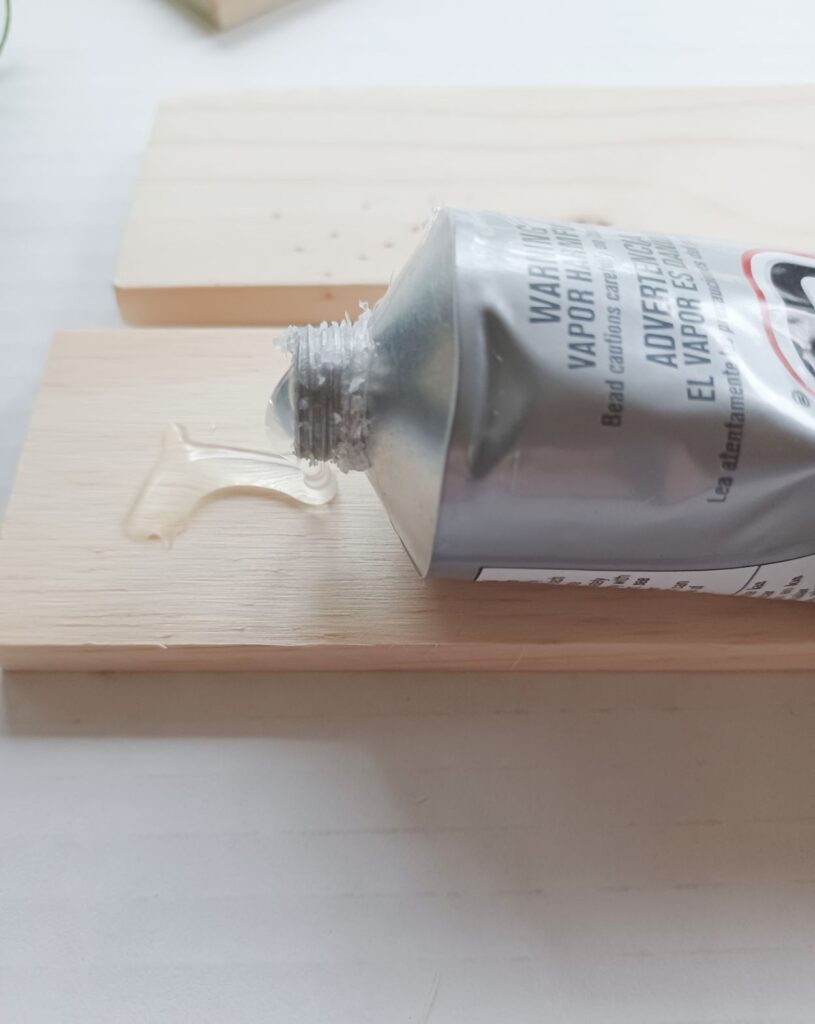
Step One
Glue the wood.
E6000 is excellent to glue your wood together. Or if you would rather you could use wood glue.
Now before you glue if you do not want the natural wood look take this time to paint the wood. I myself wanted the wood all natural, not to mention it cuts the time of making the craft in half. I love that look and it does go just perfect for a farmhouse look.
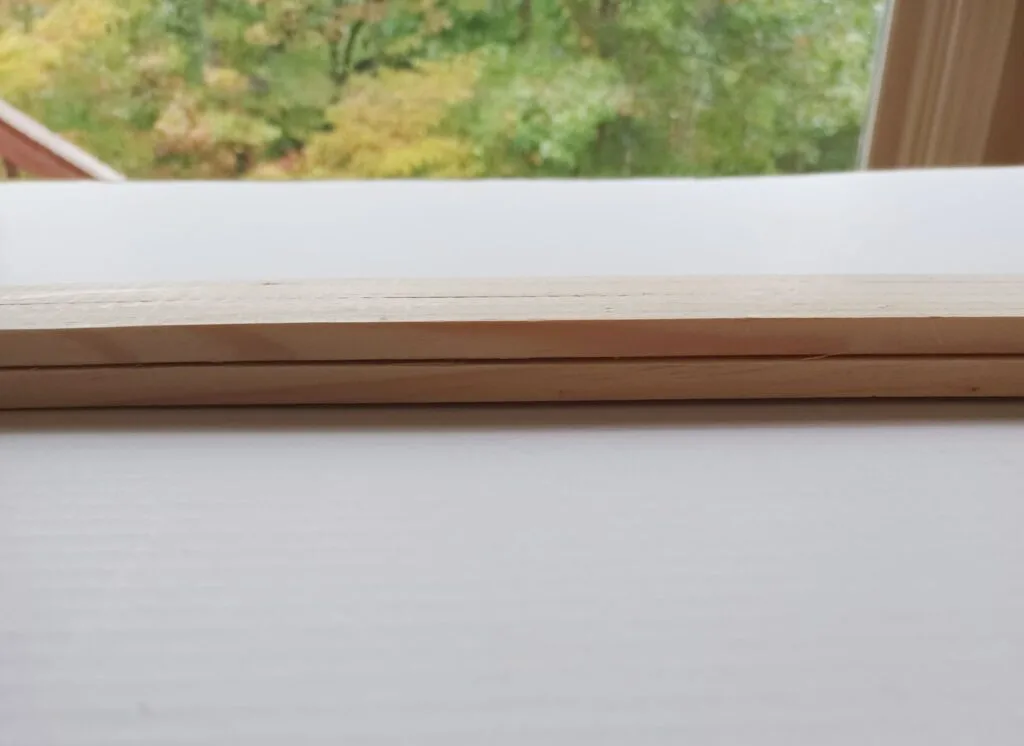
Take two of the wood planks and glue them together. This will be the base for everything.


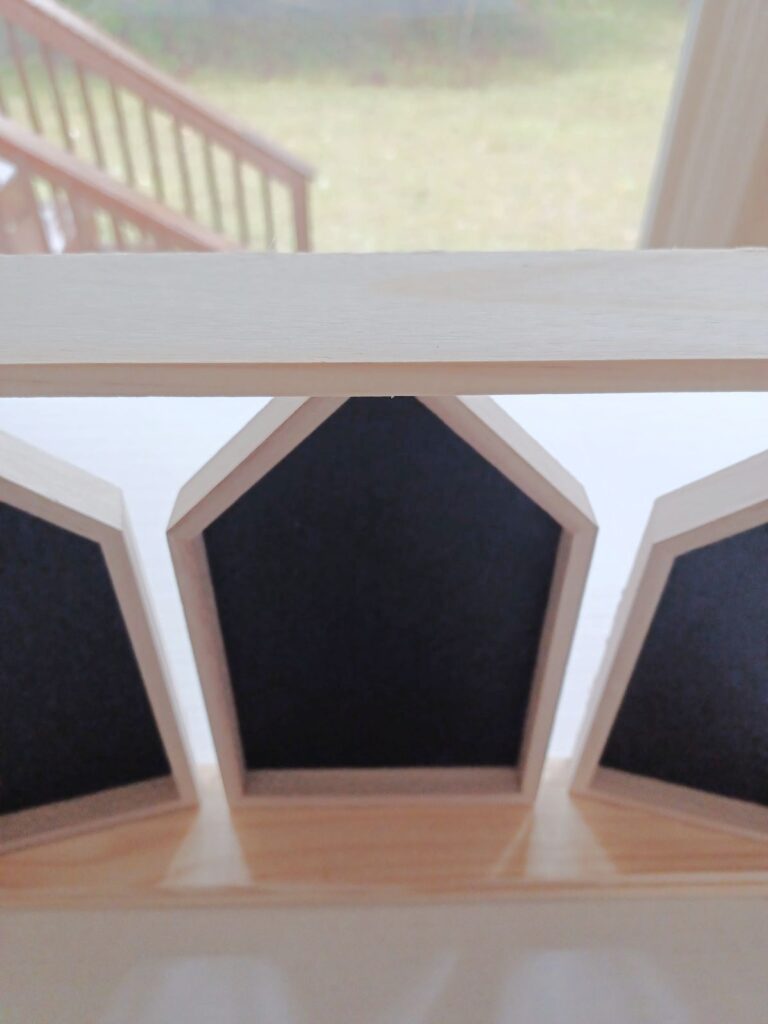
Take one of the chalk board houses and glue it in the middle of the base you just made. Line the back edge of the chalk board with the wooden base edge straight.
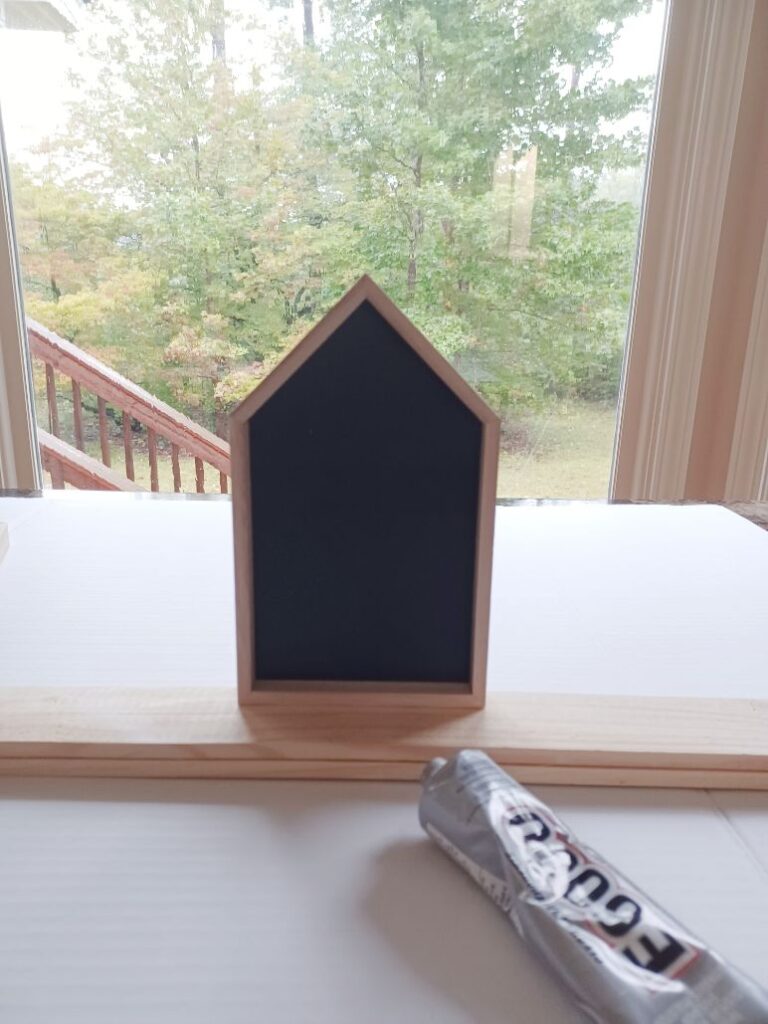
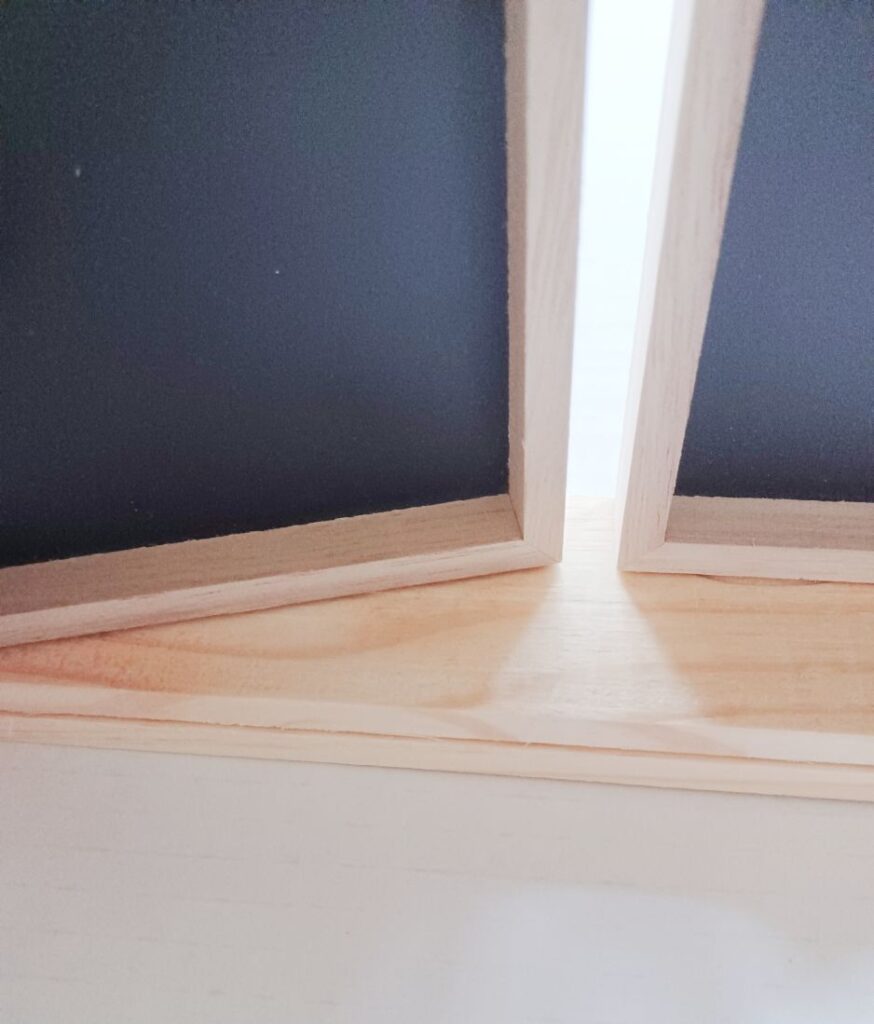
Take the other two chalkboard houses and glue them to the board but slightly angel the other two on each end. Make the edge of the other two houses nearest the one in the middle pointing toward it.
This will help hold the top shelf a little better.

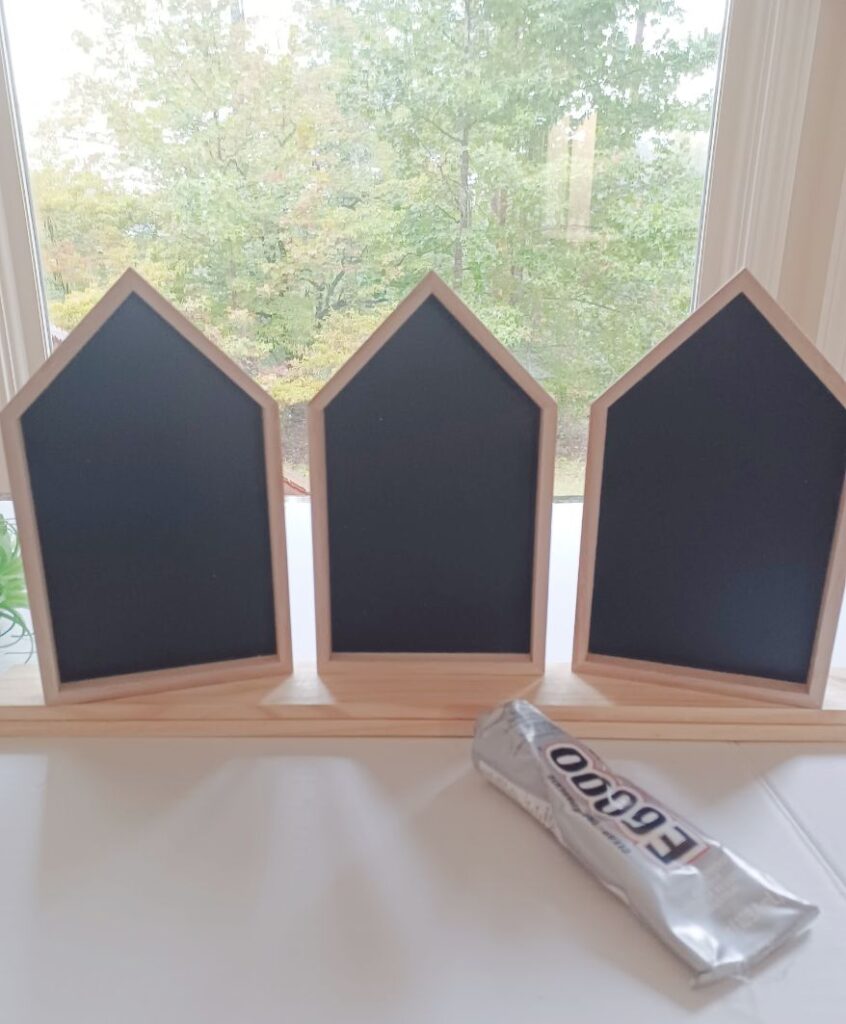
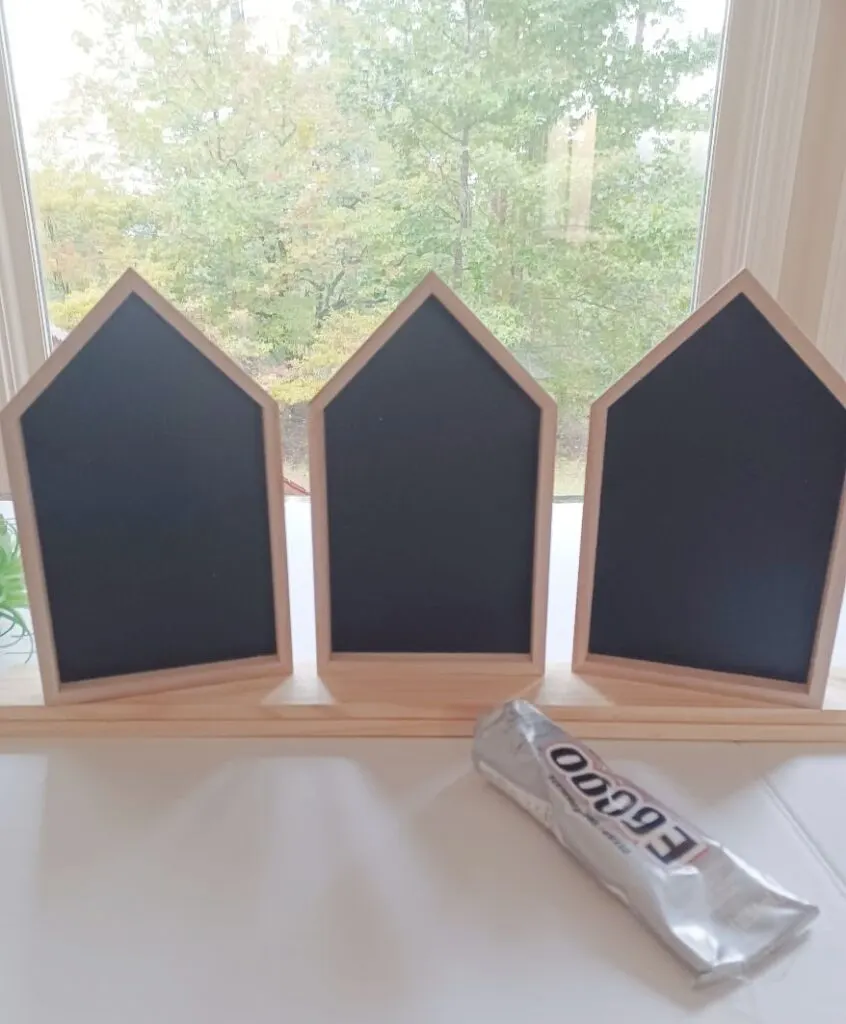
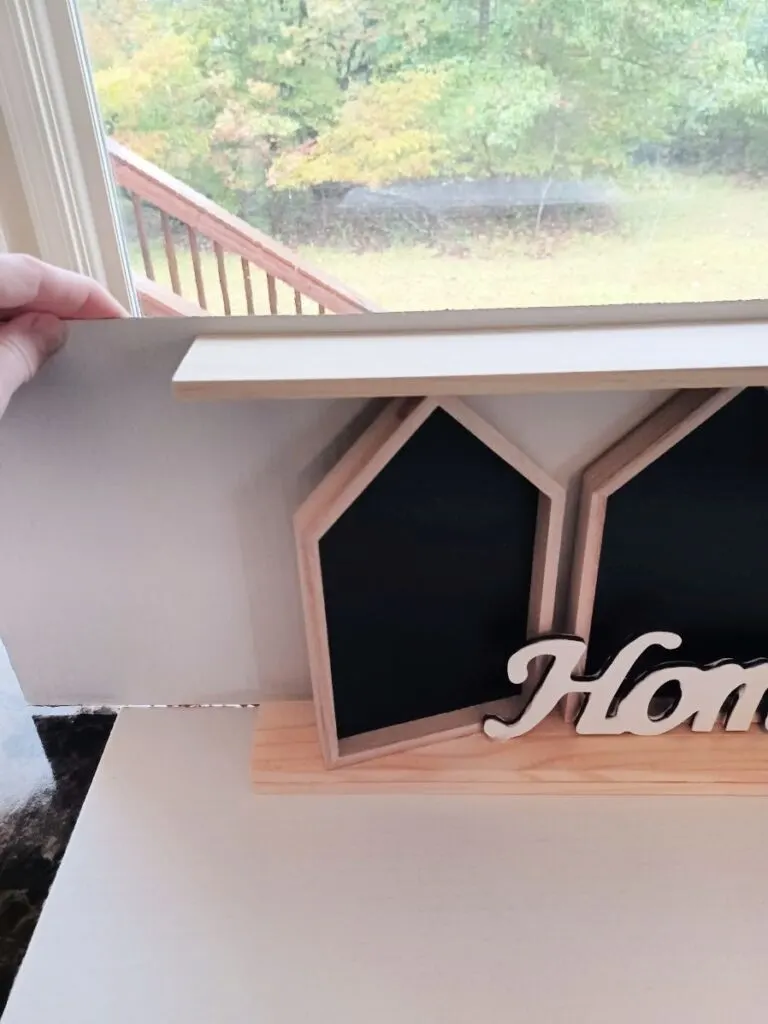
Glue your last plank to the top of the houses.
Make sure to line up the edge of the wood flush to match the base below so it is straight.
You can leave the sign shelf at this point like this with out the back we will make. But if you desire the back as I did in my craft you would need those edges straight to hold the cardboard backing.

Step Two
Paint the word sign.

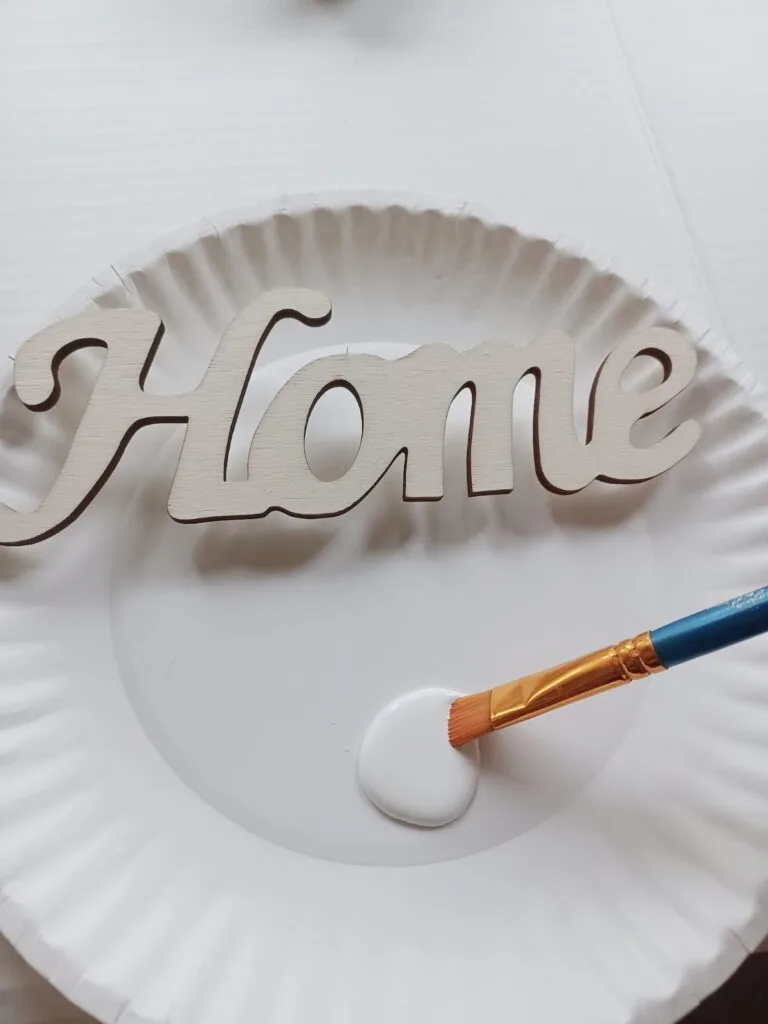
At first, I had played with it and placed my sign on it with the natural wood look.
I almost left it that way.
But I thought it would also look great painted white as well, so that’s what I did. Either way, however, I think it would have looked great.
Once it is dry (if you choose to paint yours) glue in the middle of the sign to the top of the bottom base.
Step Three
Make the back of the sign (optional)
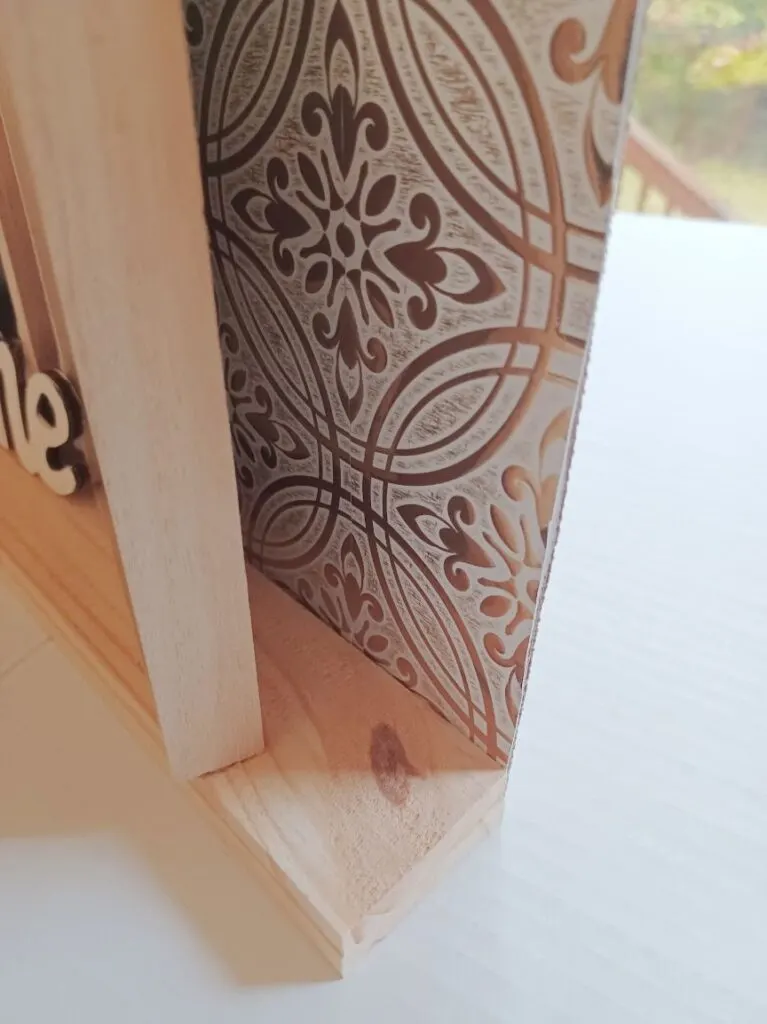
The cardboard poster board I mentioned (and that if you look in the supplies picture I laid all the supplies out on) you can use this to make the back. Cut out your piece to fit but leave enough to glue to the back edges of the sign.

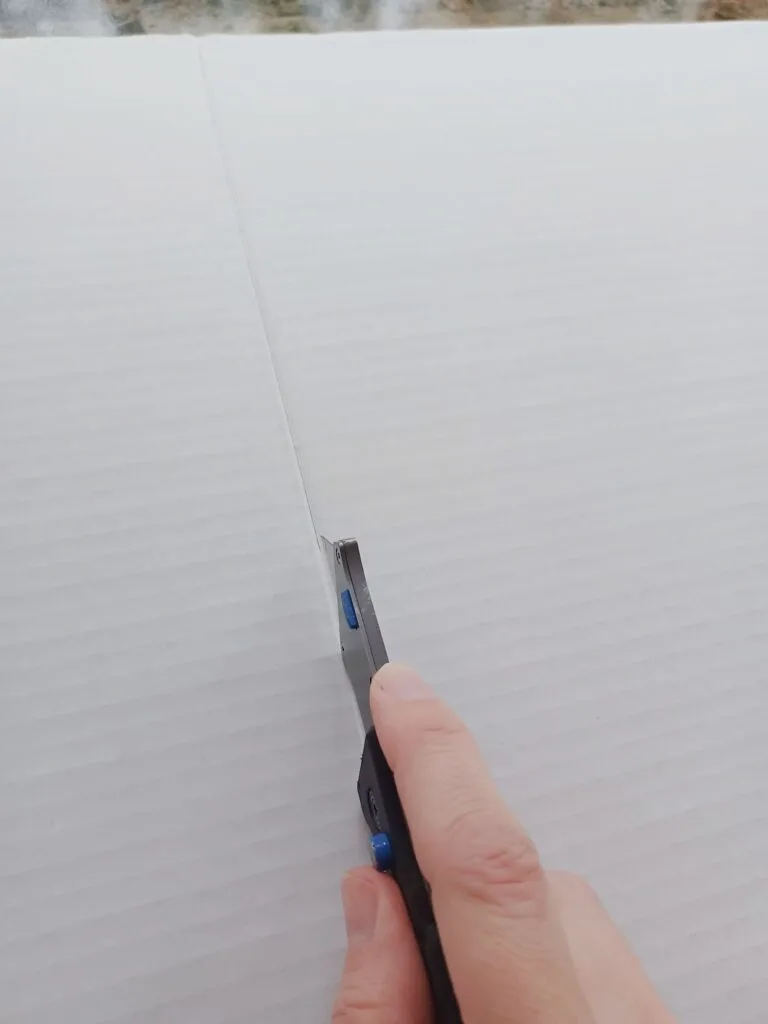
I had a little too much I had to trim.
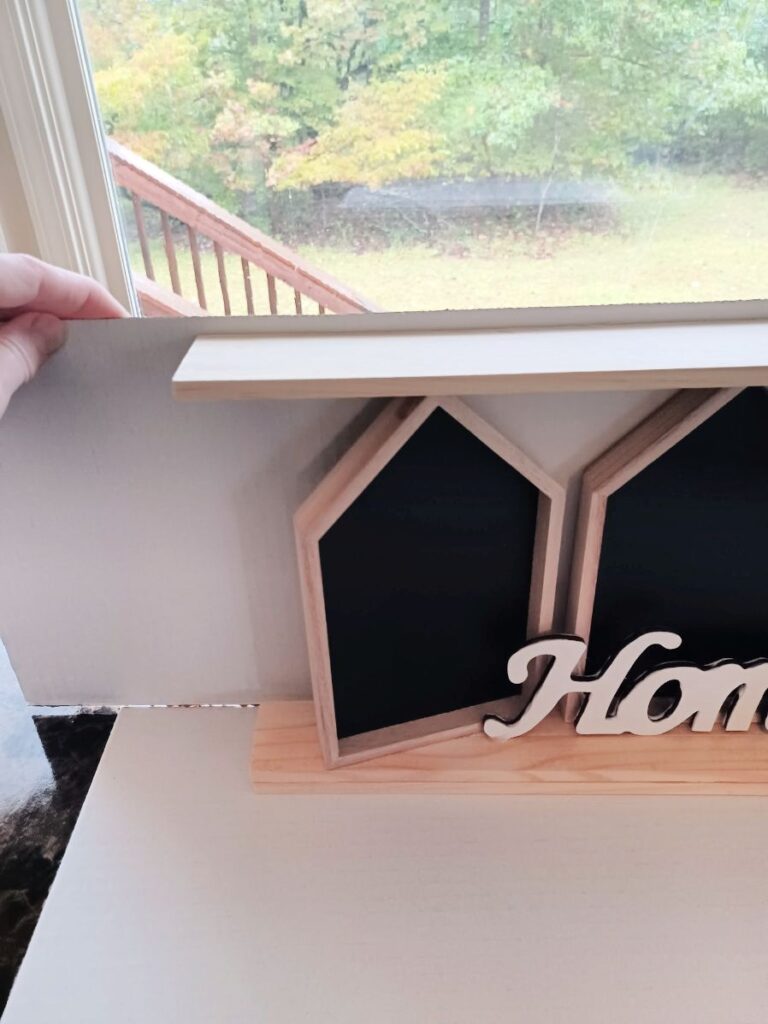
Take your 3 removable wall tiles and peel and stick them into position as you desire covering the cardboard.
You may have to cut and trim the last piece.


Step Four
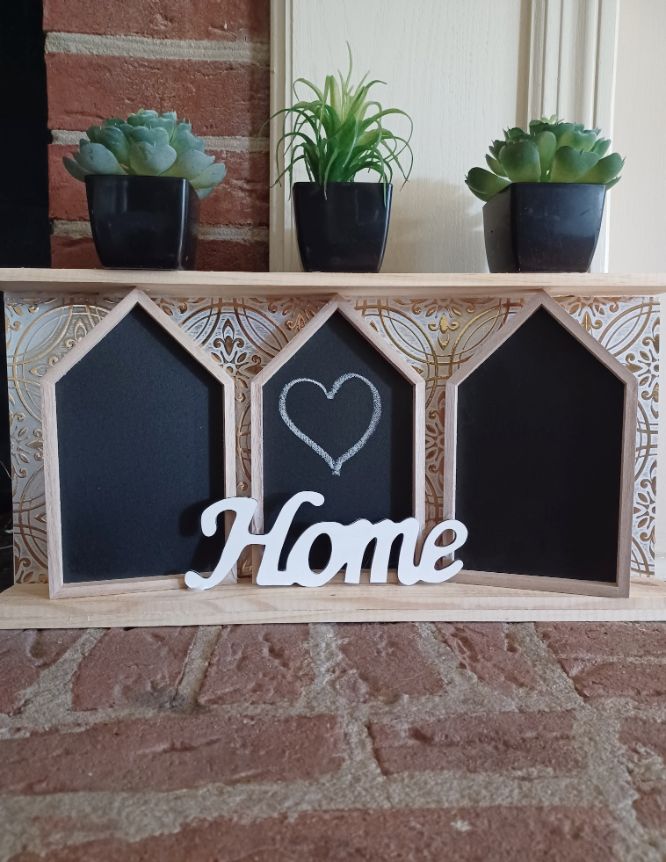
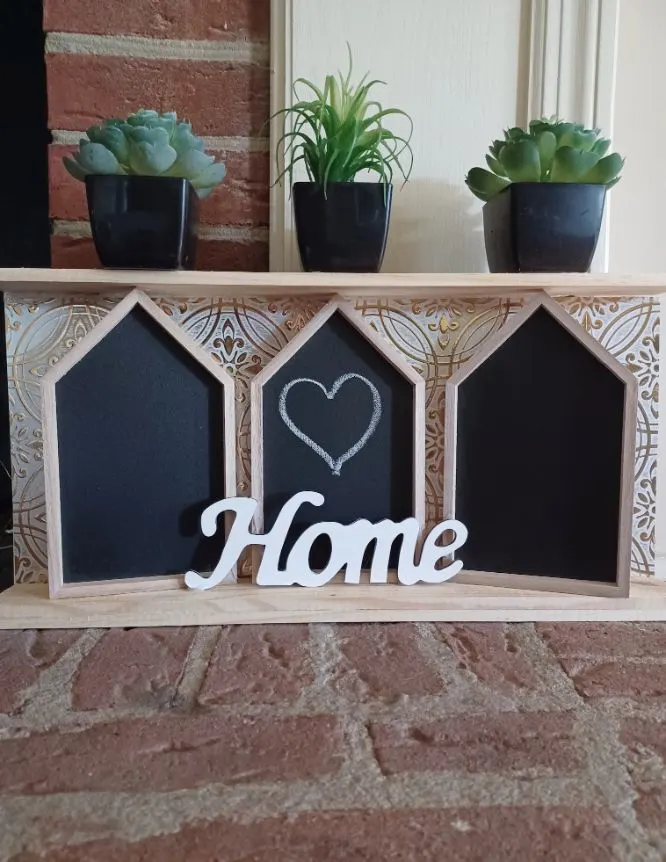
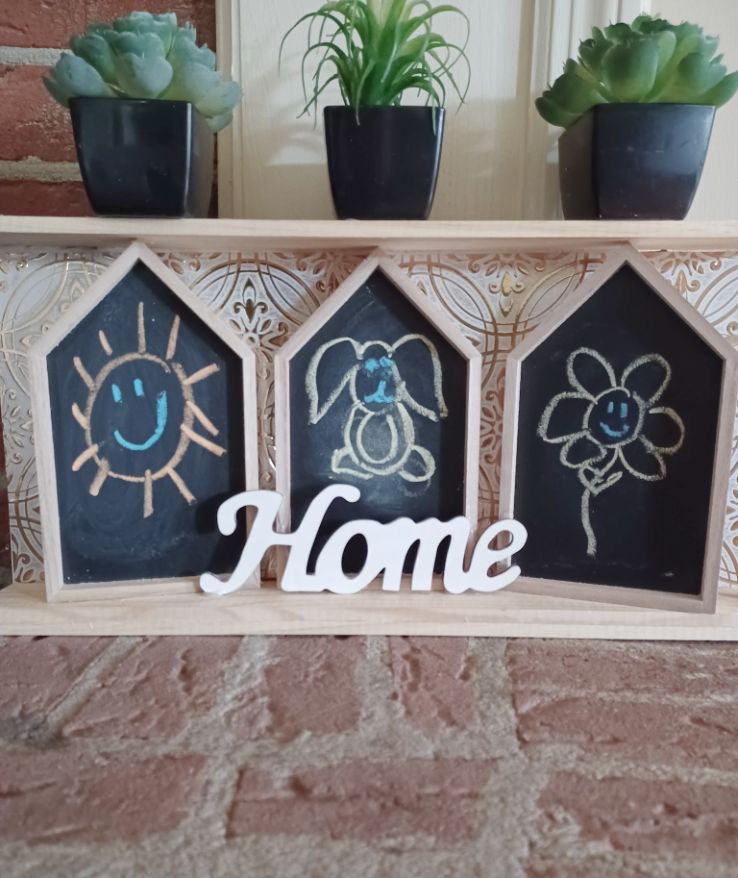
Glue your plants or other decor.

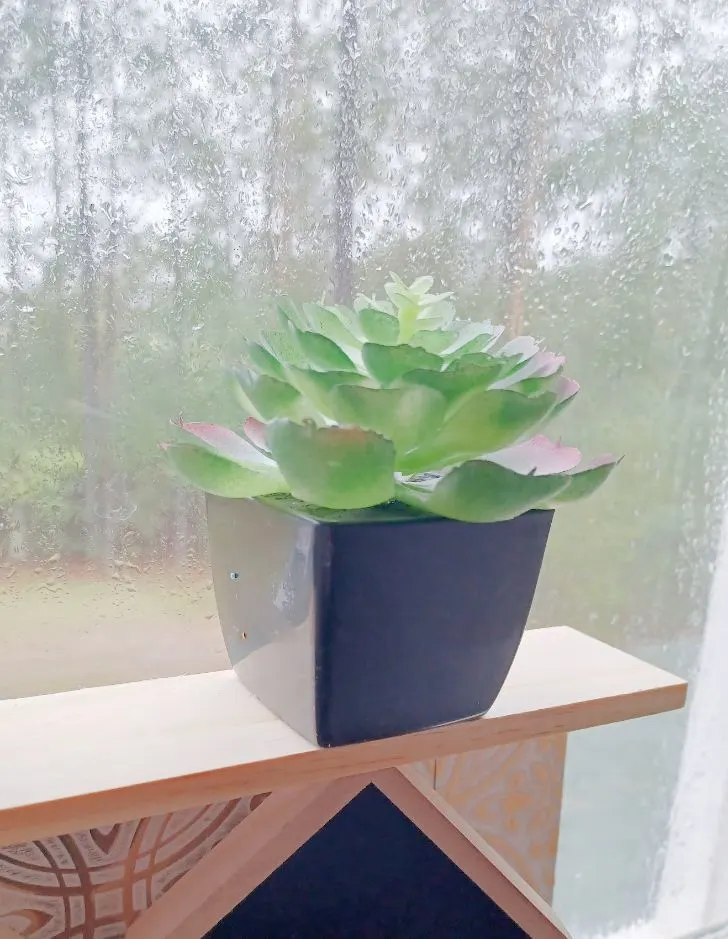
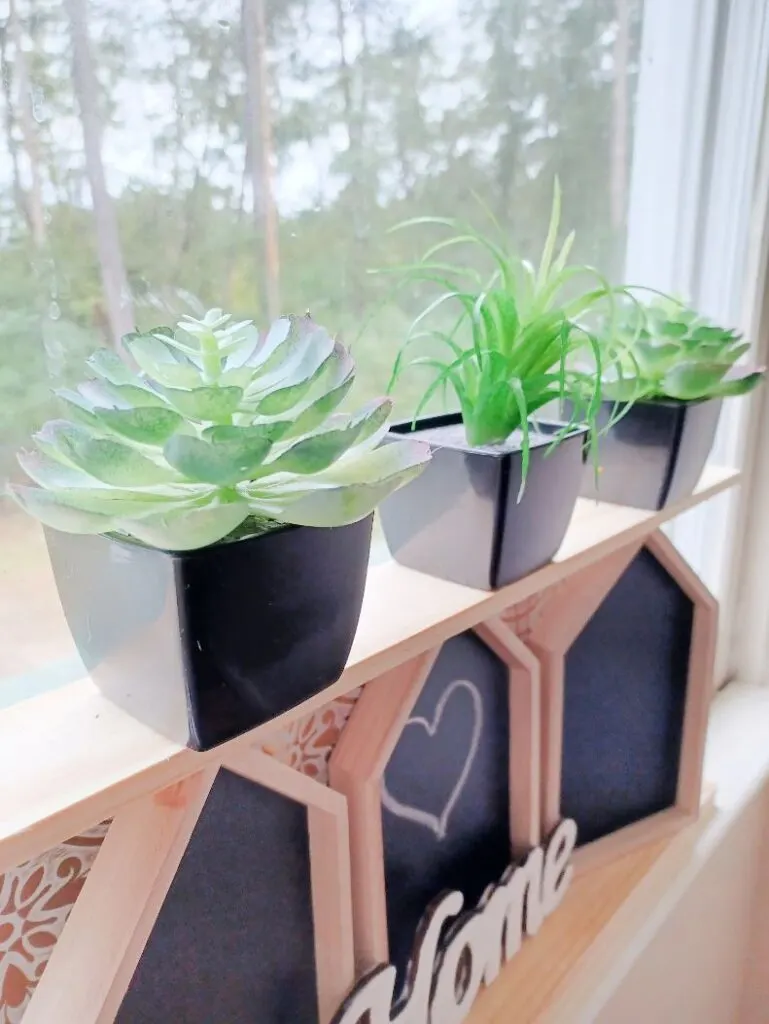
I pull all three of my little succulent plants lined up with my little houses underneath for balance.
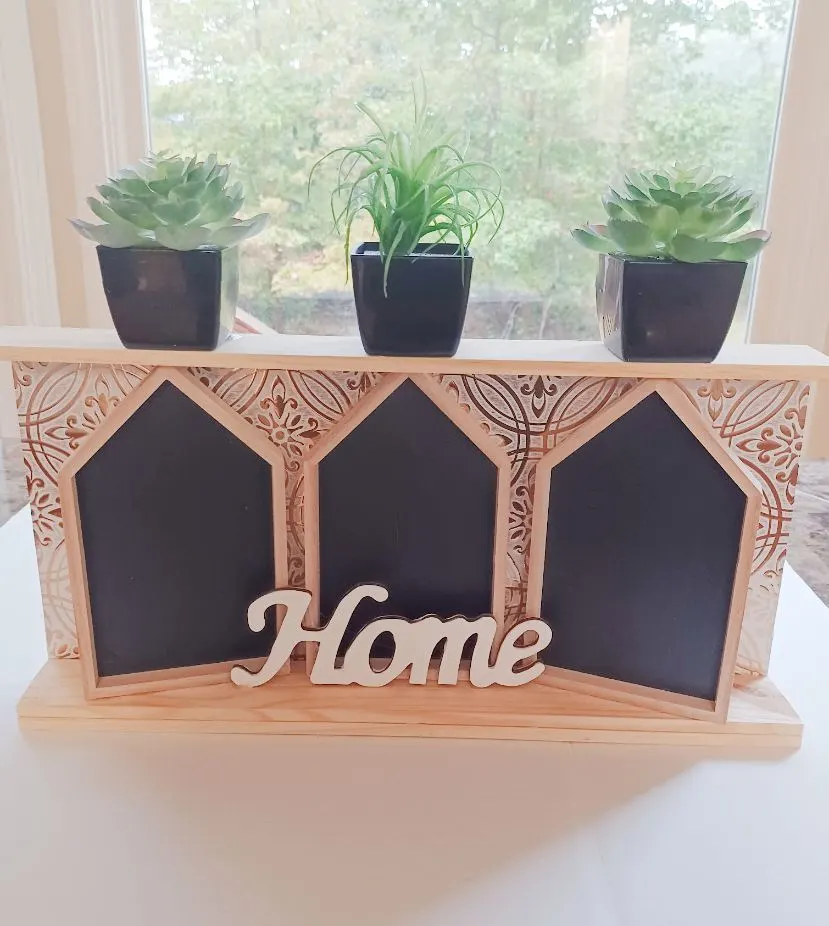
You could put really anything you would like on top such as ivy, small collectibles, small vintage signs, and mementos. The sky’s the limit.
Step Five
Decorate the chalkboard
I took some leftover tile sticker to show you an example. I cut a heart to put it in the center of the sign.

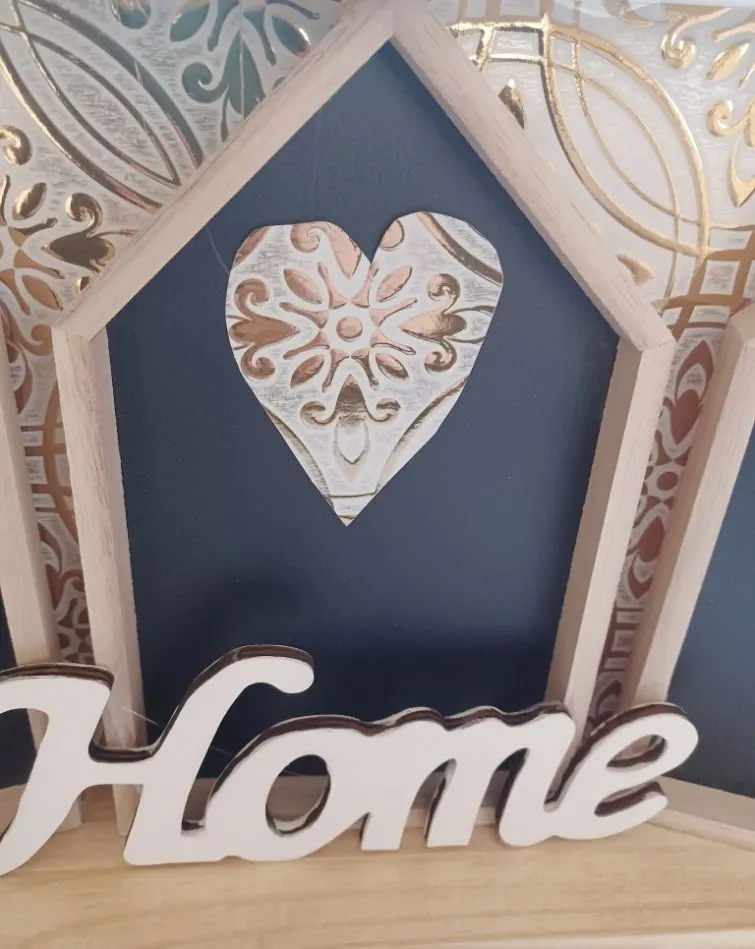
However, I like that it is a chalkboard, so I wanted to use chalk.
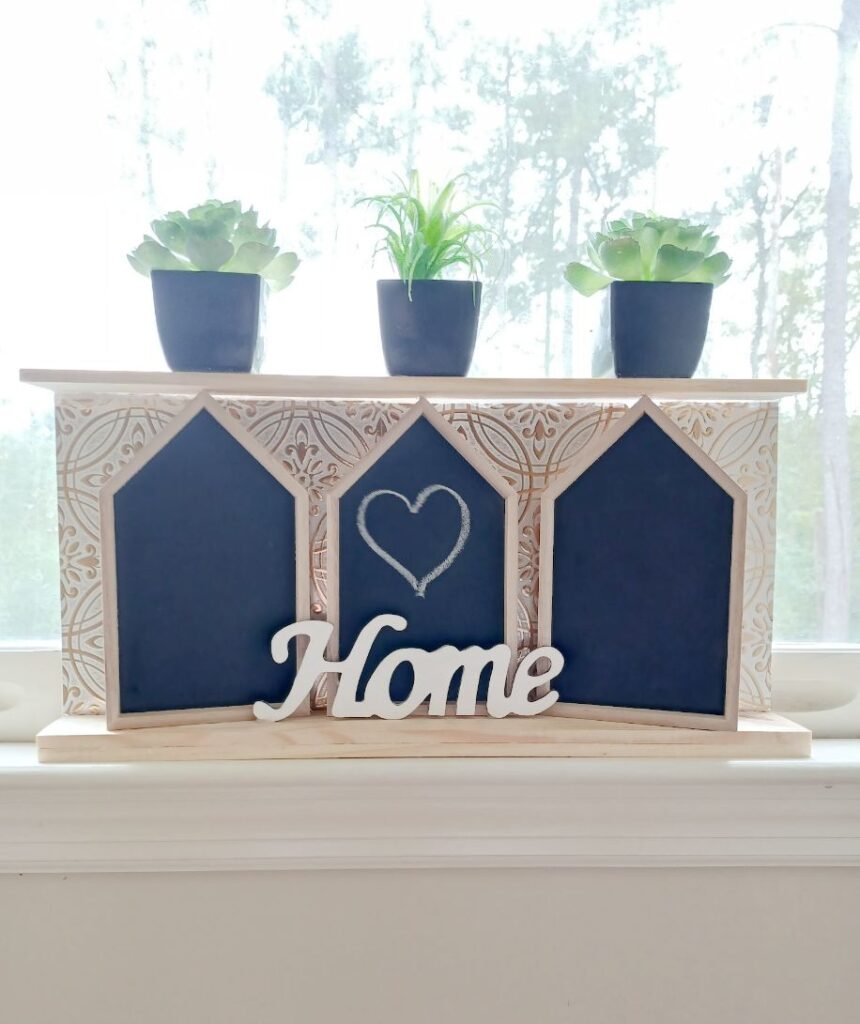
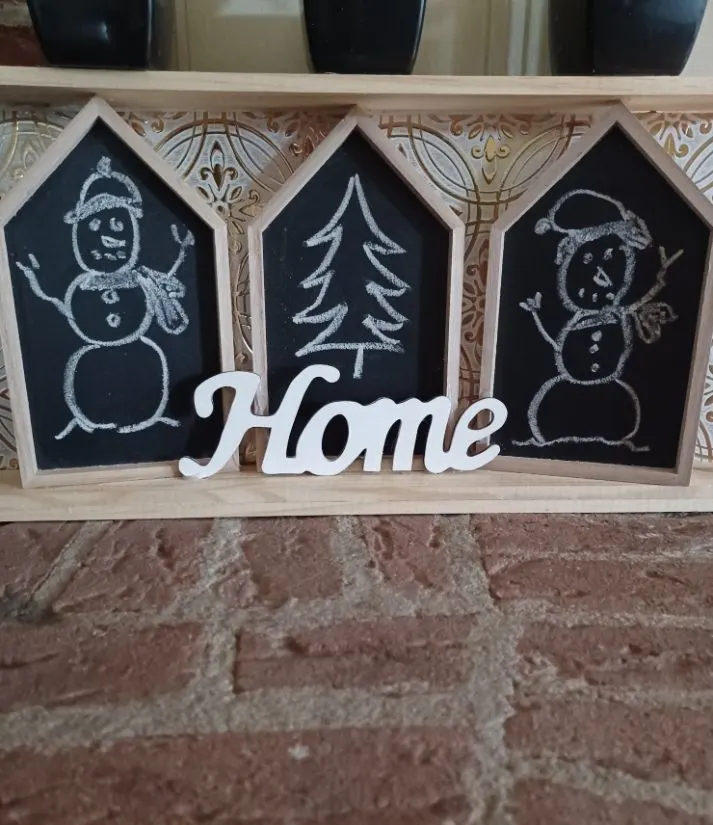
I will show you some examples below of how it can become multi-seasonal.
But first I will show you that you could also hang this on the wall if you wanted. I chose to let it sit so I can move it around the house.
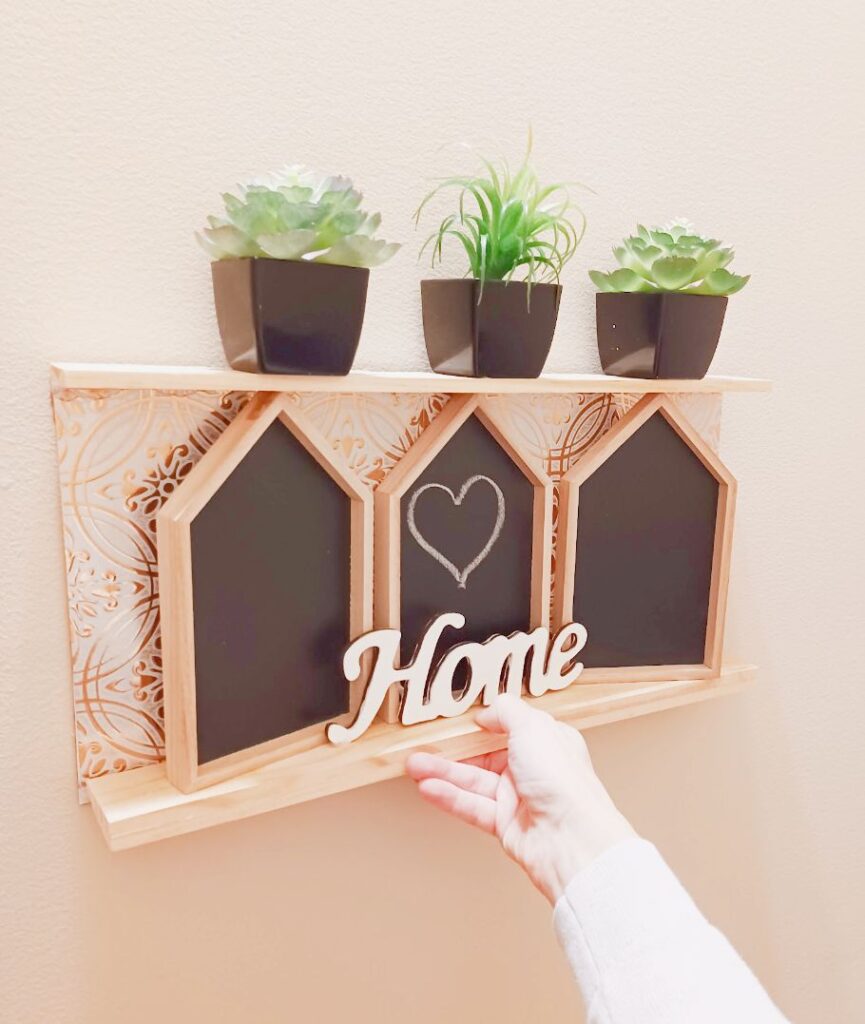

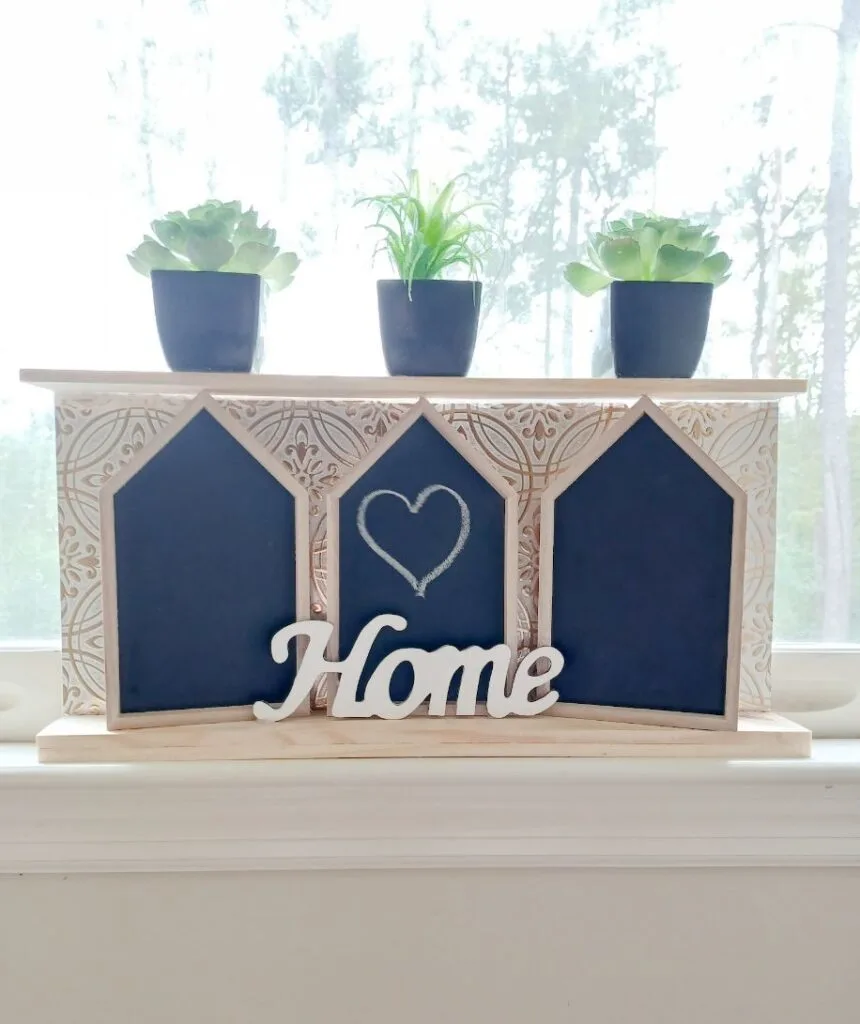
So for my first idea I kept it simple, just a heart.
Forgive the lack of talent with my drawing skills but here are examples of multi-seasonal uses:

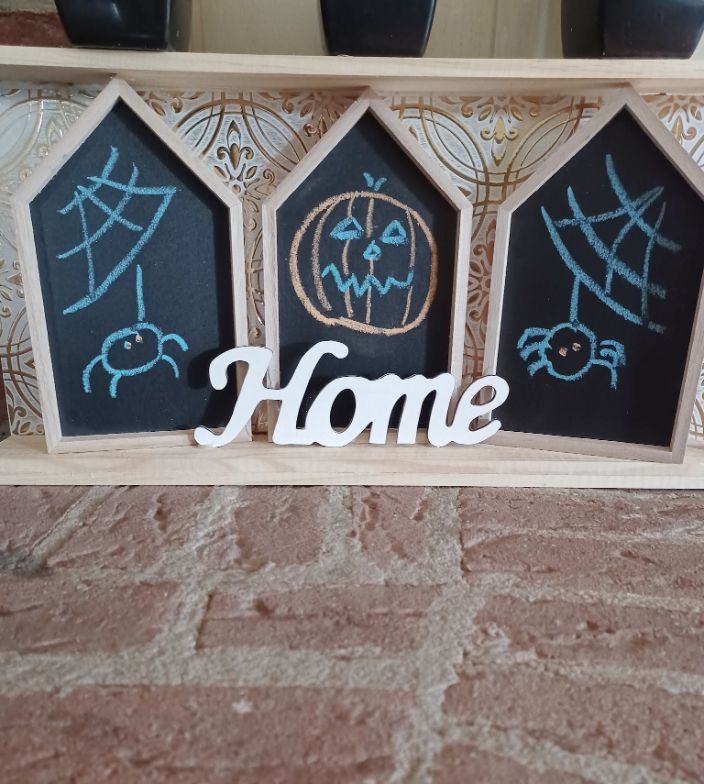
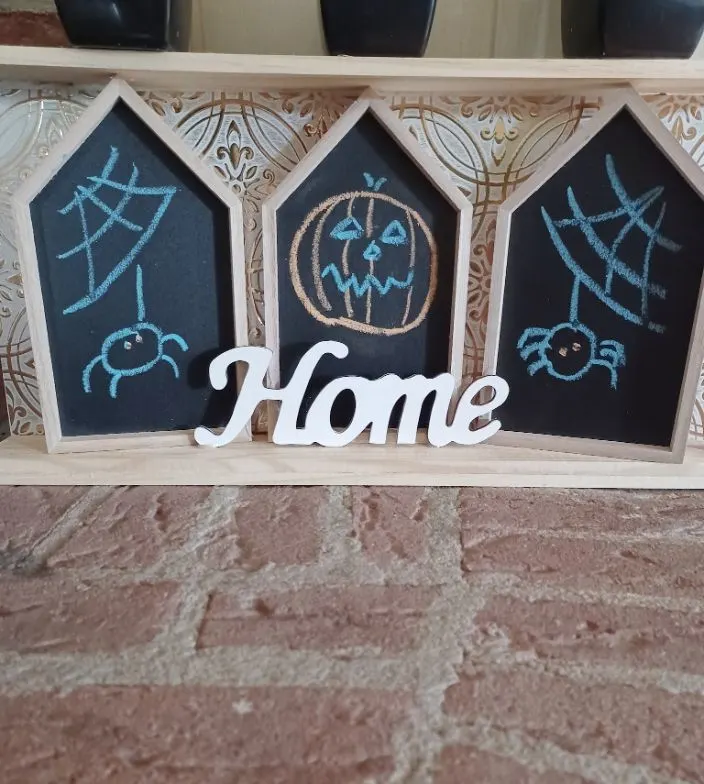

There are more clever uses for this cute sign!
- Write I love You on them to send a message to your family.
- Use for reminders of events.
- Use for holiday or birthday countdowns.
- Simply leave plain.
- Could paint windows and doors on the houses for permanent decor.
- The daily menu
- Wifi password reminder
- Daily chore reminder
- Happy birthday sign
- Happy anniversary
- Give as a housewarming gift
- Use as a birthday gift
- A date night craft project for you and your spouse
- A mommy and me craft project idea
- Make one for a boys room with little cars & trucks on top
- Make one for a baby’s room with little bears on top
- Make one for a girls room with small dolls or unicorns on top
Just an FYI if you use this as a date night project idea to do with your partner, I would like to also suggest our post 6 Crafts That Couples Can Do Together for even more date night fun.
This sign is so easy, quick and affordable to make. I love crafts like this that are multifunctional. If you are looking for a beautiful instant gratification project to do in less than an hour and you like the farmhouse style this is for you!
You can’t beat simple and cute!

Looking for more creative DIY craft projects? Have a look at these:
- Modern Farmhouse Faux Wall Garden – Upcycle Craft Project
- Upcycle An Old Bar Stool Into A Cute And Functional Shelf!
- Farmhouse Inspired DIY Plant Holder [Repurposing Craft Project]
Make Your Own Beautiful Living Succulent Wreath Centerpiece! Complete video course by Jeannine Romero now available through Skillshare.