

- Free Video Tutorial – Gratitude Farmhouse Decor Craft - July 25, 2023
- DIY Dollar Tree Bird Feeder Craft - July 4, 2023
- Embroidery Hoop Organizational Wall Art - February 28, 2023
Are you looking for a budget Easter craft to do this Spring? Well, here is a super budget-friendly, low-stress, Easter wreath you can create in less than 30 minutes. This is one of the easiest Easter decorations you will find.


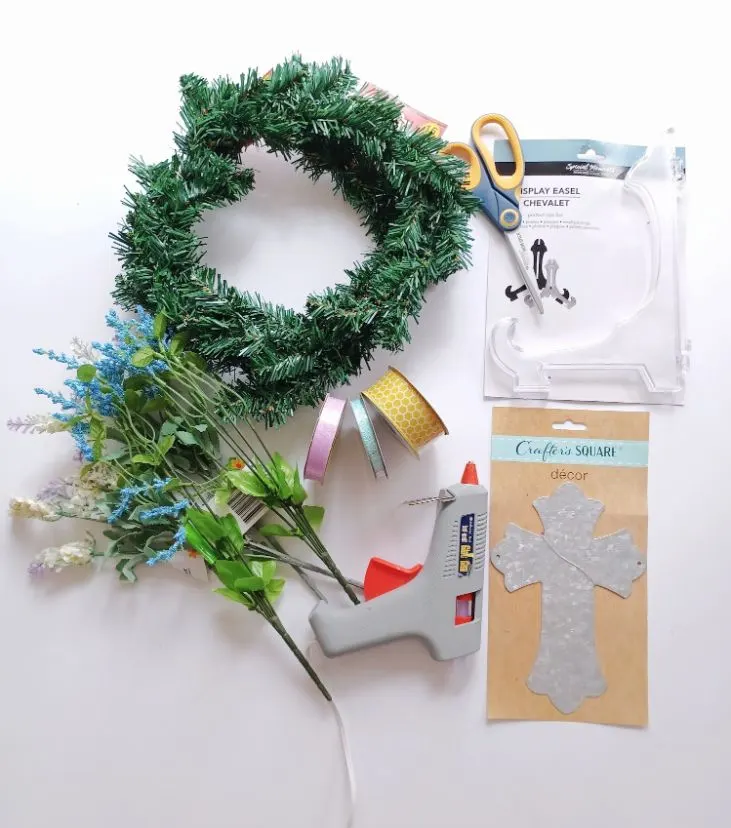
The main supplies for this project (not the glue gun or scissors) came from Dollar Tree. Dollar Tree is an excellent choice for budget-friendly Easter crafts!
They have a wide variety of items perfect for crafting, such as colorful paper, ribbons, fake flowers, wreaths, decorations, and more. Plus, everything is just a dollar twenty-five, so you can stay within budget while still being able to make something special.
This Easter craft costs under $10 dollars to make.
Supplies Needed:
- Fake flowers (I got 4 individual bunch stems)
- A Crafters Square metal cross, bunny, or any other Easter metal shape you would like
- Scissors
- Display easel (I liked the clear one but they have other colors too)
- Ribbons
- 2 small wreaths (I bought both of these for .50 cents on clearance at Dollar Tree after Christmas) but they have plain wreaths all year.

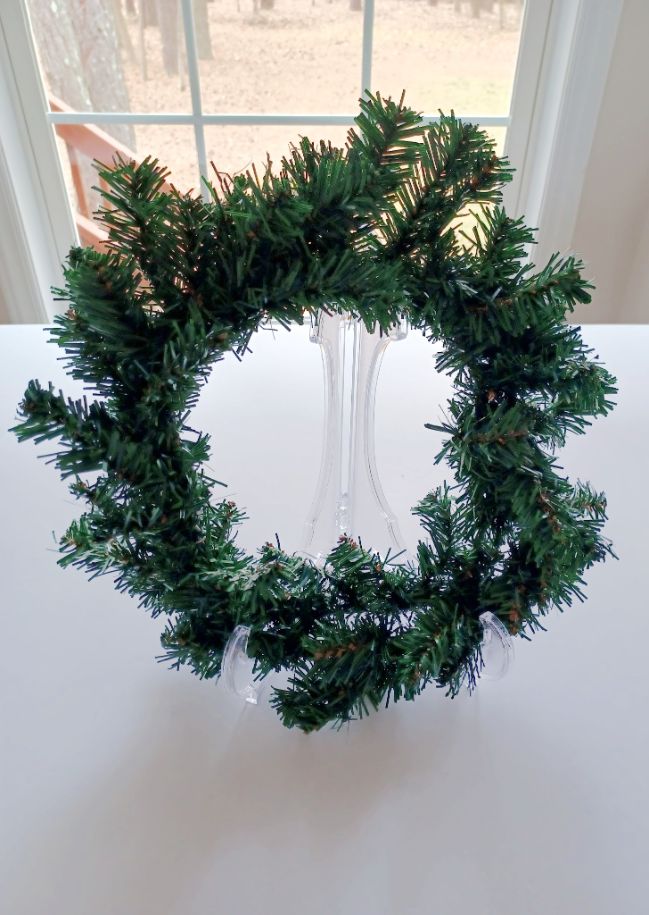
Step one
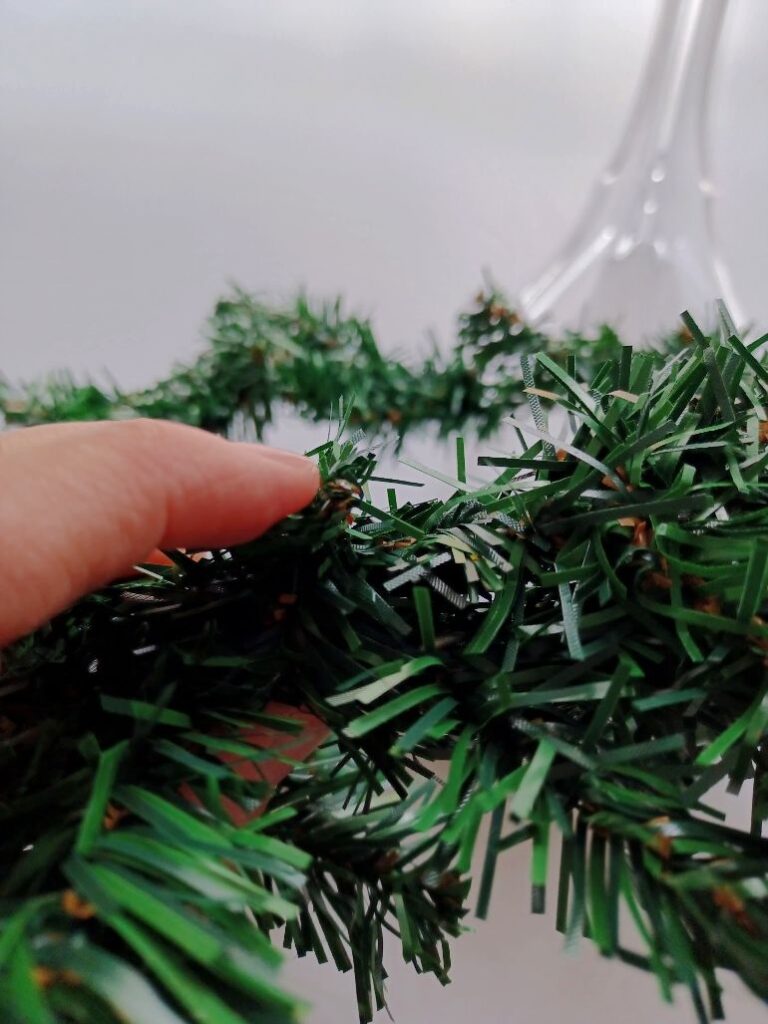
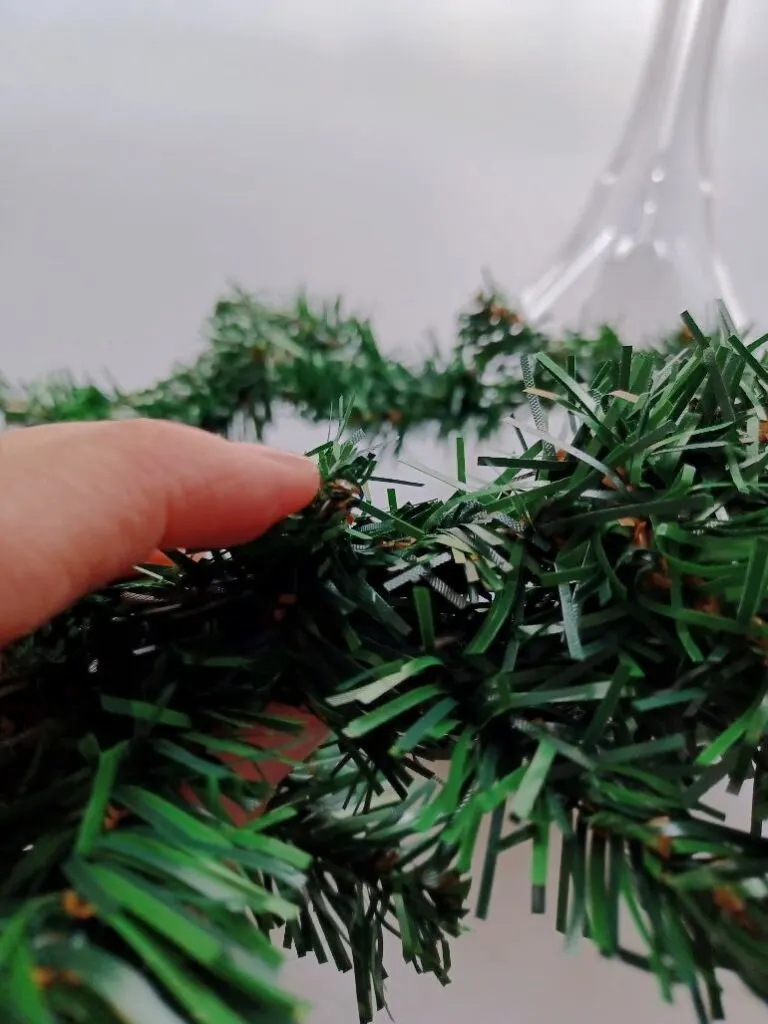
Take the two small wreaths and place them together and fluff.
So the wreaths I bought are kind of thin so I bought two to add together. I shaped them into squares to fit well in my display easel. By the end of the craft, they will not look square.
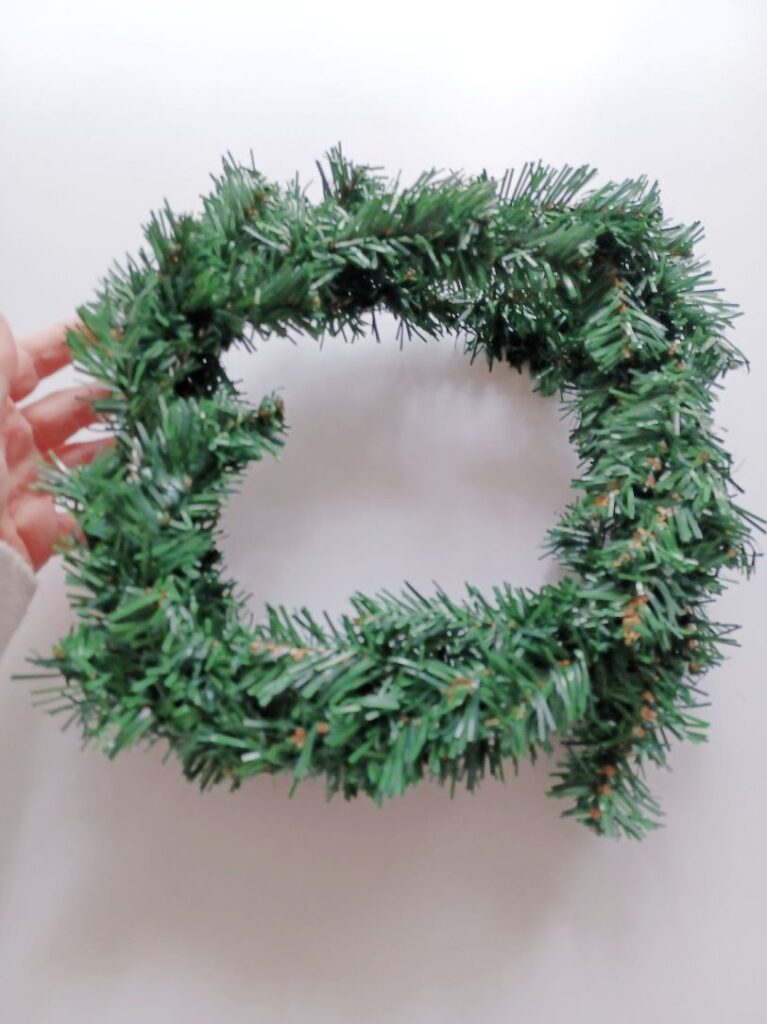
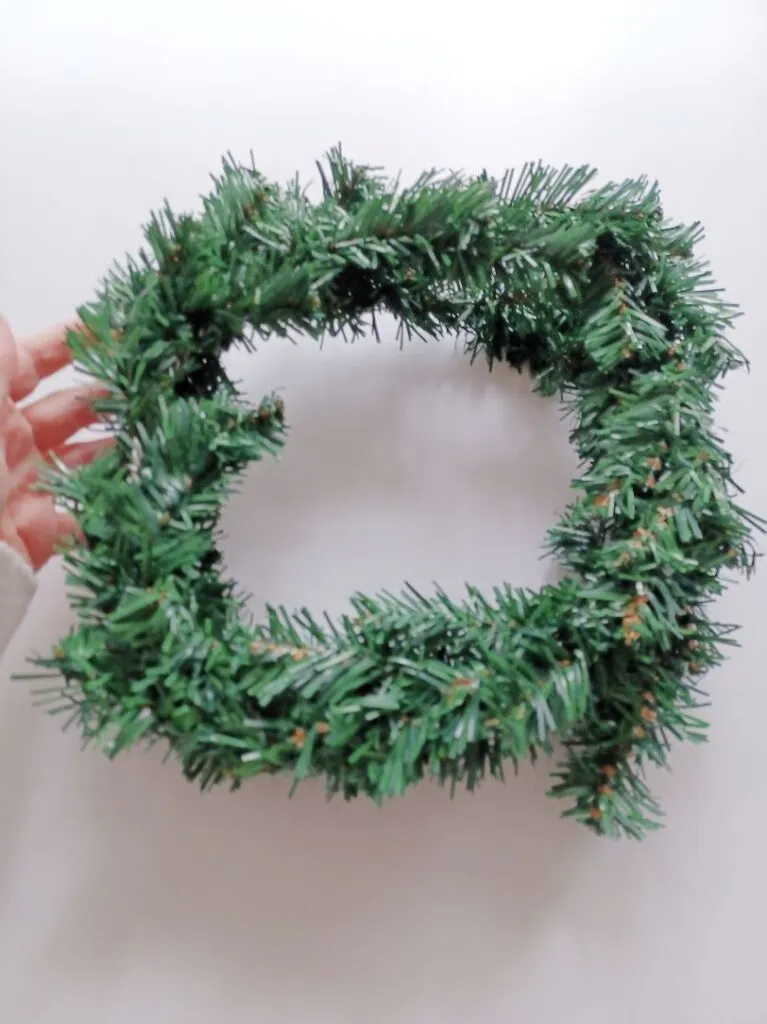
Take the two, add them together and take some of the stems and wrap them around the other wreath. It will hold them securely into place with no glue or wires required.

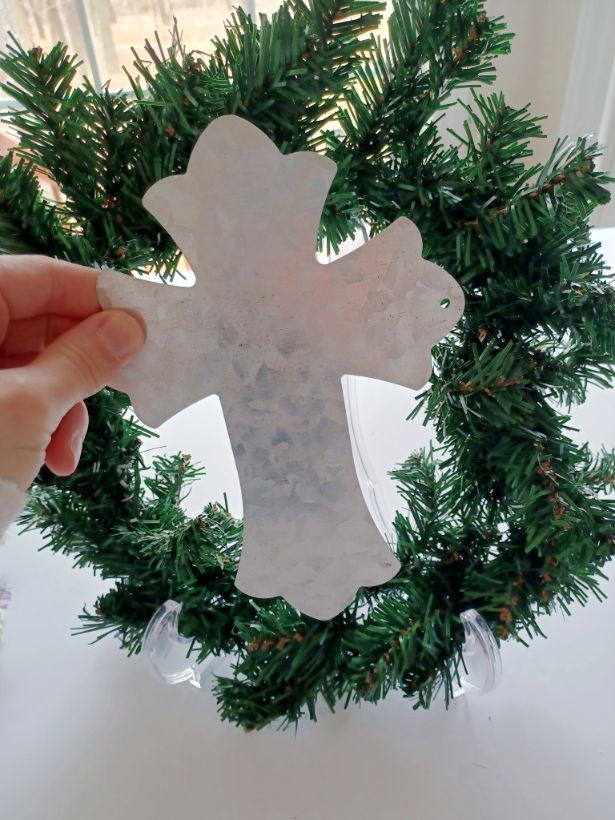
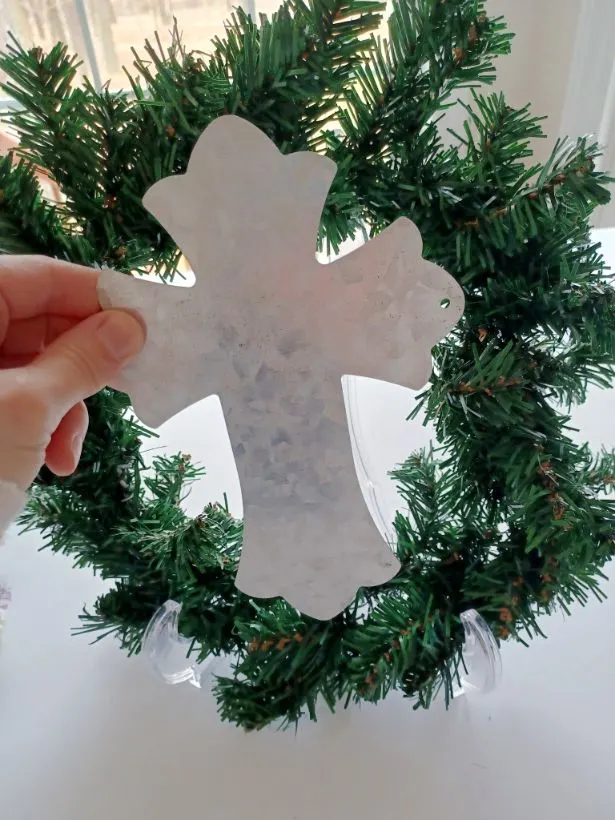
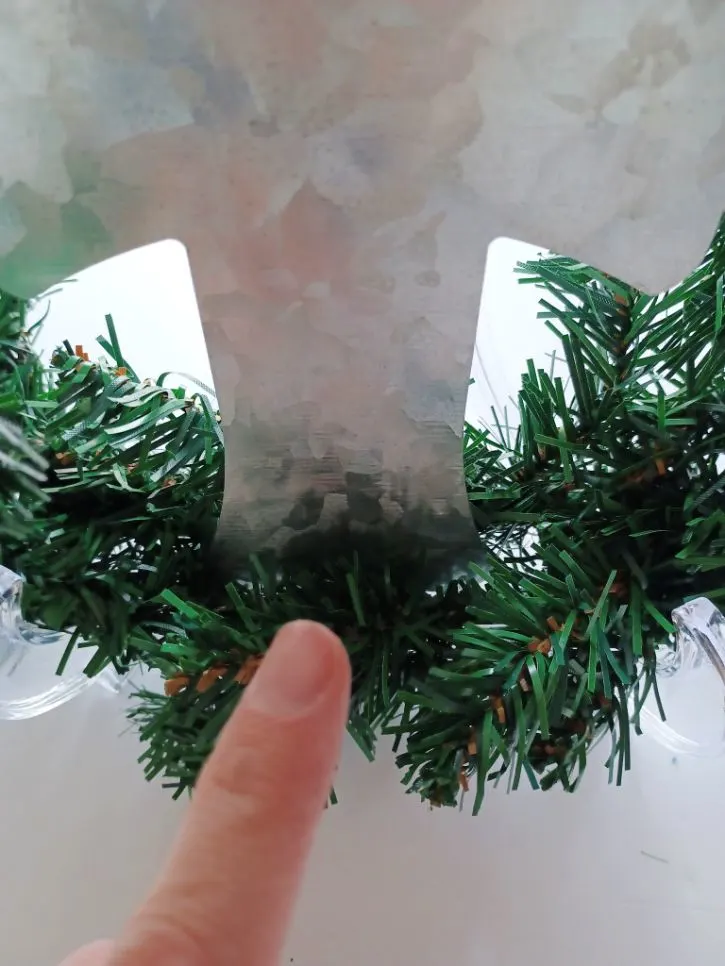
Step two
Place your metal shape into the wreath.
Take your metal shape and simply slide it into the wreath slightly in between the two. You can shape the different stems in different directions prior if you have not done that yet. The two wreaths twisted together hold the metal decoration nice and firm on its own.

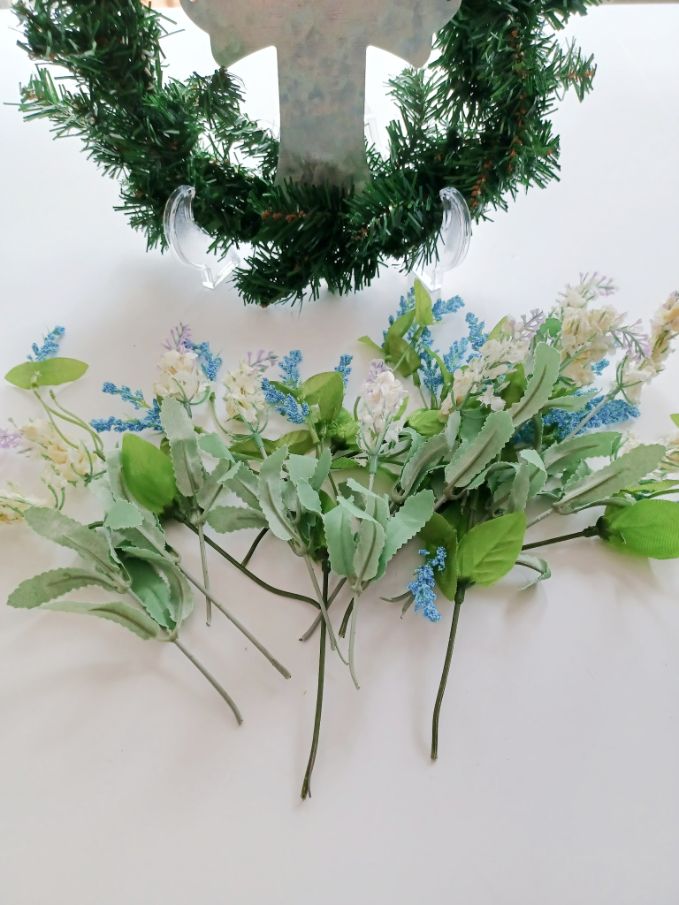
Step three
Add in the flowers.
Take and break off most of the stems and leave just the amount you need to poke into the wreath to create the look that you want.
Do not forget to slide the leaves if you want them up before breaking off the stems.
If you stuff them down into the wreath, they are not going anywhere. If you really want you could glue them but they are firmly in place if you stuff them in at an angel as you will see in the pictures.

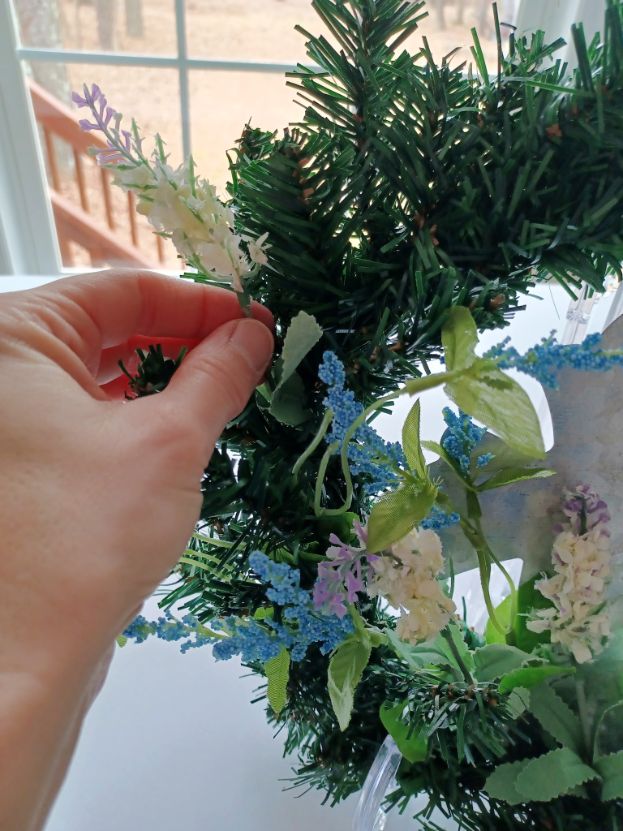
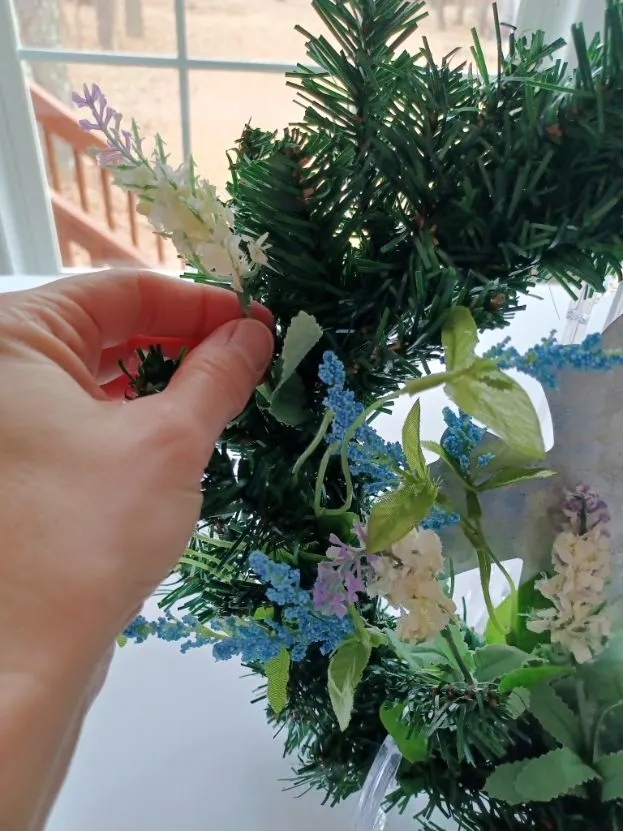
Since this will just sit on a shelf or table without being moved around I chose not to use glue. However, I do recommend glue for extra measure, if you want to make this for your front door.


Step four
Make your ribbon.
Decide what color ribbons you want to use for your wreath. I had three because when I was planning this out I did not know which one I wanted to use.
So I bought all three with the intention to use the extra in future crafts. Dollar Tree has a surprisingly good quality assortment of ribbons to choose from.
I just loved the bright yellow honeycomb-designed ribbon. I thought it would make a bold Spring statement in my craft so I chose that one.
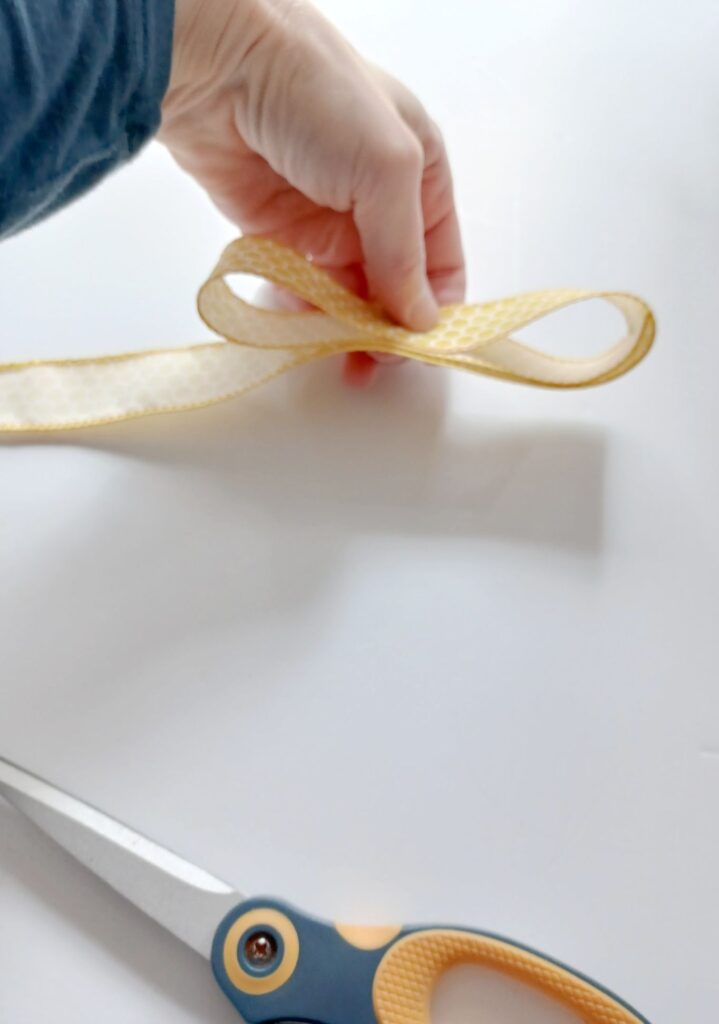
First, you fold under the size you want for your bow and cut. Glue in between the folds in the center with one drop of hot glue.

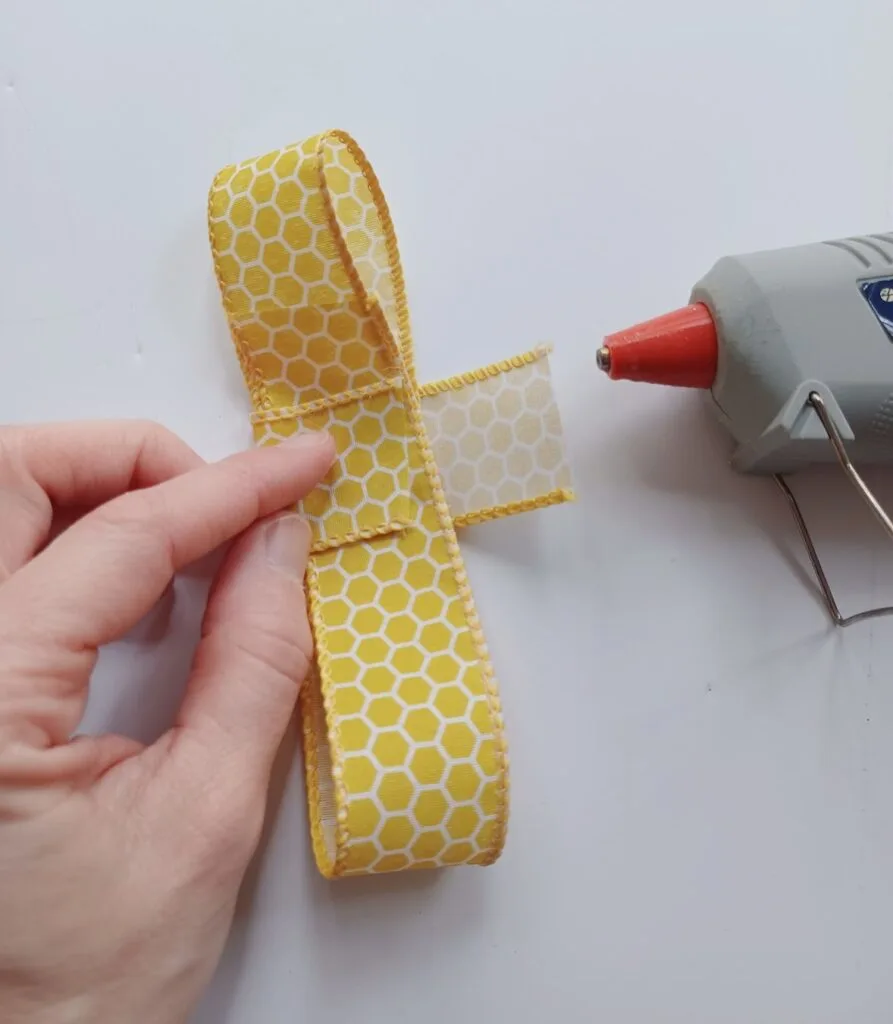
Cut another small piece for the center. Place it center to the front of your bow. Fold the edges behind it and tack with glue.

Cut two equal strips for your bow. Tack them with glue behind your bow.
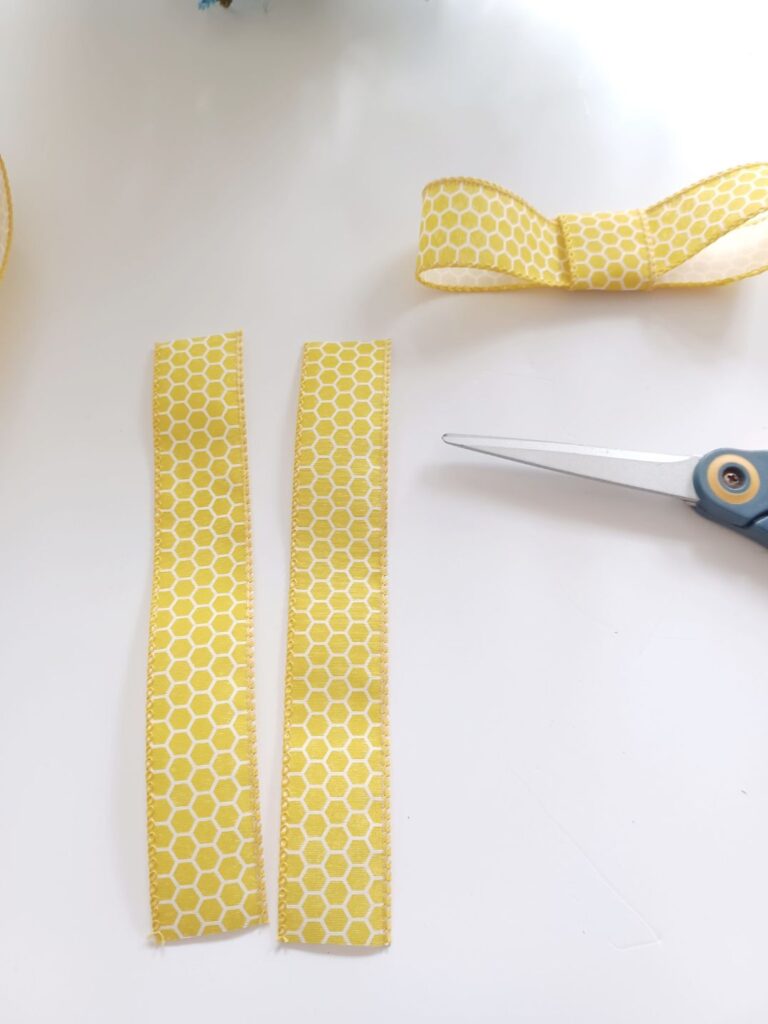

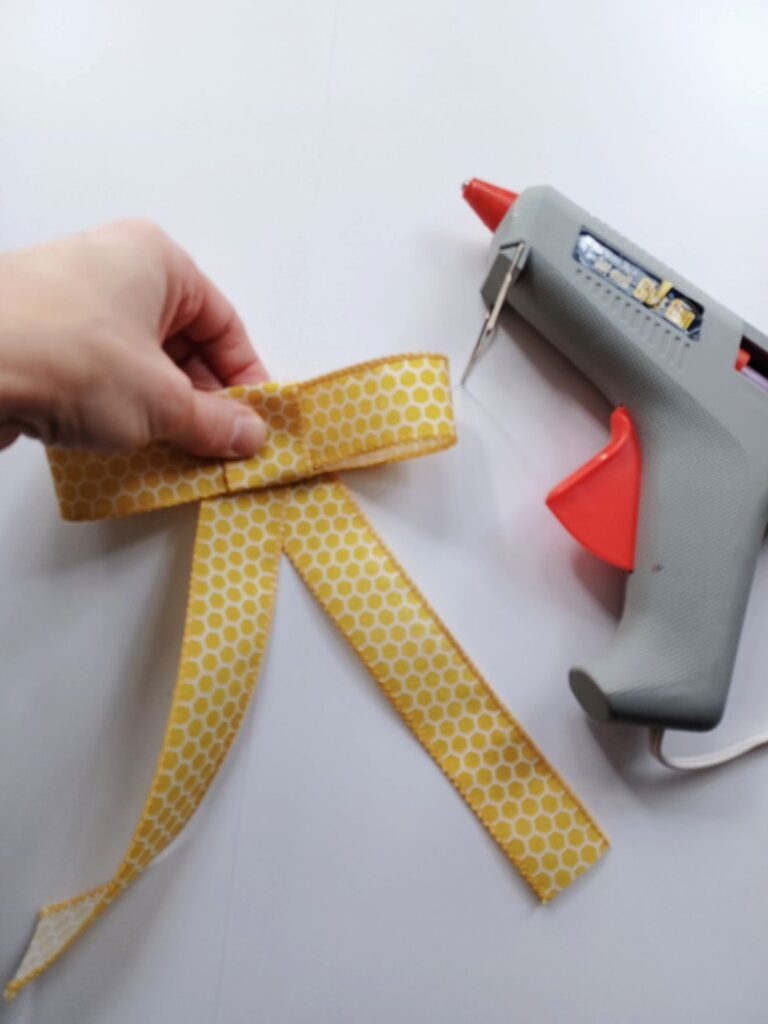

Cut a v shape at the end of each side of the bow if you desire. I personally think it makes the bow look more complete.
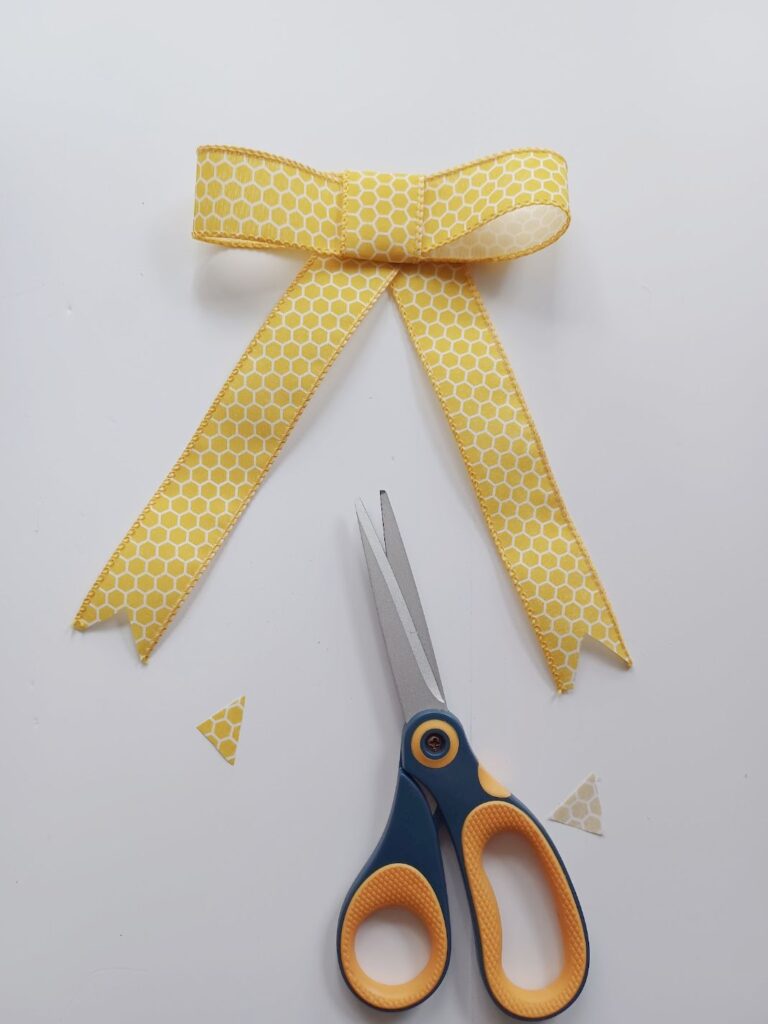
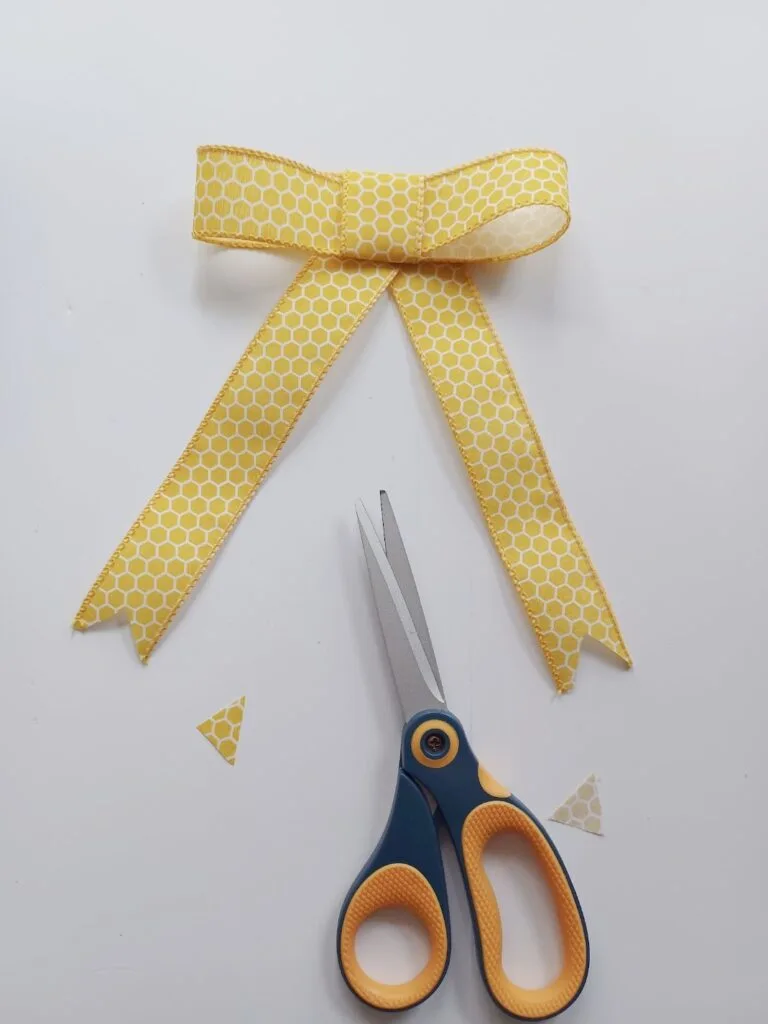
Now just stuff the bow into place. Slide it in between stems and it will hold in place.
I love how this quick and easy project turned out!


Take a look at these other creative DIY projects that we’d done:
- DIY Spring Mushrooms Craft Project
- Don’t Worry Be Hoppy Spring Decor (with free printable)
- DIY Fairy Garden Nightlight Craft Project
Make Your Own Beautiful Living Succulent Wreath Centerpiece! Complete video course by Jeannine Romero now available through Skillshare.