

- Free Video Tutorial – Gratitude Farmhouse Decor Craft - July 25, 2023
- DIY Dollar Tree Bird Feeder Craft - July 4, 2023
- Embroidery Hoop Organizational Wall Art - February 28, 2023
Recycling old holiday decorations is a great way to get extra use out of them. If you have kids or grandkids, they might enjoy this project too! This project is fun and easy to put together.
I had recently done the Recycled Holiday Winter Snow Angel. In that project, I took a little bit of old fall, Halloween, and Christmas decor and made a winter-themed centerpiece. This time we are yet again using old holiday items to make a craft that is fast and easy to make, just the way I like it.
I had paint left over from that first project. I also had an old pumpkin Halloween sign decor and the more I looked at it, the idea of the snowman came to me.
I challenge you to look at what holiday items you have from the past that you may be disenchanted with and no longer want. Reimagine what they could become.
Kids may love doing this too. And it is a cheaper project because it will be mostly items you may already have on hand. So now let me show you what I did with the pumpkin Halloween sign.
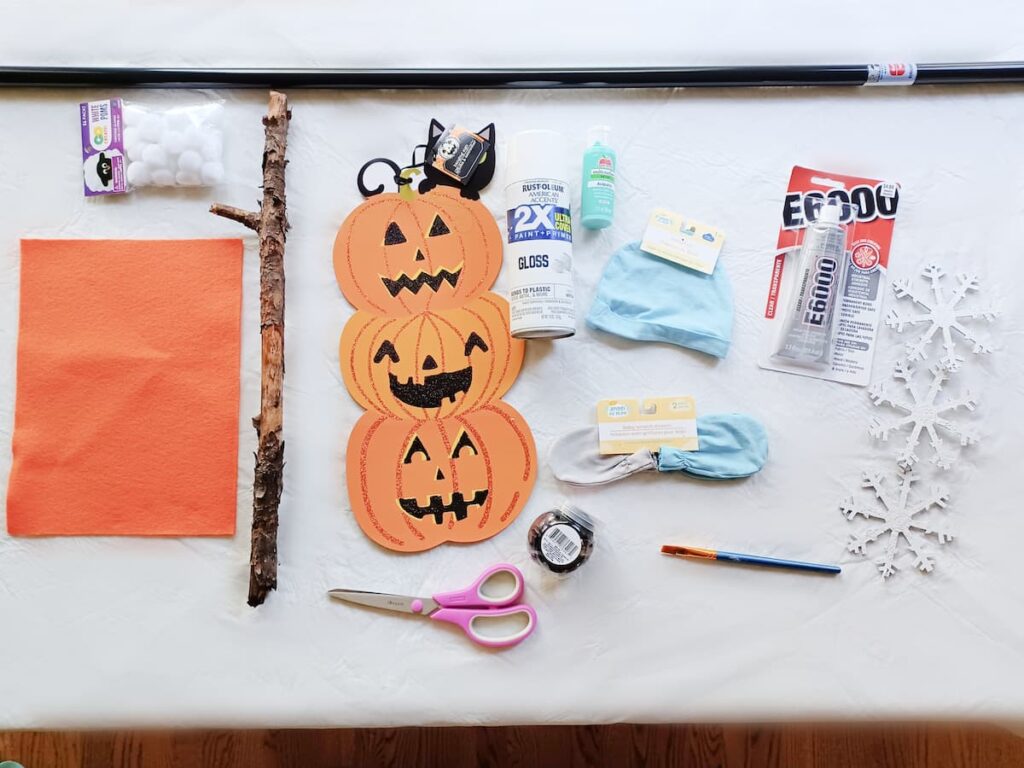
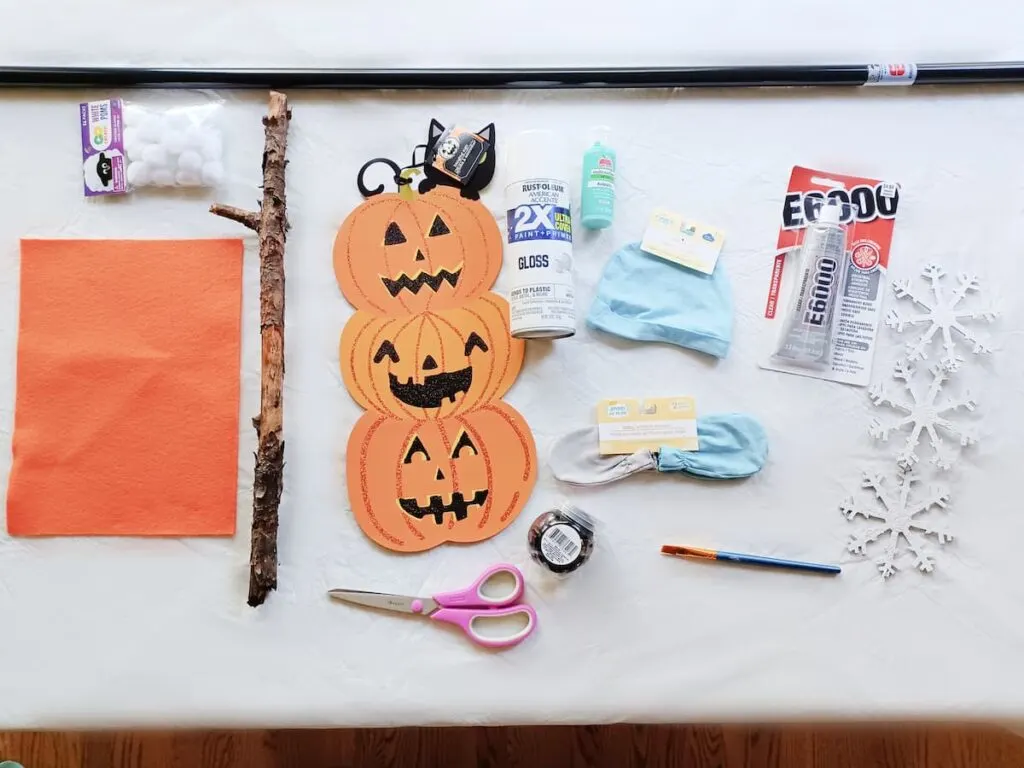
Supplies needed
- A three-stacked Halloween pumpkin sign
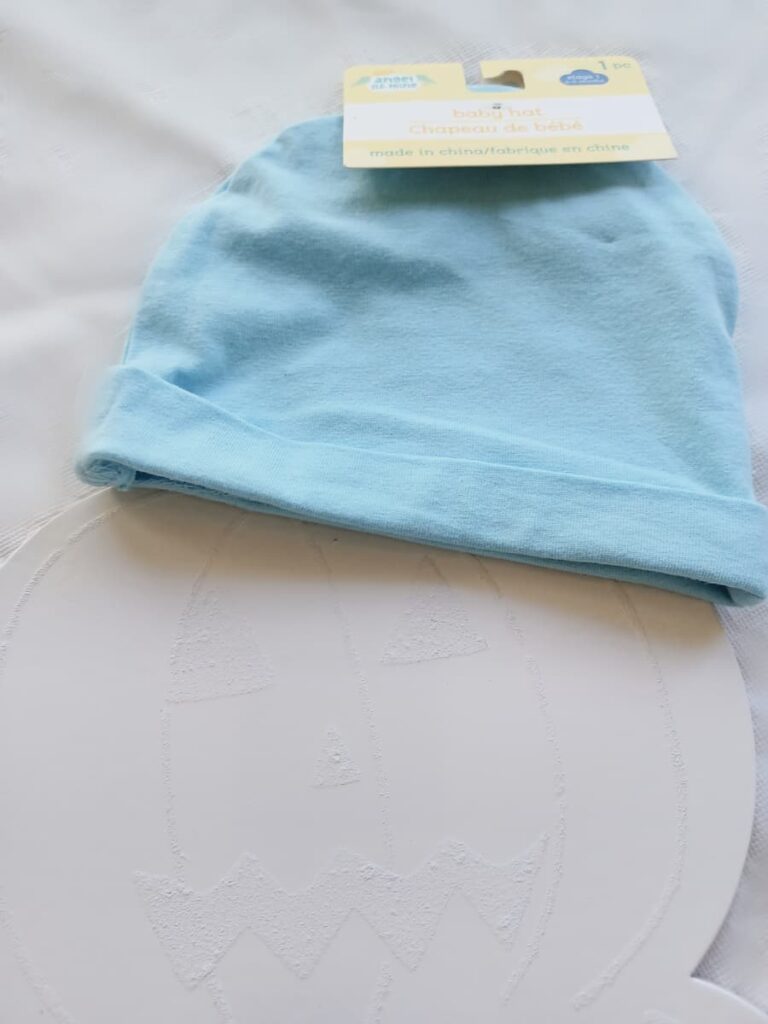
- A baby hat (you can use one you already have or find one at Dollar Tree)
- A pack of baby mittens from the Dollar Tree
- A stick from the yard for the arms
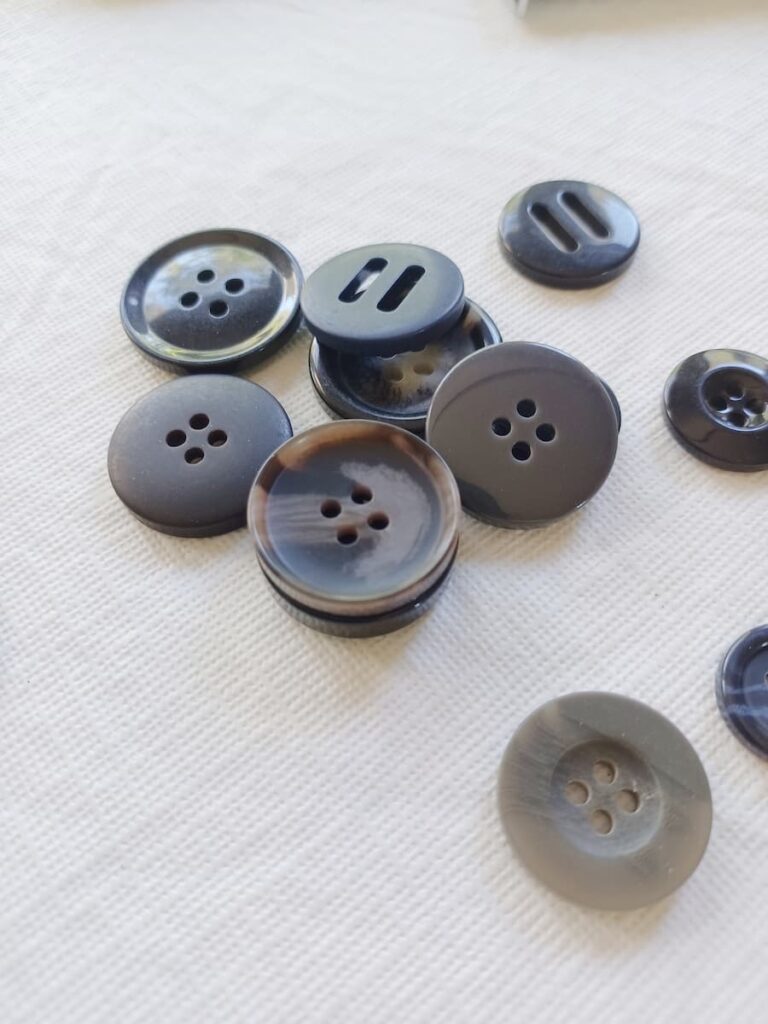
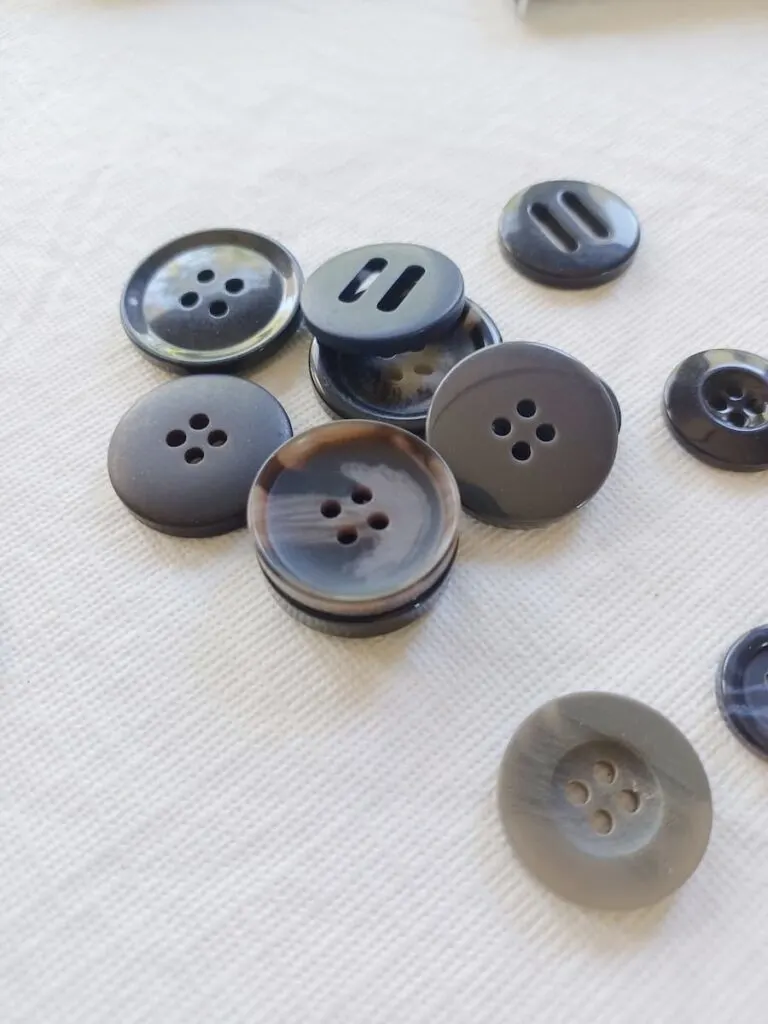
- Black buttons (I bought this jar of buttons at Dollar Tree because I wanted some leftover for future projects)
- One piece of orange felt
- Glue
- A white pom pom
- Scissors
- Wooden snowflakes (I used the ones left over from the Holiday Recycled Snow Angel post) (Link post here)
- An old broom handle you may have around the house or You can purchase one at the Dollar Tree. (This is optional if you want to put the snow friend in the yard). I chose to display my snowman in the window instead.
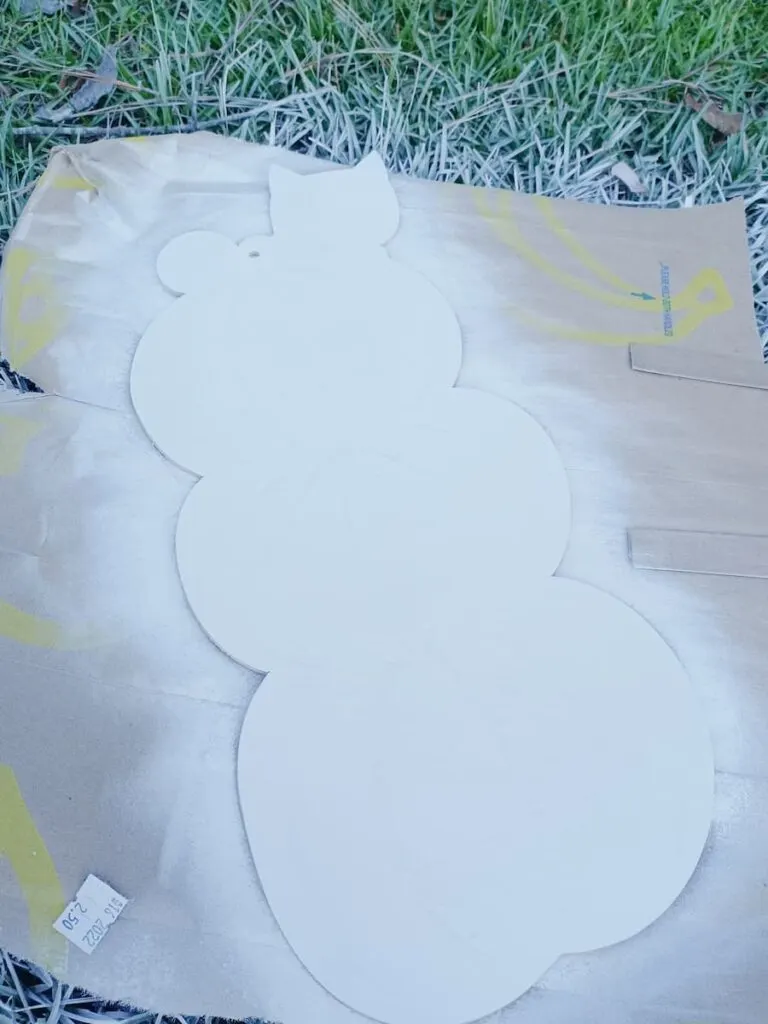
Begin by spray painting the pumpkin sign.
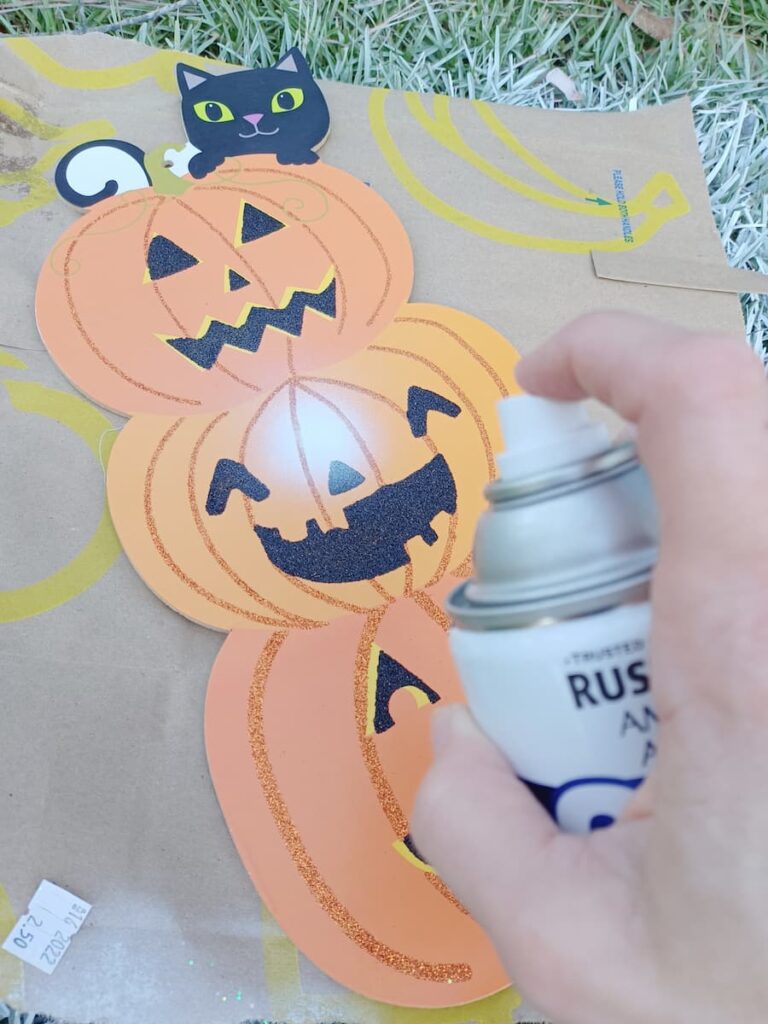

I did a few coats because it dried fast. It coated well.

Now it’s time to begin decorating. This is always the most fun to me. Adding embellishments and accessories to any project.
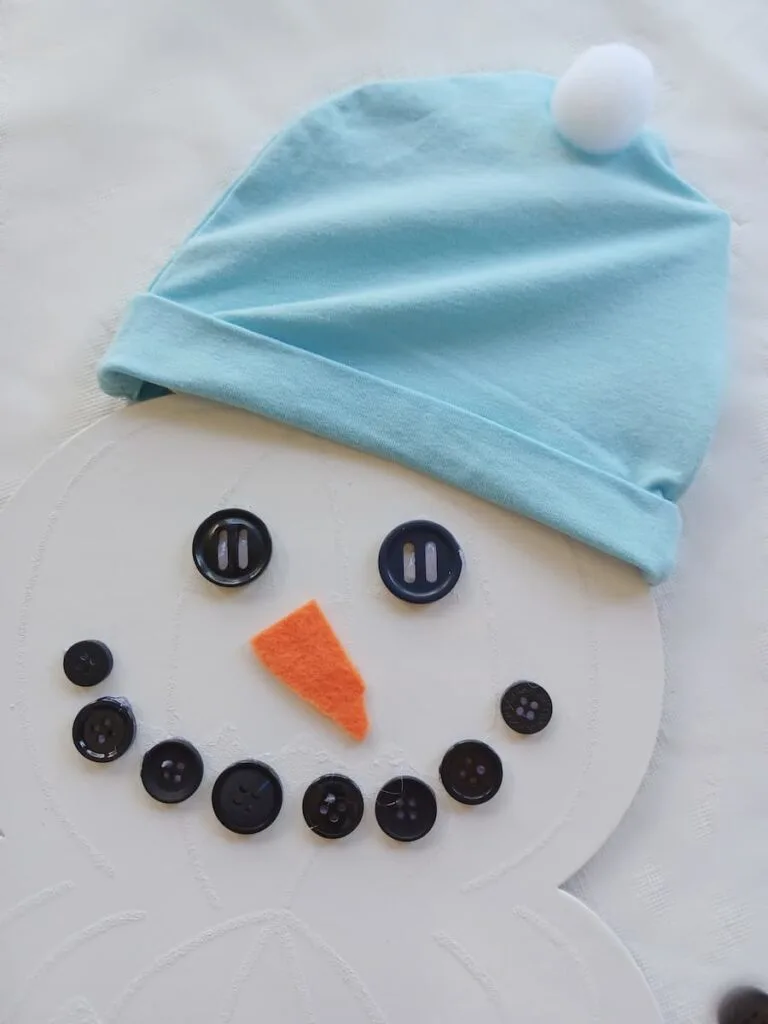
The baby hat will be placed over what used to be the cat peeking at the top of my pumpkins. Take this time to remove the tags from your hat and mittens.

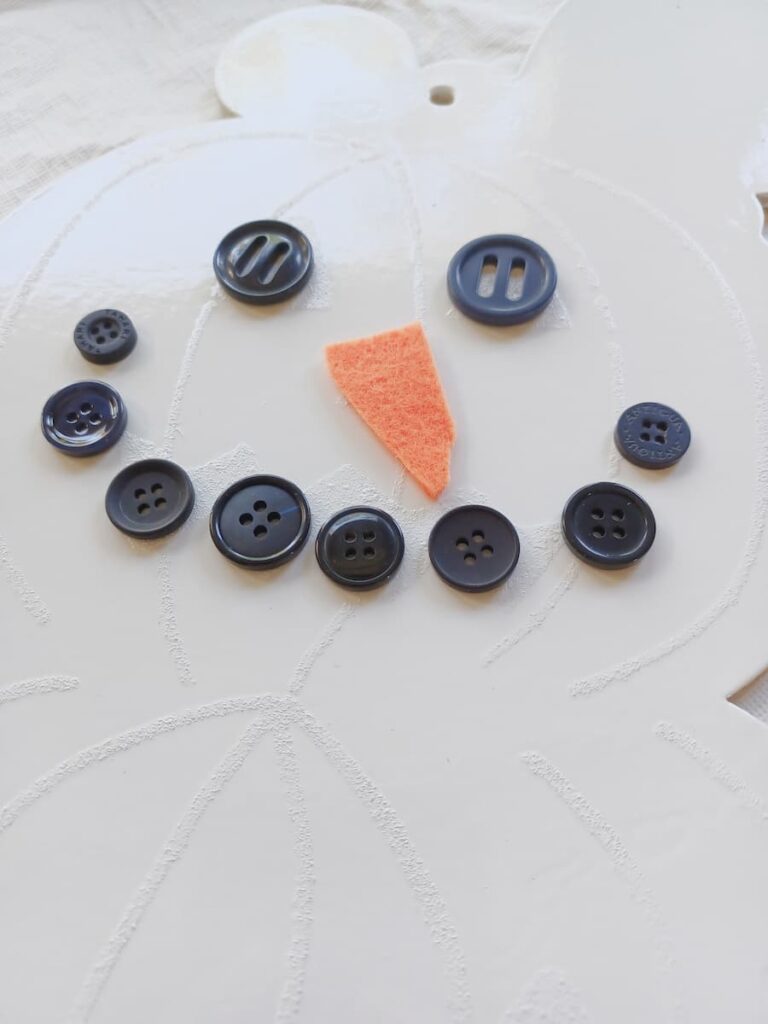
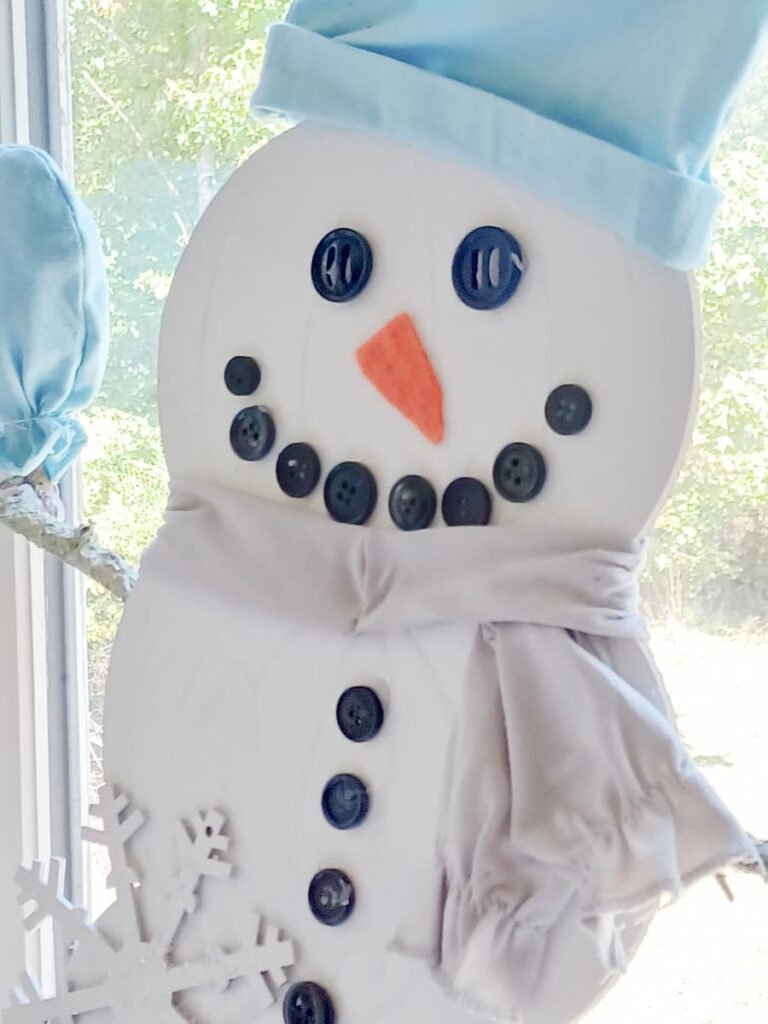
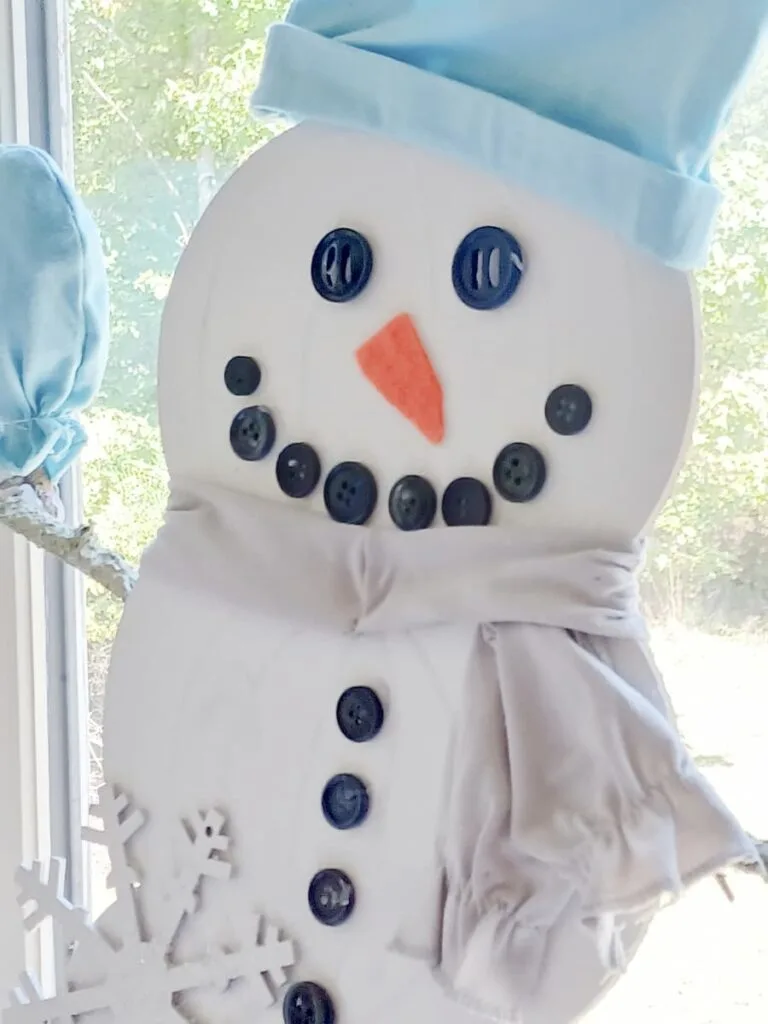
Get your buttons out. You will use these to make the face the eyes, nose, mouth and buttons down the snowman.
Cut your carrot nose from the orange felt.


Glue them all down in the way you want. I chose to put the eyes exactly where the old jack-o-lantern eyes and mouth used to be.

Now glue your hat on. I chose to also glue a pom pom to the top of the hat. I think it makes it look all the cuter and cozier.

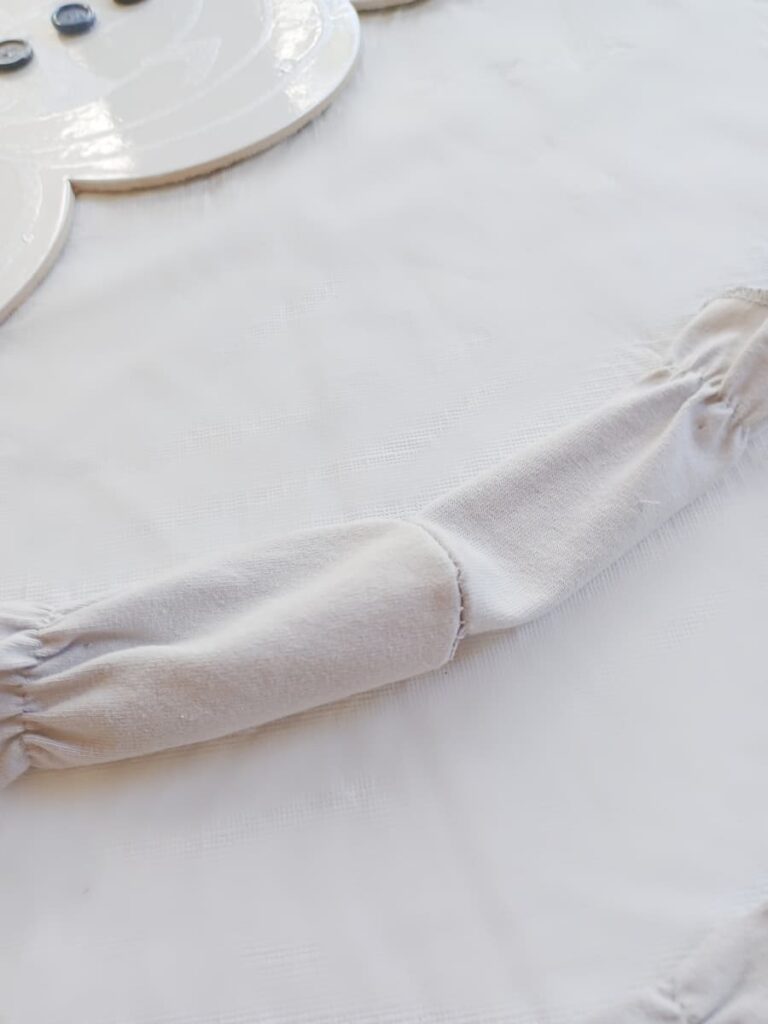
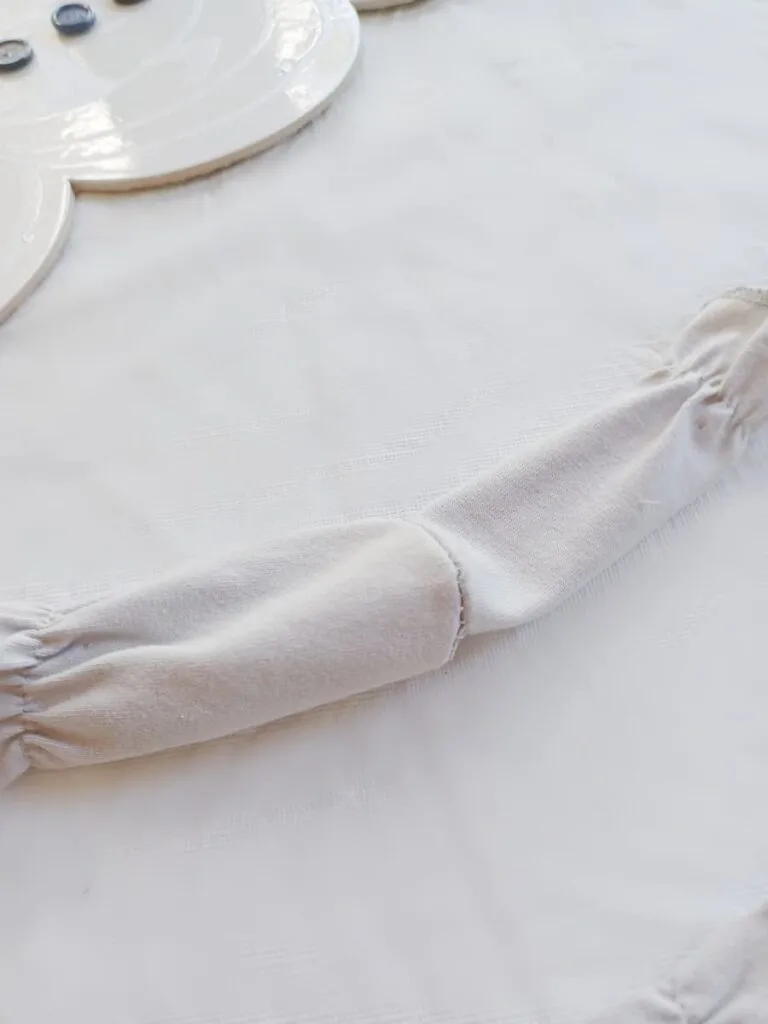
Now for those mittens. Take one pair from the pack and cut them down the sides but leaving them attached at the tip of the mitten.
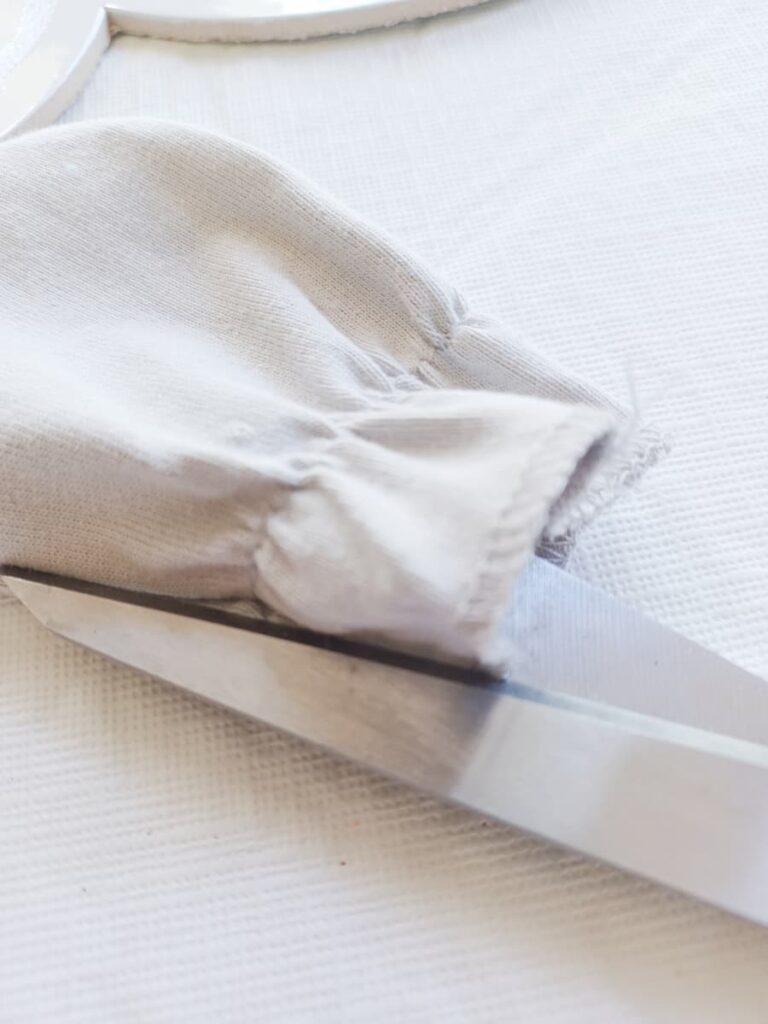

Pull them open. These will be used to make the scarf.

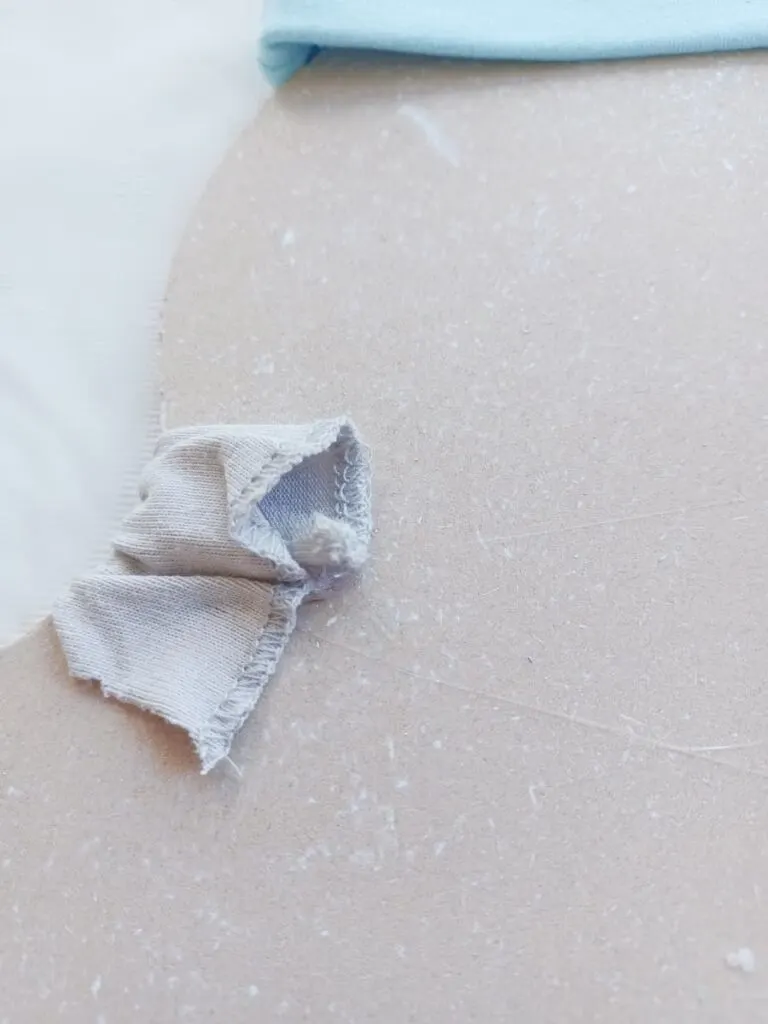
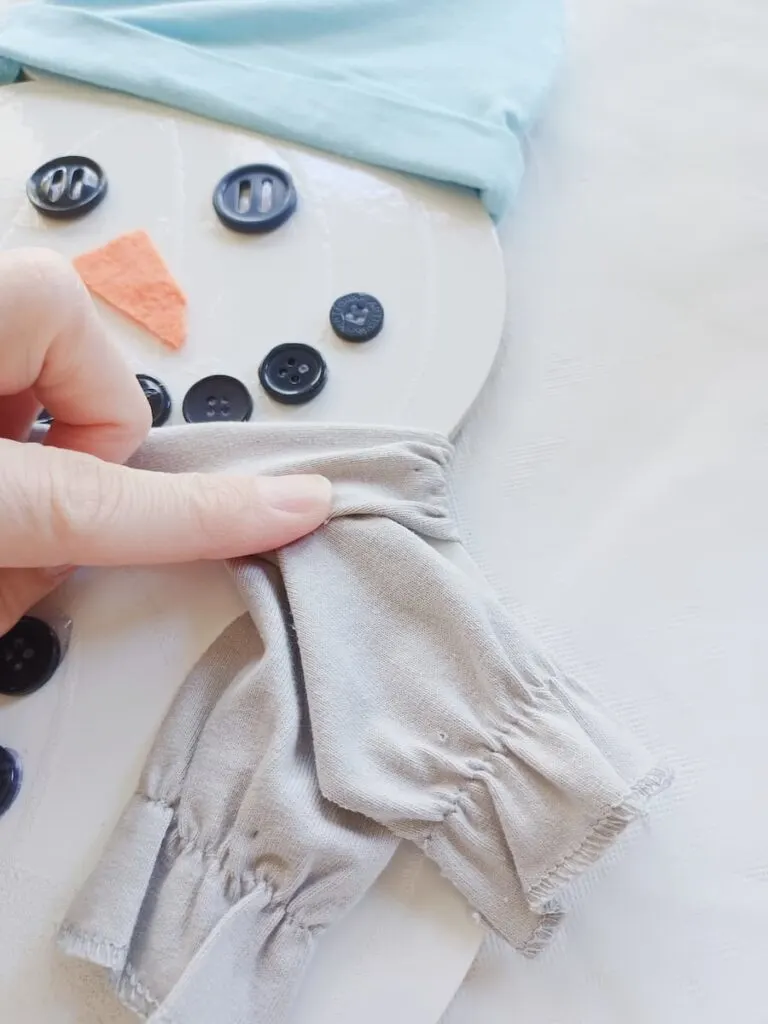
Glue them down to the snowman. There will just be enough to latch on the back side securely.
One will be across the neck, and the other will be used as the hanging tie to give it a scarf appearance. You can glue and tuck the top of it under the other part of the scarf you have already glued around the neck.

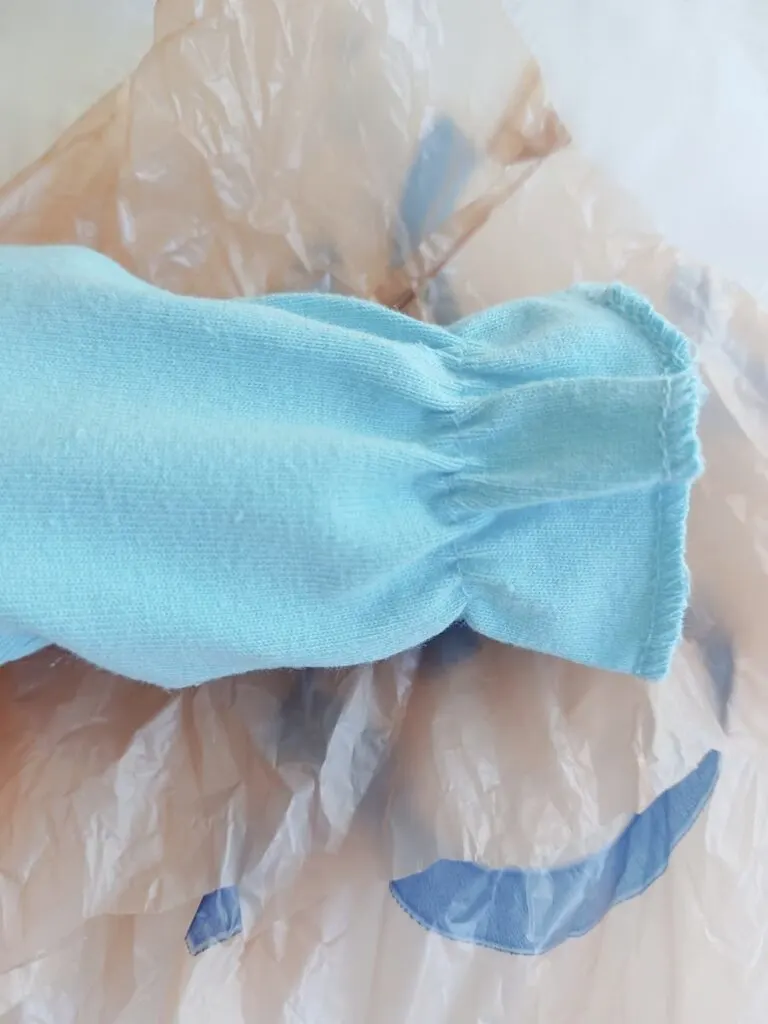
Take the other pair of mittens and stuff them with a cut up plastic shopping bag if you would like it to be puffy. This is optional only and a great way to recycle a bag. You can use the mittens by themselves without stuffing also.

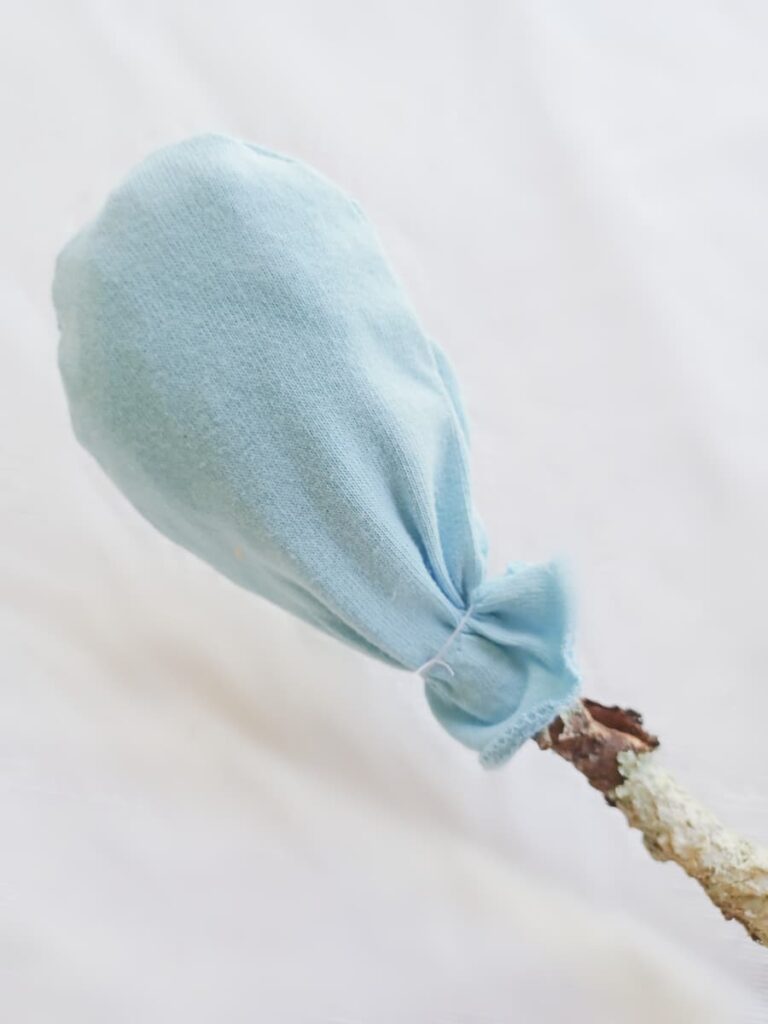
Stuff the stick into the mitten and glue the edges down to the stick. I also took a piece of string to tie it down.
Take the stick or sticks and glue to the back of the snowman. I broke one of the sticks and re-glued them together to make it look like the snowman was waving.

Remember the snowflake ornament we used on the snow angel project linked above? I had three left over already painted. I glued down to add more character to the snowman.
If you have any or anything else you’d like to glue down now is the time.
Also glue your broom handle if you want it to be a yard sign or a potted plant decoration. I wanted mine to be indoors so I left that off for now and saved the handle for later if I change my mind.
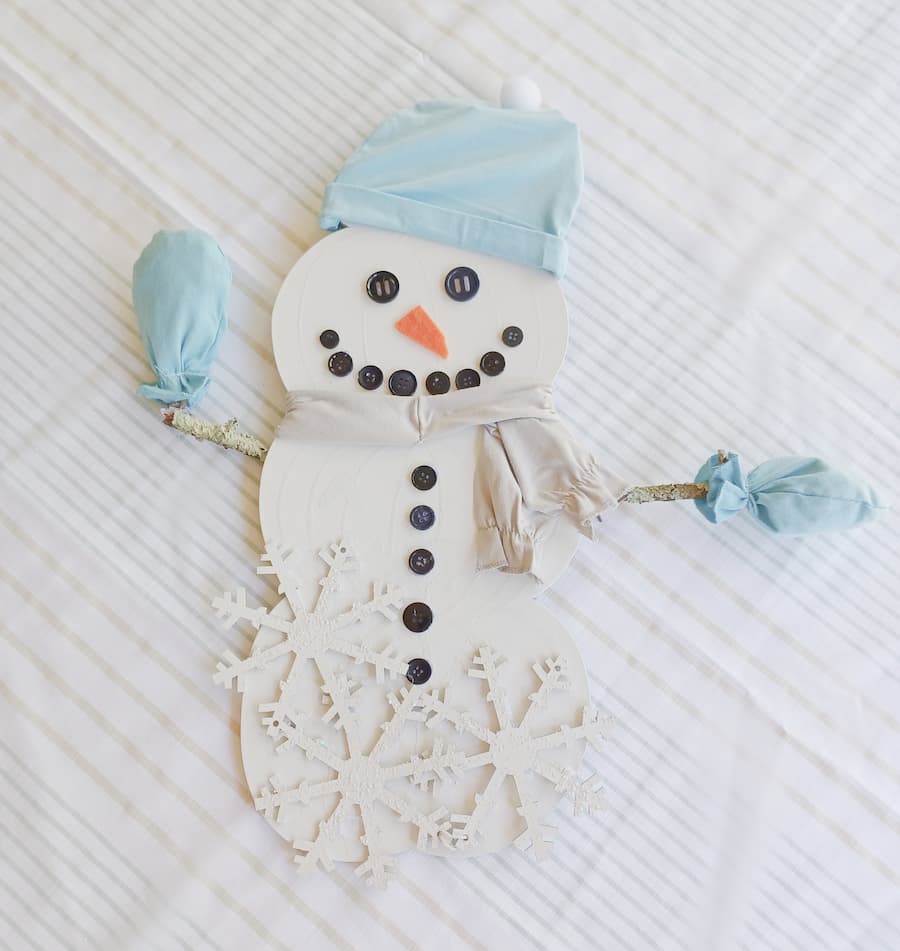
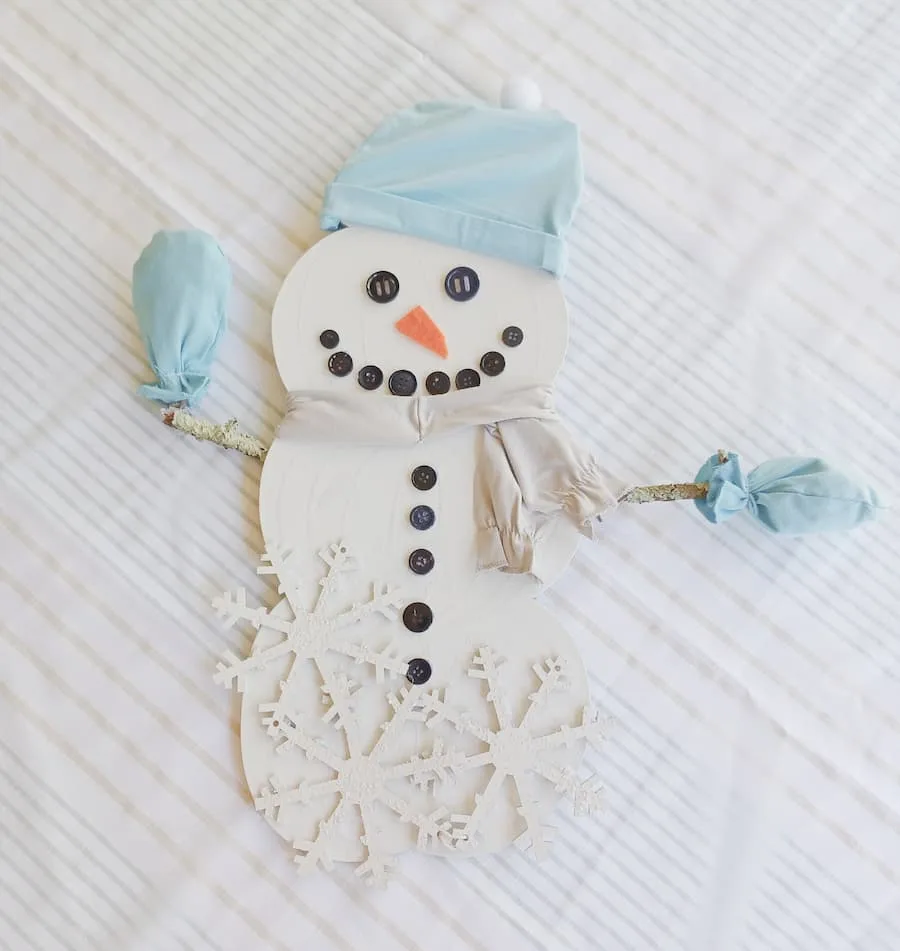
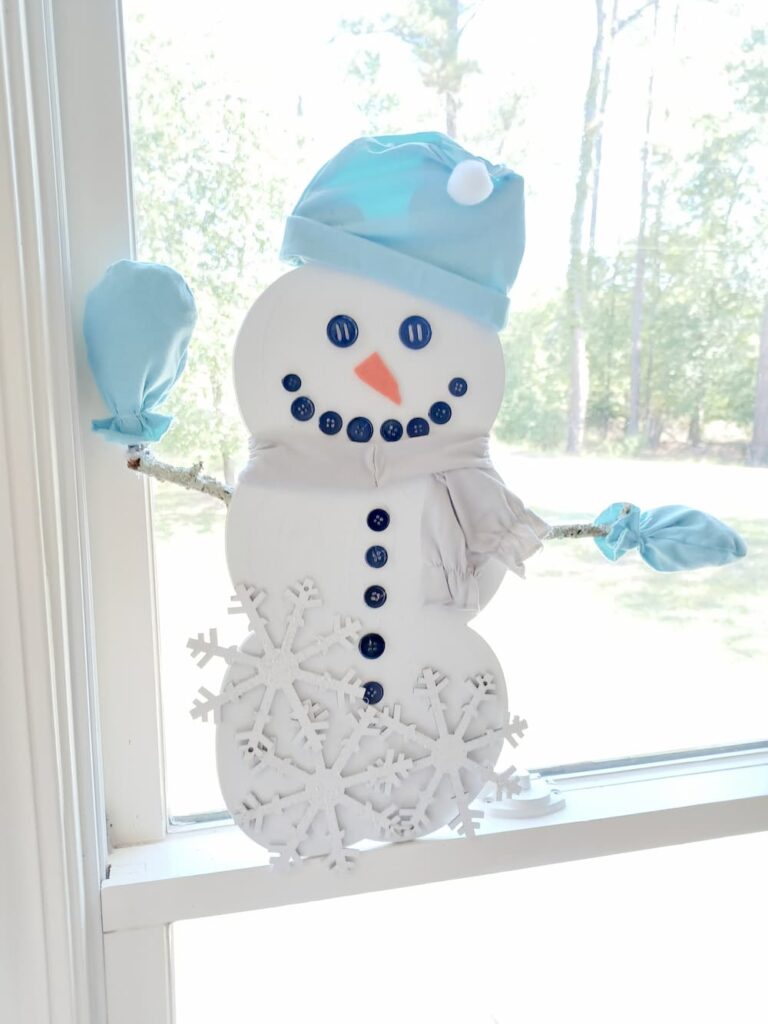
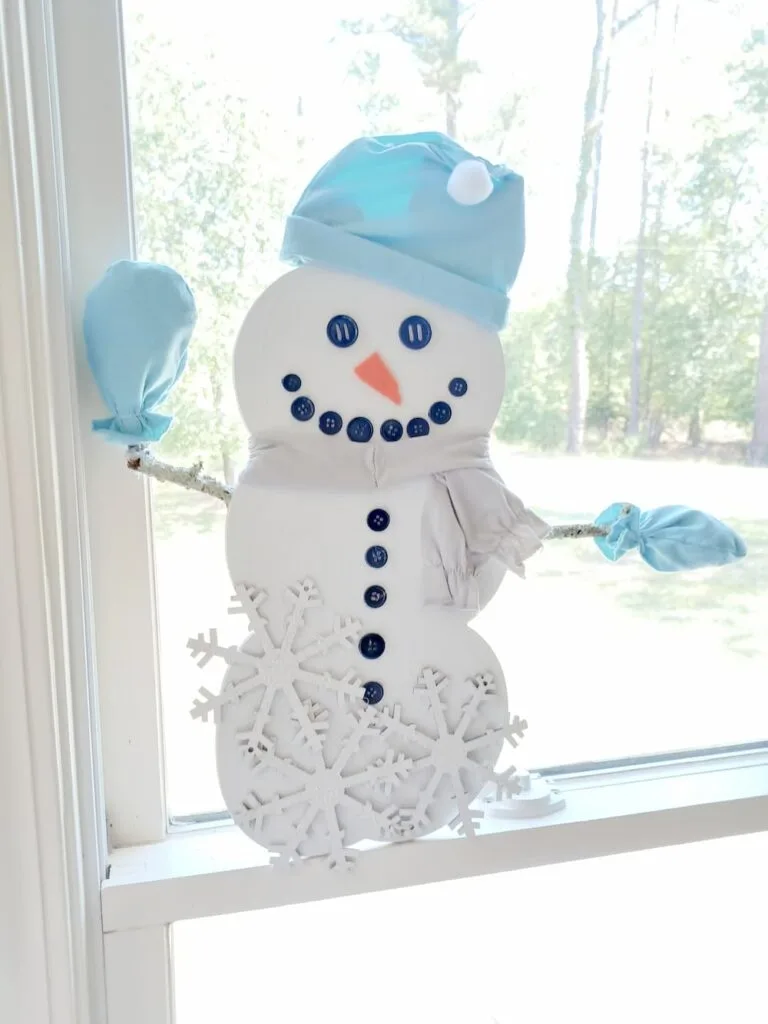
Look at that cute face! This snowman while he is just chillin will bring smiles to everyone who enters the room. This was a joy to make and a joy to look at!
Consider this also:
- Give the snowman with a note attached to a friend or loved one.
- Give the snowman with a happy birthday note attached instead of a typical birthday card.
- Give the snowman to someone in the hospital to bring them smiles.
- Give the snowman friend to someone in a retirement home.
- Give the snowman to someone you know who is having a hard time right now with a note of cheer.
With his wintery smiling face it is hard not to smile back! Enjoy!
Here are some other Christmas DIY Craft Projects you may enjoy:
- Christmas Sock Gnomes: Fun and Easy DIY Craft Project!
- DIY Christmas Cards: Super-Simple Craft Project
- 3 Easy DIY Christmas Craft Ideas With Jar Lids
Make Your Own Beautiful Living Succulent Wreath Centerpiece! Complete video course by Jeannine Romero now available through Skillshare.