


- Free Video Tutorial – Gratitude Farmhouse Decor Craft - July 25, 2023
- DIY Dollar Tree Bird Feeder Craft - July 4, 2023
- Embroidery Hoop Organizational Wall Art - February 28, 2023
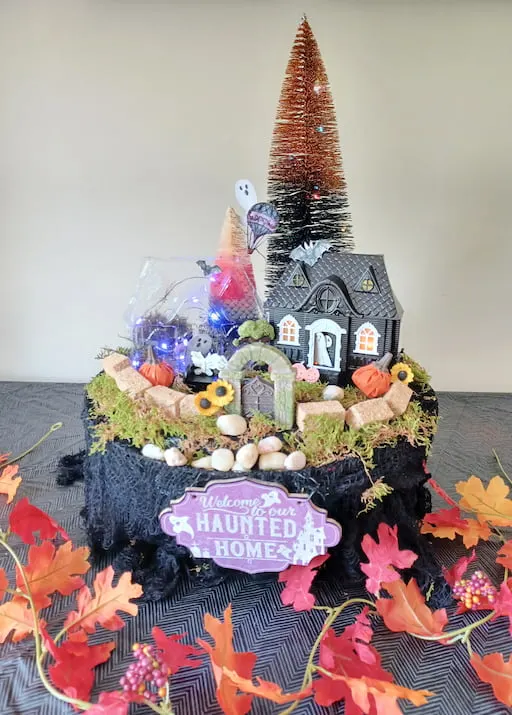
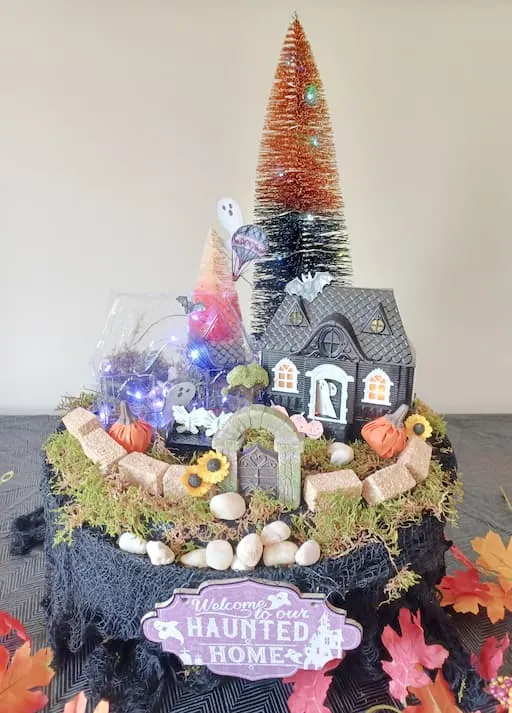
If you have ever wanted to create a centerpiece with a Halloween theme, this is it! And this project has not only one haunted house scene, but two!
This haunted house tabletop scene includes an invisible ghost house next door. This is an adorable Halloween project adults can do with the kids to create a Halloween fun scene that is so cool they will want to become miniature just to go trick or treating there!
This cute Halloween scene with its invisible haunted next-door neighbor gives a lot to look at in its miniature world. October presents so many memory-making fun things to do with kids.

Make sure to add this craft to your list of DIY projects! They will enjoy making this with you while letting creativity flow. Or, if you like, you can make this alone with no kid’s help required. This Haunted House Scene could be used as a party centerpiece or a conversation starter in your Halloween event.

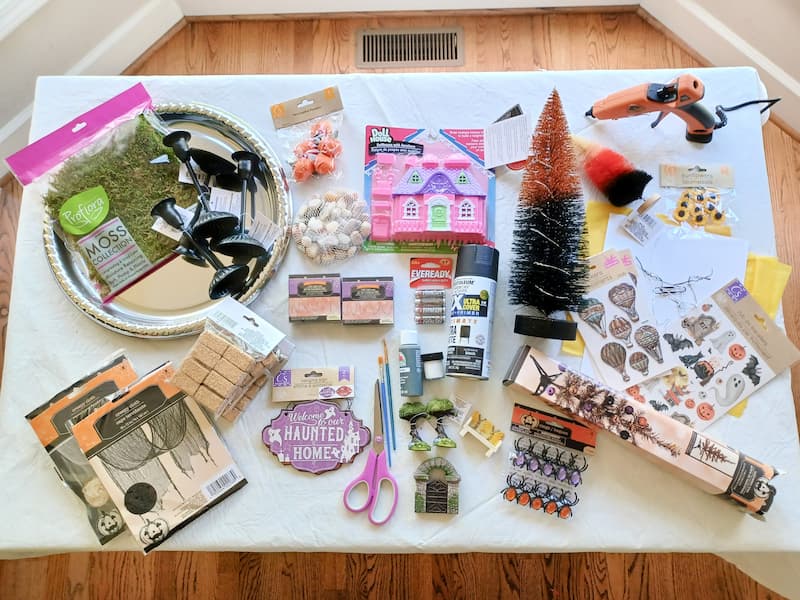
You can purchase all of your products at most Dollar Tree stores. My Dollar Tree was out of moss, so I had to go to Walmart for it this time. Also, Dollar Tree does not carry the spray paint I used, which is also found at Walmart.
Supplies Needed:
- Moss
- A large serving platter
- 4 equal-sized candle holders
- Halloween mummy fabric
- A Dollar Tree doll house
- A creepy welcome sign (optional)
- Small rocks
- Tiny hay bales
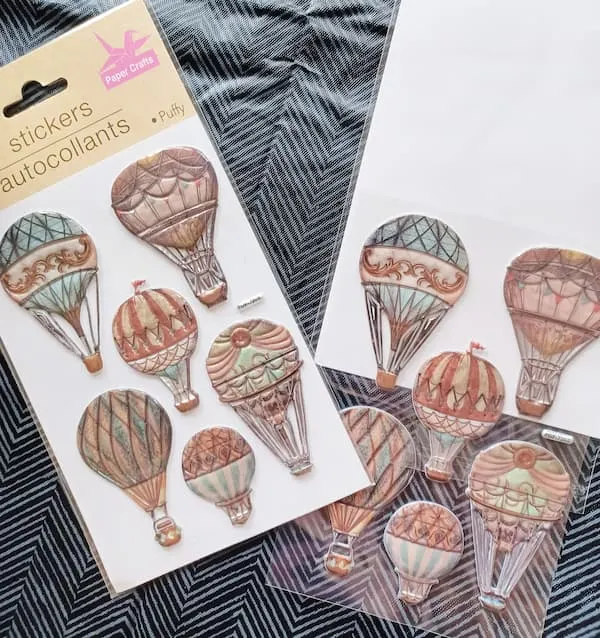
- Hot air balloon stickers
- Halloween stickers or rub-on transfers
- Card stock
- Trees
- Hot glue gun
- Scissors
- Yard decorations of your choosing
- Mini led lights & batteries (optional)
- Yellow tissue paper (optional)
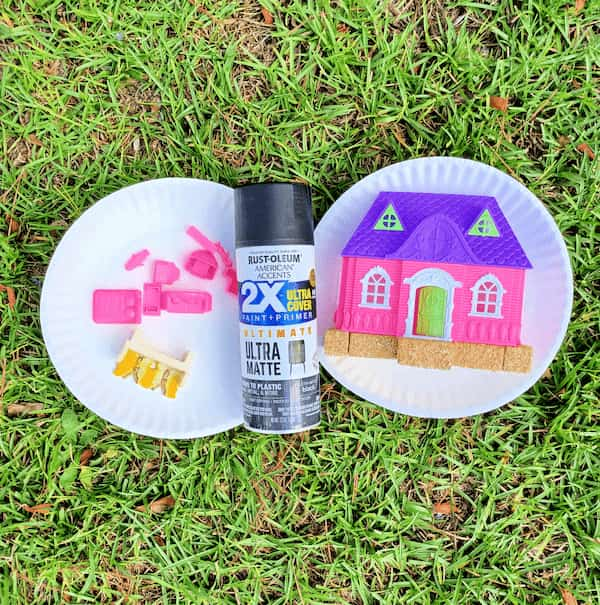
- Rust O Leum 2x Black Matte Spray Paint (link to Walmart)
- Acrylic paint & brush (optional)

Step 1:
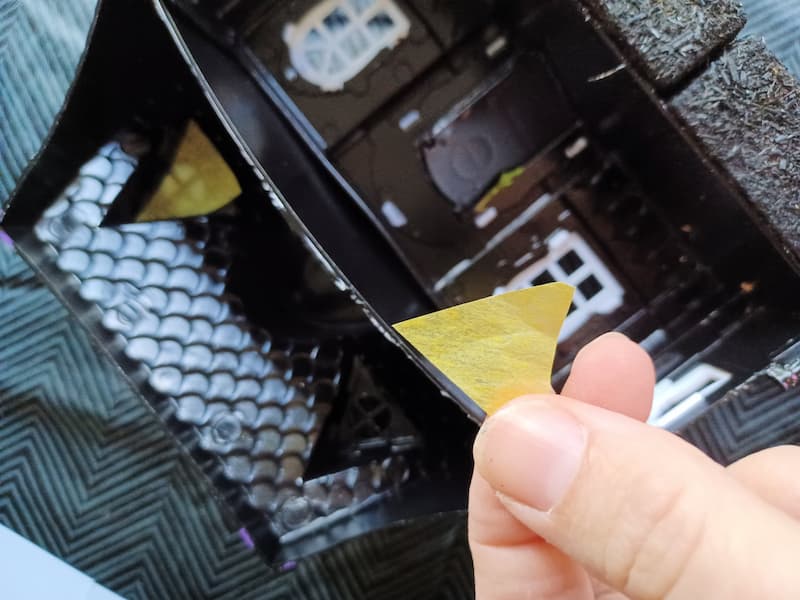
First, start by taking your doll house out of the package carefully. Do not throw away the clear packaging form. This is what will be your invisible ghost house next door!
Carefully cut the clear house form out. And any furniture if you desire to keep for your ghost house. At first I thought I would keep some clear furniture but later changed my mind.
Step 2:
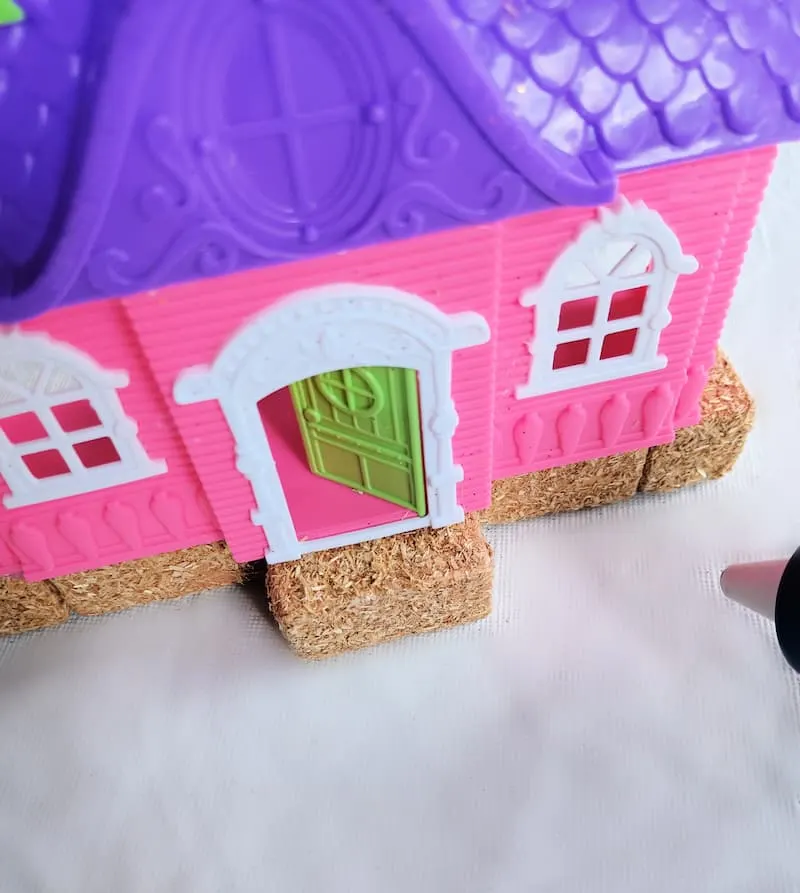
You will need the doll house to have a higher foundation, so we will be using some of the hay bail bricks. Take and glue eight of them on the bottom as shown in the picture. Be sure to leave the little door jut out. That is where we will glue a bail for a step. Glue six in the middle and one on each end as evenly as you can.
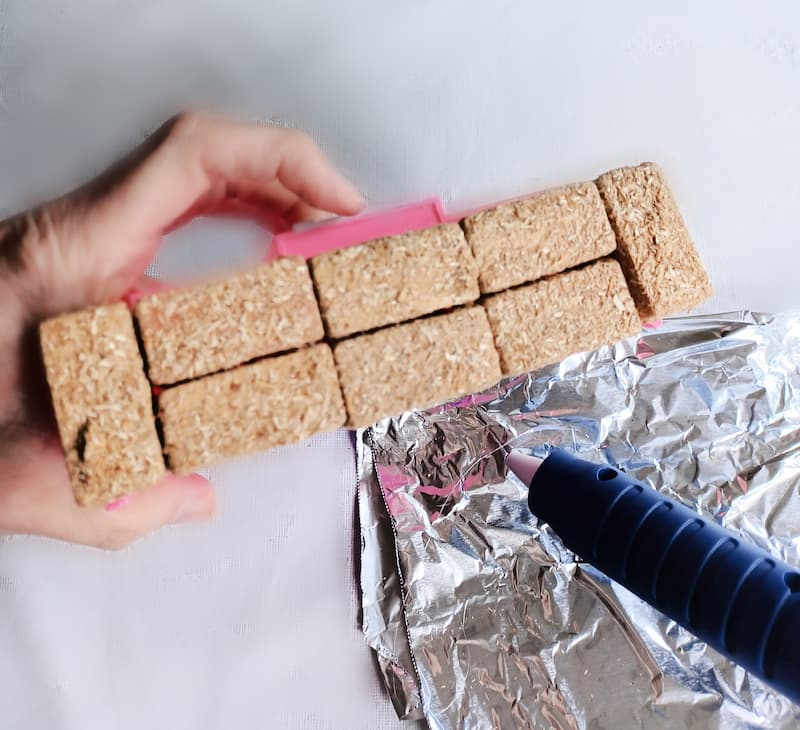

Now glue in your step. It will look like this.

Step 3:
It is time to spray paint your doll house and the furniture if you choose to make that a part of the scene. I always spray paint with kids outside so no one is enclosed with those toxic paint fumes.

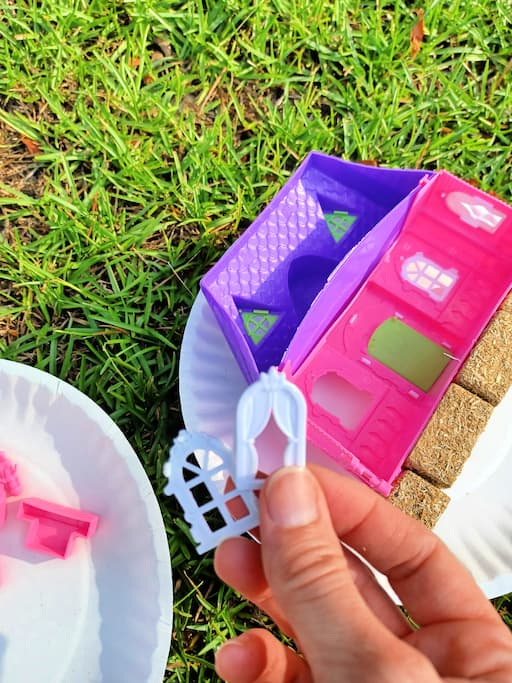
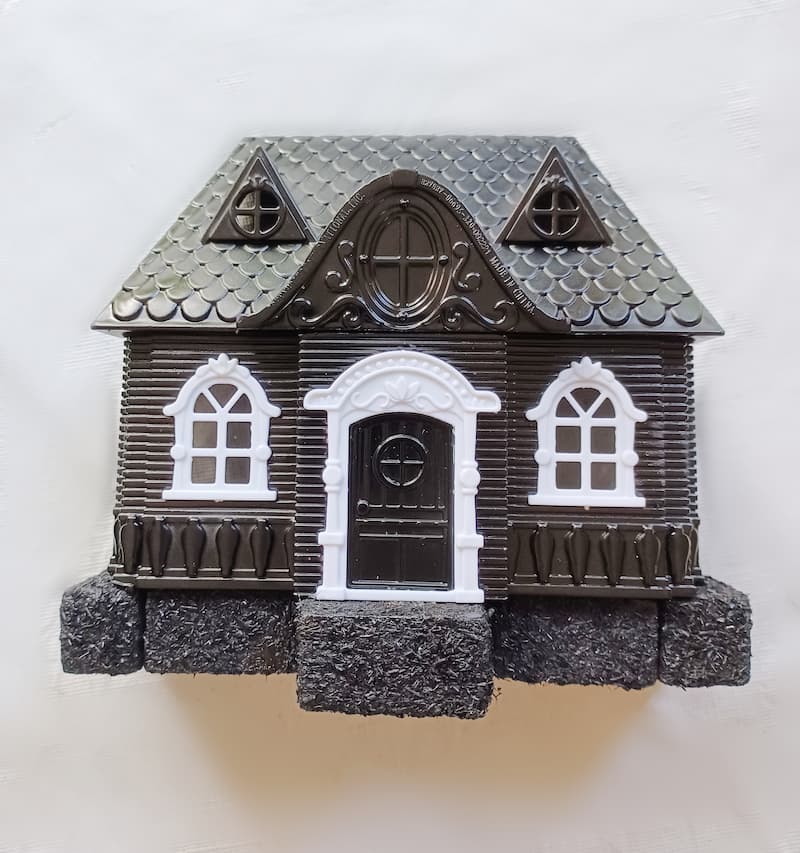
Before you paint the house take the time to pop out the window trimmings. It will make things neat and tidy. They are super easy to remove and install back into place.

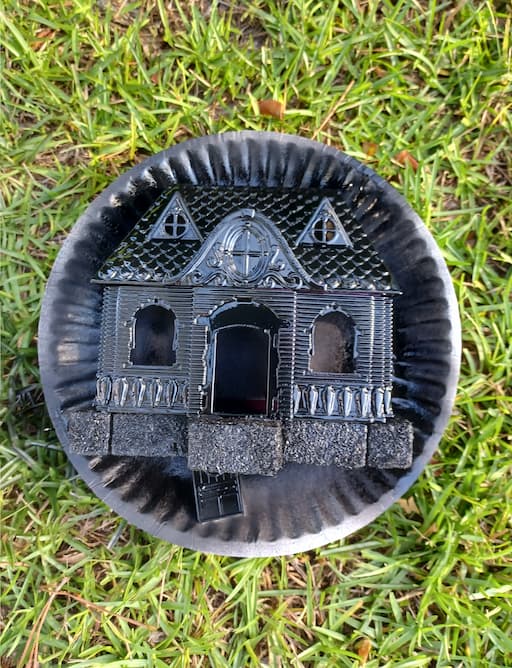
I used spray paint that will stick to plastic. I chose to paint everything black to keep it simple. I even painted the furniture black.
Step 4:
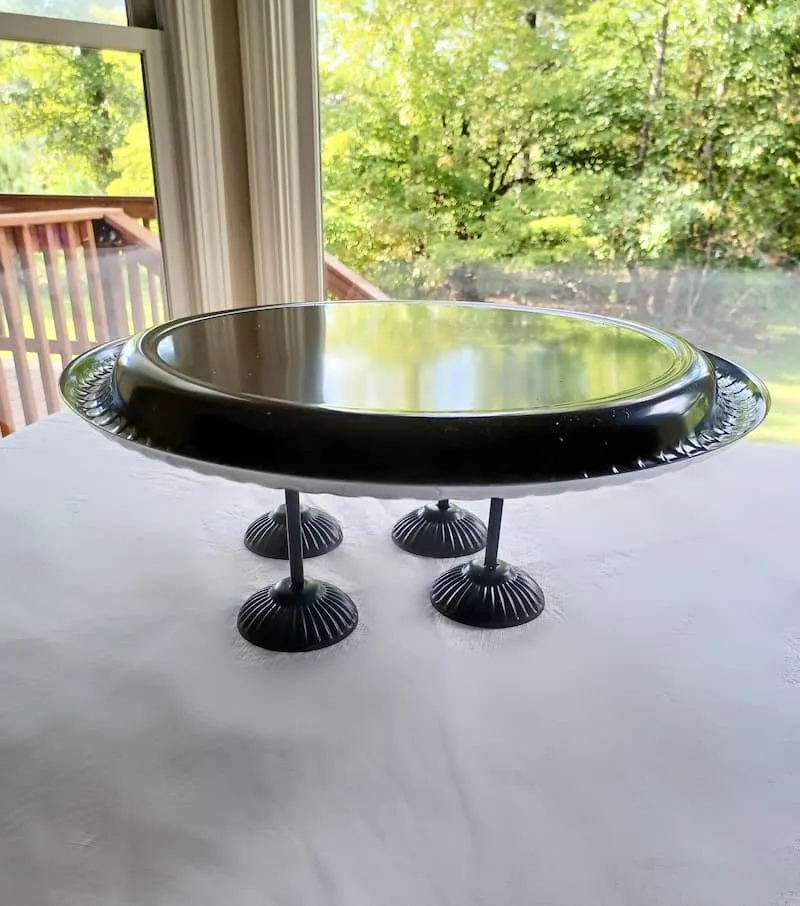
While the items you spray painted are drying, this is the time to now start making the base for the scene. Gather your large serving platter and four candle stick holders.


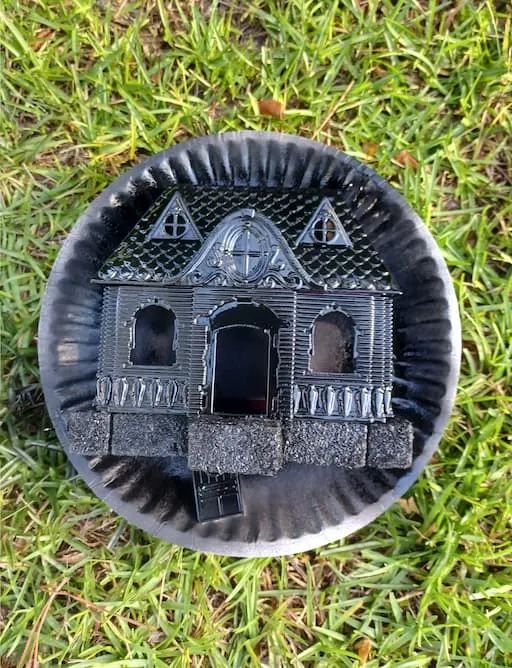
Hot glue your candle stick holders to the shiny part of your platter. That means the surface you will use as the base for your scene is the black back side of the platter.
Place the candle stick holders in any position you desire.

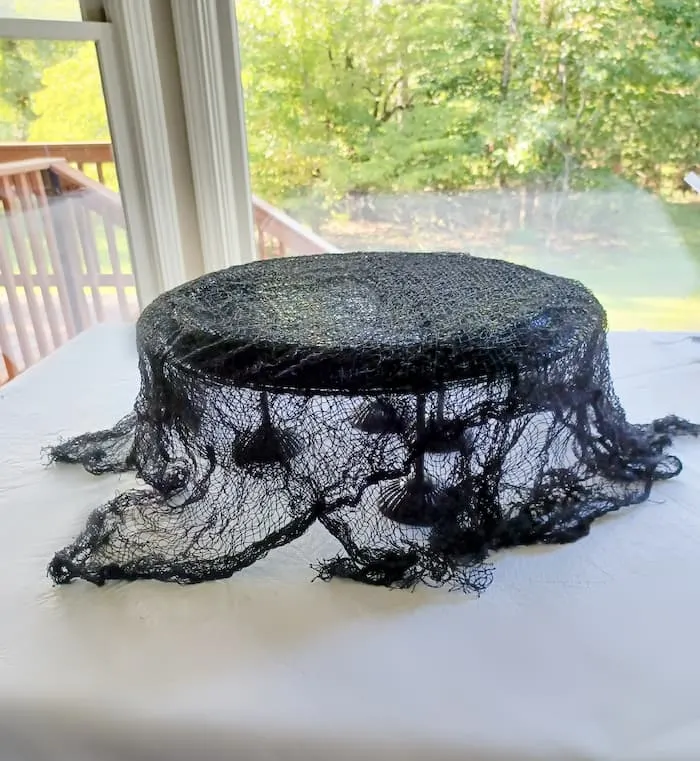
Next take your mummy cloth and drape it every how you think it would look great for your scene. I took the dollar tree piece and cut it in half, and draped it over each other.
Remember, imperfections often become the beauty behind something amazing. I love how Bob Ross used to say “happy little accidents.”

Step 5:
This step is where we will add in all the decorations and accents.
Once your dollhouse is dry, be sure to gently pop your window trimmings back in.

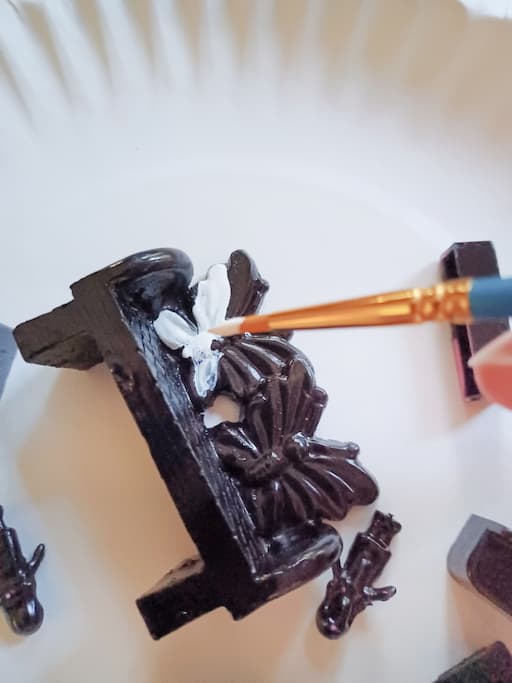
Also paint any accents you wish to paint. For example, I took a springtime fairy bench and had spray painted it black outside with everything else. Then I painted white on the butterfly shapes to accent to look like a skeleton butterfly bench.

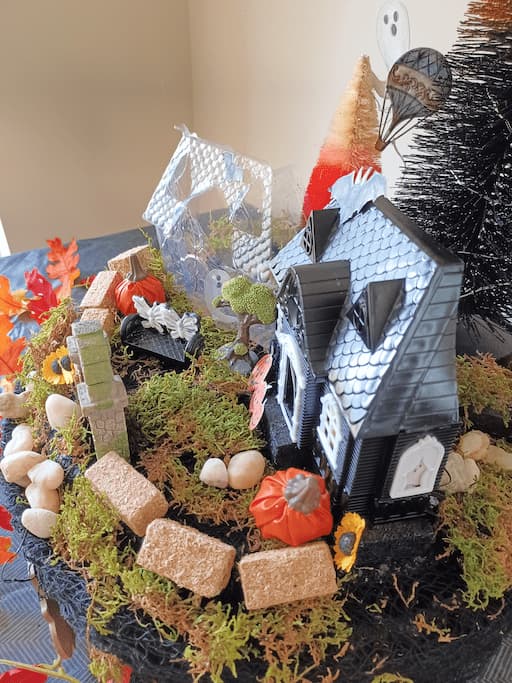
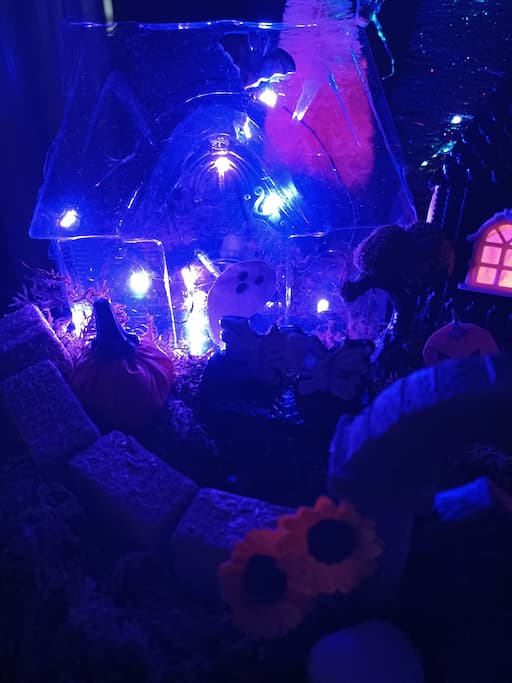
Take your decorations such as your house, your clear house form (that is the invisible next-door neighbor haunted house), trees, moss, gate, flowers, pumpkins, and more, placing them where your little ones would like. This is so much fun creating this little October world.
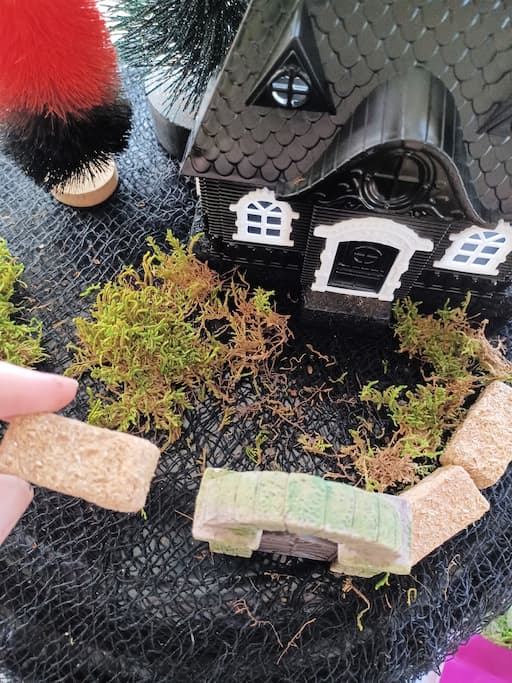

I used the extra little hay bales as a fake stone wall. Really with all the cute little things Dollar Tree has for fall decor, the sky’s the limit with your kiddos’ imagination!


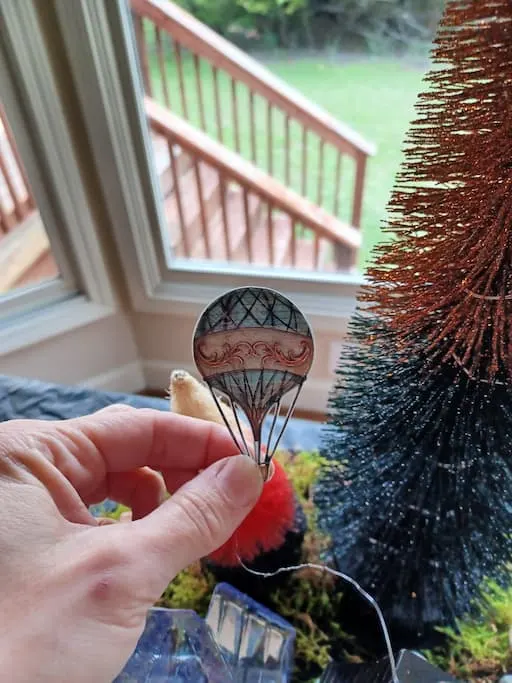
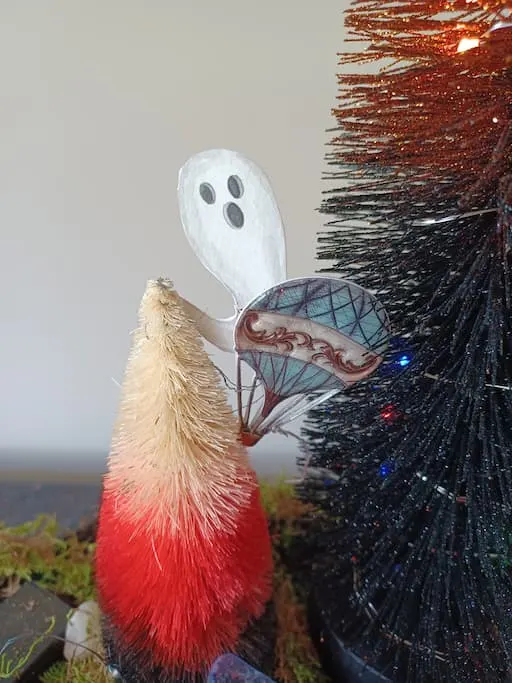
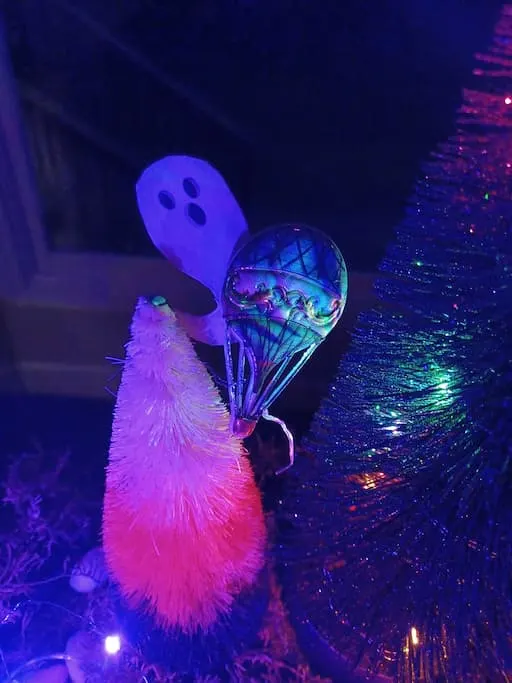
I wanted the double haunted scene to tell a little story so I took two identical puffy hot air balloons and placed them back to back together. It was for my ghost hot air balloon wreck that will go into the trees. To attach it to the trees I just used a striped twist tie. I placed part of the twist tie inside the balloon backings before I stuck them together.


For the story to be complete I needed ghosts and more pumpkins accents. So I used these adorable rub on transfers, using the handle of my scissors to rub as I applied them to the white card stock. Next I cut out only the items I wanted to use in my scene. This is where I got my ghost for the hot air balloon wreck in the tree. The ghosts in the door, window and invisible ghost house next door. The pumpkins were too cute with their jack-o-lantern faces to not use. Most of these items I did not have to glue down but just sat in place. I did glue the face on the door.

Next I cut yellow tissue paper to put into the windows for an extra glow for when you place the lights. This is optional.
I had at first thought I would skip this but later on the decorating process decided why not. I was so glad I did, it added the extra effect I was looking for.

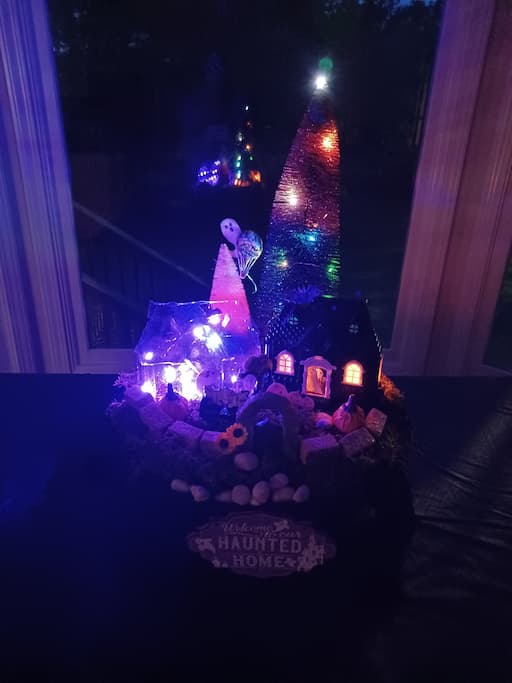
If you happen to have a sign you would like to hang, this is the time. I used one from Dollar Tree that had a wire hanger.
You could replace yours with wire if it does not have it. Make sure your sign is small so that it does not tip the scene over. My sign was light enough.
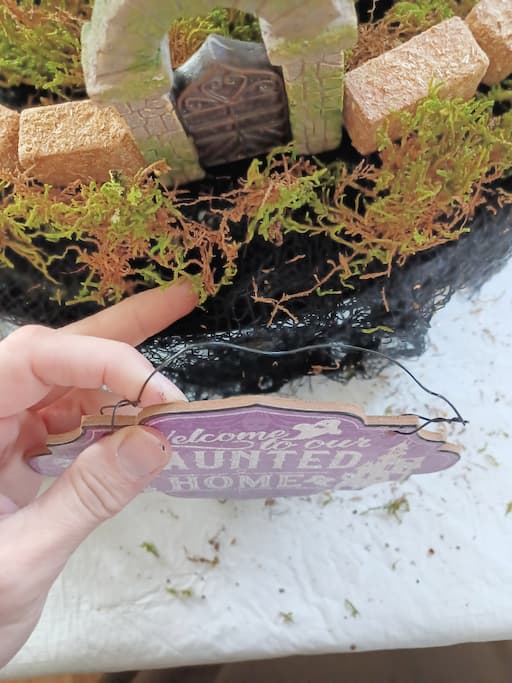
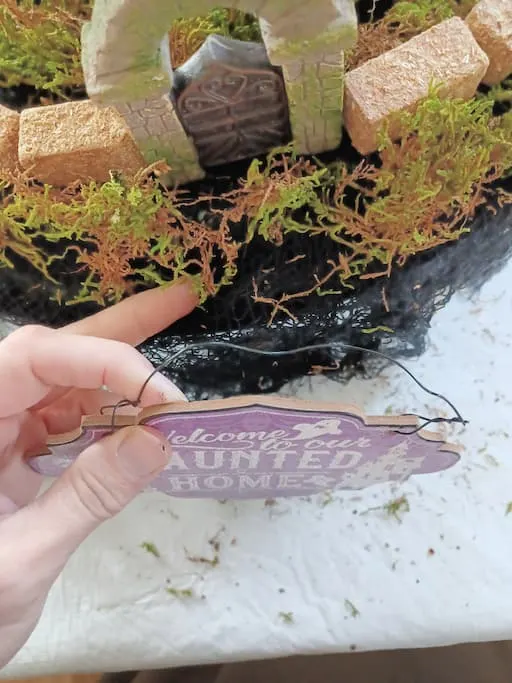
To hang it, simply bend the wire to fit into the groove lip of the upside-down platter. It anchors well. I put some of the rocks I was decorating with to hold it even more.
I did not want to glue anything to the base because we can reuse the base in later projects.
Step 6:
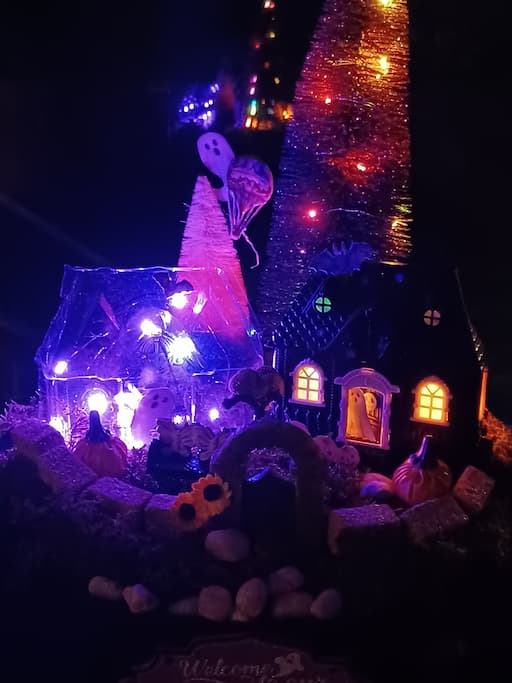
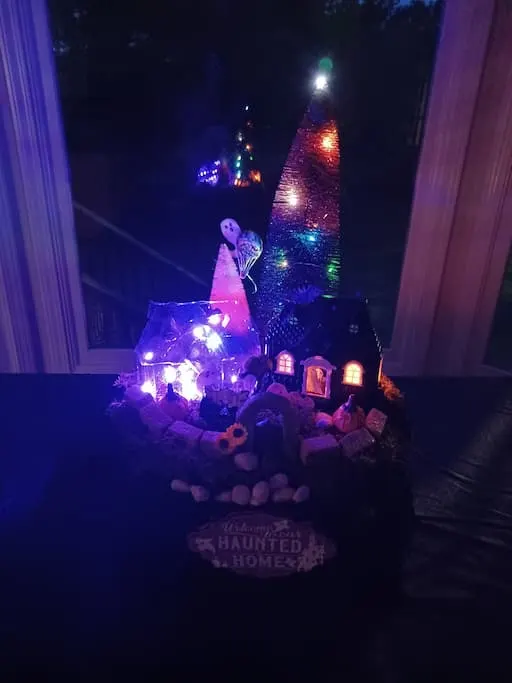
Add lights. This is also optional. Your scene will be amazing with or without lights. But personally, I like the glow and it seems so warm and cozy for October. Also, in the dark, it helps illuminate the invisible ghost house!

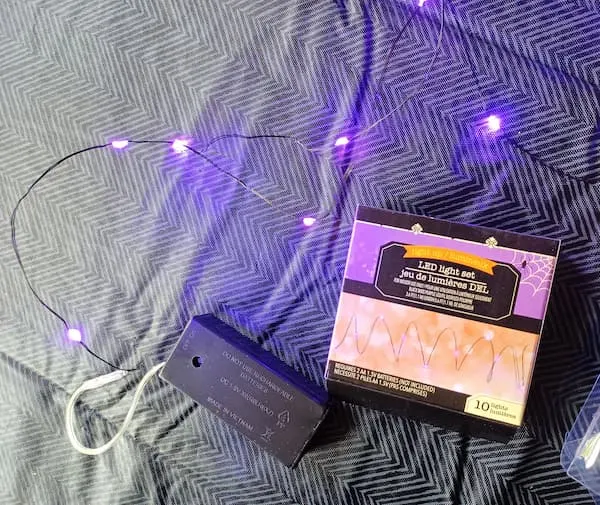
These led lights are wired and bendable to the shape you want. You can place these in your house structures or you can drape around your scene. Create the lighting effect you and your little ones think is best!
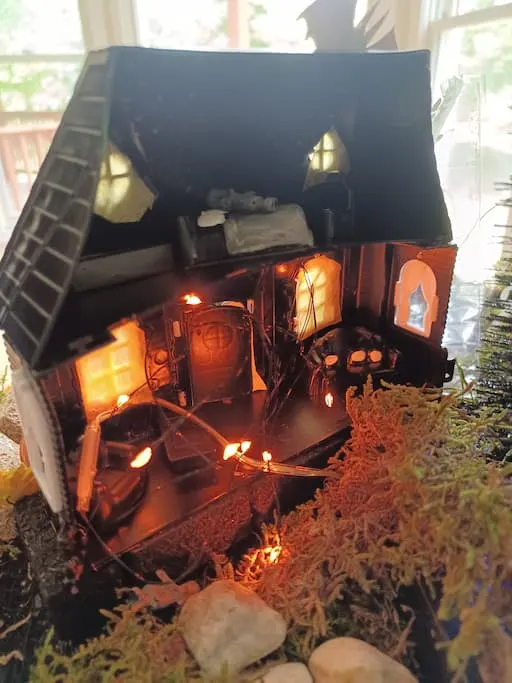
I just stuffed the lights inside each house. Easy. The tall tree I bought already had led lights built in. I had bought another tree without lights I ended up not using.
You can also put your painted furniture in the house if you wish or leave that out. I put orange lights in the black house to provide the glow in the windows. I chose the purple lights for the invisible ghost house. But you can use any colors you wish. You can use moss to hide the black battery boxes.


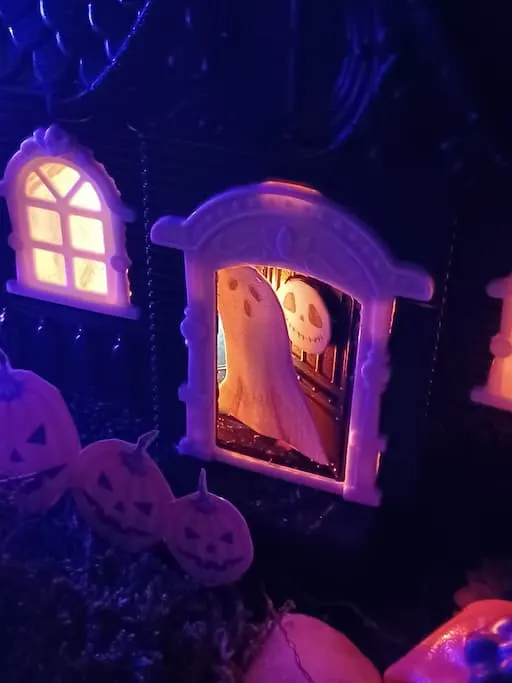
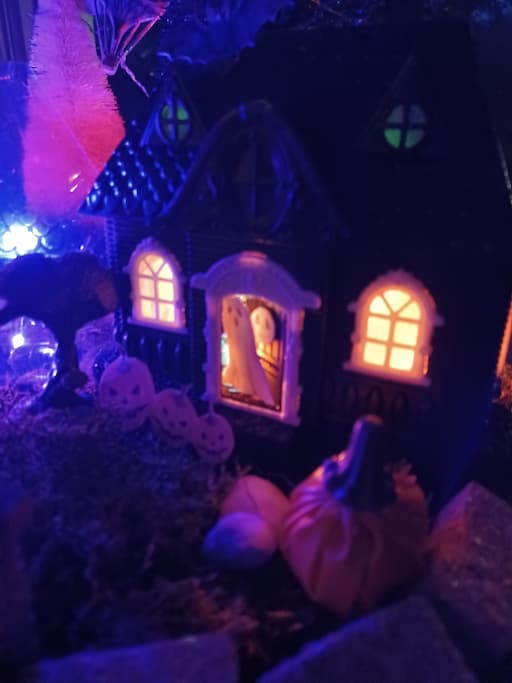


There is the ghost whose hot air balloon crashed peeking around!


Enjoy your Double Trouble Haunted House Scene!

Recommended Reading:
Make Your Own Beautiful Living Succulent Wreath Centerpiece! Complete video course by Jeannine Romero now available through Skillshare.